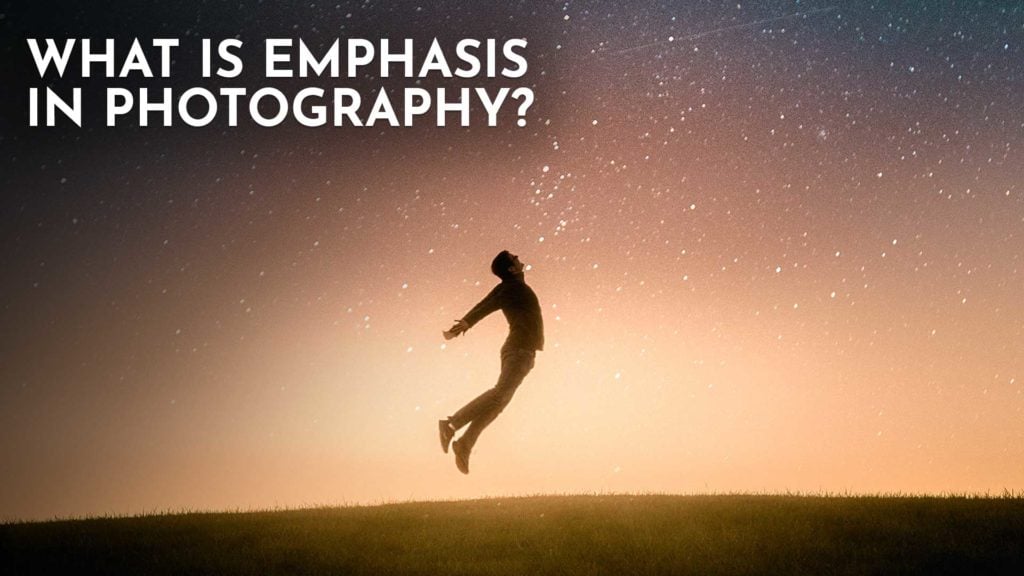
Emphasis in photography is all about capturing the viewer’s attention and directing it toward a specific subject or focal point. Through various techniques, photographers can create images that tell a story, evoke emotions, or simply highlight the beauty of their chosen subject.
Table of contents
Understanding Emphasis in Photography
As a photographer, emphasis is one of the most essential concepts to grasp. Emphasis in photography refers to the way that a photographer draws attention to specific elements within a photograph. By doing so, the photographer creates a focal point and highlights the key parts of the image. This is done through many ways including composition, framing, color, depth of field, and contrast.
The simplest test: show your photo to someone for two seconds, then ask what they noticed first. If they point to your intended subject, your emphasis is working.
Importance of Emphasis in Photography
As a photographer, you want to create images that capture the attention of your viewers and evoke emotions. One way to achieve this is by using emphasis in your compositions. Emphasis is the technique of directing the viewer’s attention to a specific element in the photograph. If you are familiar with art and design a lot of the same rules apply.
Creating Focal Points
Creating a focal point is a common technique used to emphasize a subject in a photograph. A focal point is the primary element in the image that draws the viewer’s attention. It can be a person, object, or even a specific area in the photograph. By creating a clear focal point, you can guide the viewer’s eye to the subject and create a more engaging image.
To create a focal point, you can use various techniques such as using a shallow depth of field to blur the background or using leading lines that direct the viewer’s eye towards the subject. You can also use contrast, color, or lighting to make the focal point stand out from the rest of the image.
Directing Viewer’s Eye
Emphasis can also be used to direct the viewer’s eye through the photograph. By strategically placing elements in the image, you can create a visual path that guides the viewer from one element to another. This technique is often used to tell a story or create a sense of movement in the image.
To direct the viewer’s eye, you can use various techniques such as leading lines, repetition, or contrast. You can also use the rule of thirds to create a more balanced composition and guide the viewer’s eye towards the subject.
Enhancing Visual Storytelling
Emphasis is also how you control what story your photo tells. Two photographers can shoot the same scene and tell completely different stories based on what they choose to emphasize. Focus on a person’s hands instead of their face, and you shift the entire narrative.
I find this especially true in travel photography, where a single scene might have dozens of competing elements. Choosing what to emphasize (and what to leave out) is what separates a forgettable photo from one that makes someone want to visit.
Techniques for Creating Emphasis in Photography
Here are seven techniques I rely on to create emphasis in my photos. Most strong images use at least two or three of these together.
1. Contrast
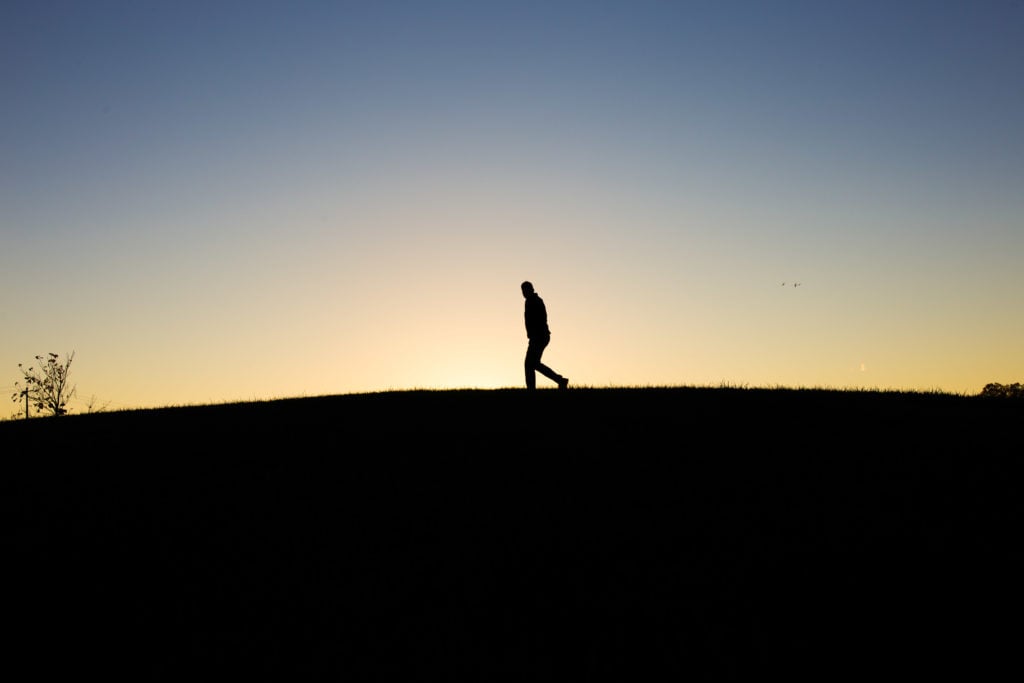
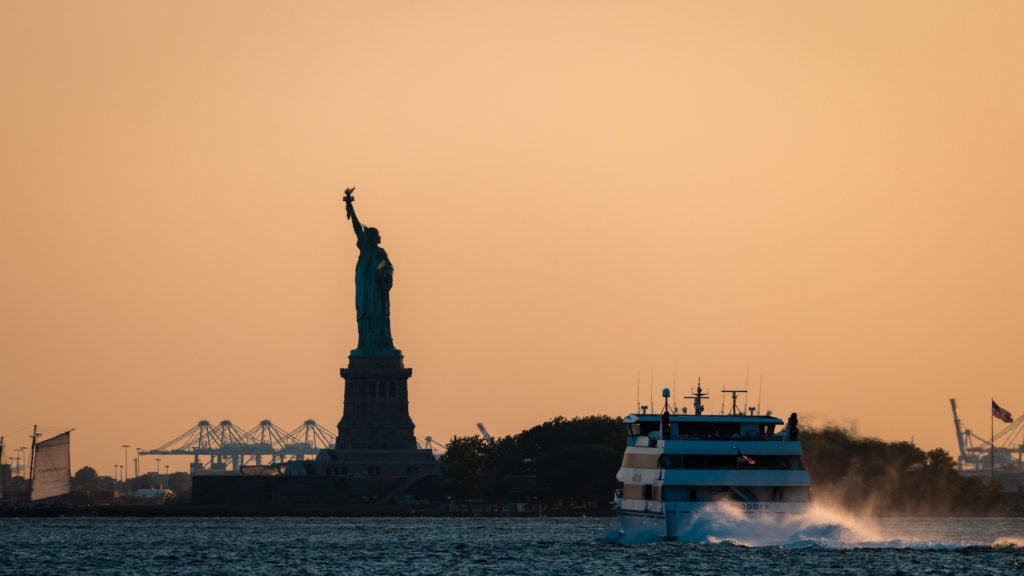
Contrast is the difference between light and dark areas in your image. Place a bright subject against a dark background (or the reverse) and the viewer’s eye goes straight to it. This is one of the simplest and most reliable ways to create emphasis.
Directional light from a window, doorway, or golden hour sun creates natural contrast through shadows. Silhouettes are an extreme version of this: strip your subject down to pure shape against a bright background, and it instantly becomes the focal point. I use silhouettes often during sunrise shoots when the sky is more interesting than the foreground detail.
2. Colors
A bold color against a muted background grabs attention fast. The classic example: a red jacket in a gray cityscape. Your eye goes right to it because the color contrast is so strong.
It can be more than just a pop of color. Learning color theory and the color wheel you explore different ways to use color in your images. For example orange and teal our complimentary colors and are often featured together in photographs. Color schemes are a great way to create an emphasized area in your photograph.
3. Depth of Field
Shallow depth of field blurs the background and isolates your subject. It’s one of the most popular emphasis techniques in portrait and street photography. You’ll need a lens with a wide aperture (f/1.8 or f/2.8) to get strong background separation. Full frame sensors produce more background blur than crop sensors at the same aperture, which is worth knowing if you shoot a lot of portraits.
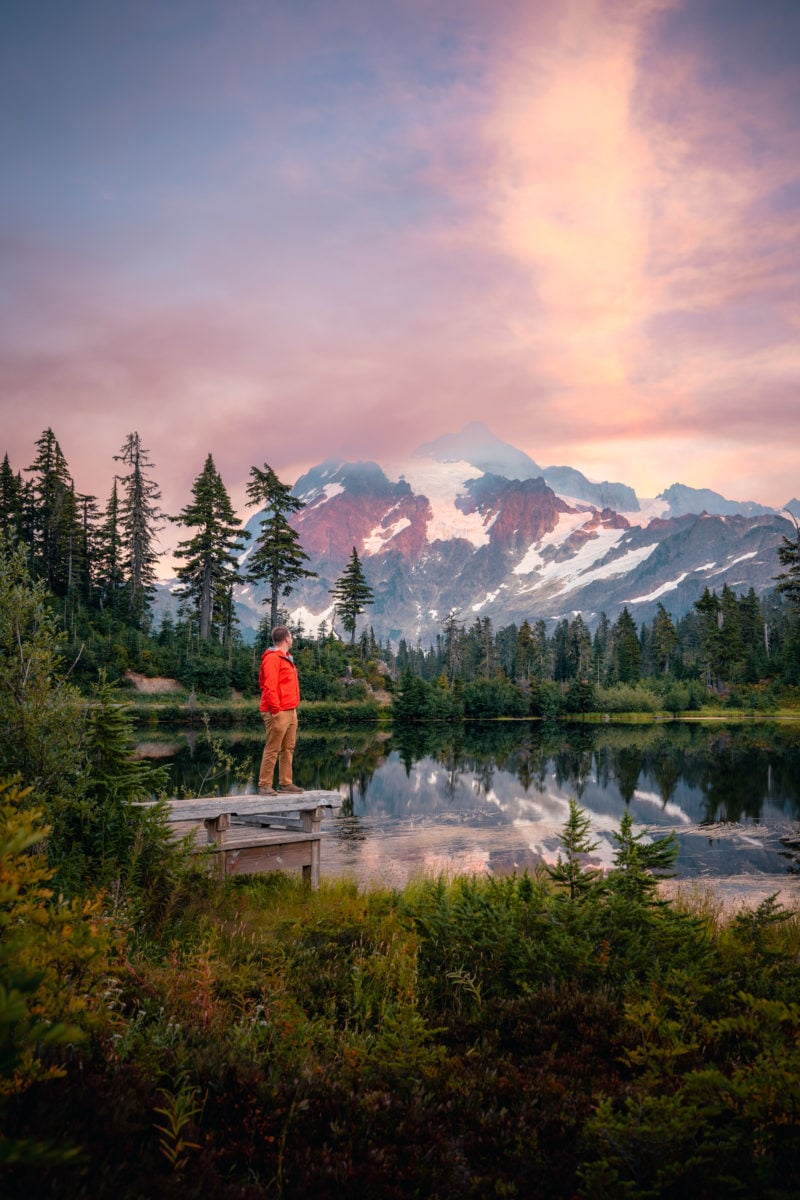
Deep depth of field works the opposite way. In landscape photography, keeping everything sharp from foreground to background lets you use placement and scale to create emphasis instead of blur. A small figure on a vast mountain ridge draws the eye because of size contrast, not focus.
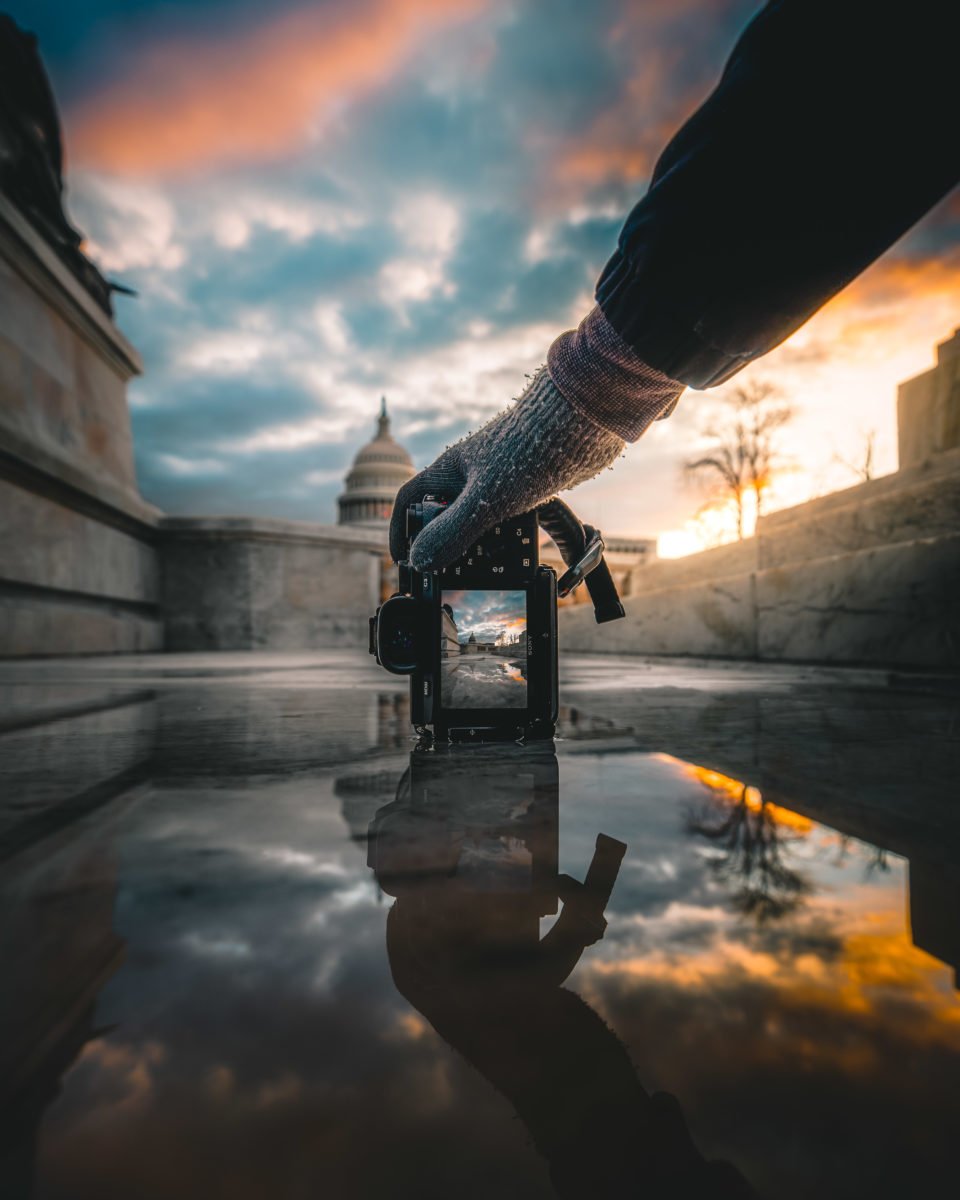
4. Framing and Composition

Framing uses elements in the scene to create a “frame within the frame” around your subject. Doorways, arches, tree branches, and windows all work. The frame draws the eye inward and keeps attention on what’s inside it. I shot the photo above from inside the Lincoln Memorial, using the columns as a natural frame for the sunrise over the National Mall.
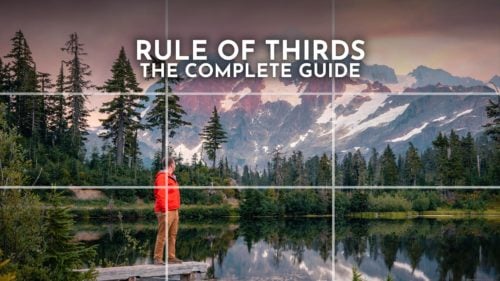
5. The Rule of Thirds or the Golden Grid
Learning photography composition rules is a great way to emphasize a photo. The placement of the main subject within the photograph can also create emphasis. By positioning the subject off-center or using the rule of thirds, the viewer’s eye is naturally drawn to the subject.
6. Leading Lines

Leading lines are roads, fences, rivers, or any visual line that pulls the eye through the frame toward your subject. A road vanishing into the distance, a row of trees, or even a shadow on the ground can serve as a leading line. The technique adds depth and direction, and it’s especially effective in landscape and architectural photography.
7. Texture
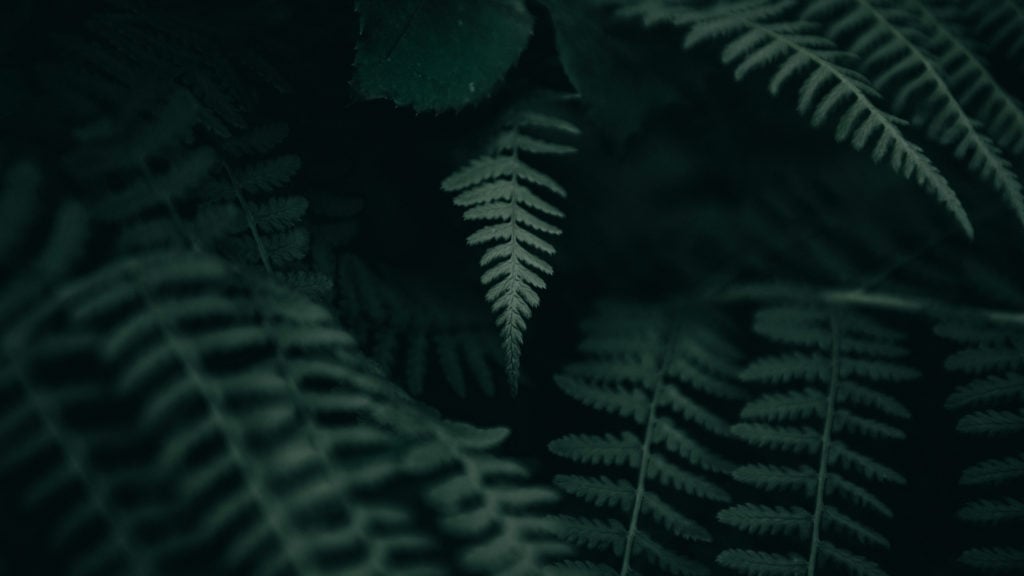
Texture creates emphasis by making the viewer almost feel the surface: rough bark, smooth water, cracked earth, weathered stone. Side lighting (light hitting the surface at an angle) is the key to strong texture shots because it creates tiny shadows that reveal surface detail.
Texture works best as emphasis when one textured element contrasts with a smooth one. A rough stone wall behind a polished car, or fern leaves against a smooth river. The contrast in texture pulls the eye to whichever surface is most different from its surroundings.
Most of these techniques work best in combination. A portrait might use shallow depth of field, warm color contrast, and the rule of thirds all at once. The more you practice, the more naturally you’ll layer them together.
Examples of Emphasis in Photography
Here’s how emphasis plays out across different types of photography.
Portrait Photography

In portraits, emphasis usually centers on the eyes. Shallow depth of field blurs everything except the face, and catchlights (reflections in the eyes) draw the viewer in. Side lighting can sculpt the face by casting shadows that add dimension and direct attention to bone structure or expression.
Environmental portraits use emphasis differently. Instead of isolating the person from the background, you use framing and placement to show how the subject relates to their surroundings.
Landscape Photography
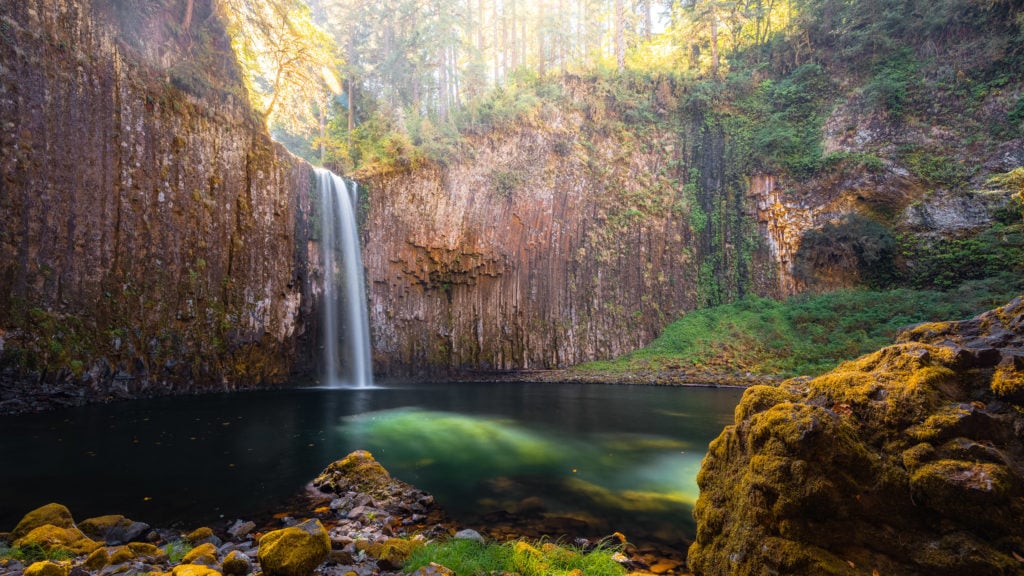
Landscape photography relies heavily on leading lines, foreground interest, and light to create emphasis. A winding river or a fence line leading toward a mountain gives the eye a clear path. Including a strong foreground element (a rock, a flower, a reflection) creates depth and anchors the composition.
Light is the most powerful emphasis tool in landscape work. A shaft of light breaking through clouds onto a single hillside tells the viewer exactly where to look. Shooting during golden hour or blue hour gives you dramatic directional light that naturally creates emphasis through contrast.
Wildlife Photography

In wildlife photography, emphasis usually comes from isolating the animal against a clean background using a telephoto lens and shallow depth of field. Eye contact with the camera is one of the strongest forms of emphasis in any wildlife shot.
Fast shutter speeds freeze action and create emphasis on movement (a bird mid-dive, a deer leaping). A full frame or crop sensor choice matters here too, since crop sensors give you extra reach with telephoto lenses, which can help isolate subjects in the wild.
Emphasis isn’t something you add to a photo after the fact. It’s built into every decision you make while shooting: where you stand, what you include in the frame, how you use light, and which moment you choose to press the shutter. Start by picking one technique from this list and focusing on it for a week. Once it becomes second nature, layer in another.
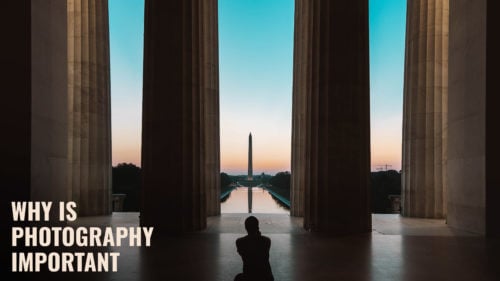
If you found this useful, check out my breakdown of the rule of thirds and why photography matters.