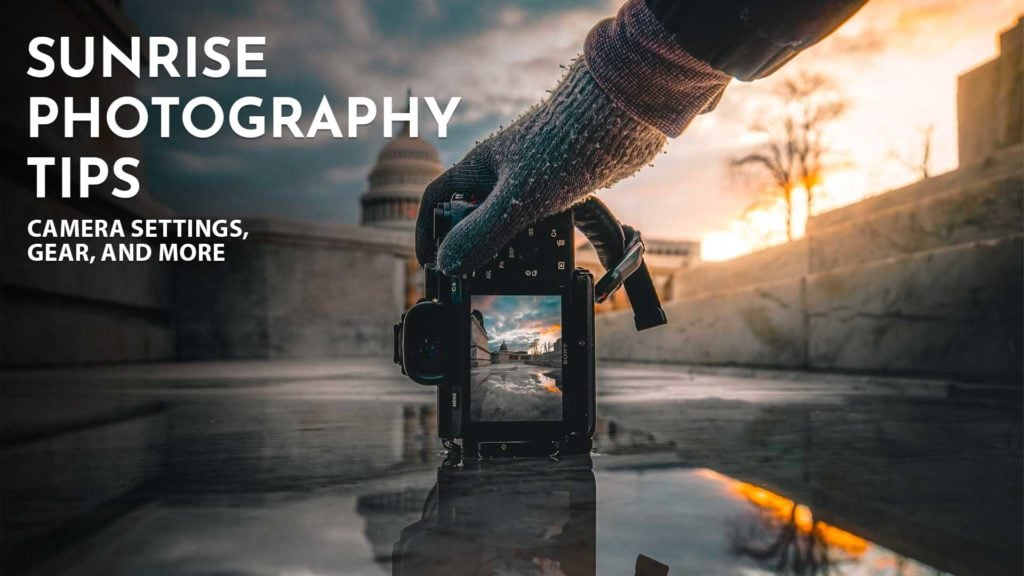

Almost all photographers agree: the best time to take photos is sunrise. A quiet morning with the golden hour glow is the perfect time of day for photography. It’s hard not to enjoy watching the dramatic light changes of a sunrise.
Jump to sunrise camera settings
There are plenty of things to know when photographing sunrise, like locations, timing, camera settings, and gear. In this article, I’ll be going over all aspects of sunrise photography so you can get the best shot. If you’re short on time you can jump directly to my sunrise camera settings using the link below.
The first thing I recommend is to wake up earlier than you planned. This gives you a little bit more time for all aspects of your morning. I’ve found that a bit of extra time often leads to better results when I am not rushed and more alert for sunrise. Plus, when you arrive early at your location, you’ll often see the pinks and blues that occur before sunrise.
Read on for more of my sunrise photography tips:
Table of contents
14 Quick Sunrise Photography Tips
If you’re short on time, here’s the whole guide boiled down to 14 tips. The rest of the article digs into location planning, gear, and the exact camera settings I use.
- Arrive at least 30 minutes before sunrise. The best color often shows up during blue hour before the sun clears the horizon, and getting there early lets you set up without rushing.
- Scout your location the day before. You can’t hunt for a composition in the dark, so know where you’ll stand and what you’ll frame ahead of time.
- Check the cloud forecast. The best sunrises usually need high or mid-level clouds to catch color, while a totally clear or fully overcast sky tends to look flat.
- Use a sunrise-prediction app. Tools like The Photographer’s Ephemeris, PhotoPills, and SunsetWx score the expected color and show you where the sun will rise.
- Know which way the sun rises. It comes up in the east, but the exact spot shifts north and south through the year, which changes where you need to stand relative to your subject.
- Shoot in RAW. RAW files hold far more detail in the bright sky and dark foreground, and let you fix white balance later without losing quality.
- Bring a tripod. It lets you drop to ISO 100 for clean long exposures, and it’s required if you want to use ND filters or blend bracketed shots.
- Add foreground interest. A rock, a dock, grasses, or a person in the lower frame gives the eye somewhere to start and adds depth.
- Look for reflections. Still water like lakes, puddles, and tidal pools doubles the color and is one of the easiest ways to make a sunrise shot pop.
- Try silhouettes. Expose for the bright sky and let a foreground subject (a tree, a building, a person) fall dark for a clean, graphic shot.
- Don’t only shoot the sun. Turn around, since sunrise light often lands beautifully on the landscape and clouds behind you, with none of the blown-out highlights.
- Bracket your exposures. A sunrise has a huge range between the bright sky and dark land, so shoot a few exposures and blend them in Lightroom for detail everywhere.
- Keep your white balance warm. Auto white balance often cools the image and kills the color, so set it to Daylight or Cloudy (or warm it in RAW) to keep the glow.
- Stay after the sun rises. The light keeps changing for 30 minutes or more into golden hour, and some of the best, most usable light comes after the sunrise moment.
Location Planning for Sunrise Photography
One of the most important things to think about when photographing sunrise is the location. Landscape photographers know you can’t go hunting for a composition in the dark, so have a spot in mind before you head out.
There are plenty of apps to help you plan your sunrise photoshoot. These can range from the quality of sunrise to angles of the sun and much more. At a minimum you’ll want to be aware of where the sun is rising so you know where to photograph. For example if you’re visiting a lake you’ll need to know what side of the lake to be on. Additionally you’ll need to know what time sunrise is but there are plenty of websites that tell you and most weather apps will show you sunrise times.
Apps that help plan for sunrise:
- The Photographer’s Ephemeris
- PhotoPills
- SunsetWx
- The regular weather app on your phone
Using an app like the Photographer’s Ephemeris will show you angles of the sunrise so you can line up where the sun will be with landmarks. There are also websites you can use like SunsetCheck.com to see quality predictions.
The sun will rise in the East but the exact position changes throughout the year making it essential to know exactly where it’ll rise.
The Photographer’s Ephemeris will give you a line on where to expect the site making it much easier to plan.

How to Predict a Good Sunrise
First, we have to qualify what makes a great sunrise. Colorful sunrises typically occur because of a few factors, including high cloud coverage, low humidity, and clean air. This allows the sun to penetrate the horizon and produce red and orange wavelengths on high clouds. This is why the weather forecast is important to know for the morning.
Many of the apps above, including Skyfire in TPE, SunsetWx, Skylight Forecast will give you a score of how good the app expects sunrise colors to be. Obviously, you can’t go out every morning, so these apps make it a bit easier to find days with good cloud coverage for sunrise.
Keep in mind: Sunrise prediction apps are not always 100% accurate at predicting sunrise quality. The app you choose might miss a morning booming with color or vice versa but these apps give good guidance on when to plan to wake up.
There is nothing better for your landscape photography than getting perfect sunrise conditions. The soft warm light typically leads to striking images especially when in a natural setting.
Gear You’ll Need for Sunrise Photography
Besides a camera, here are also a few recommended accessories for getting more unique sunrise photos, like tripods and ND filters. At a baseline I’d recommend having a camera and a tripod for capturing sunrise.
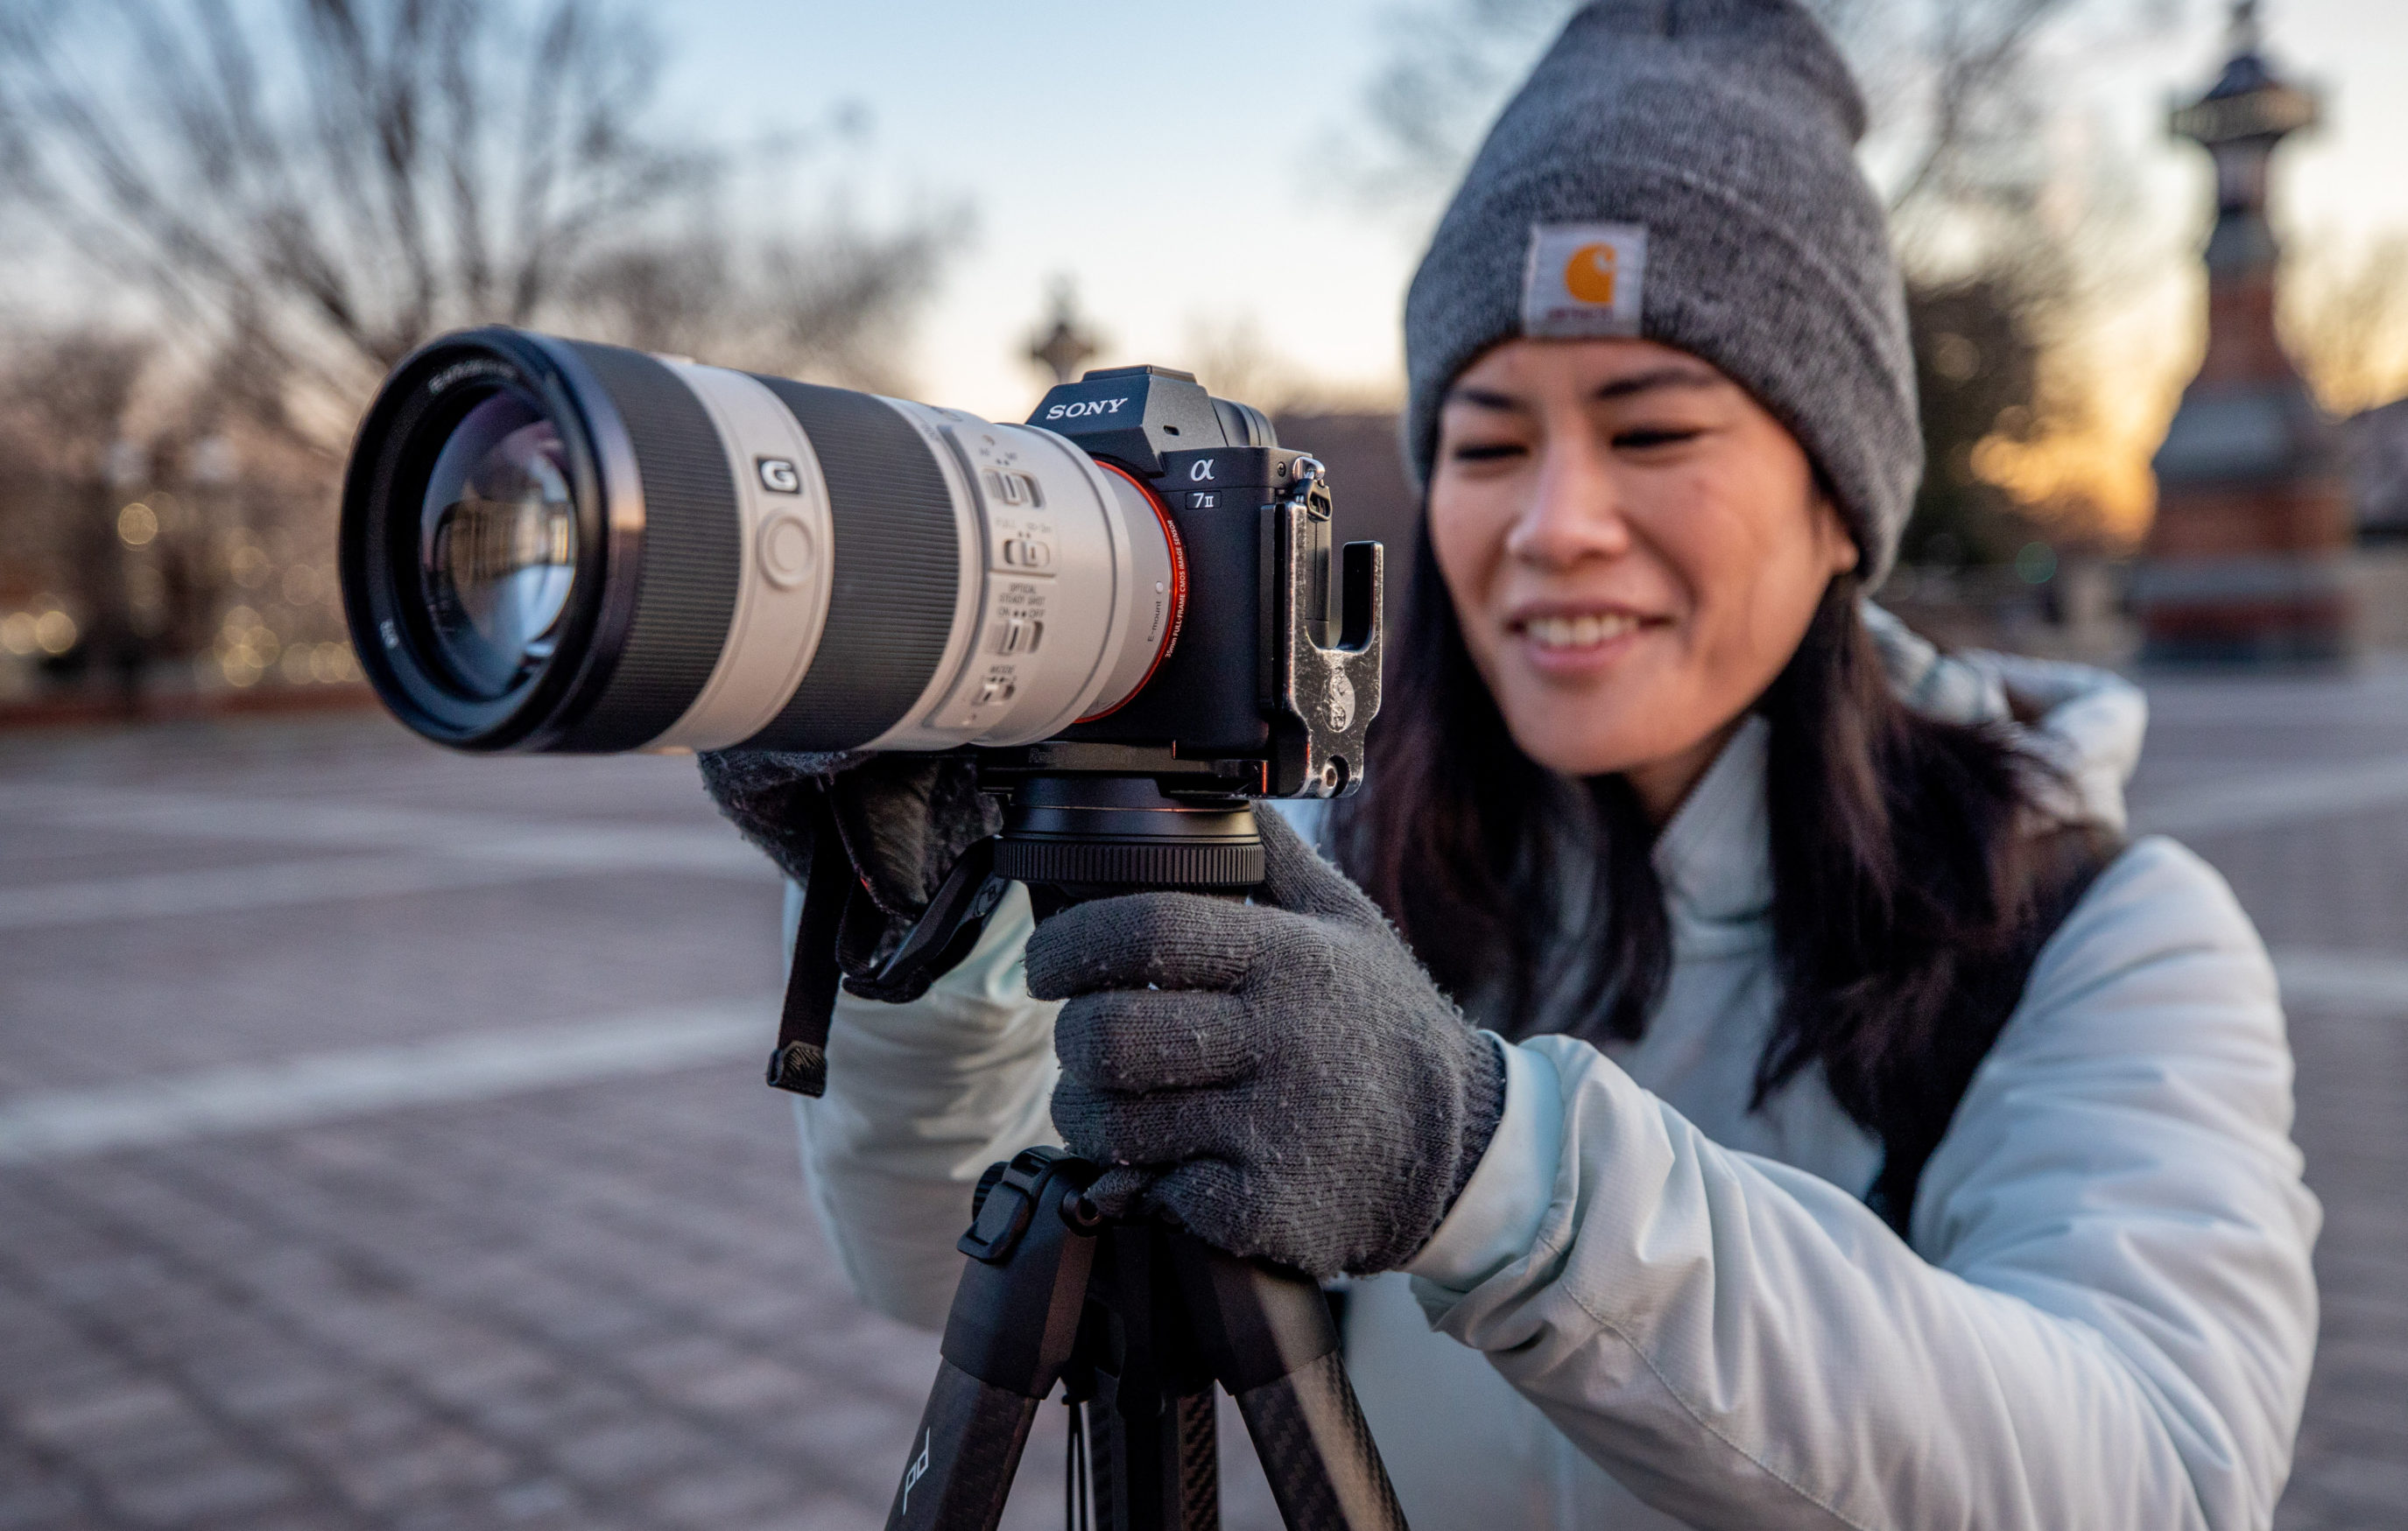
Cameras for Sunrise
Of course the classic saying goes here, the best camera is the one that’s with you. If you’re reading this post you likely already have a camera but my favorite brands include Canon, Sony, and Nikon.
Most cameras will do a great job shooting sunrise, especially if you are using a tripod. DSLR and mirrorless cameras have larger camera sensors to allow you to capture more light. While smaller sensors like an iPhone or a cropped sensor camera will perform worse in low light, making the need for a tripod even more important.
Looking for camera suggestions?
Read: best mirrorless cameras for travel.
Using a tripod allows the camera to have the time it needs to get light. Higher quality full-frame cameras will have increased dynamic range meaning you can capture more detail in the shadows and highlights.
To get the most detail out of your mornings you’ll likely want to use HDR exposure bracketing when using a tripod and merging them in Adobe Lightroom. Exposure bracketing is when you use different exposure compensation exposures and merge them in post production. Most cameras have an option to do bracketing built-in but it involves taking a correctly-exposed, underexposed, and overexposed image. This way you’ll have much more editing flexibility in the shadows and highlights.
Lenses for Sunrise
Having a lens with a lower aperture (f/2.8 or lower) will let more light into your camera, allowing for more detail and less noise. This is especially important if you are shooting handheld since the camera needs as much light as possible for shorter exposure speeds.
If you’re using a tripod you’ll likely want to shoot at an aperture of f/8 or higher for maximum clarity in your photos. I prefer a wide-angle lens (like the Canon RF 15-35mm) for sunrise photos but the focal length will depend on your composition and preferences.
If only a bit of the sky has color a telephoto lens can come in handy for creating unique compositions.
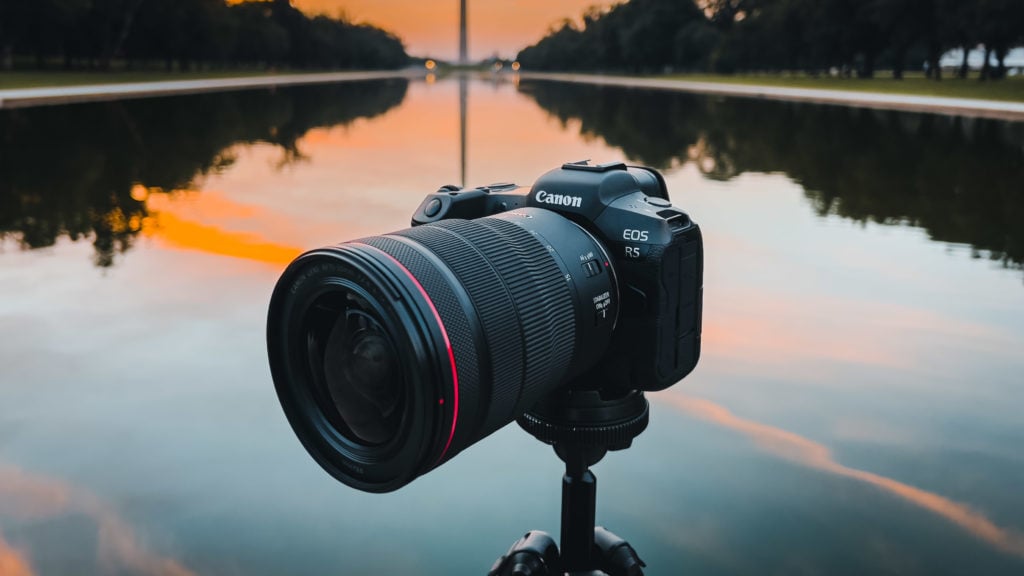
Tripods for Sunrise
If you want to capture the most detail, a tripod is essential for photographing the sunrise. Since it’s a low light condition, a tripod allows you to take longer exposures of the sky. This is especially important when using an ND filter (learn more about these below). You don’t need an expensive tripod. Just choose one that will hold your camera steady (especially if it’s windy). Typically the quality of a tripod is judged by how stable it is in the wind and how much weight it can hold. You can’t go wrong with a Manfrotto Tripod but there are plenty of options at all price ranges.
Filters for Sunrise
If you’re new to ND filters, think of them as sunglasses!
They force your camera to take in less light. This means your camera will have to use a longer shutter speed. Most ND filters screw into the front of your lens.
You’ll need to know the filter size of your lens to purchase one. Using an ND filter for sunrise can lead to some unique results, like streaking in the clouds.
You can also get graduated neutral density filters that allow you to darken the sky while keeping the ground more exposed. Graduated ND filters are a great way to keep detail in both the sky and the ground.
My favorite is to use a 10-stop ND filter to create a really smooth effect in the clouds. 10-stop ND filters are extremely dark so you can even smooth out the clouds in the middle of the day.
Camera Settings for Sunrise Photography
Now the moment you’ve waited for, camera settings for sunrise!
Over the years, I’ve found that there are a few settings and modes especially useful when photographing sunrise.
A lot depends on if you’re using a tripod or shooting handheld. Below, I’ve separated the ideal camera settings for sunrise depending on how you’re shooting. Ideally, you’ll want to use a tripod, but depending on your morning, you might not want to lug one around. Shooting sunrise handheld is very feasible, especially with a low aperture lens.
You’ll also want to make sure you’re shooting in RAW mode instead of JPG if your camera allows it. This will give you greater post-processing flexibility and allow you to change the white balance while editing.
As for focusing you likely will want to use autofocus to focus on an object or building in the distance. If you’re only photographing the sky you can also set your camera to manual focus to ensure the sky is in focus.
Settings When Using a Tripod for Sunrise
When using a tripod for sunrise: A tripod allows you to shoot long exposures. This means you can use ISO 100 to retain the most amount of detail and reduce noise in your images. Additionally, you should shoot at your lens’s sharpest aperture (typically around f/8).
Shooting Mode: Aperture priority (Av)
ISO: Low, ISO 100 – ISO 400
Aperture: Your lens’s sharpest, typically f/8
Shutter Speed: Since the camera is on Aperture priority, your camera will automatically adjust.
Self-timer: 2 seconds. This prevents any vibrations from affecting your photos after you hit the shutter button.
Stabilization: Remember to disable any lens or sensor stabilization when using a tripod.
Image Format: RAW
Camera When Shooting Handheld for Sunrise
When shooting handheld for sunrise: Shooting handheld means that you’ll want to use a low aperture to let more light into your camera. When using a low aperture your photos will have less depth of field so putting something in foreground of your composition adds a great effect.
Here are camera settings for photographing sunrise that will give you the best results:
Shooting Mode: Aperture priority mode (Av)
ISO: Auto
Aperture: Lowest possible, f/1.8-f/2.8
Shutter Speed: Auto
Stabilization: On
Image Format: RAW
These sunrise camera settings are just a starting point! Remember to play around with your settings and experiment with different shutter speeds and focal lengths. It’s also important to try out different compositions like silhouettes of buildings.
You can try combining a low aperture with a low ISO to capture details with the sunrise blurred out in the background.
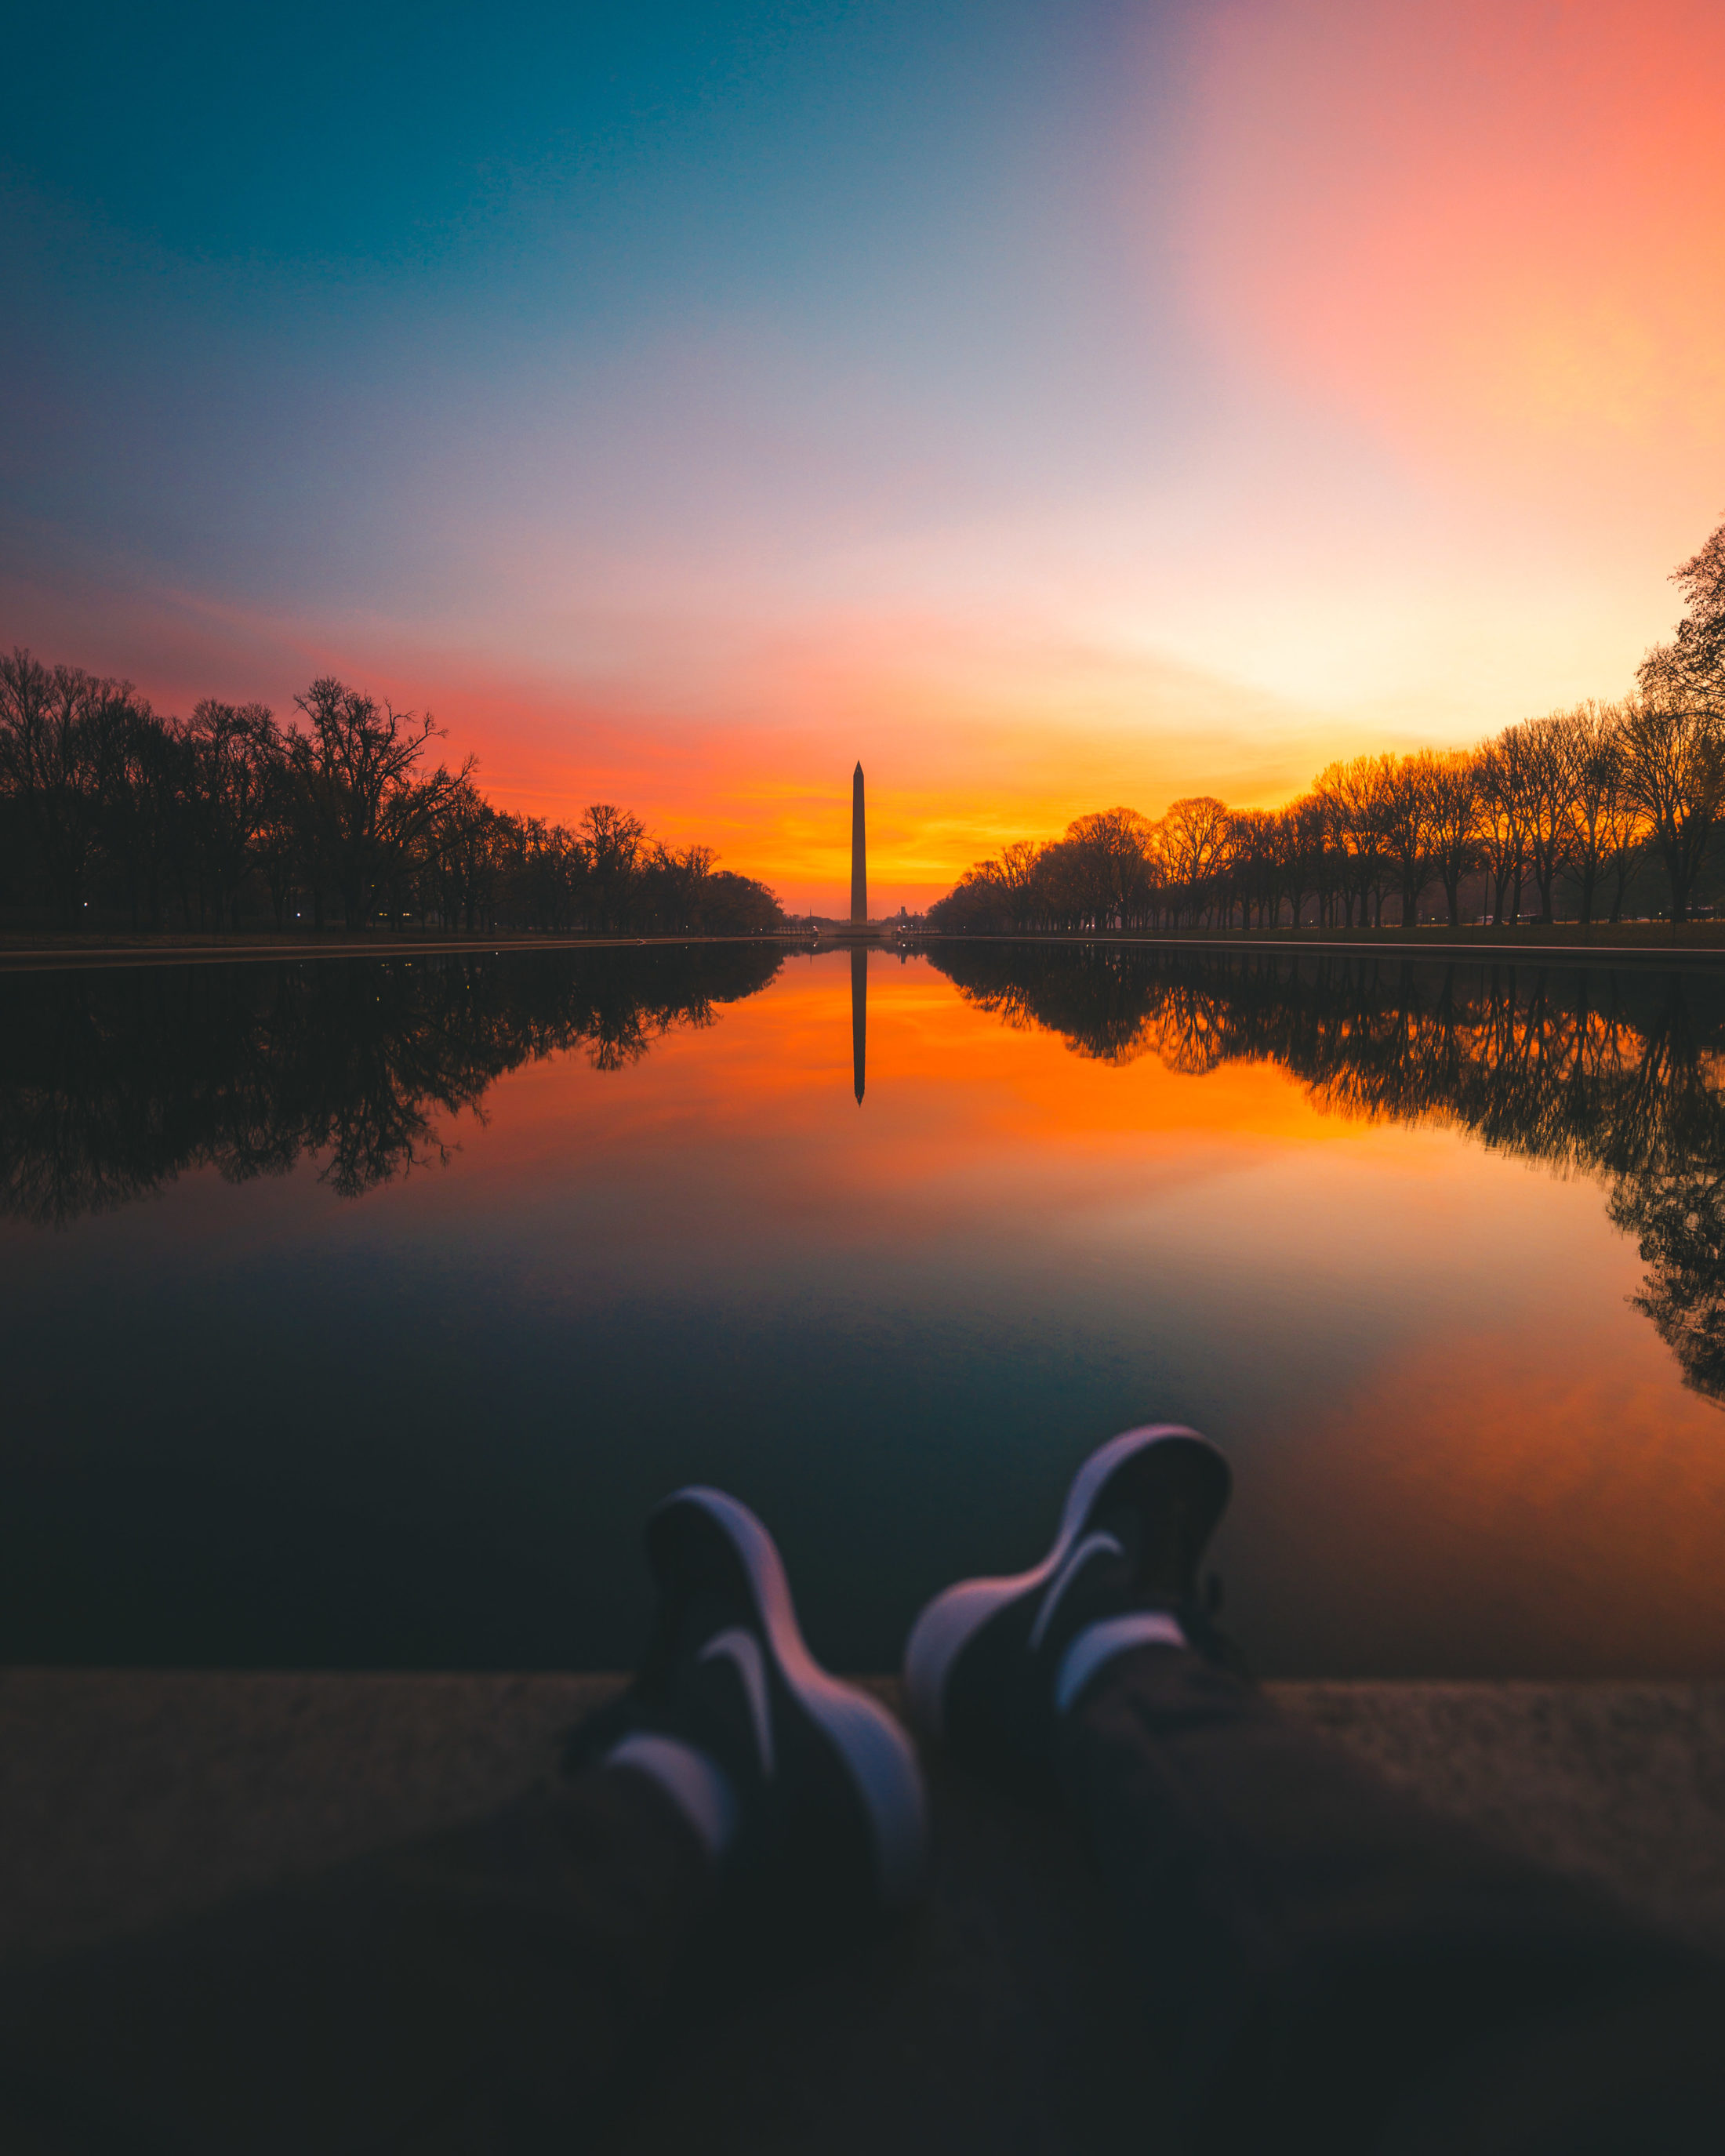
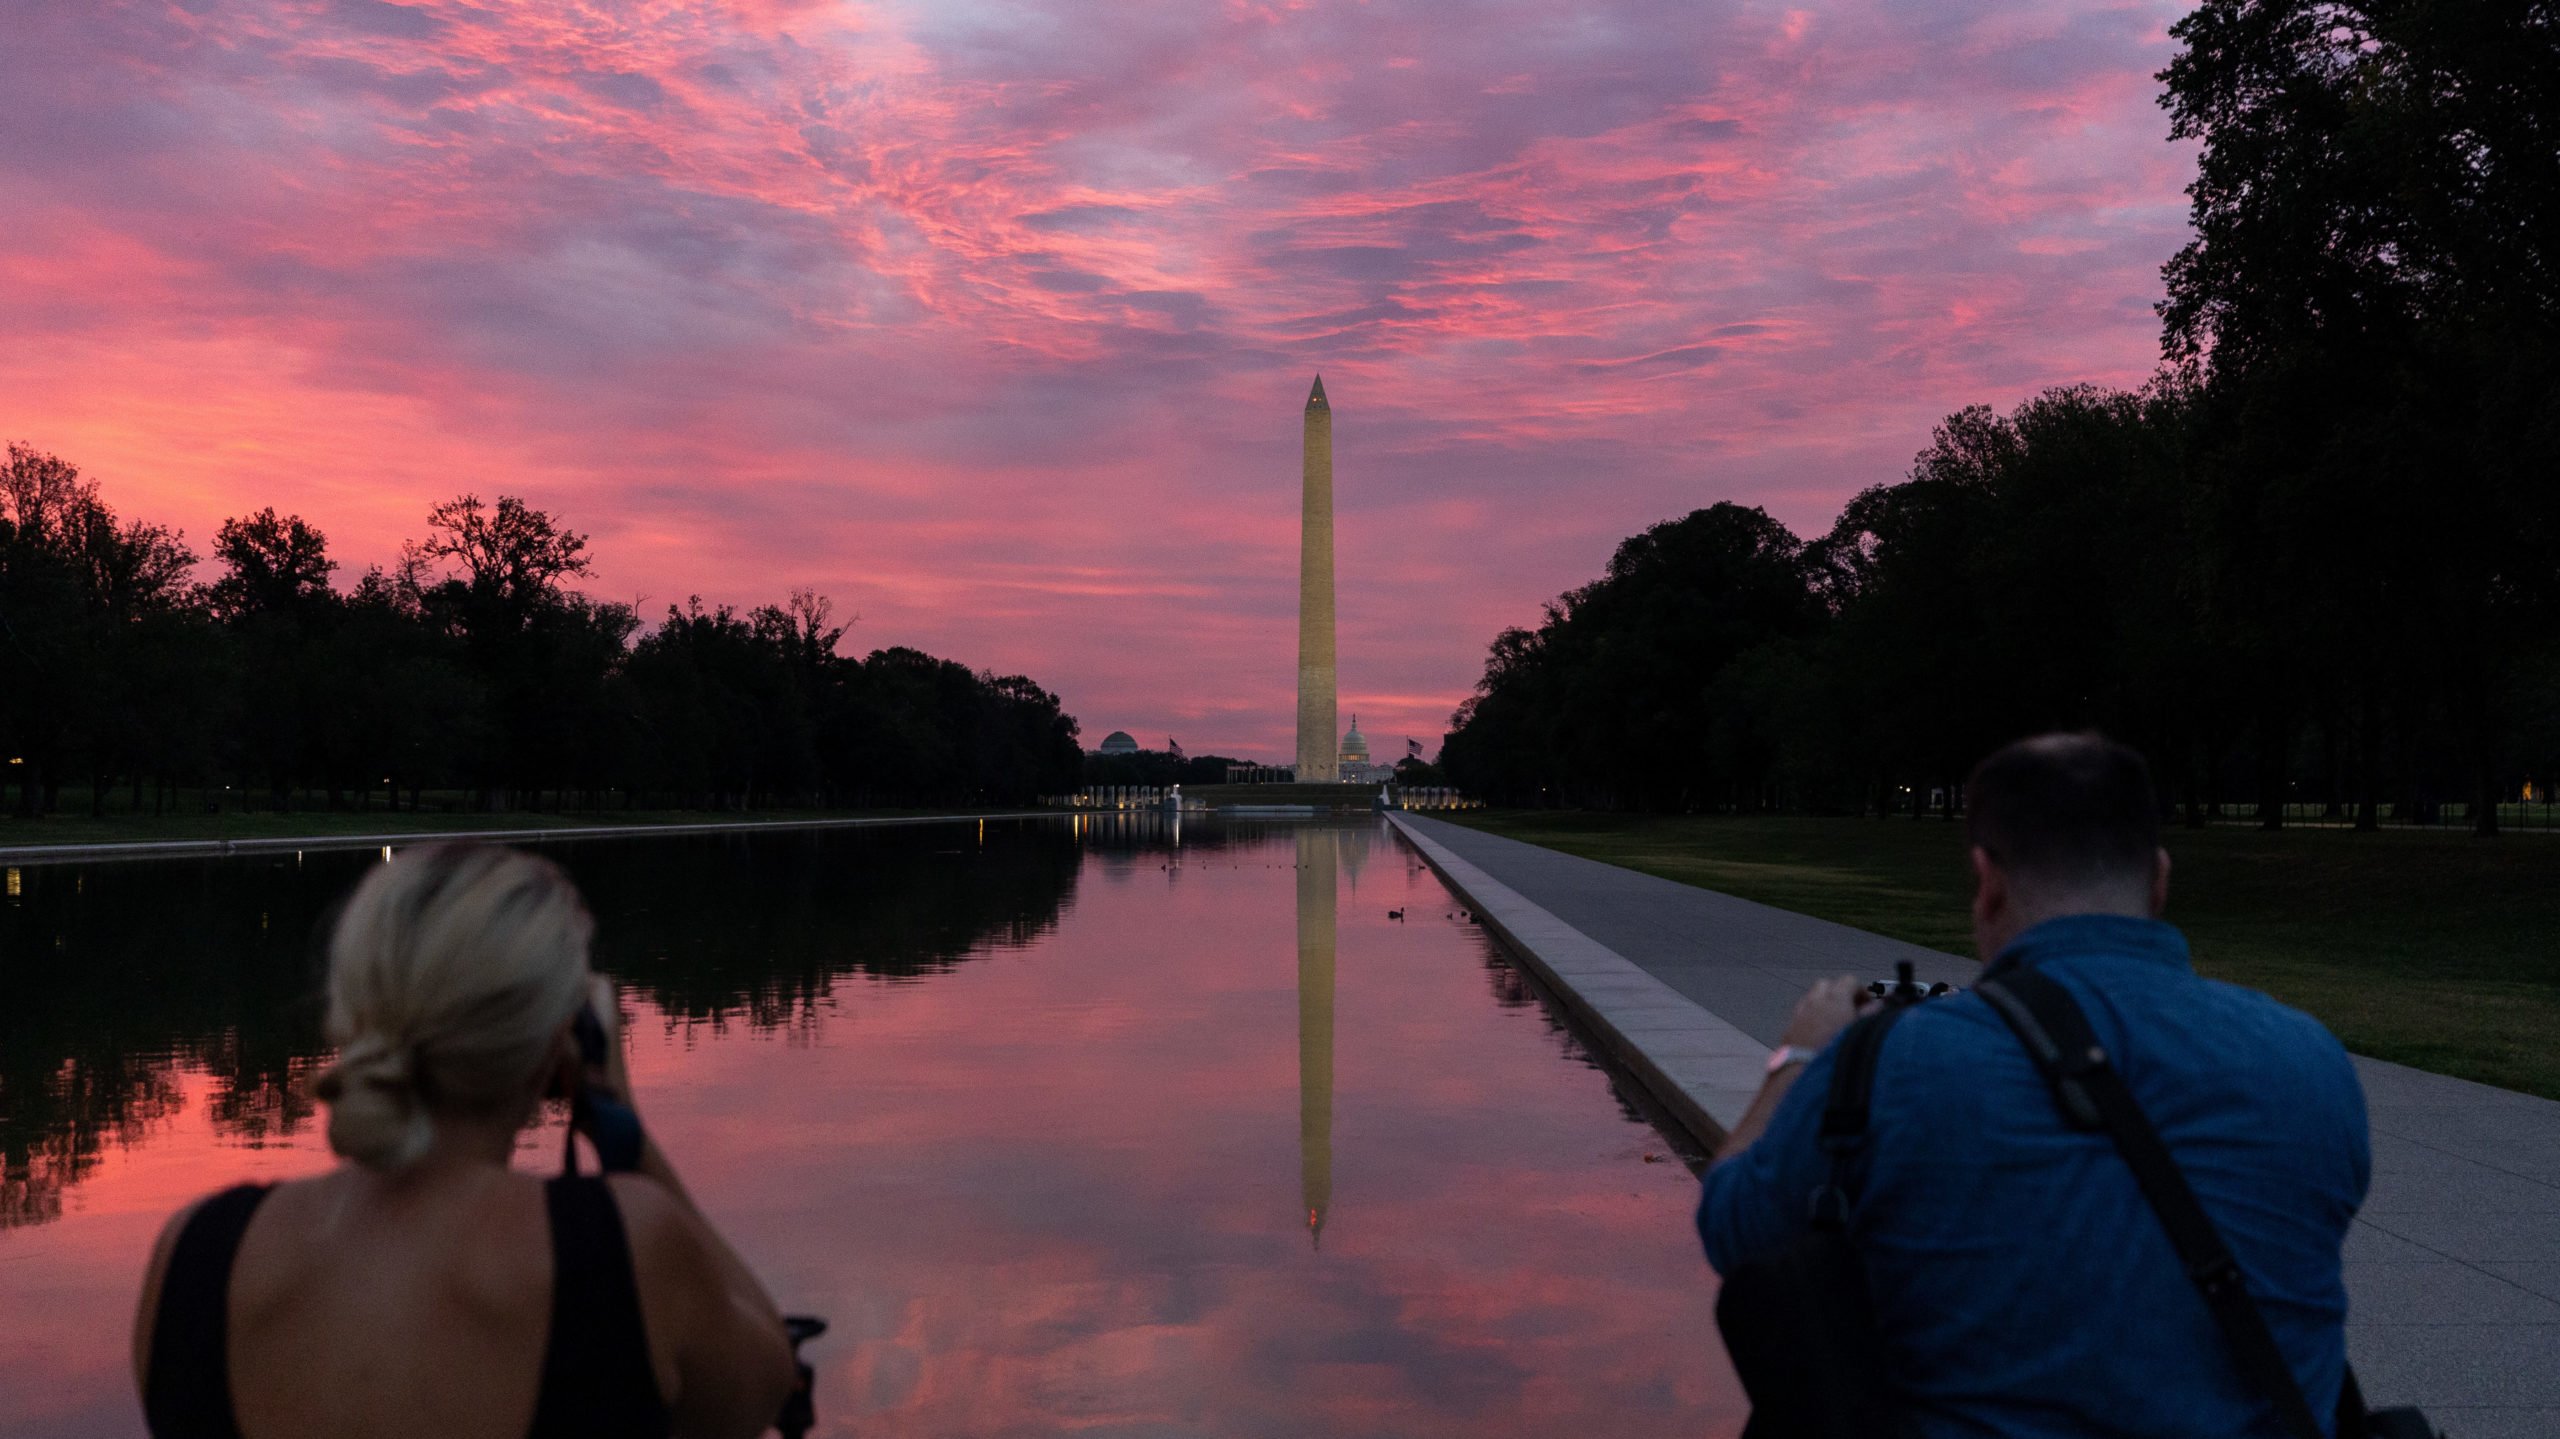
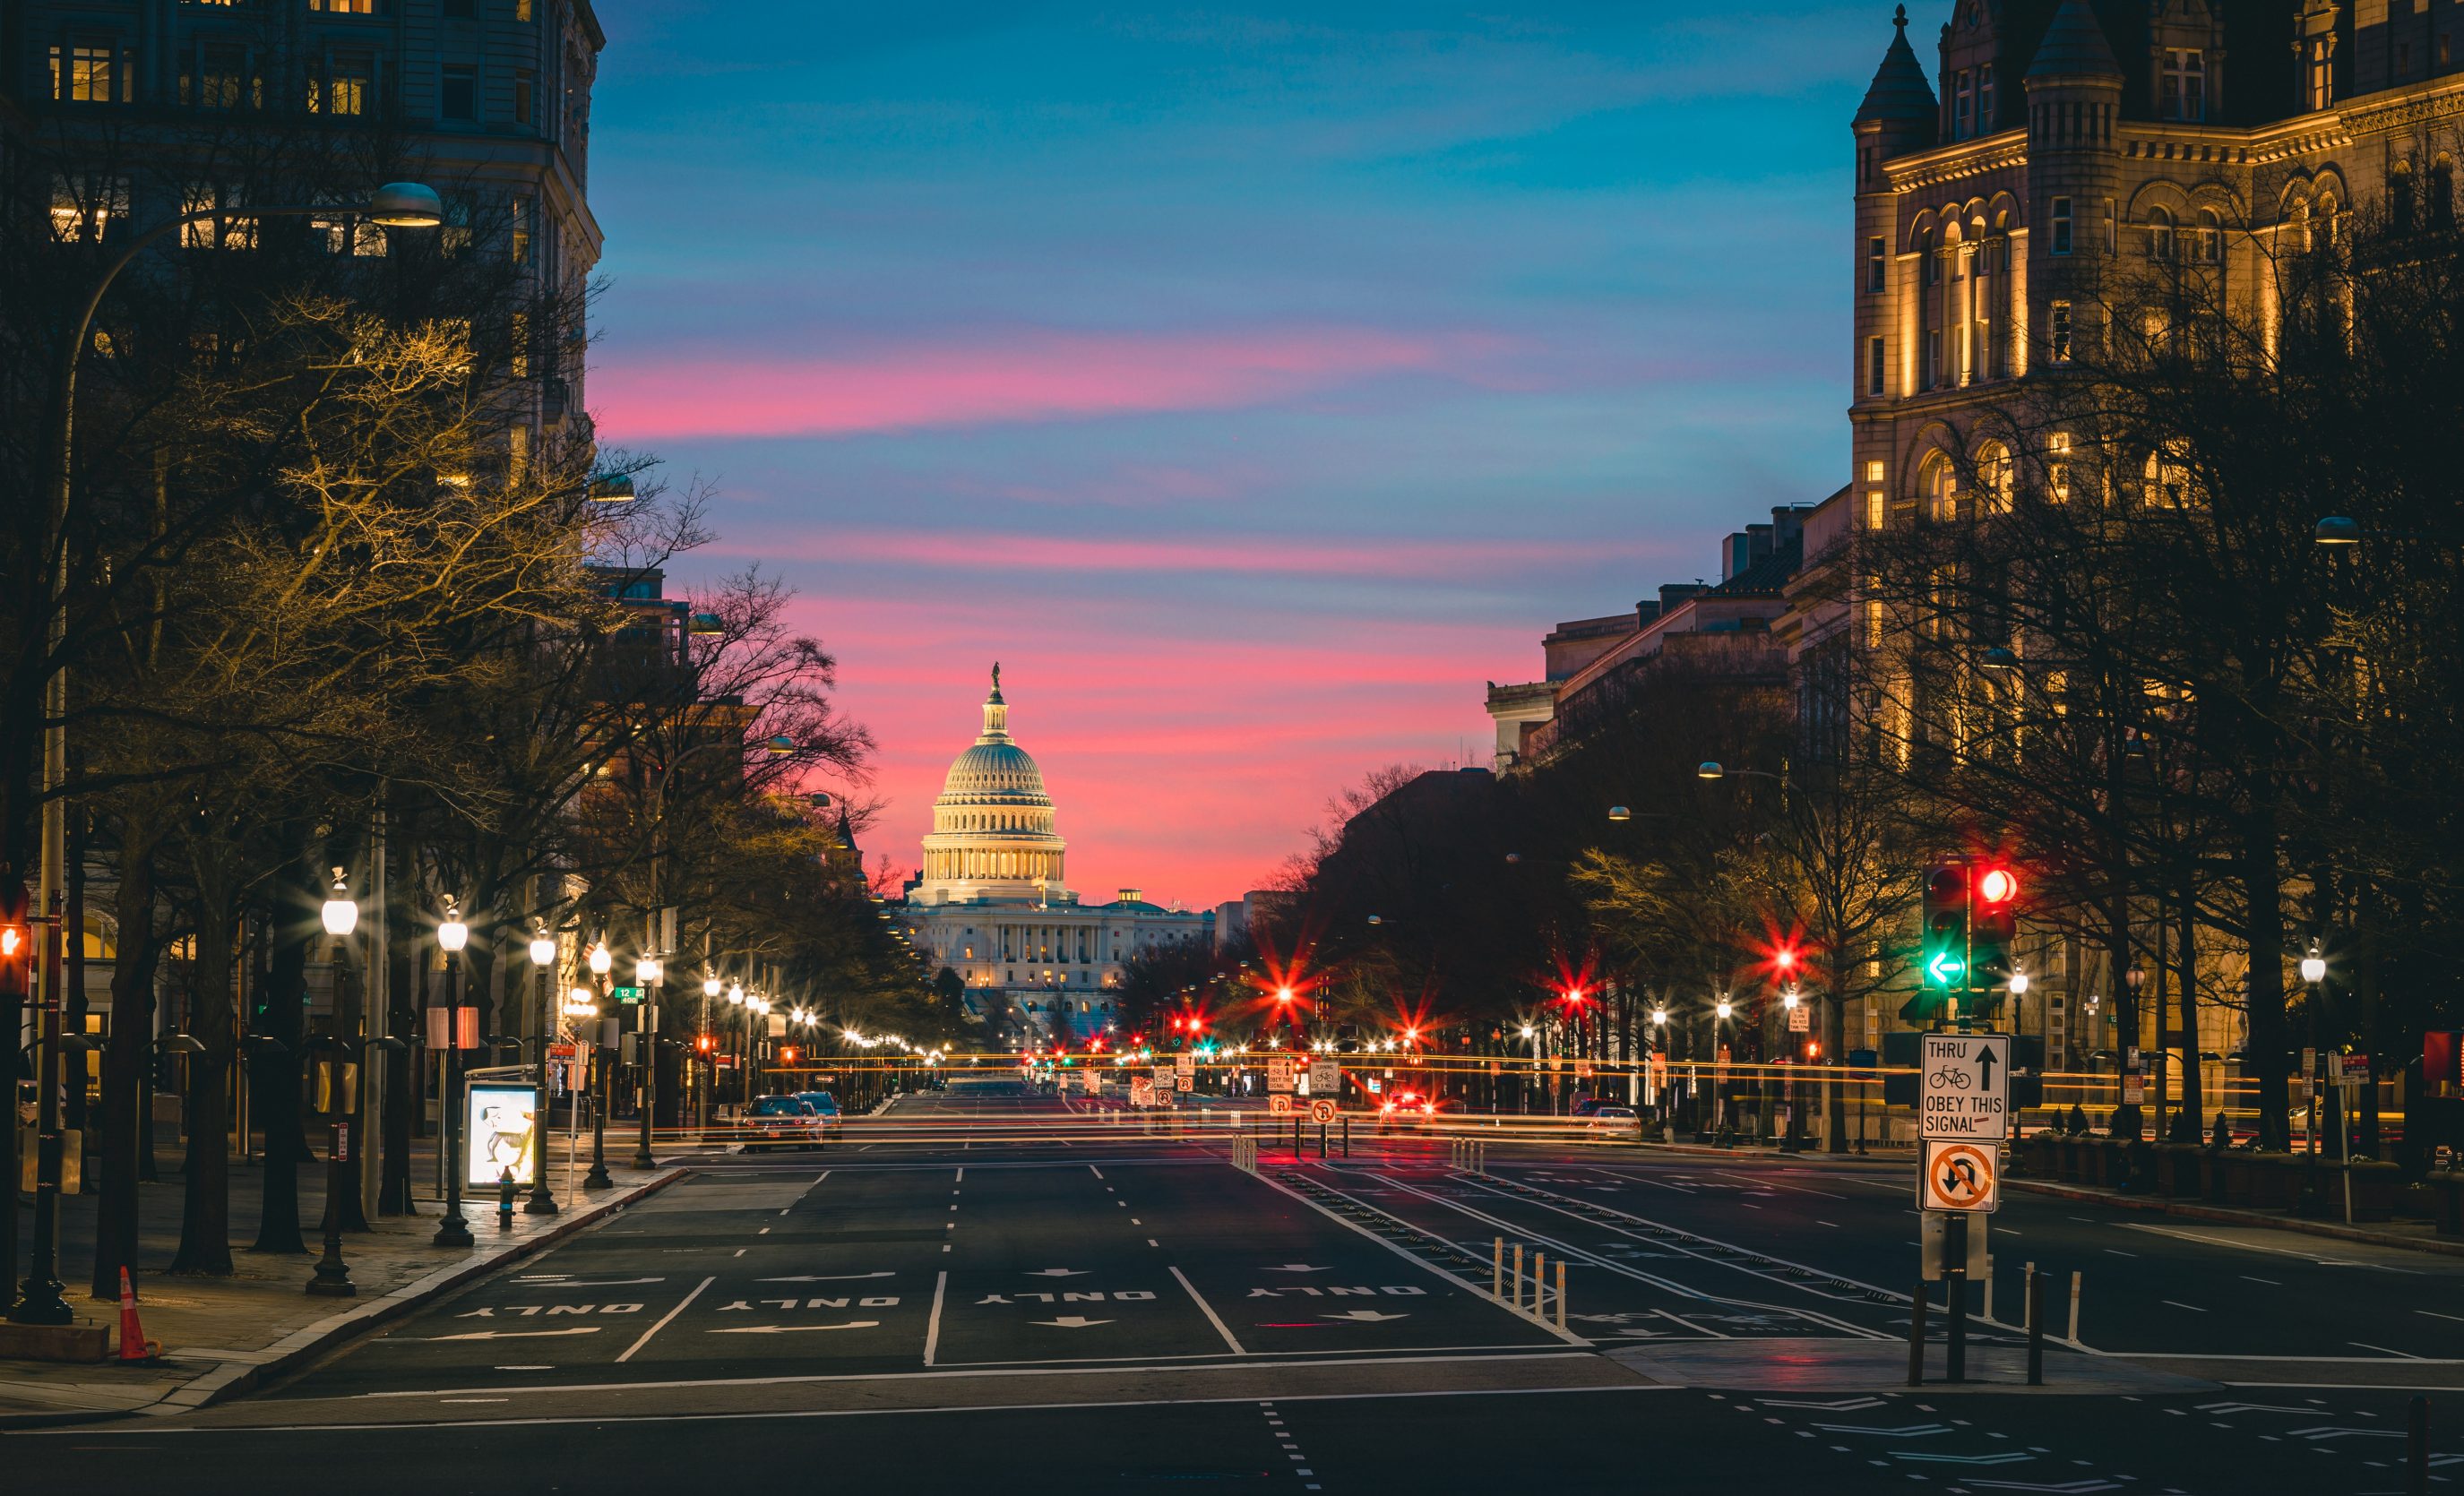
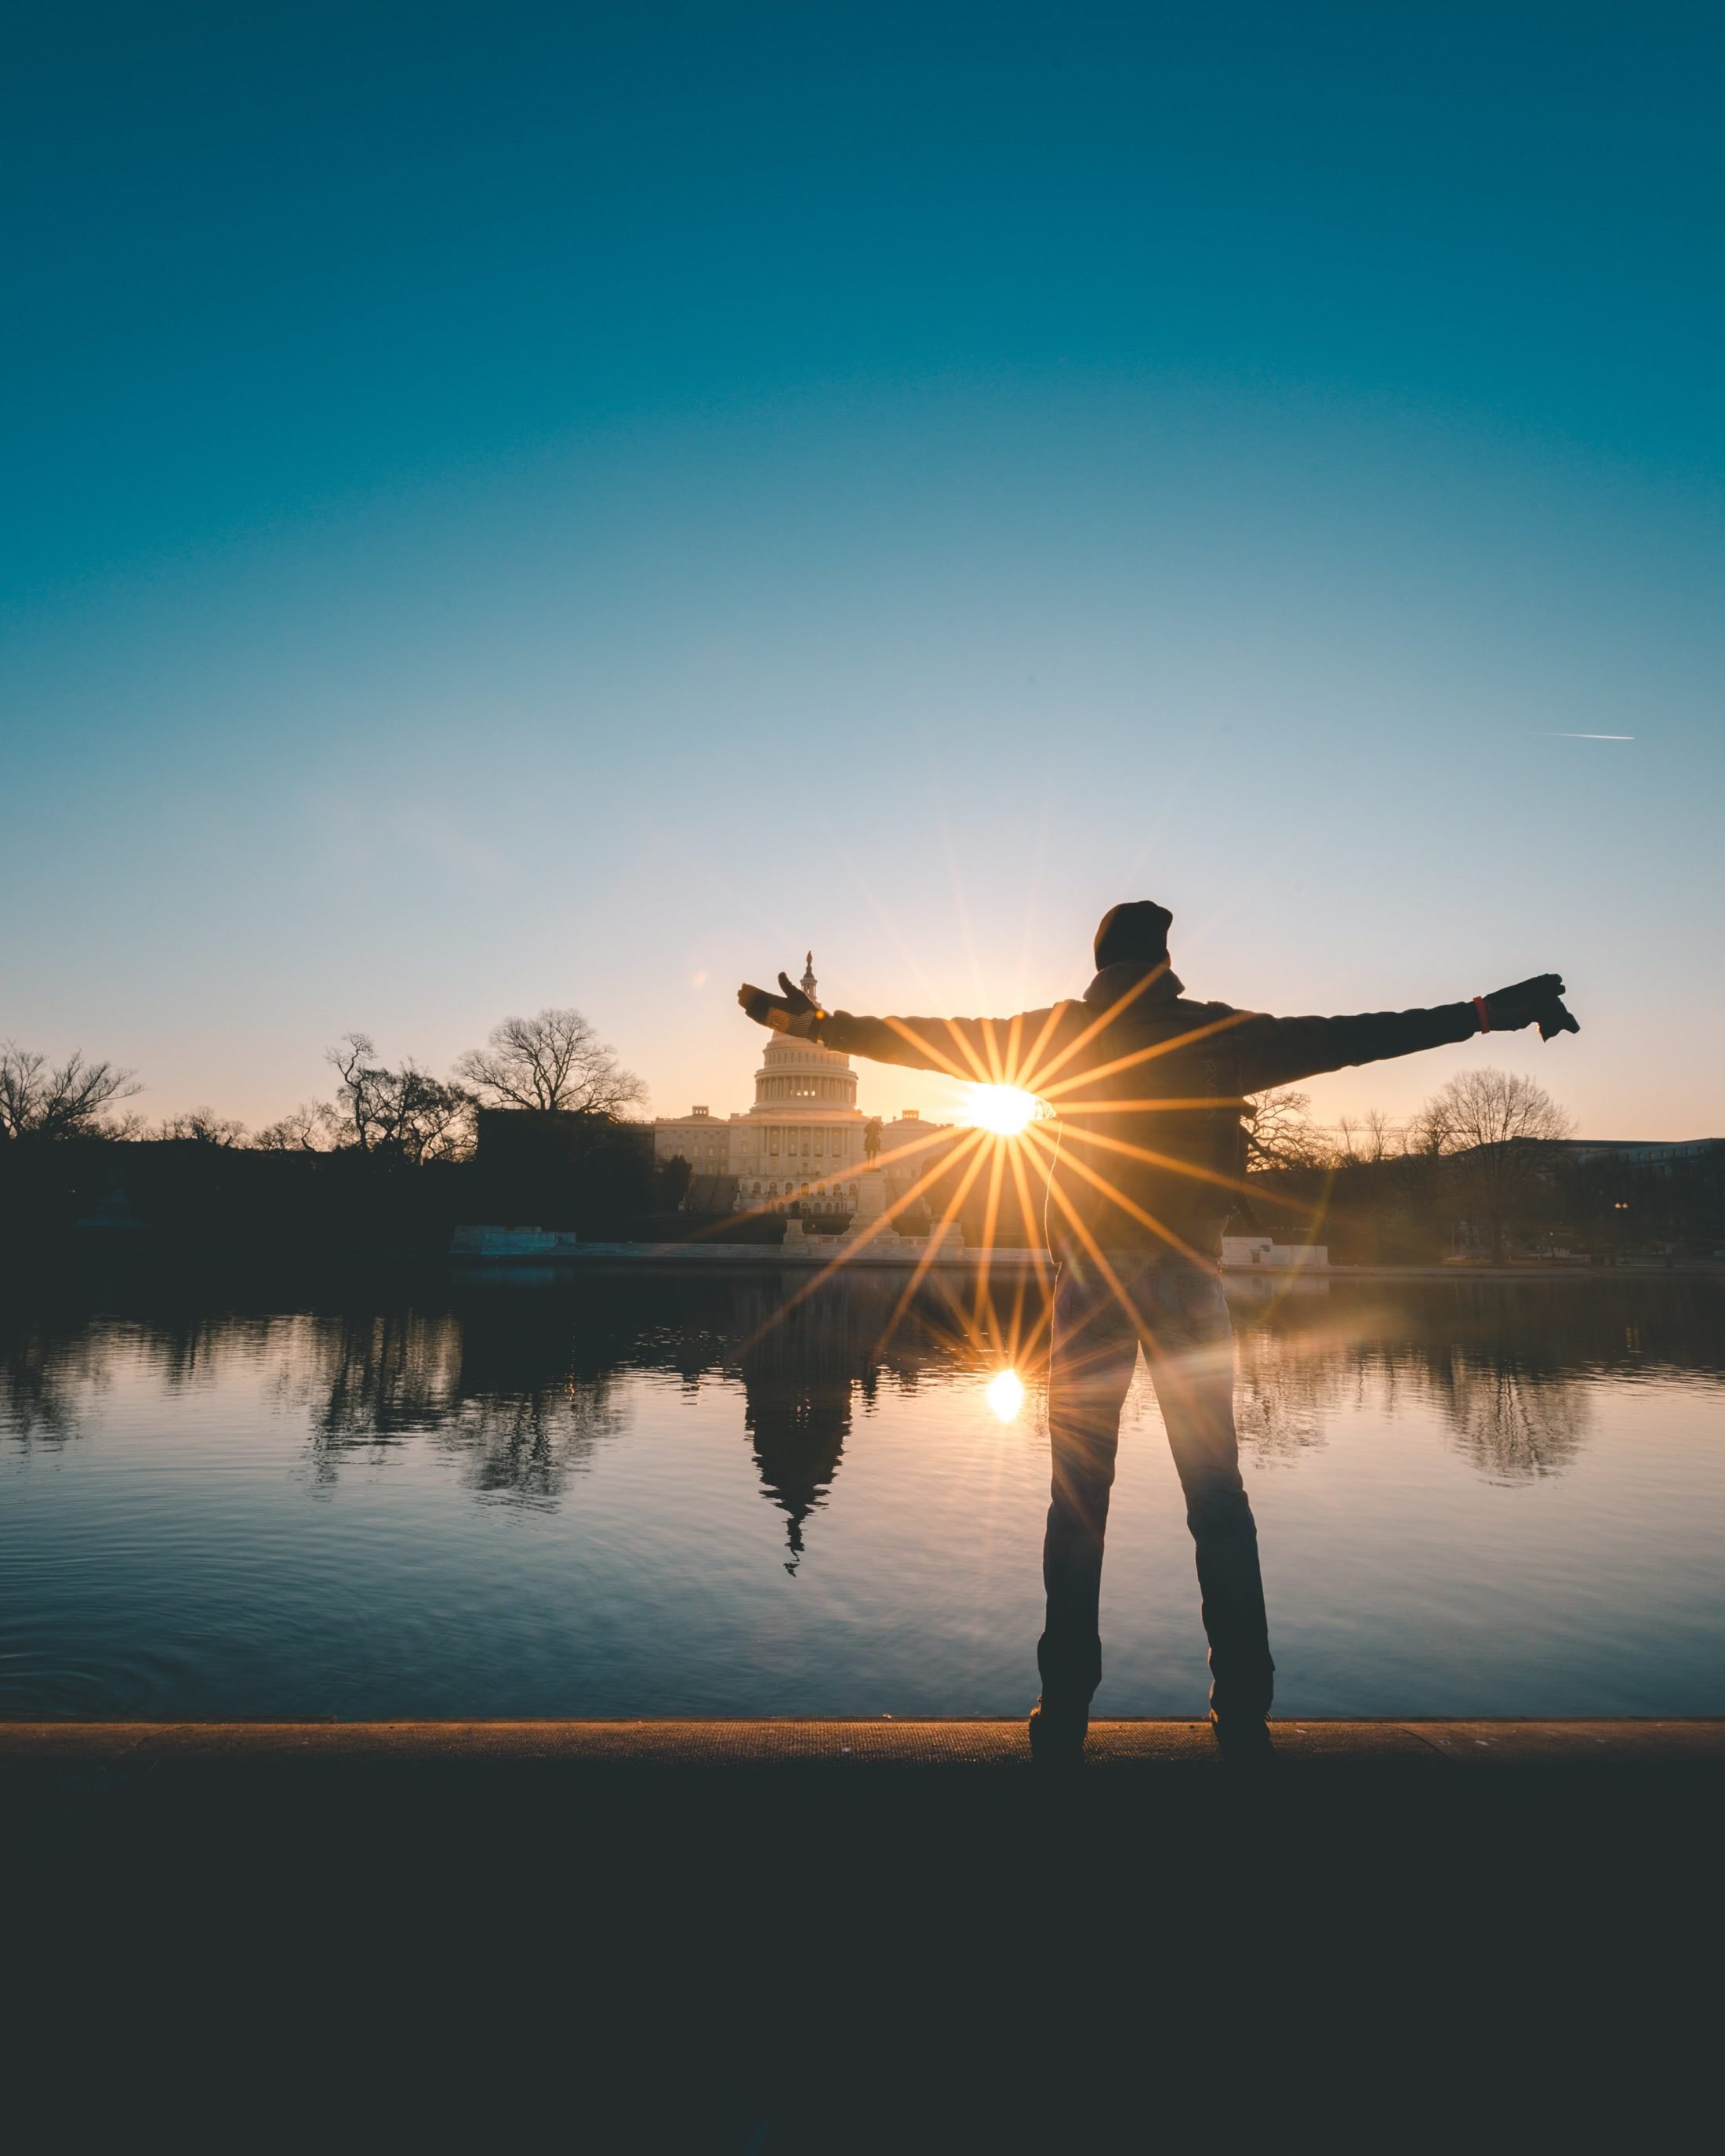
Example of Sunrise Photography with Settings
Here are a few sunrise photo examples with camera settings. It’s always helpful to learn from other’s photos and how they were taken. You’ll also likely want to use similar camera settings for sunset photos.

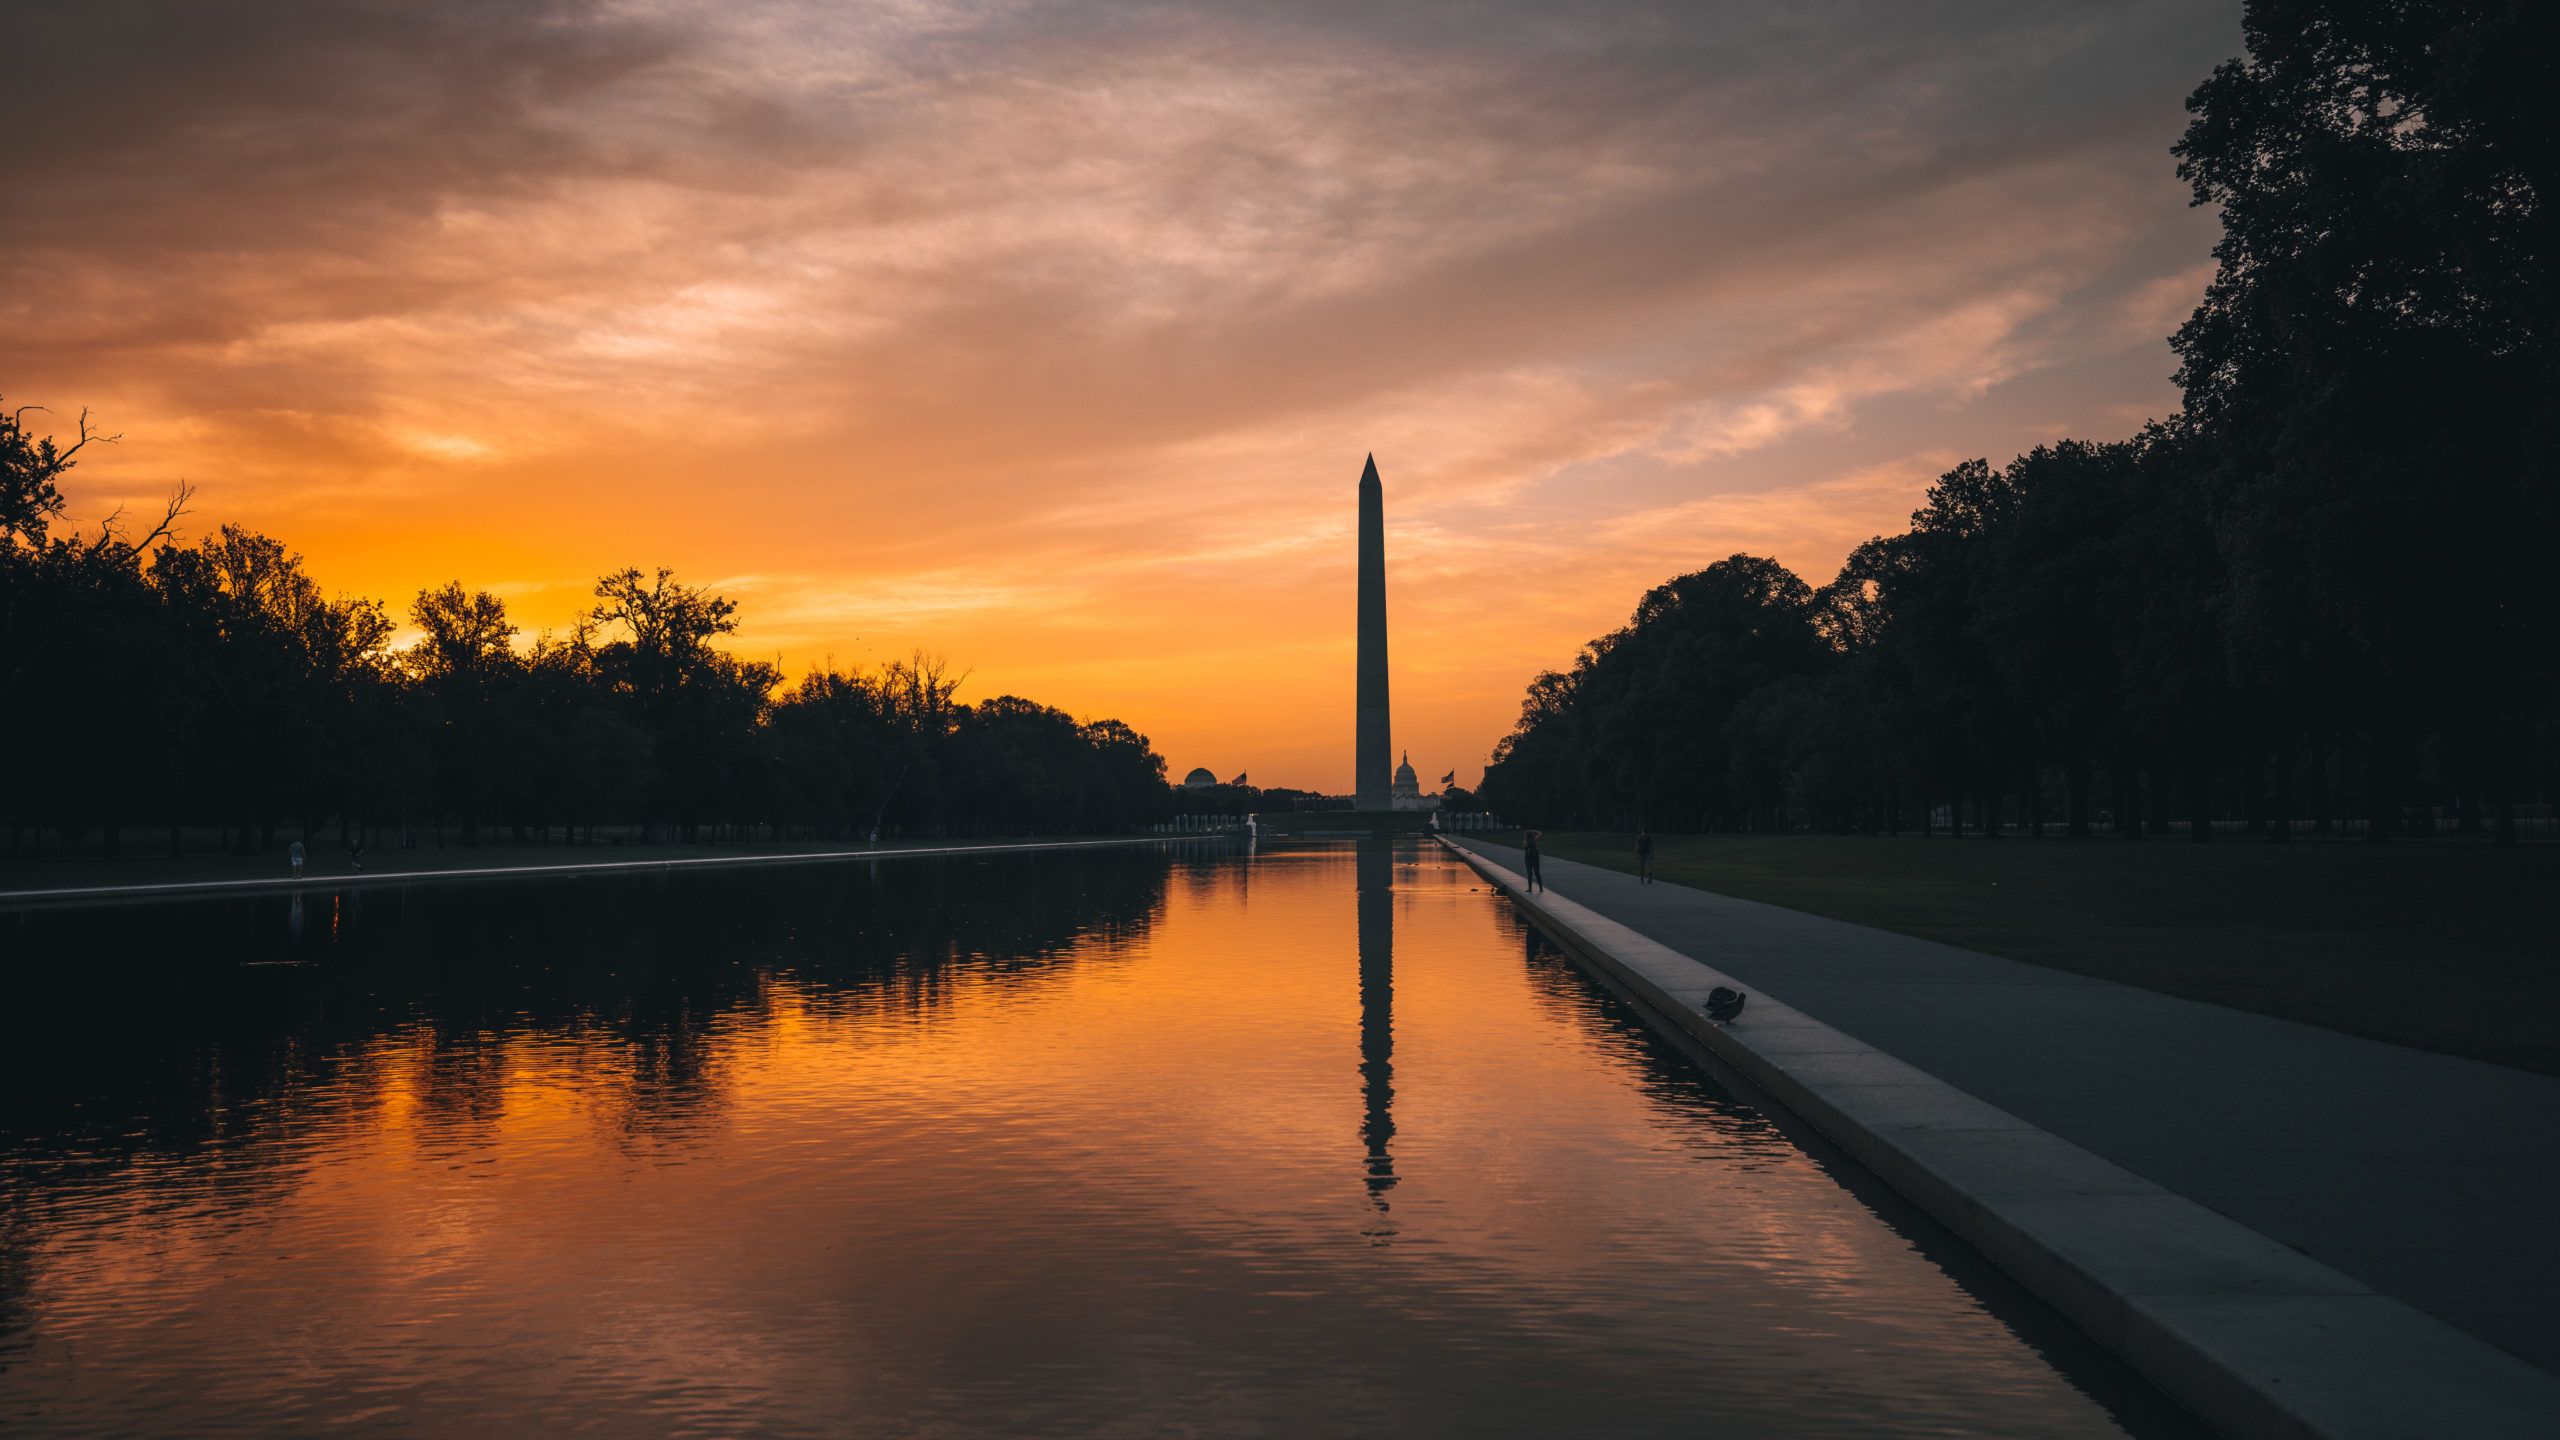
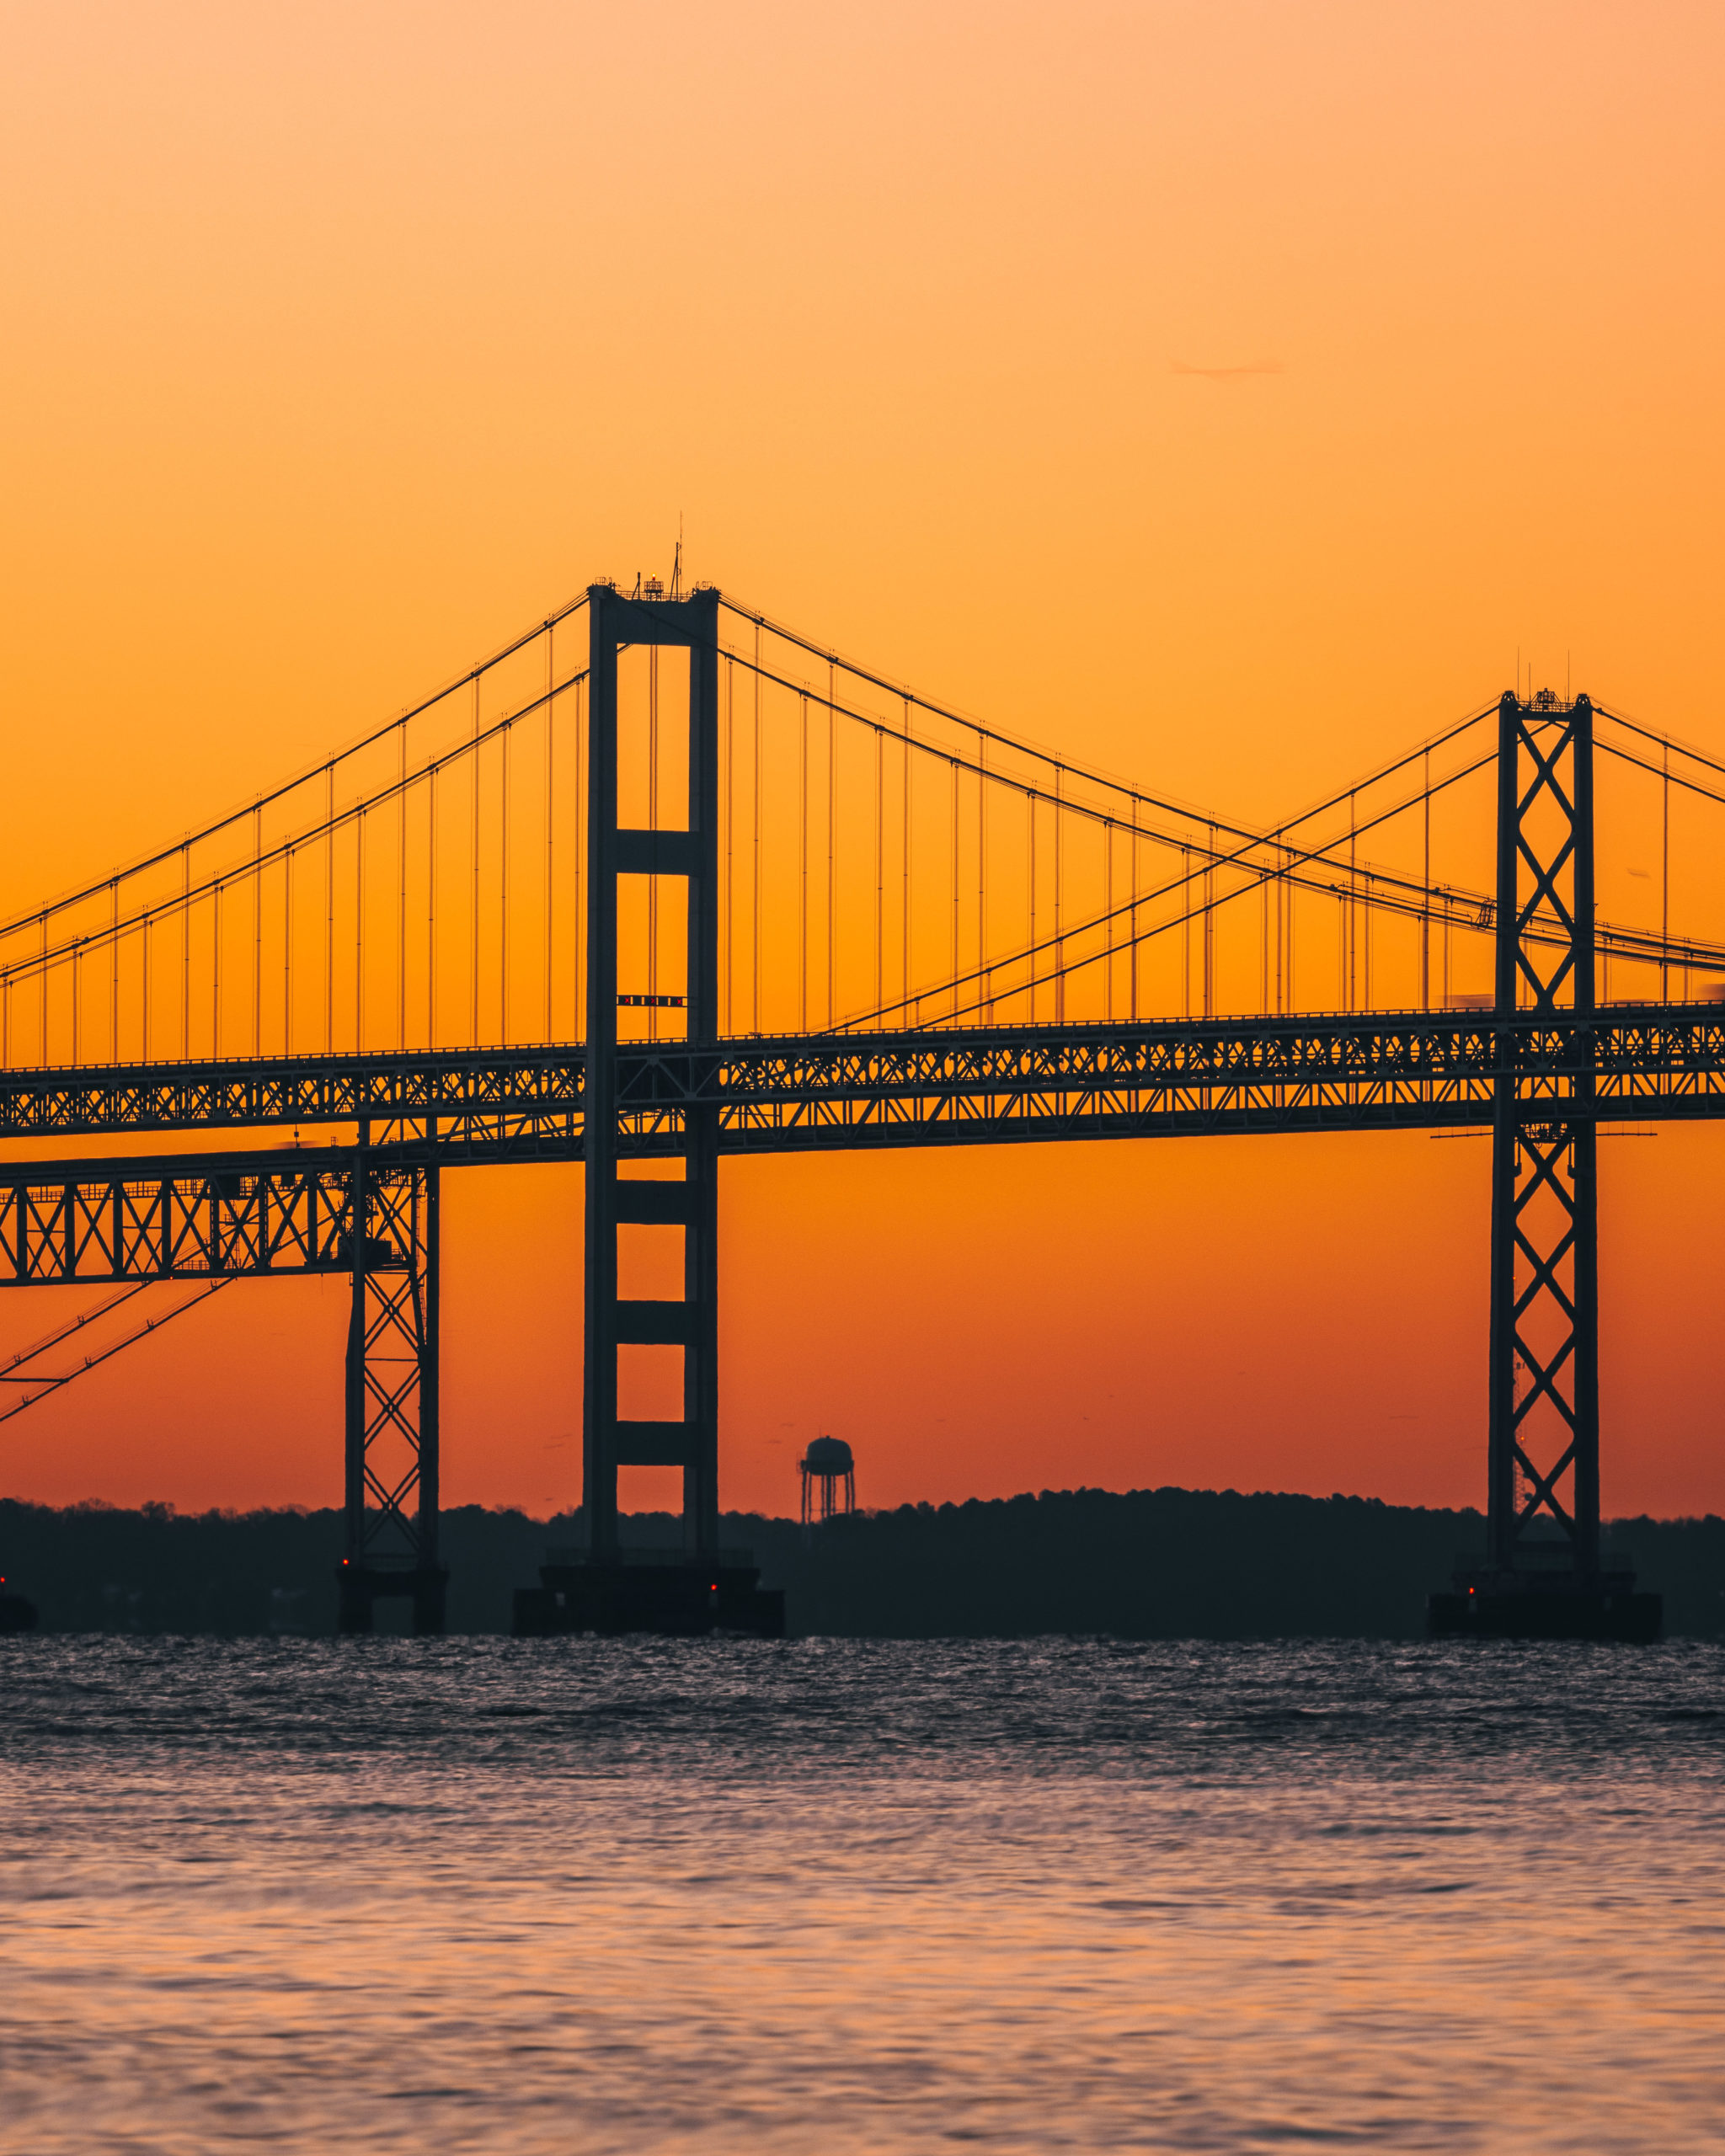
Hopefully these sunrise landscape photos inspire you to capture something great. It’s always fantastic to capture the sun’s rays in the morning.
Sunrise Photography FAQ
What are the best camera settings for sunrise photography?
On a tripod, shoot in aperture priority at ISO 100 and around f/8, with a 2-second self-timer and RAW format. Handheld, stay in aperture priority but open up to f/1.8 to f/2.8 and set ISO to auto so your shutter speed stays fast enough. RAW gives you the most editing flexibility either way.
What time should I arrive to photograph sunrise?
Be set up at least 30 minutes before the official sunrise time. The soft pink and blue light of blue hour happens before the sun appears and is often the best part. Plan to stay 30 minutes or more after sunrise too, since golden hour light keeps improving.
What ISO is best for sunrise?
ISO 100 if you’re on a tripod, for the cleanest files with the most detail. Shooting handheld, set ISO to auto (or raise it manually) so your shutter speed stays fast enough to avoid motion blur.
Do you need a tripod for sunrise photography?
No, but it helps a lot. A tripod lets you use ISO 100 and long exposures for maximum detail, and it’s required if you want to use ND filters or blend bracketed exposures. Handheld works fine with a fast (f/2.8 or wider) lens.
How do you keep sunrise photos from being too dark or blown out?
A sunrise has a big range between the bright sky and dark foreground. Shoot in RAW, expose for the highlights in the sky, and either bracket several exposures to blend later or use a graduated ND filter to hold back the sky.
Is sunrise or sunset better for photography?
The settings and techniques are identical. Sunrise usually has cleaner air, calmer wind, and far fewer people, while sunset is easier to plan around since you’re awake for it. If you can manage the early alarm, sunrise is often the more rewarding shoot.
Enjoyed these sunrise photography tips?
Please share a pin on Pinterest
That’s everything I’ve learned shooting sunrise over the years, from planning and gear to the exact camera settings I use. Want more? Read my full list of travel photography tips, or brush up on composition with the rule of thirds.
Now that you have the tips get up early and get out to shoot a great sunrise!
What’s your favorite place to take sunrise photos? Let me know in the comments below, or send along any questions you have!
Excellent information!Your directions are easy to follow and clearly stated.