Want to improve your travel photography? Here I’ll be sharing my years of experience photographing the world as a travel photographer with my best travel photography tips.
Most photographers will agree, traveling is the best time to enjoy photography. It helps you explore more of your trip and to save lasting memories. I get tons of joy from travel photography especially when sharing on social media. In this article I’ll be going over everything that will improve your travel photography.
While I recommend having a dedicated camera the best camera is the one you have with you. So if it’s just a phone or a mirrorless camera many of these tips should still apply.
Here are my favorite travel photography tips for beginners:
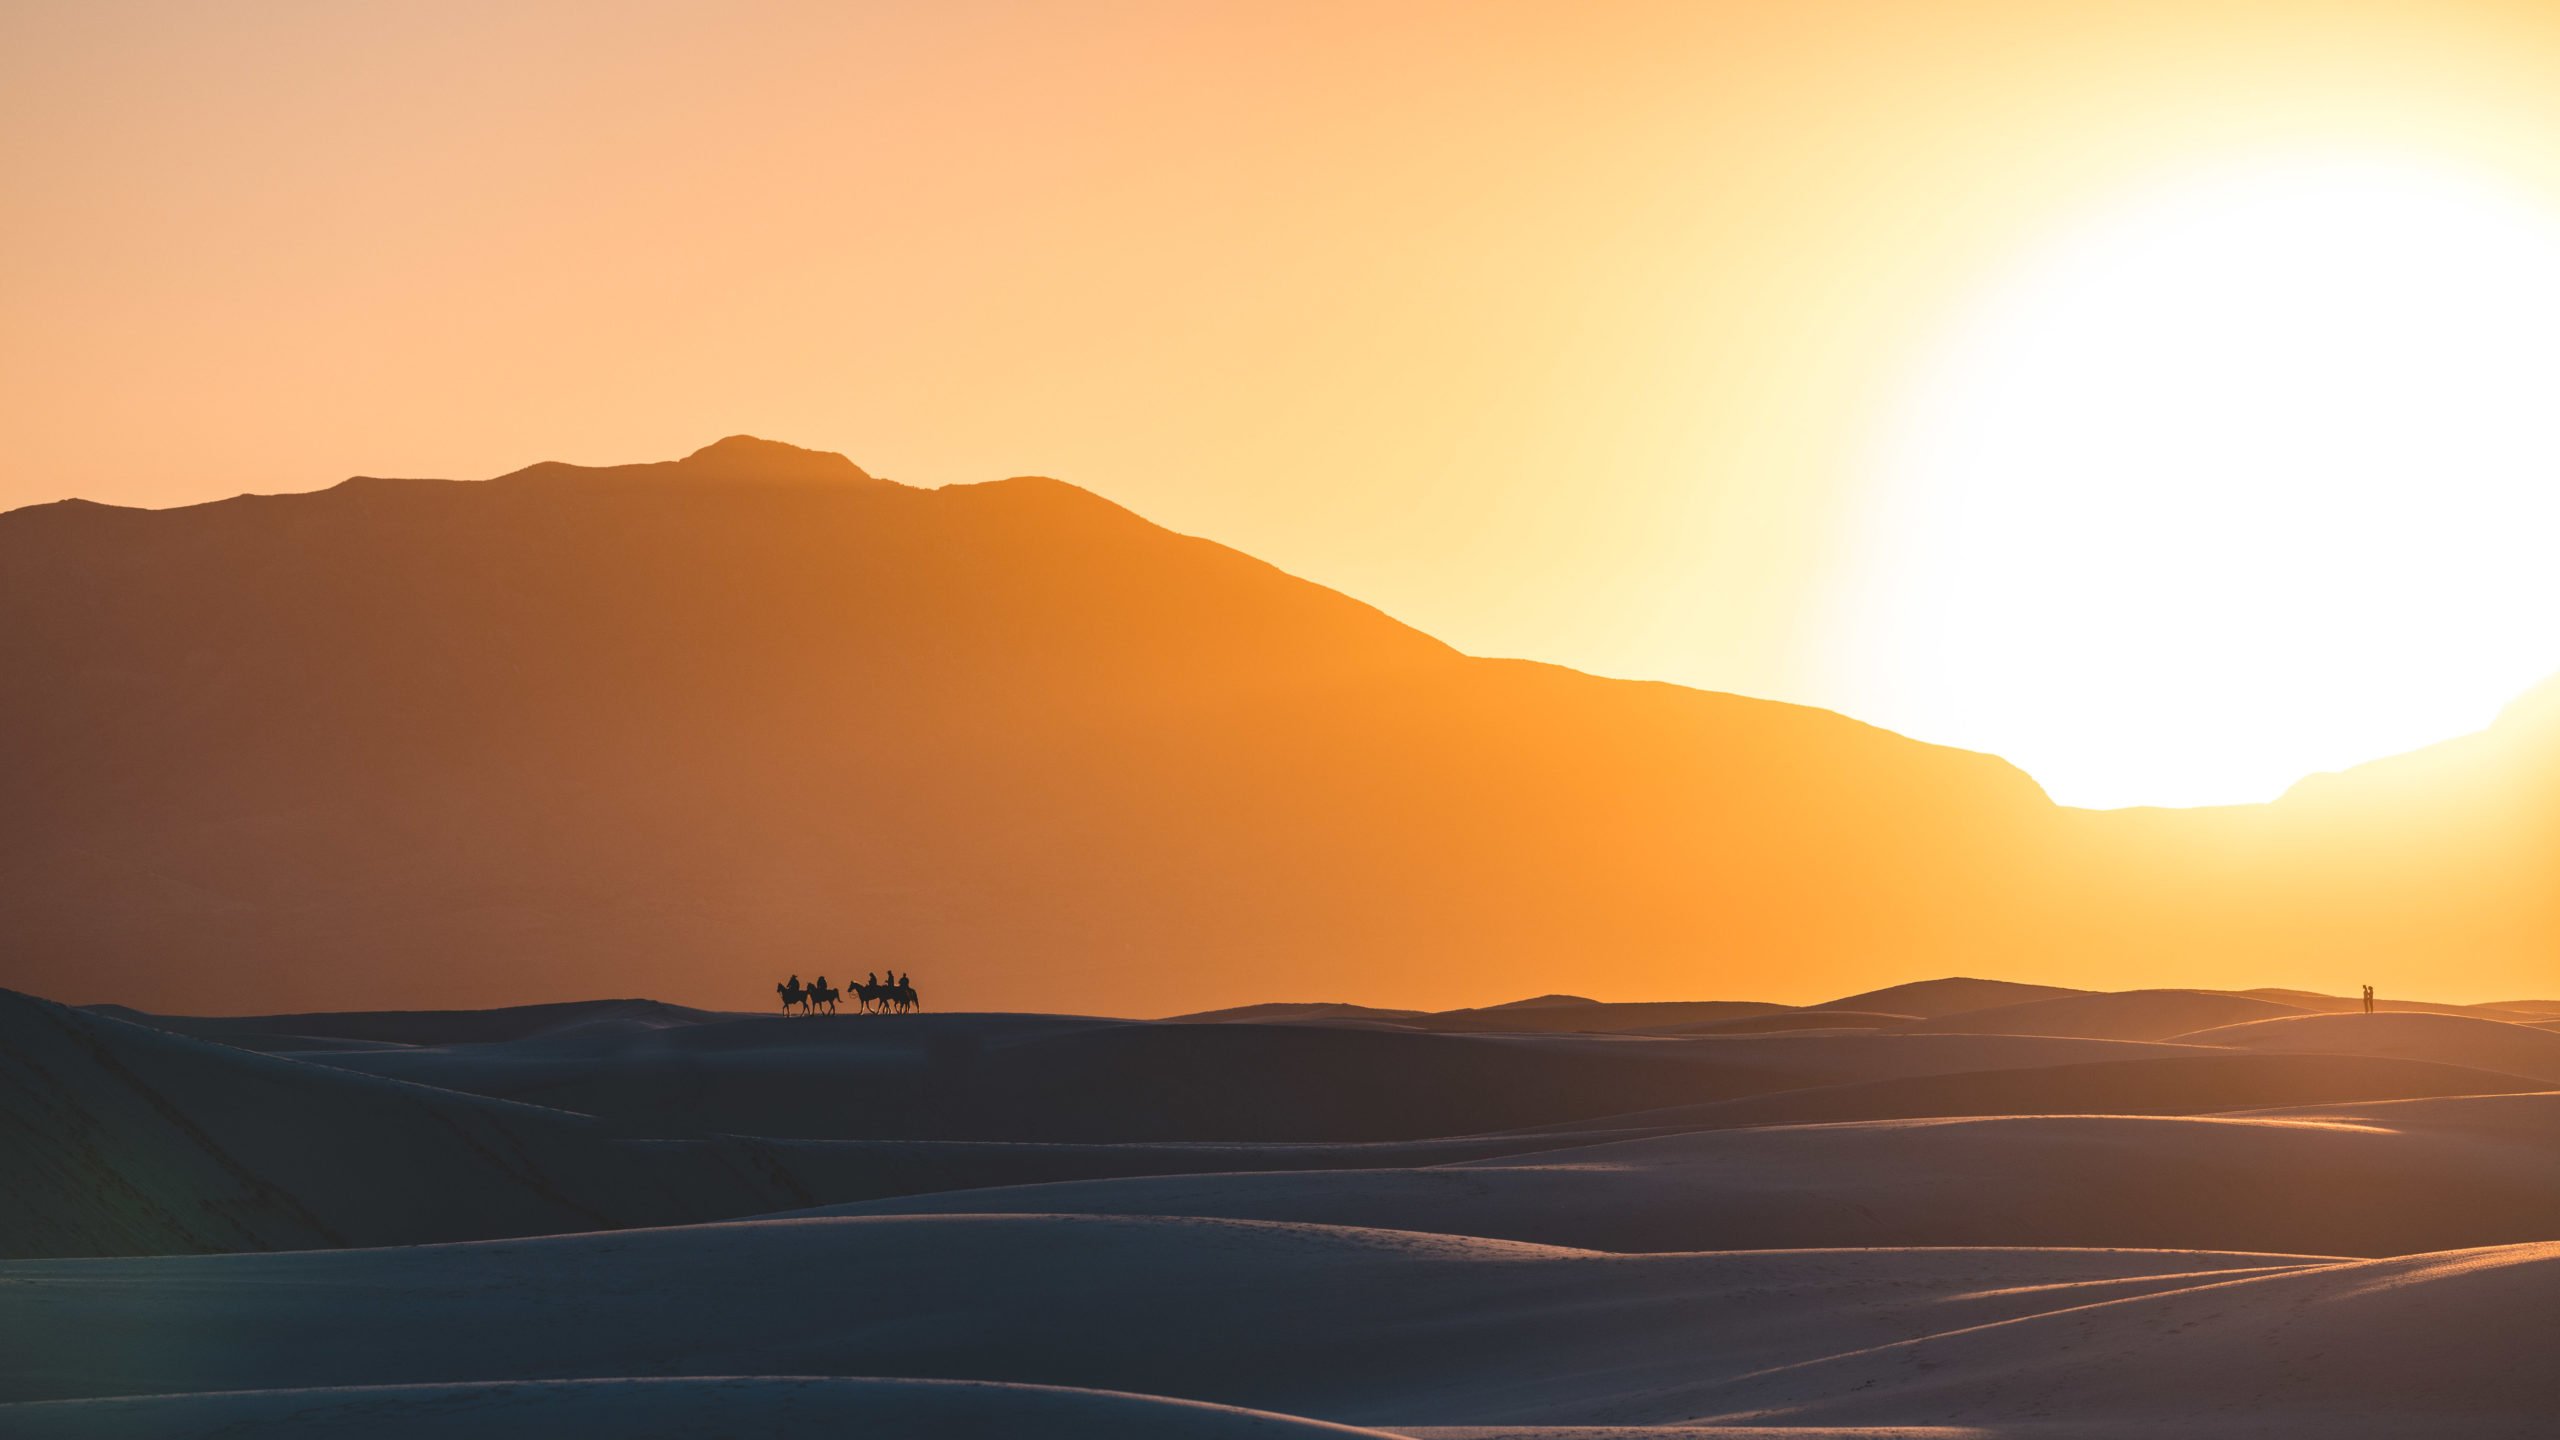
1. Shoot at Sunrise & Sunset
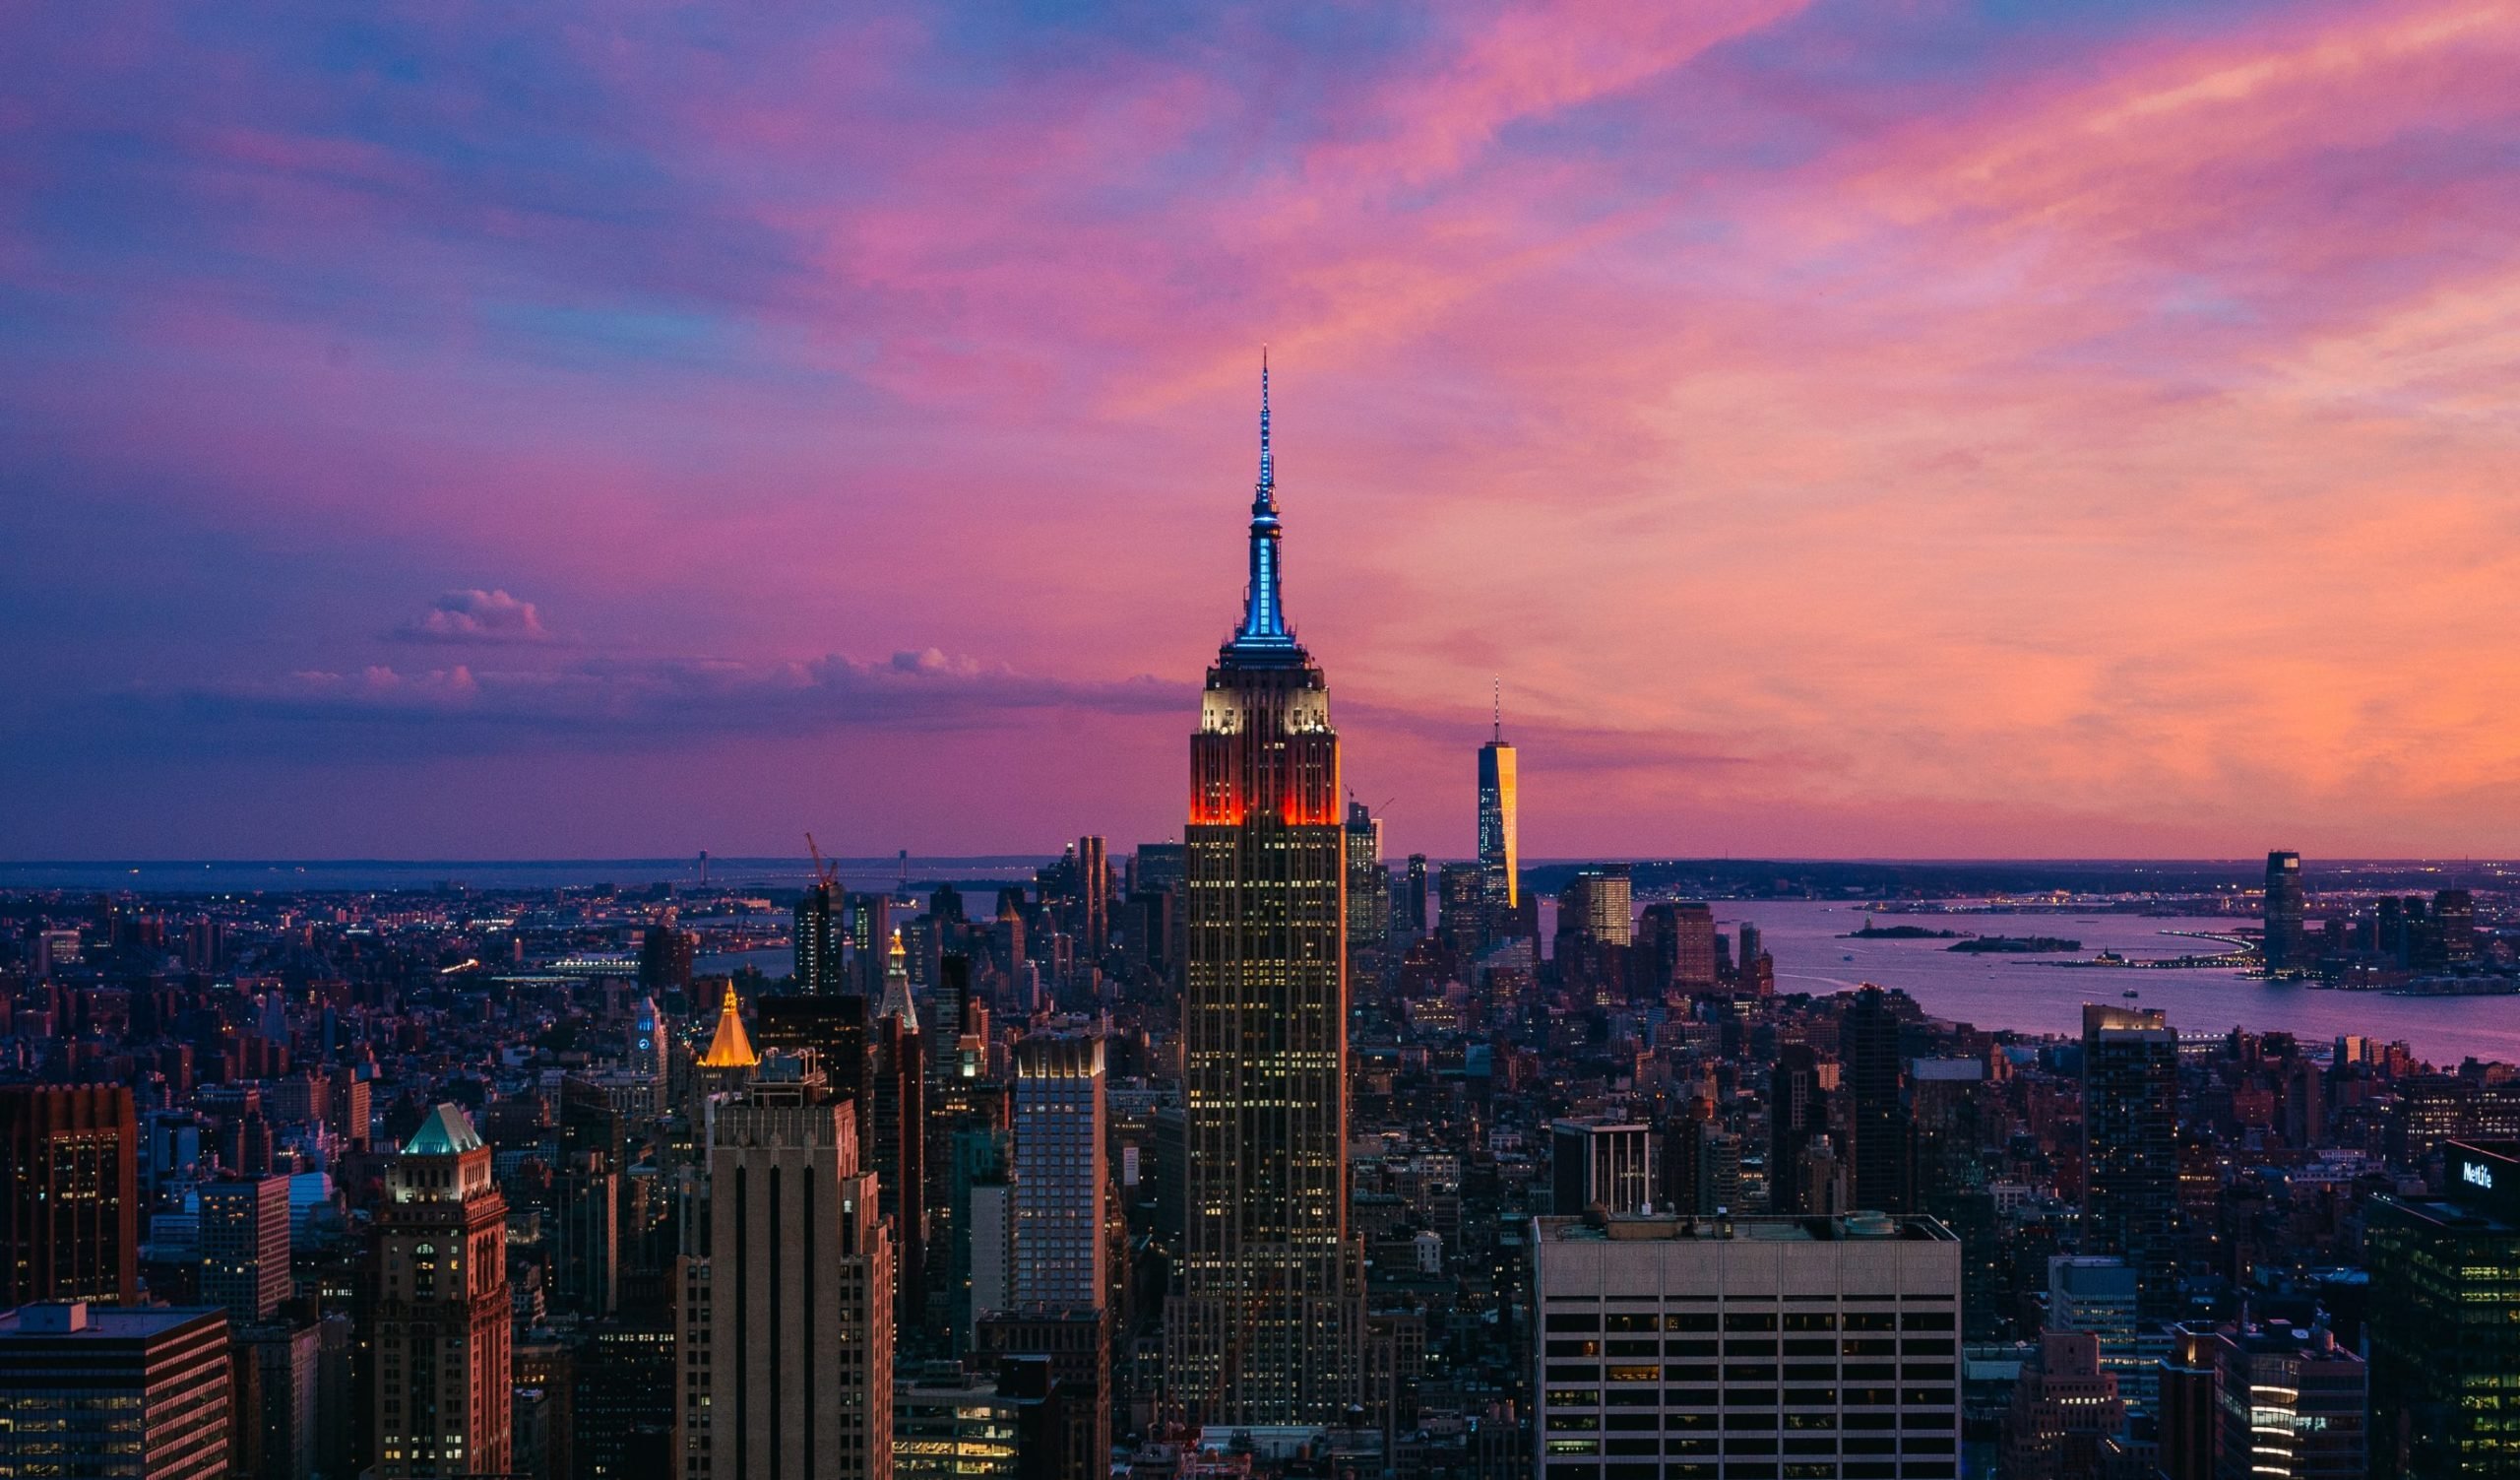
By far the best time to shoot is sunrise and sunset. Often new photographers will over look this but the time of day can affect the quality of your images more than anything. When the sun is rising and setting it adds more dynamic light to your scenes. Best of all if you wake up for sunrise locations that are often packed with tourists will be fairly empty.
Looking for Sunrise Photo Tips?
Read: Sunrise Photography Tips: Camera Settings for Sunrise
Since it’s hard to wake up every morning for sunrise you’ll most likely want to aim for being out at sunset. The hour before sunset is called “Golden Hour” and the hour after sunset is Blue Hour. Golden Hour casts warm orange and red tones across the scene. Blue Hour brings cooler, moodier light with a rich blue sky as the backdrop. Both are worth staying out for, but Blue Hour often produces more dramatic results since most people pack up and leave right after sunset.
2. Research Locations Before Arriving
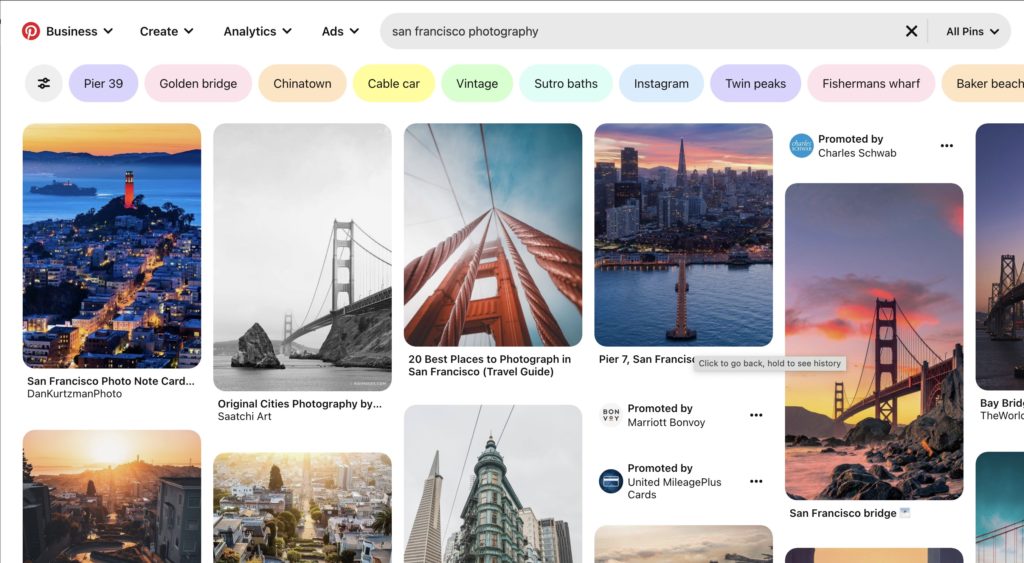
The key to great travel photos is to photograph great locations! This is where researching locations before traveling comes in. I typically will use a Google search to find locations I want to photograph while traveling. If you look up “Location Photo Spots” on Google you’ll typically find a good list of places to start. For example I share my list of Washington DC Photo Spots on my blog and many other photographers do the same for their city. You can also use Google Image Search to find the best angles at different times of day, for example looking up “San Francisco Sunrise” on Google Images to see what others photograph.
Typically most areas will have waterfalls, parks, and even monuments to photograph. You can always try searching for those things on Google Maps when researching an area.
Travel guidebooks are also not to be overlooked since they have some of the best ideas. I also enjoy glancing over postcards at gift shops to see common trends of what is being photographed.
Instagram and Pinterest are also great ways to scout locations. If you find local photographers in the area you’re heading to you can see what they photograph. Additionally on Instagram you can see the top posts in the hashtags for the area.
Once I find a location I want to photograph I typically save it to my shot list on Google Maps (Apple Maps also has this feature). This allows me to visually view the locations on a map when I arrive. This makes it more passive since I can find locations on any platform and save them to my list over time.
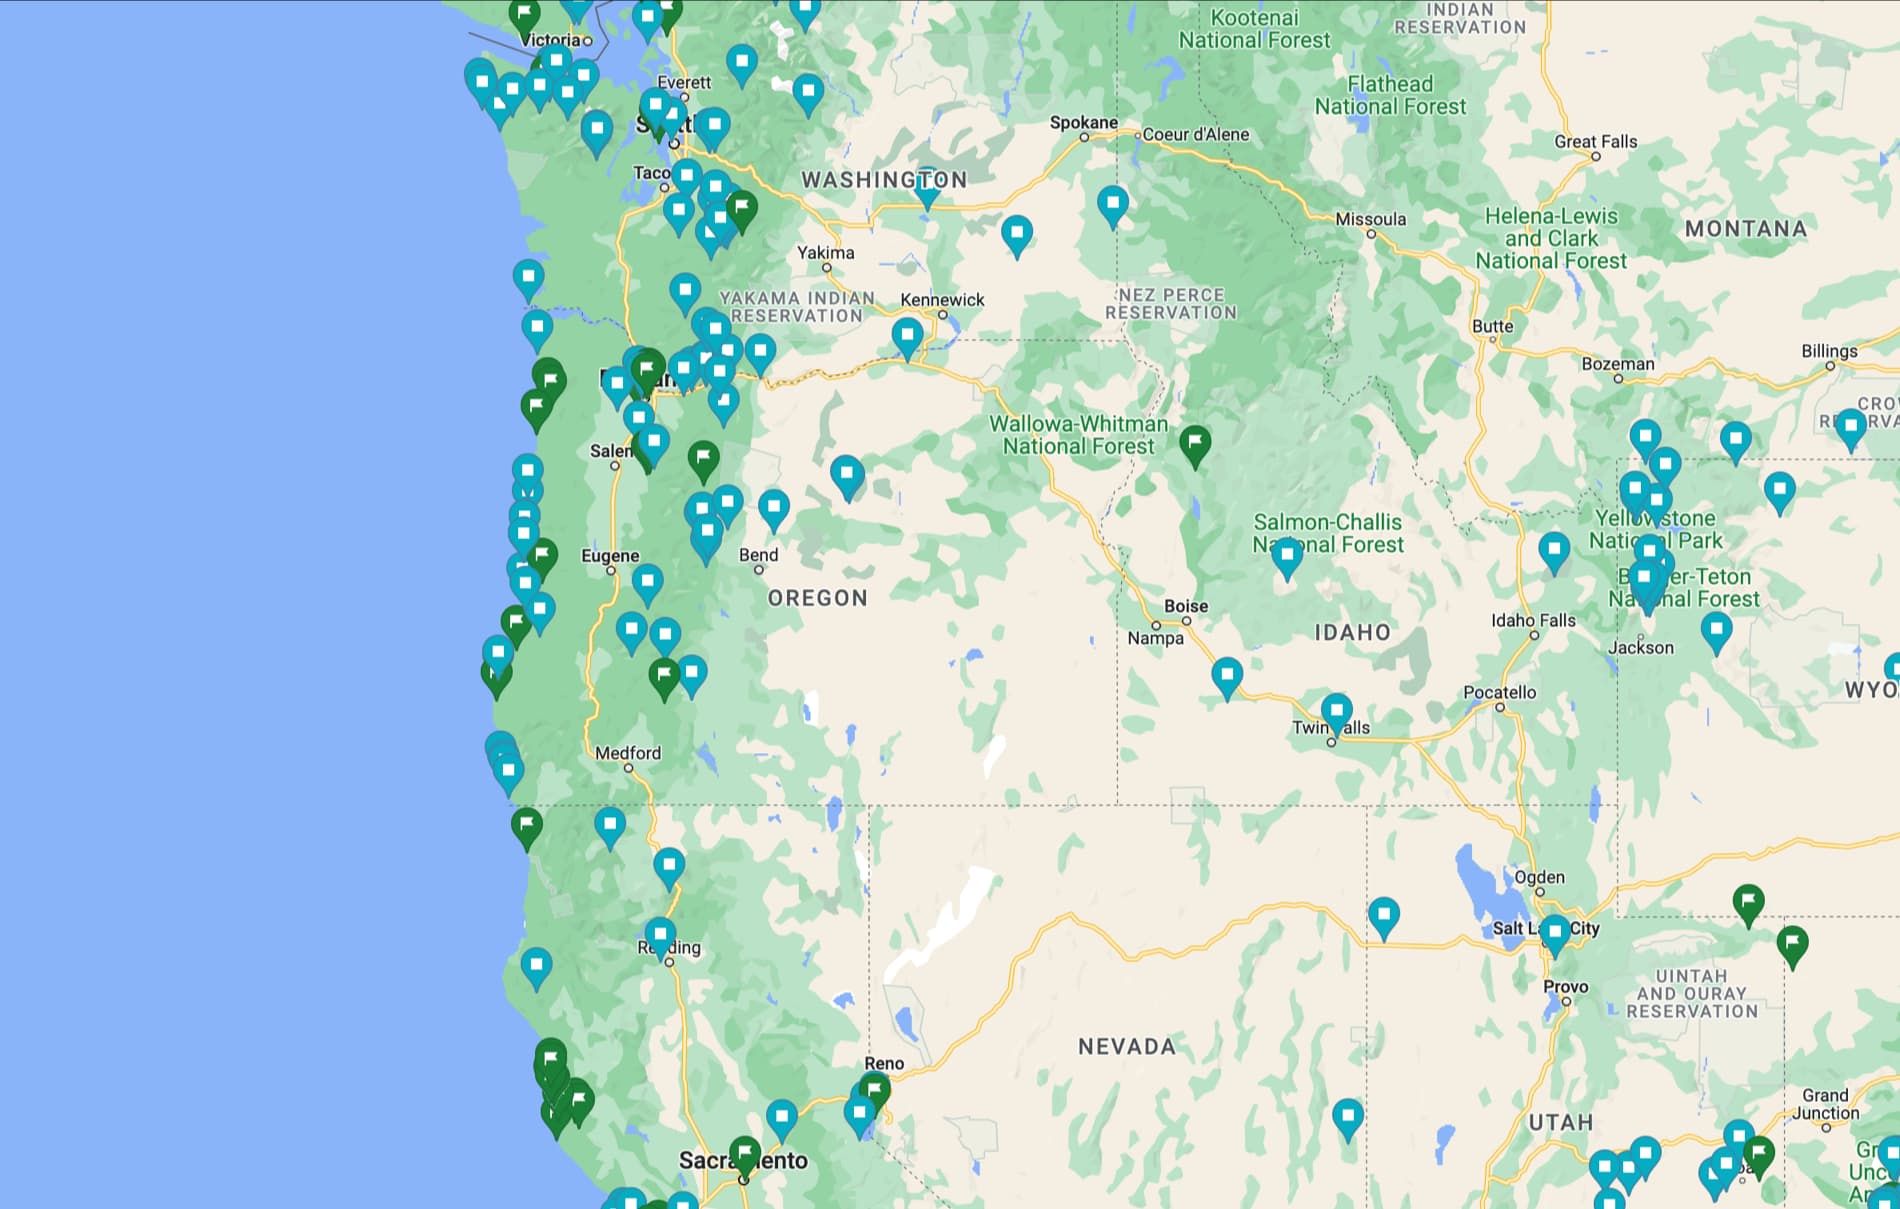
After arriving at a location I’ll check the weather and go over my locations. With that information I can figure out which are best for sunrise or sunset based on their orientation.
For planning shots around light position, PhotoPills and The Photographer’s Ephemeris are worth adding to your phone. Both apps show exactly where the sun and moon rise and set at any location on any date, displayed over a map. This is useful when you want to plan a shot where the sun lines up with a specific landmark, canyon, or trail. Even a quick check before you leave for a location can save you from showing up at the wrong time.
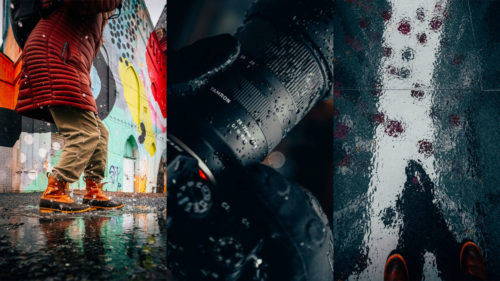
3. Travel Light

It may sound counterintuitive to bring less gear, but traveling light gives you the flexibility to go further and move faster. For example, try a day with just your camera and one lens. Being confined to a single focal length forces you to be more intentional about framing instead of zooming your way to a composition.
A lighter bag also means less fatigue, which matters more than most photographers expect. If you’re tired, you stop looking. You settle for the obvious shot and head back early. The photographers who come home with great images are usually the ones who stayed out longest.
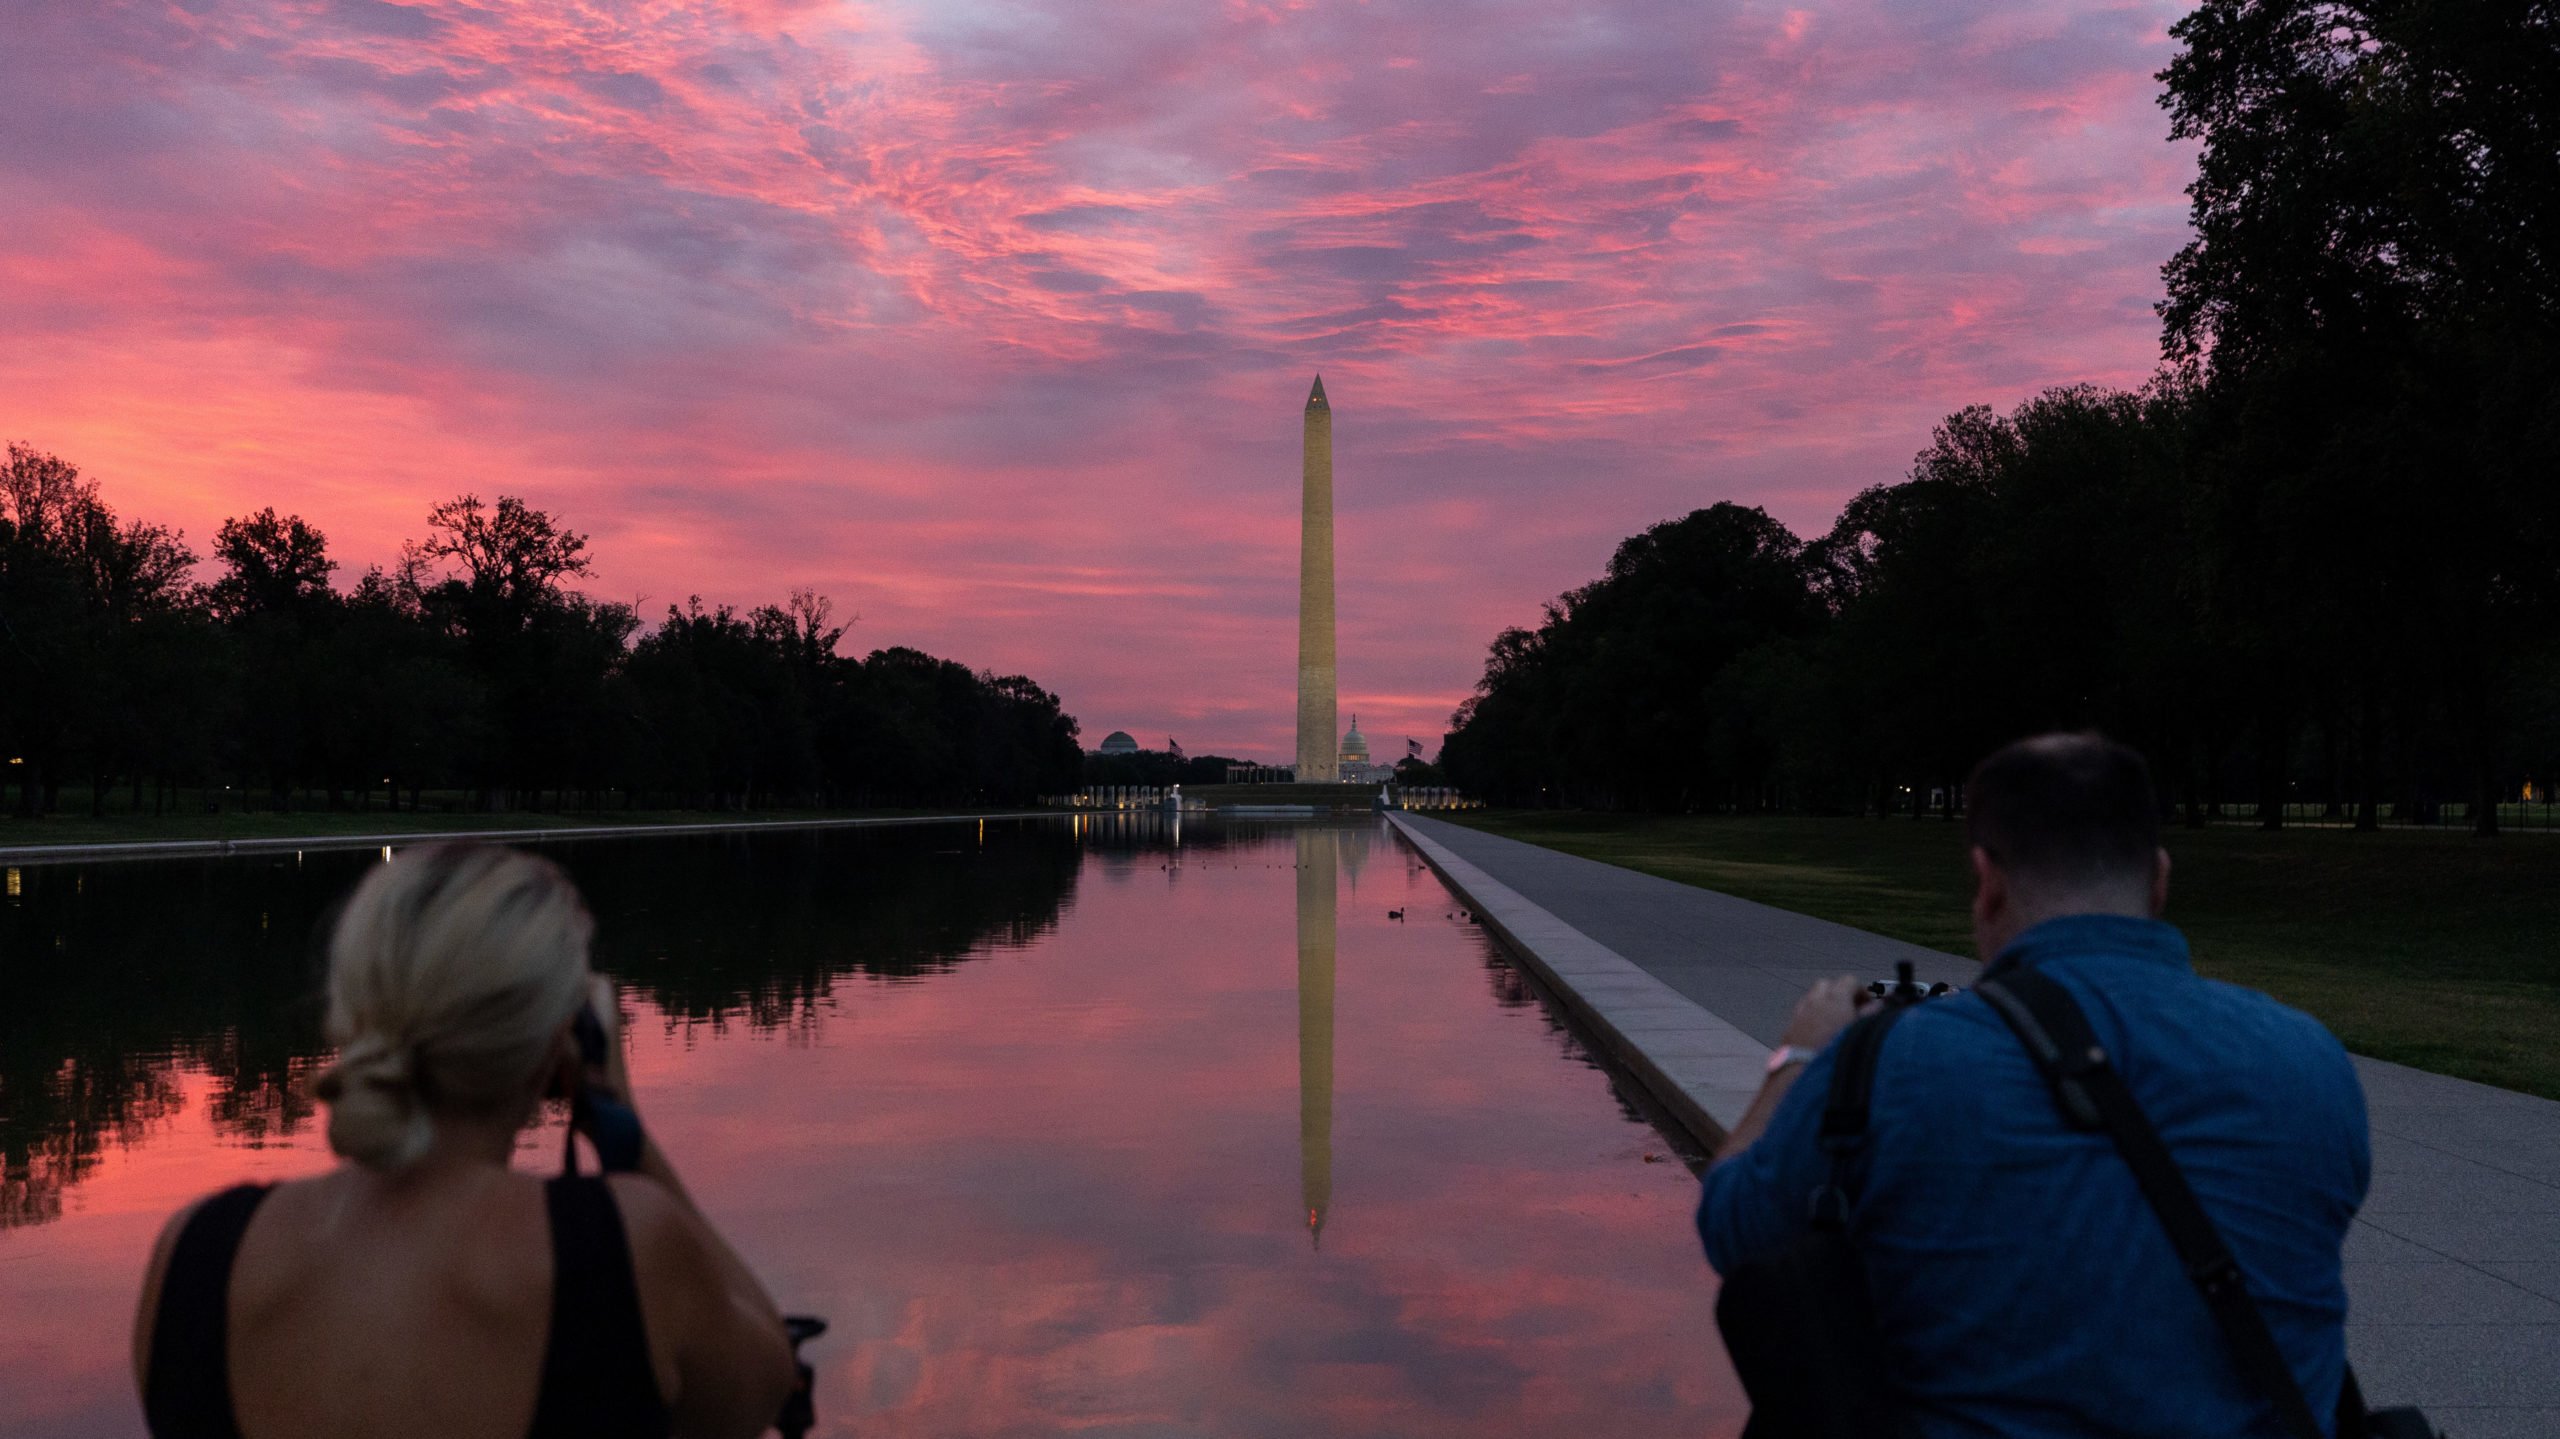
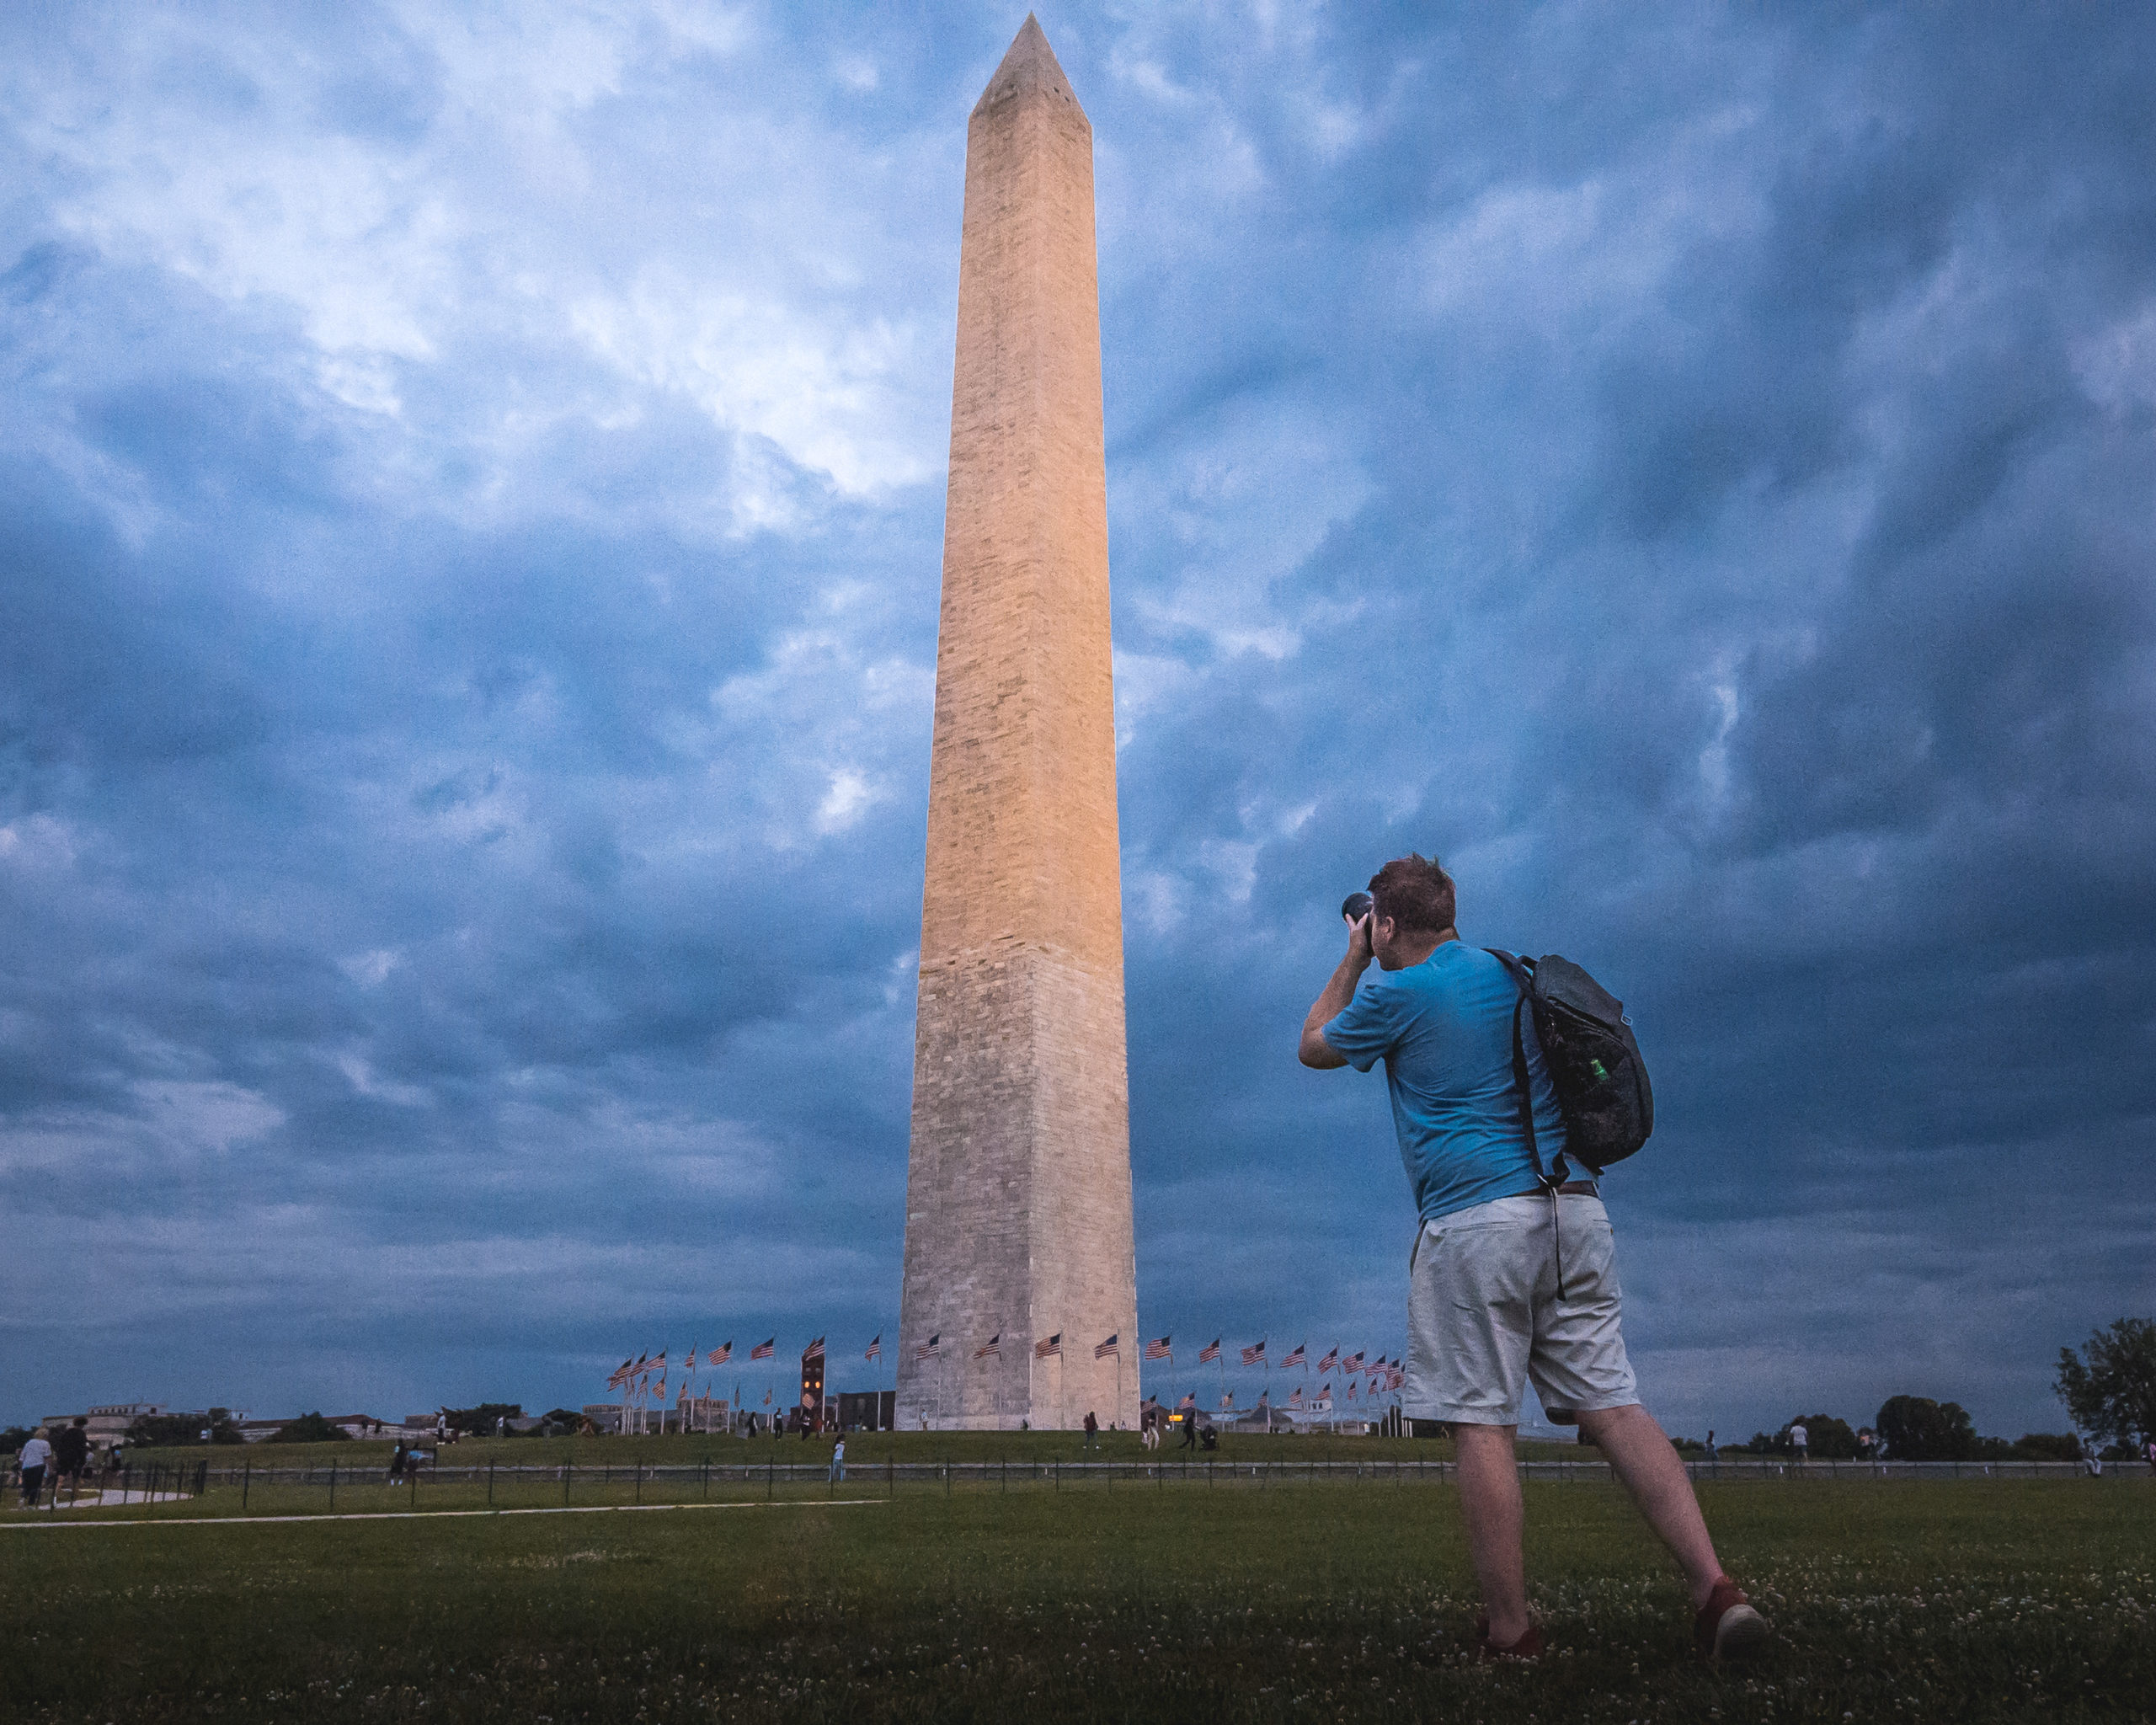
4. Add a Human Touch
This tip I often overlook myself, but it brings so much more life to your photos. Whether it’s a silhouette of you or people in the distance adding a human element can give your photos scale. It also allows the viewer of your photo to imagine they are there in some way.
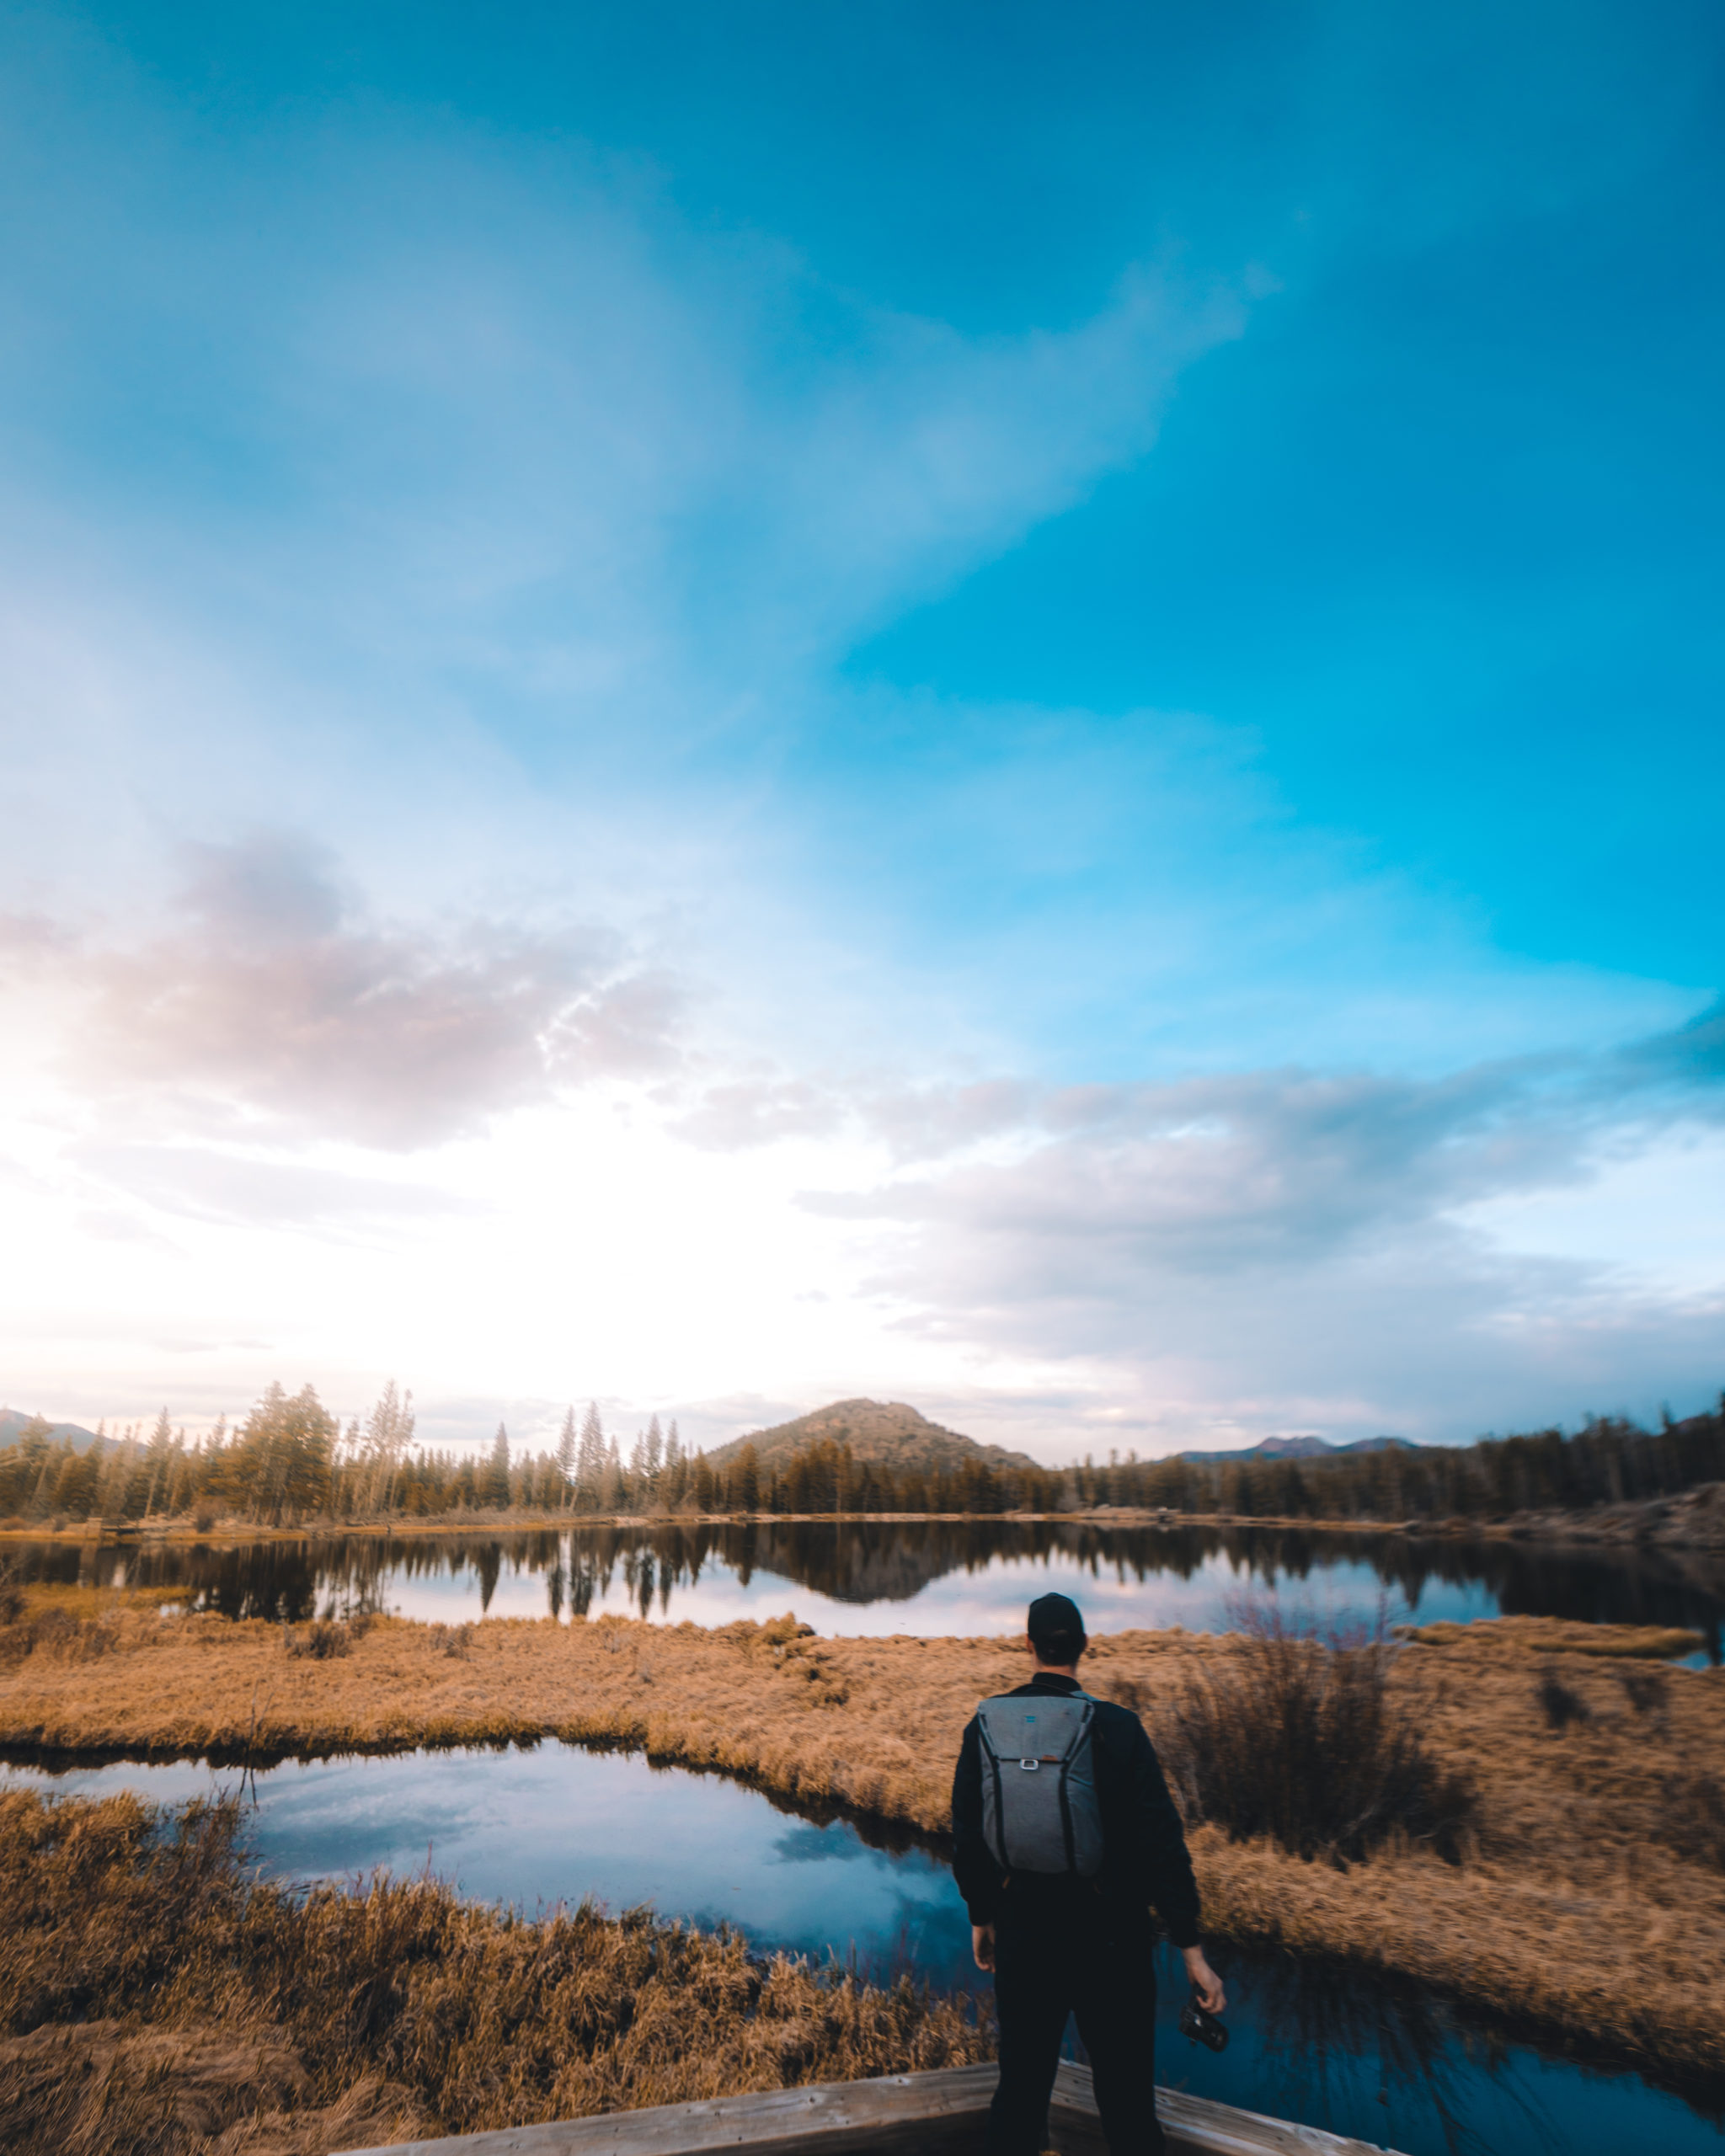
If you don’t have a subject to shoot don’t underestimate using a timer and a tripod to add yourself to a photo. You can even include your hand in photos even in a subtle way like pushing back brush in the foreground. Plus it’s a great way to capture your time in a place to look back on.
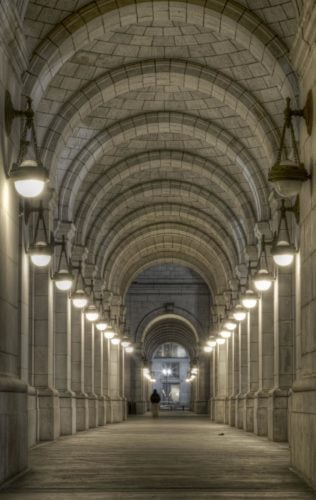
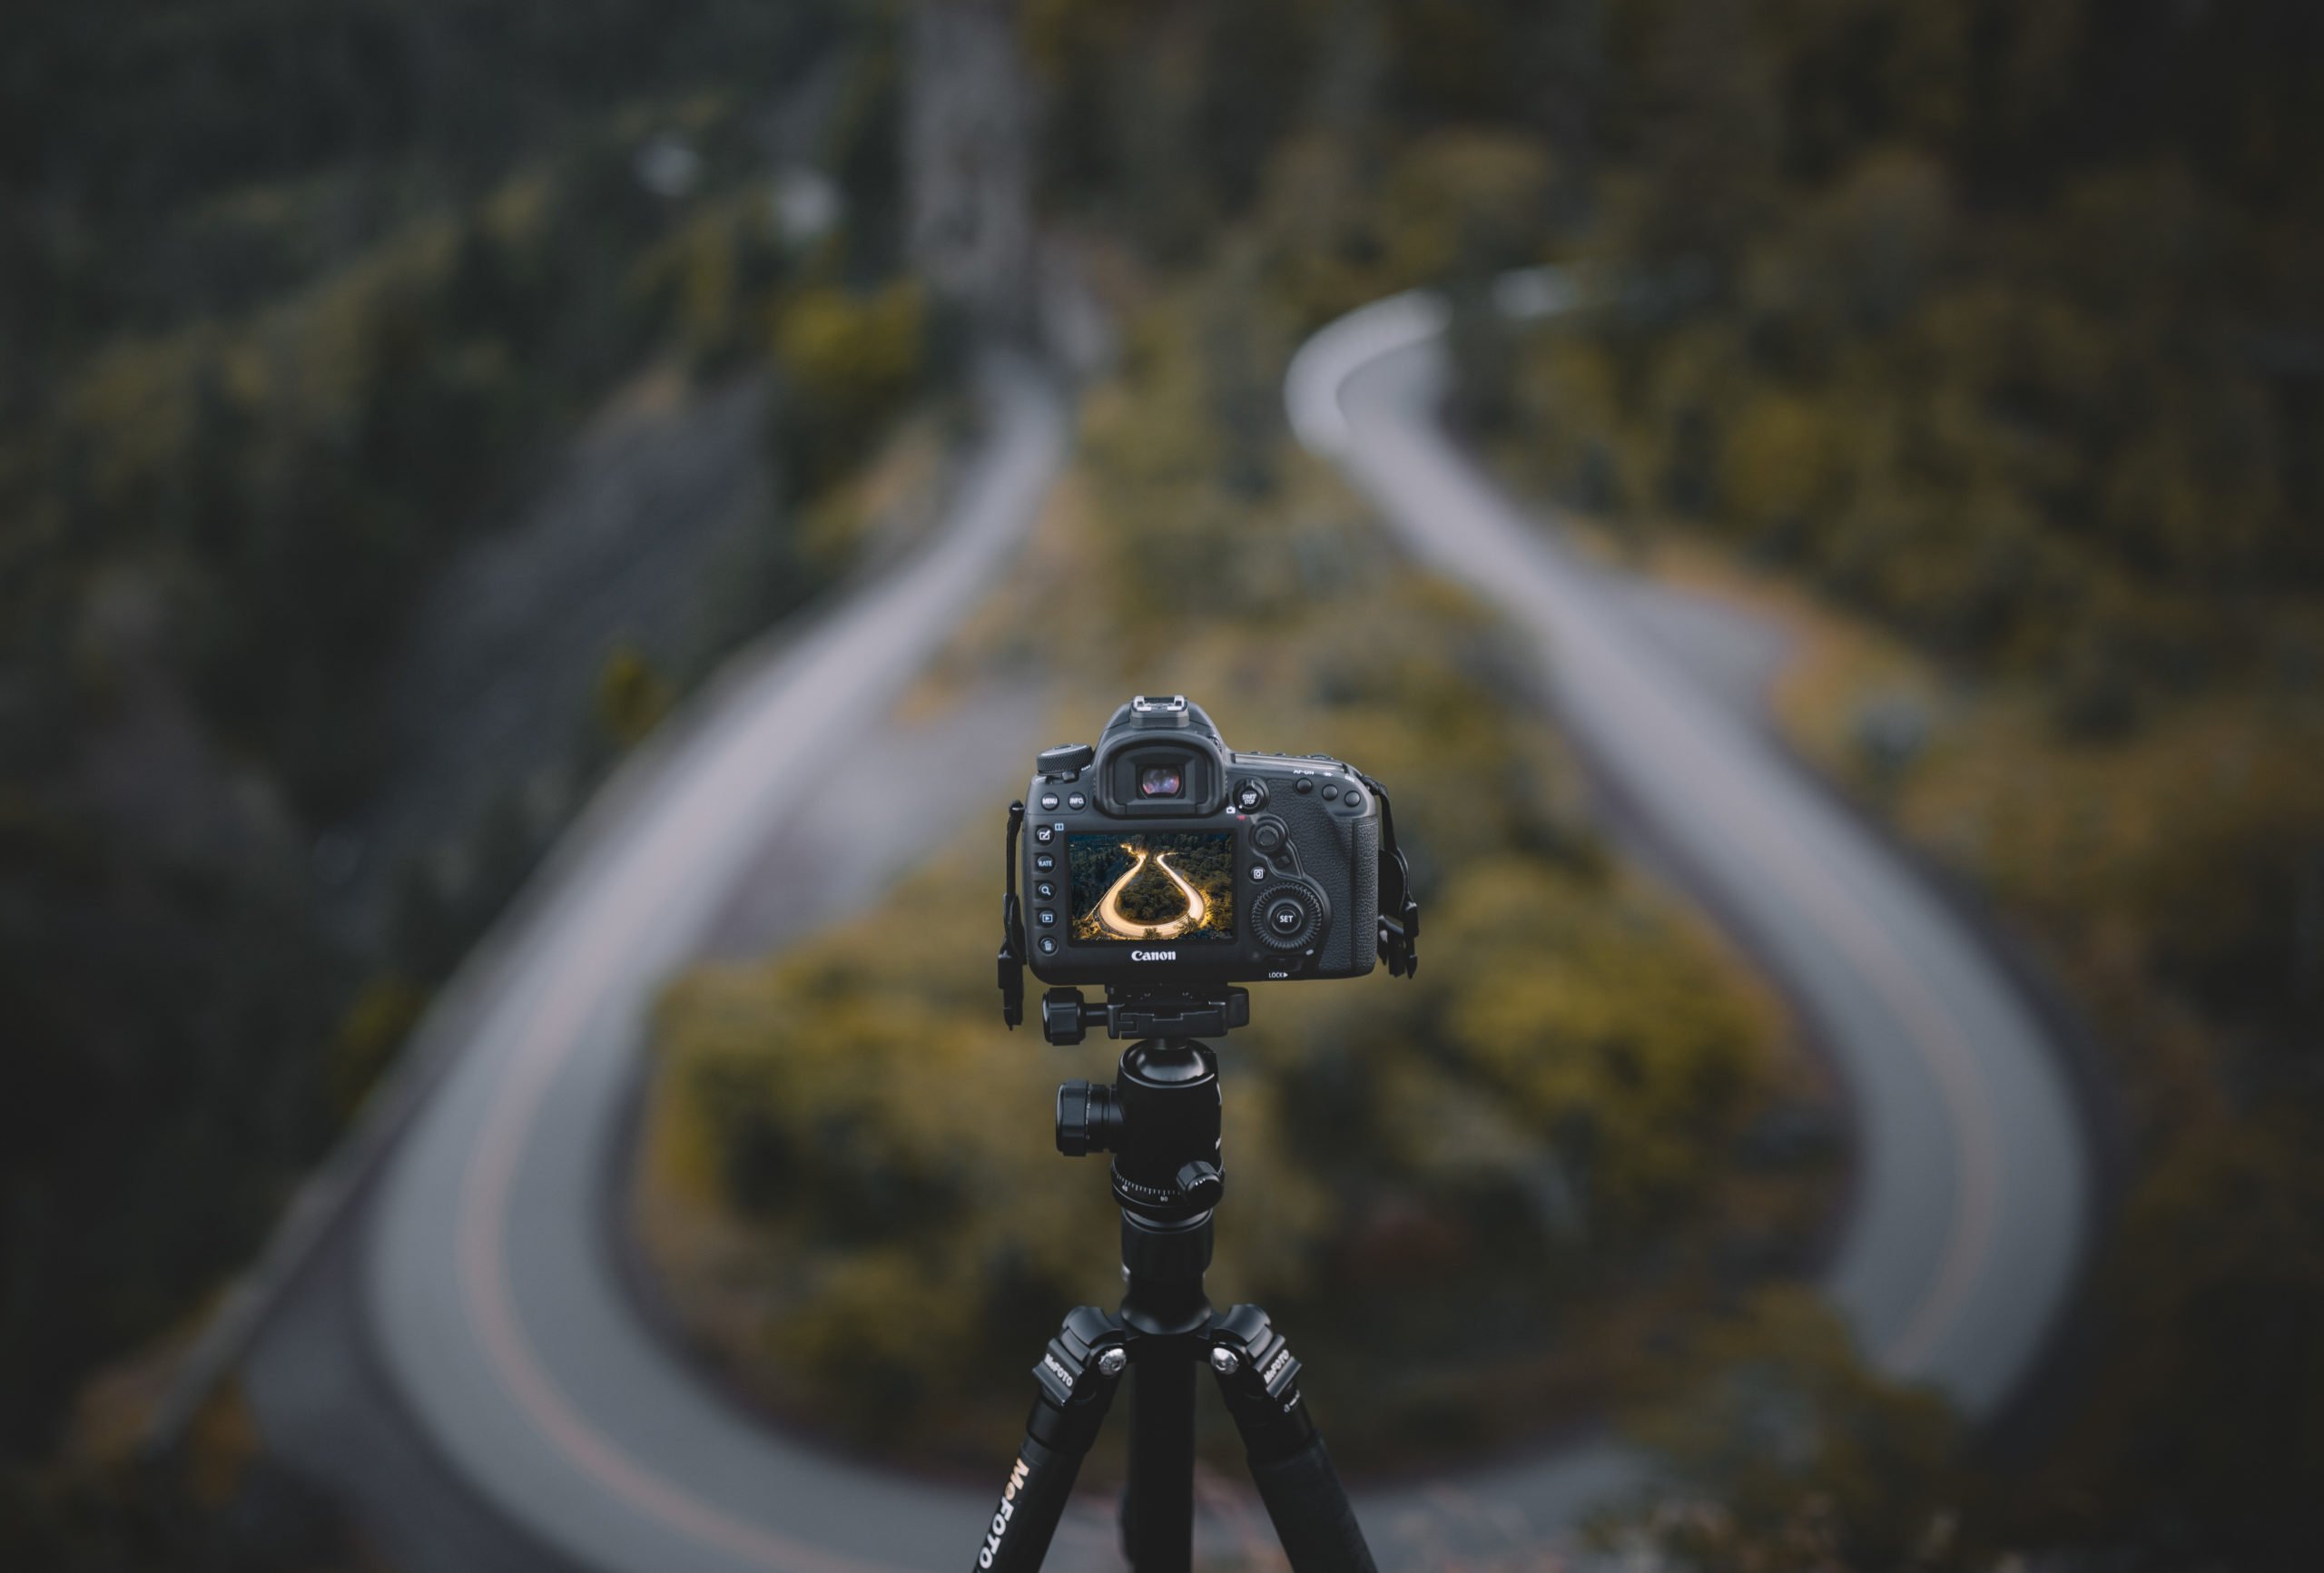
5. Find Leading Lines
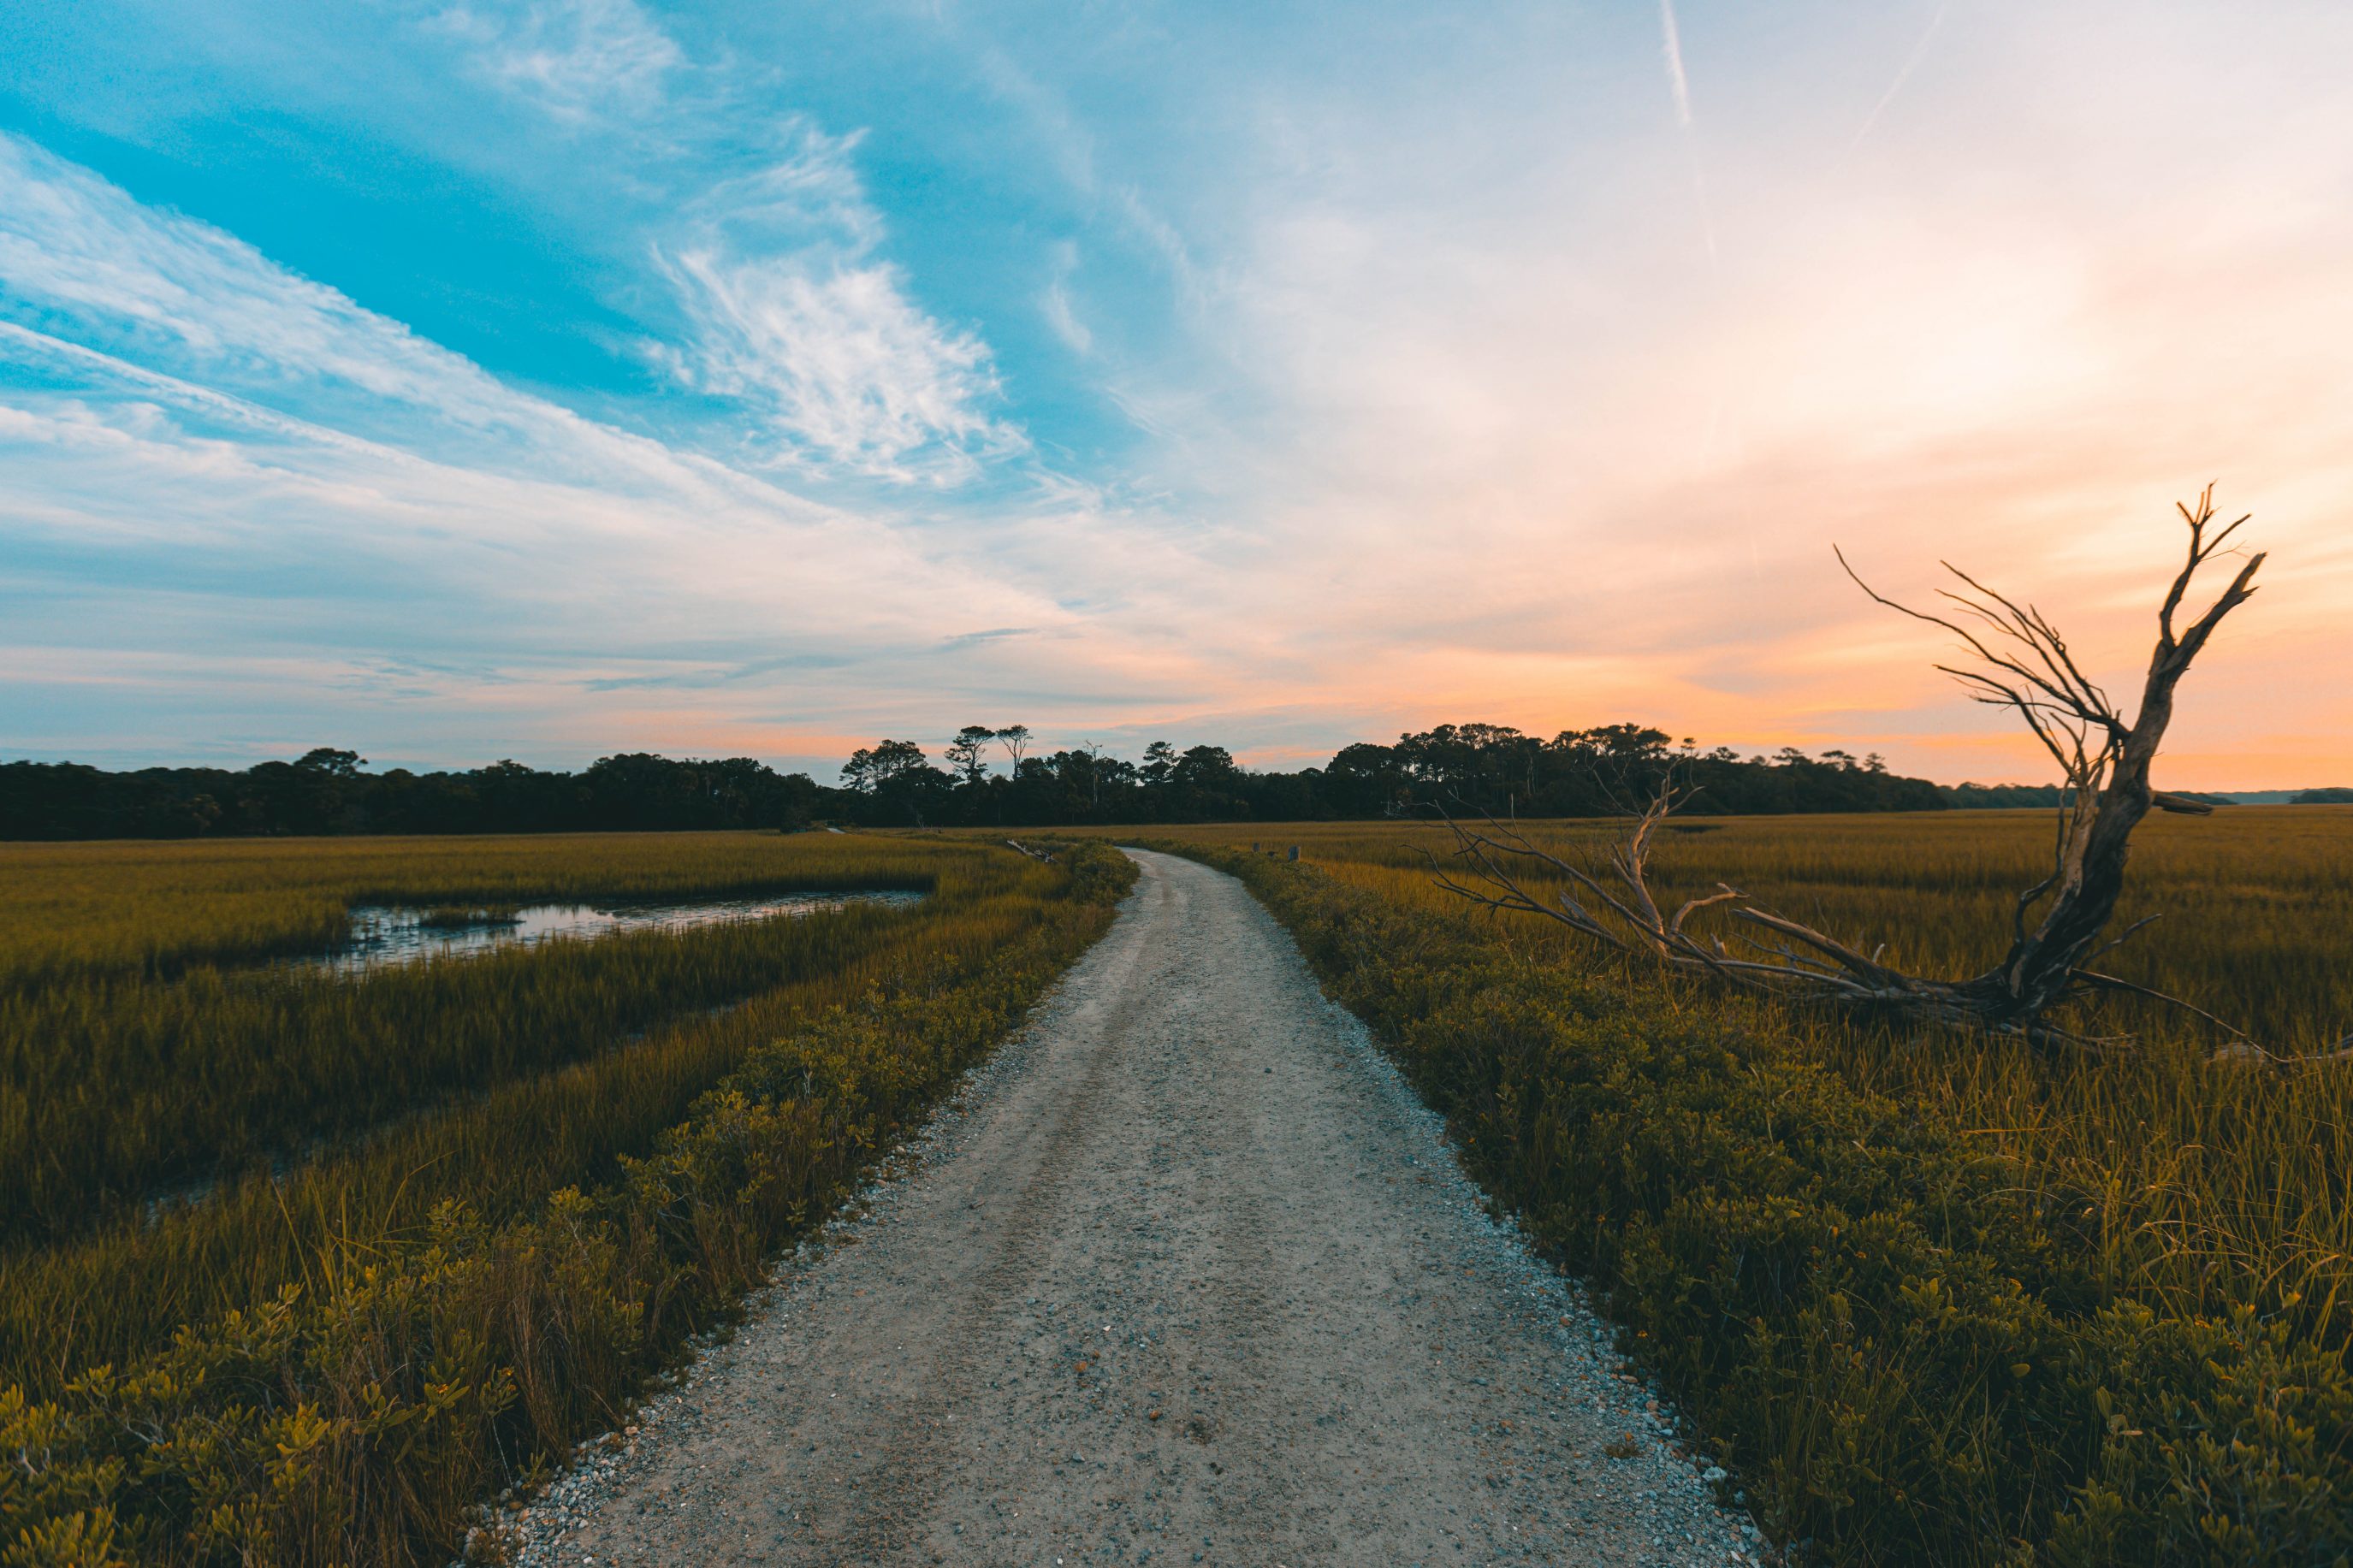
There are plenty of ways to add a leading line to your photos. It can be a road, walkway, or even a fence, using these visual cues will draw the viewers eyes into the photo. This is one of the basic photography tips every photographer should know for their compositions.
6. Rule of Thirds
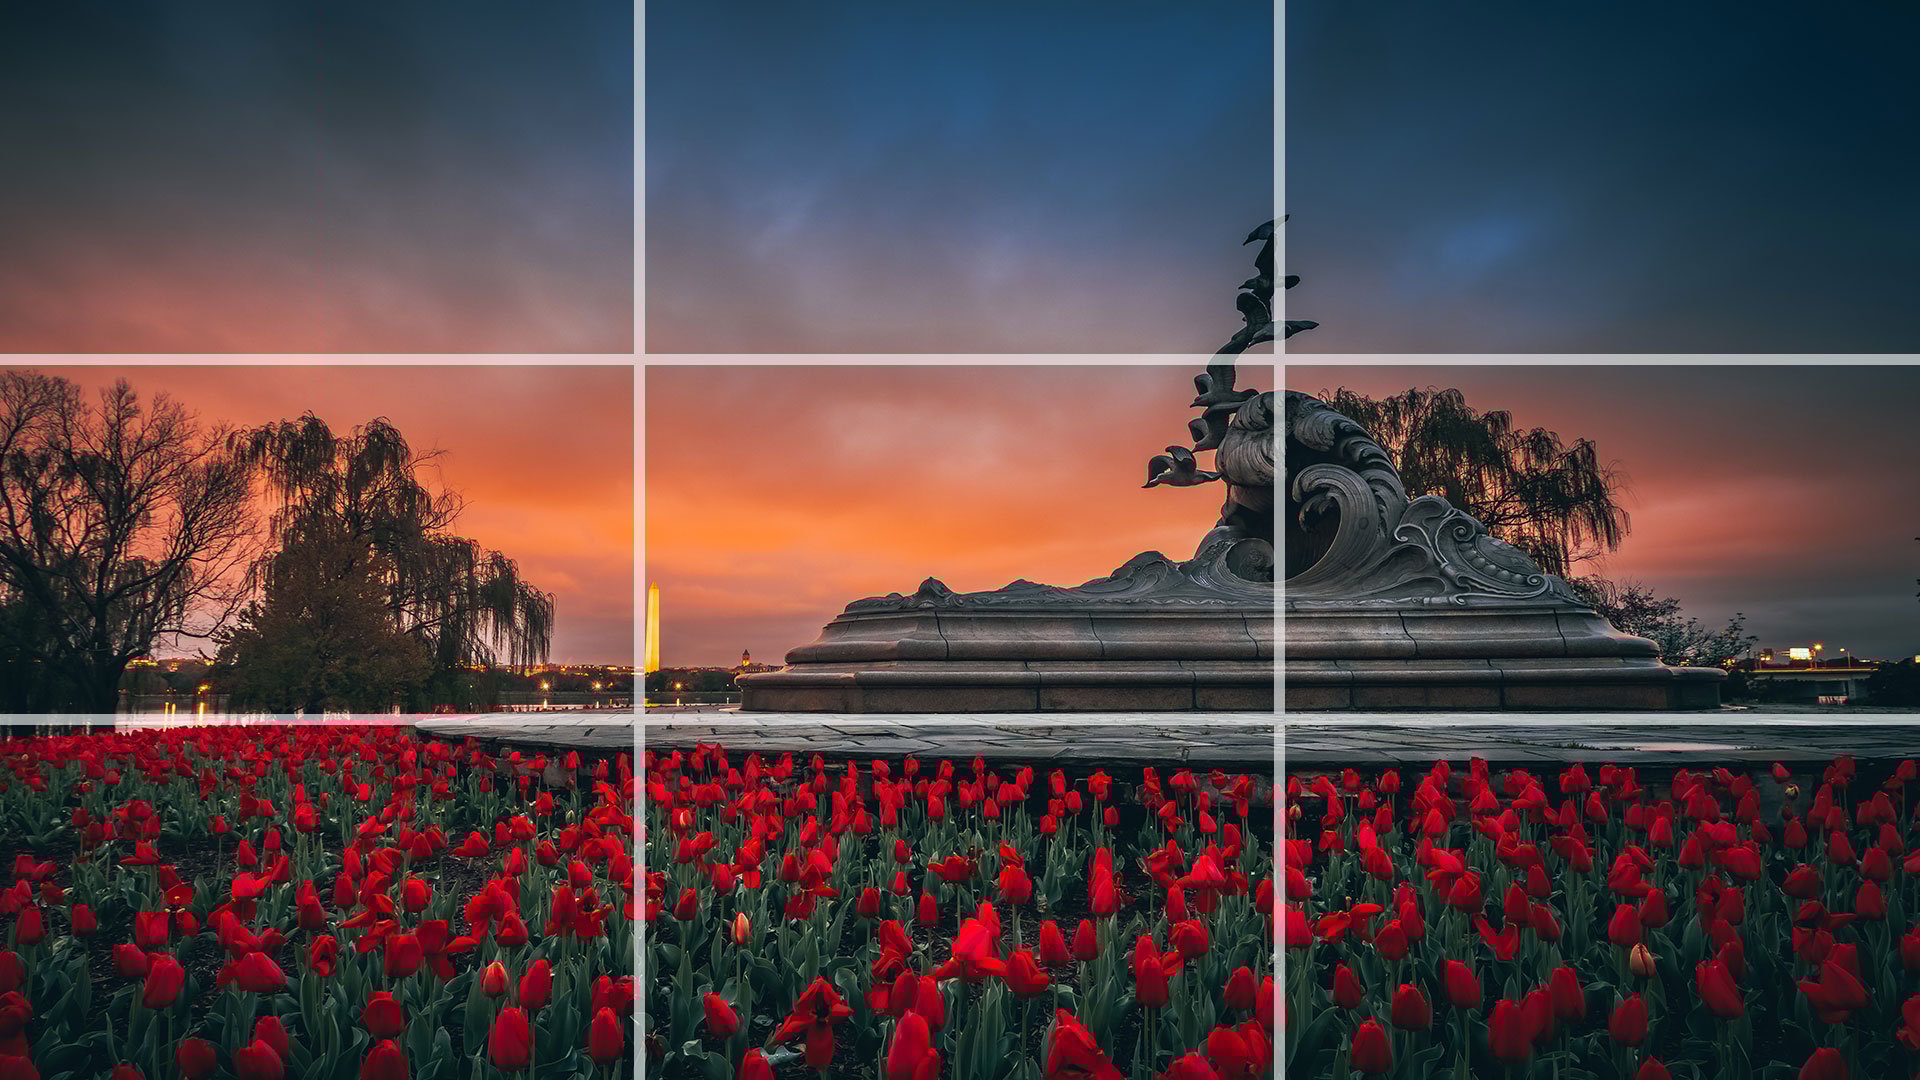
One of the classic photography composition tips is the rule of thirds. This is to think about your photo sliced into thirds and put points of interest on those lines. For example instead of putting your subject in the middle of the frame you could have them on the left or right.
Most cameras even have an option to turn on a grid to see the rule of thirds. Mirrorless cameras will even let you see grids while shooting through the electronic viewfinder.
This is just something to think about while shooting, of course you can crop in post-processing as well. Cropping can also help you pull out the rule of thirds and most editing software will put a grid on your images as you crop. Remember that this is just one rule of photography and it’s okay to break it.
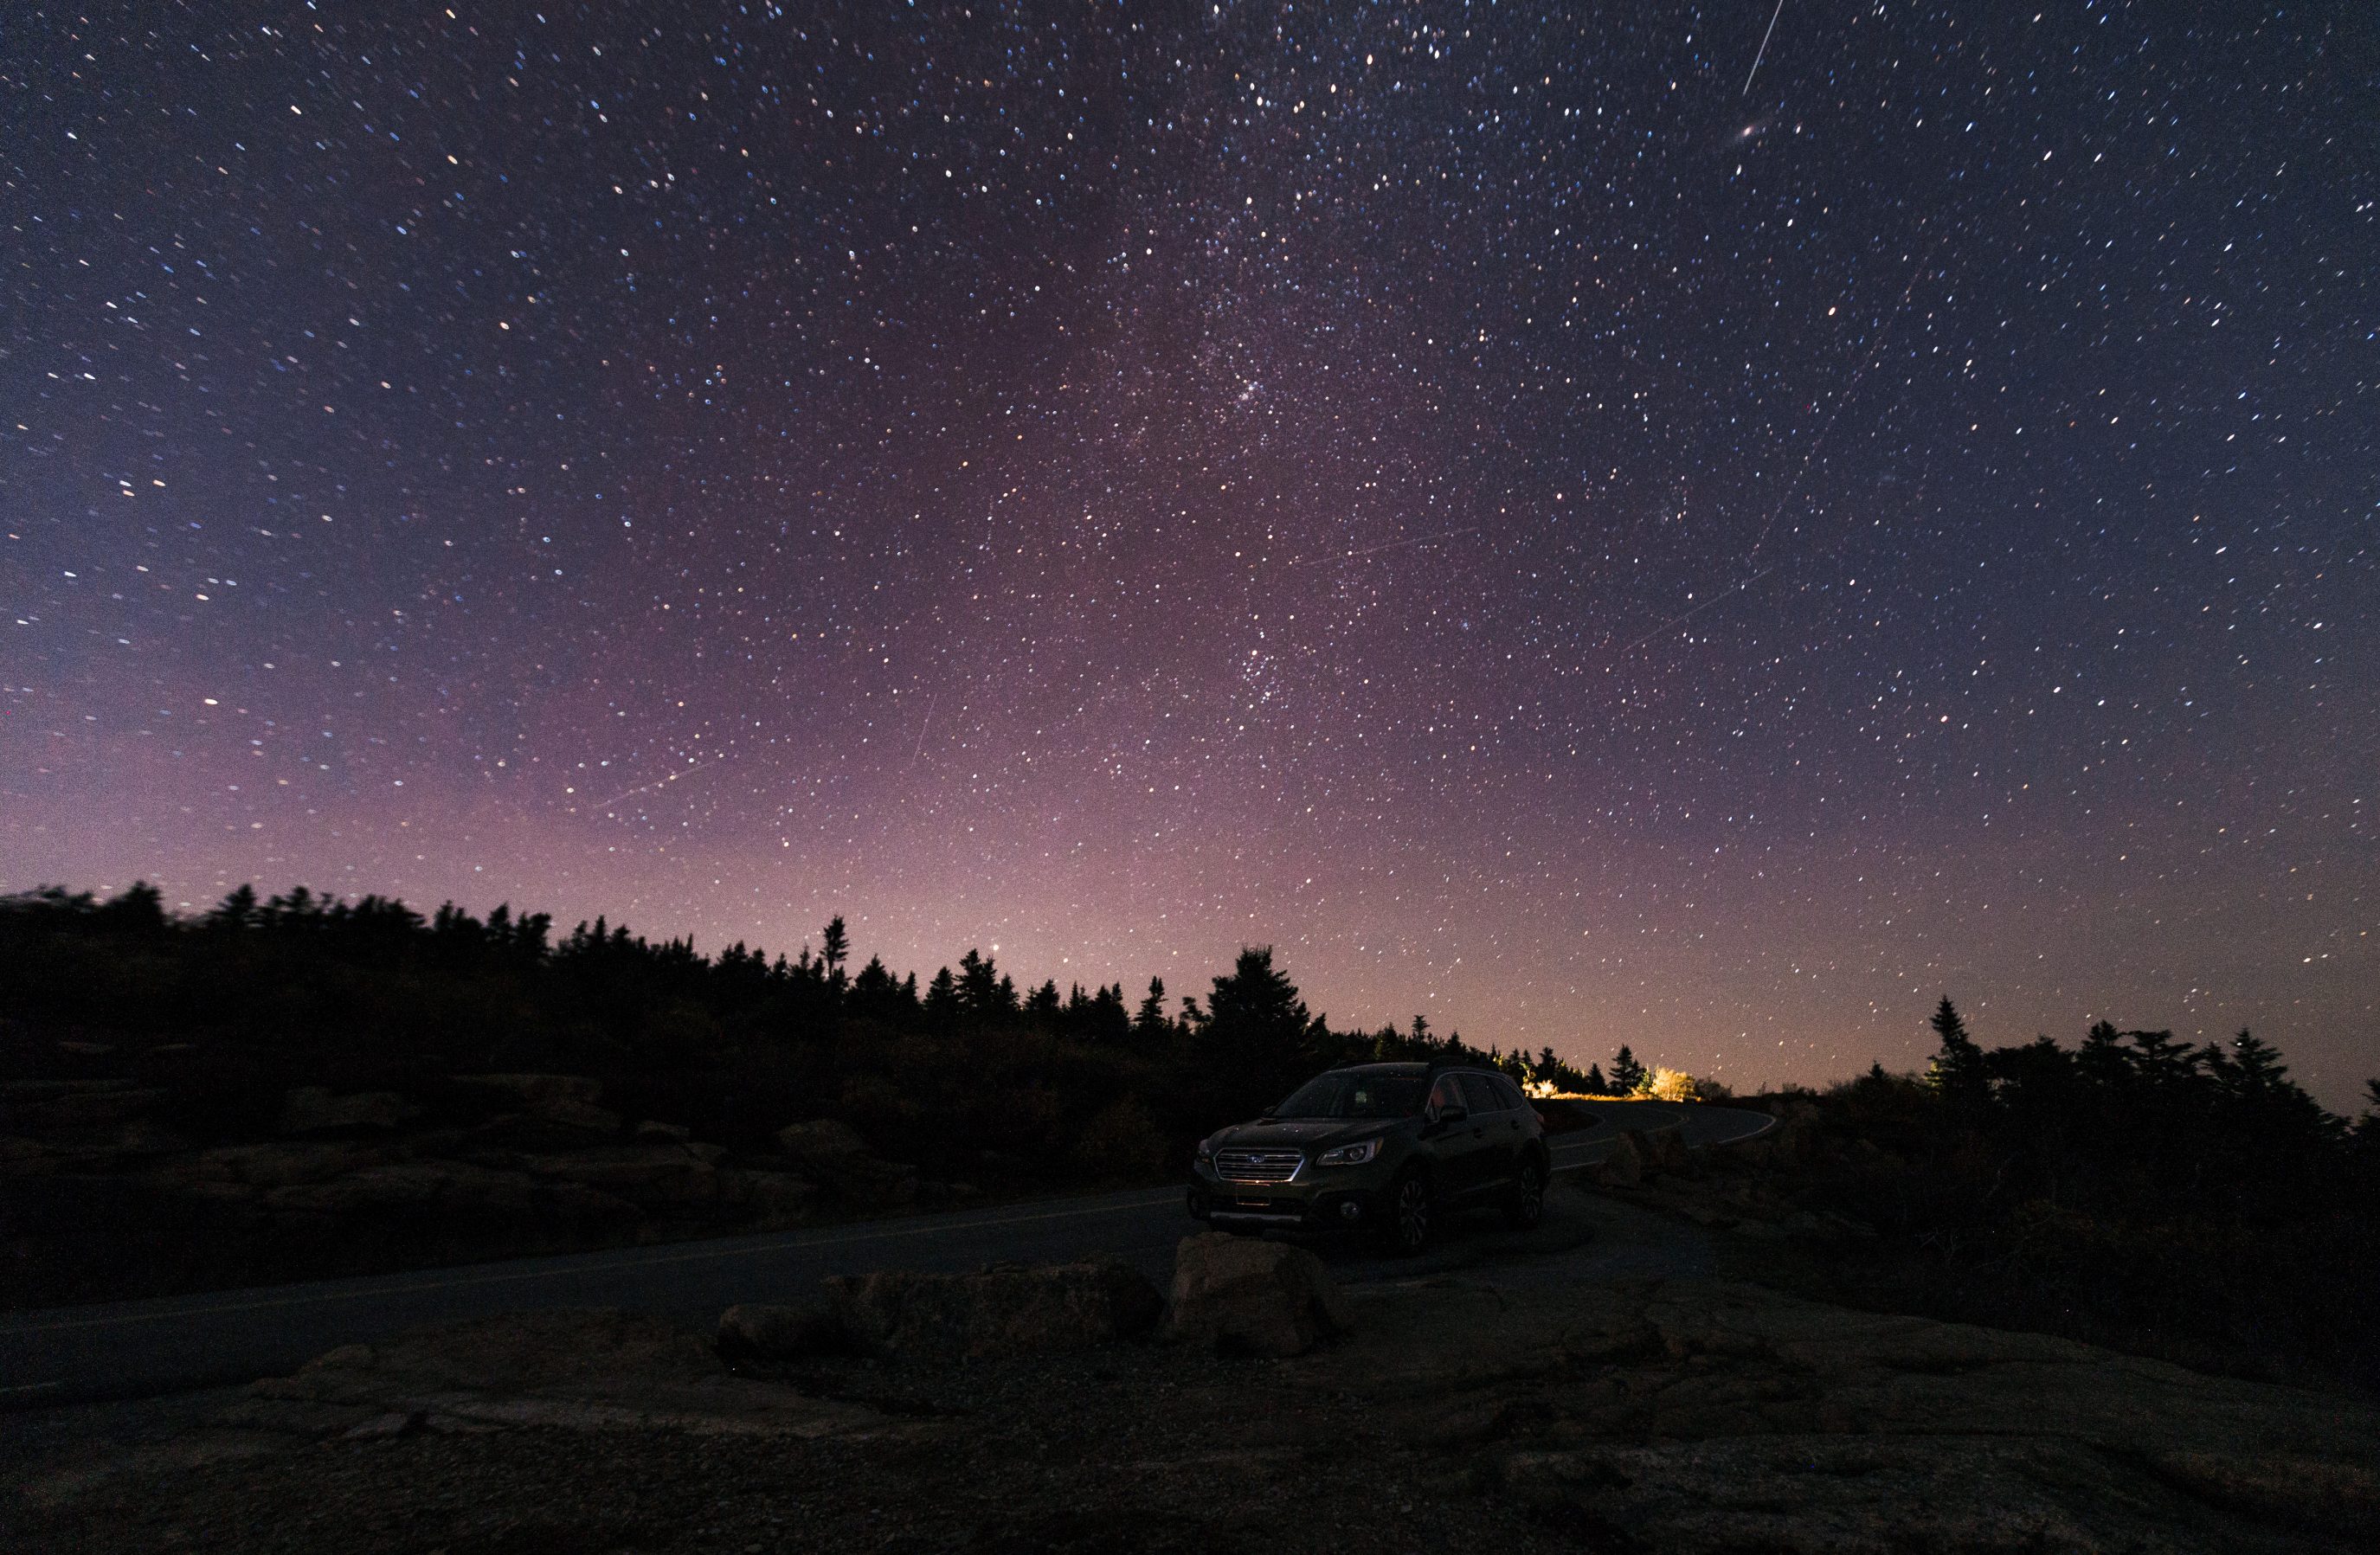
7. Bring a Tripod
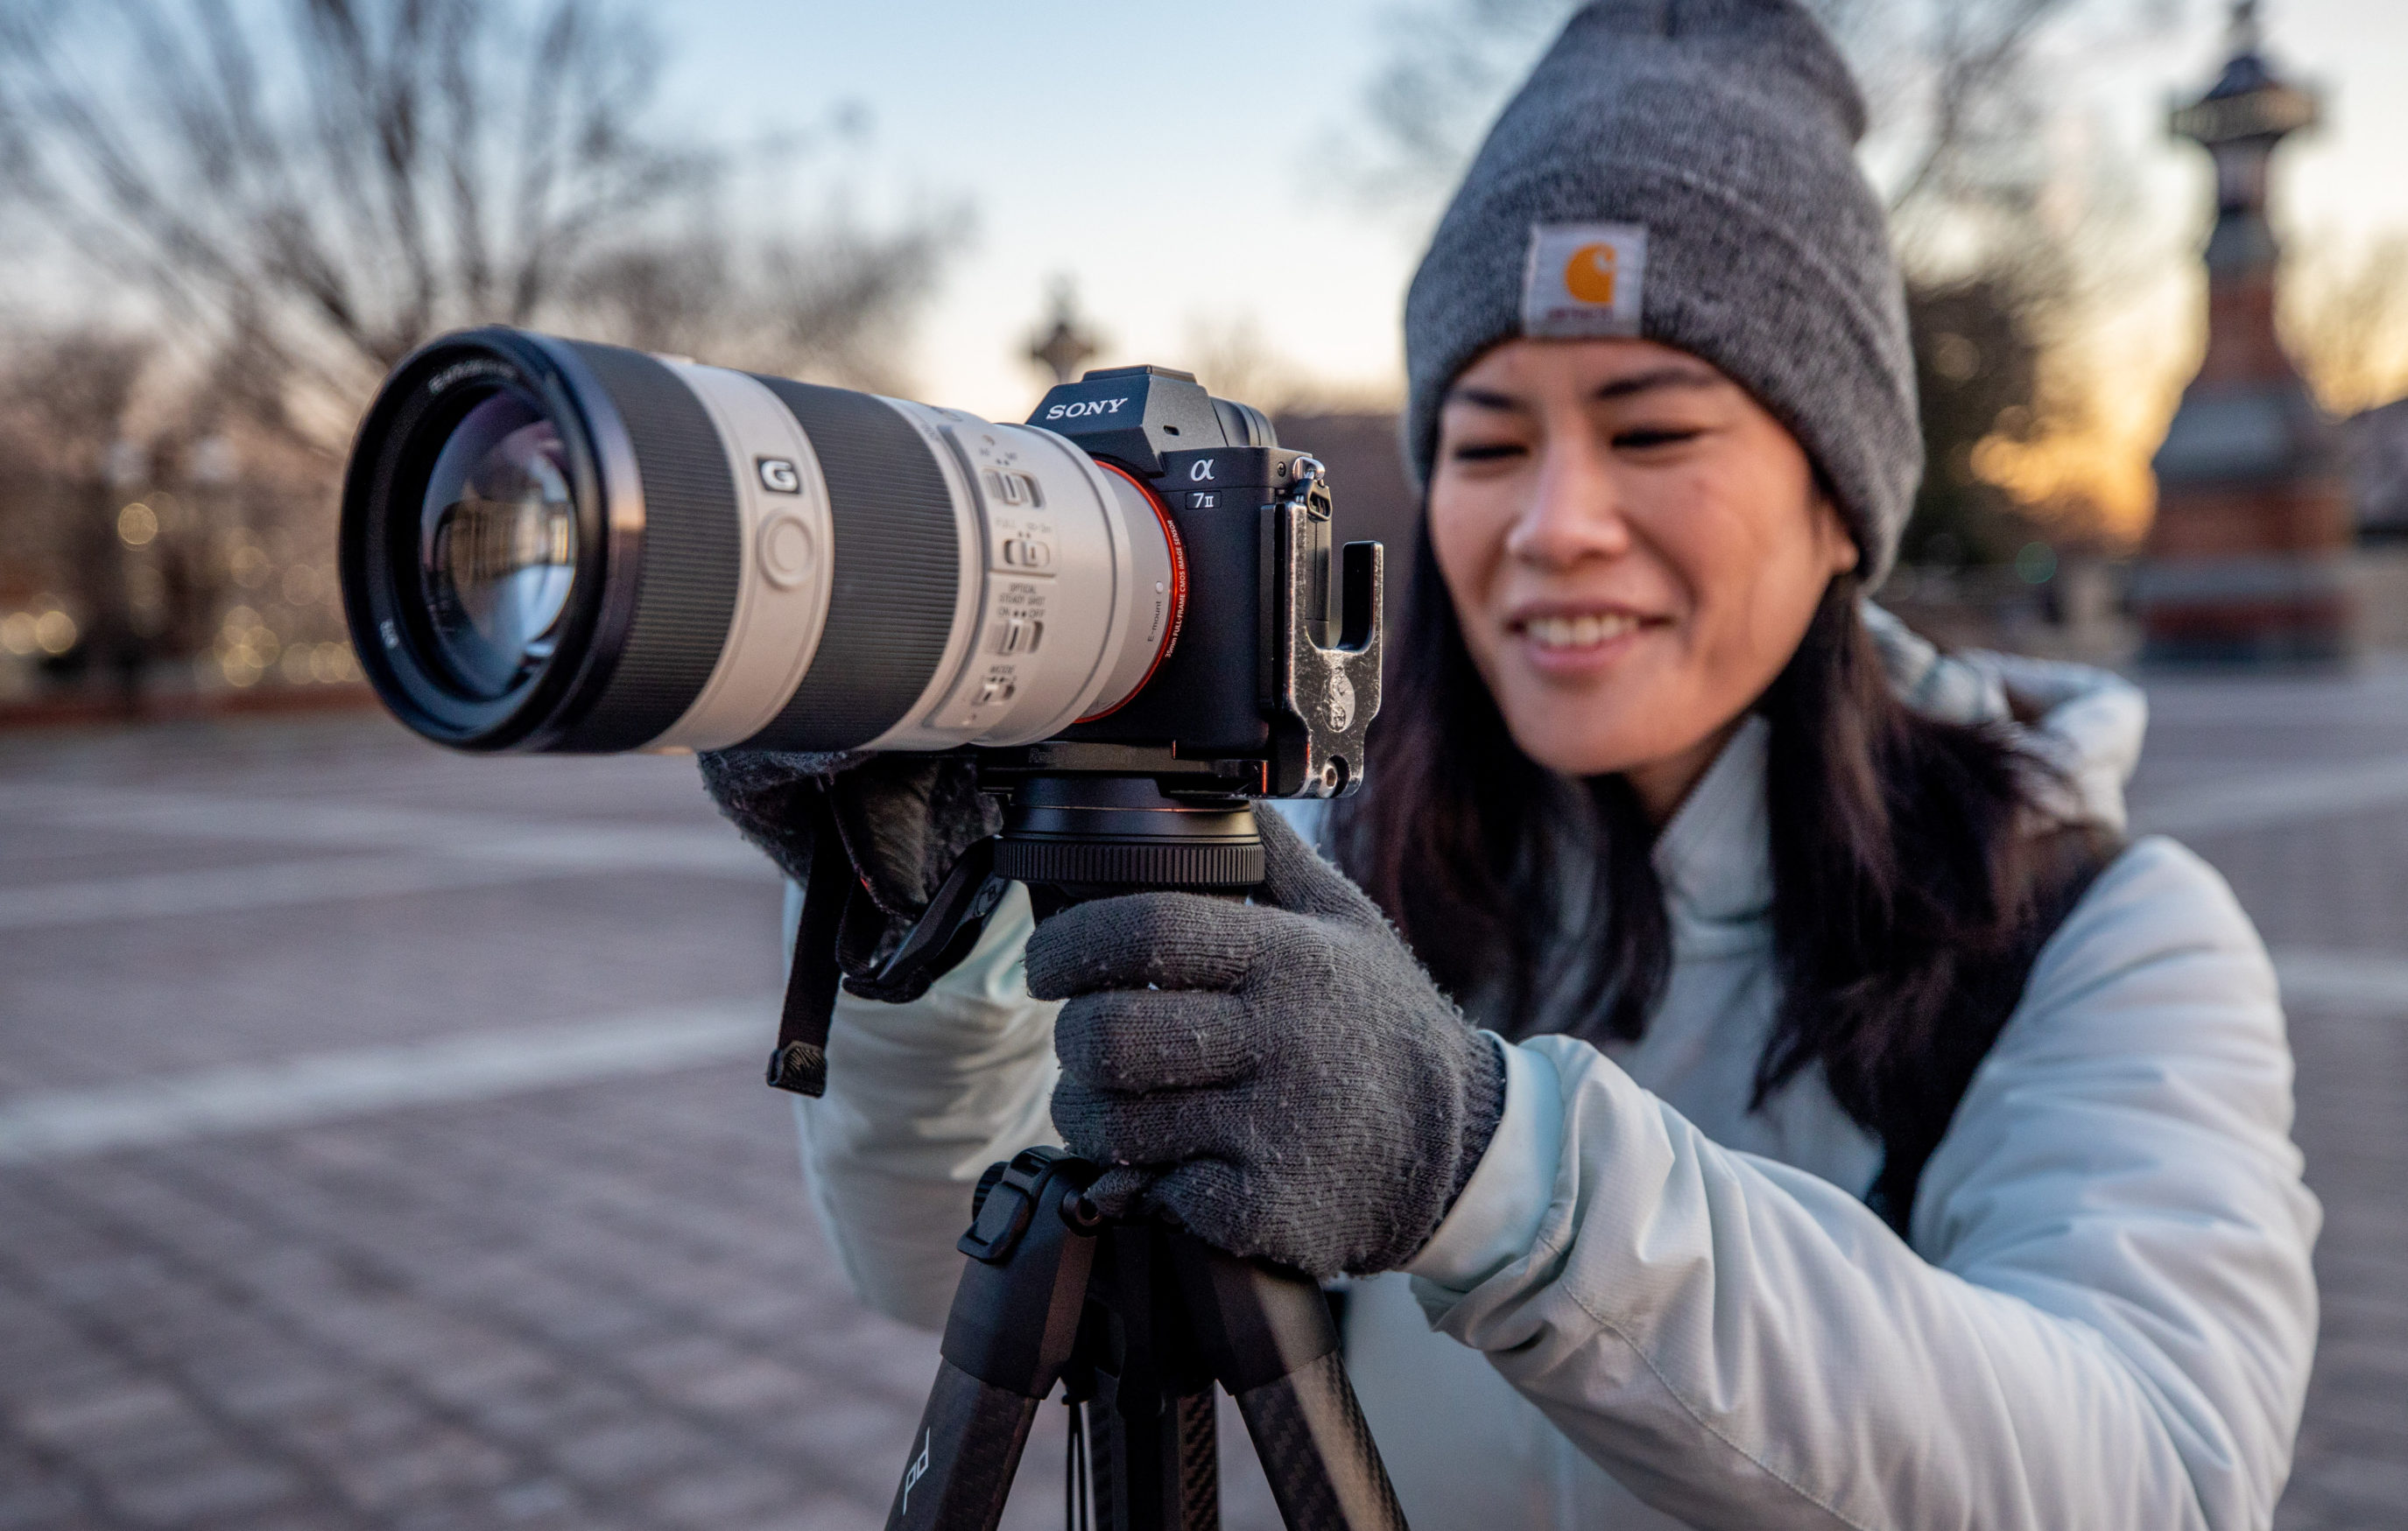
If you want to get the highest quality photos you’ll want to use a tripod and shoot at a low ISO. Using a tripod allows you to take photos at night or in low-light while keeping your ISO low. This will result in less grainy images that are sharp. Best of all if you have a tripod you can use the self timer to take photos of yourself or your family as well.
Some of my favorite travel tripods include the Peak Design Travel Tripod and Manfrotto Befree Tripod. Both of these are compact and can hold a large amount of weight. The size and weight of a tripod can greatly affect if you actually use it. If these tripods are too expensive there are others around the $50 price point you can find on Amazon.
8. Try Different Angles
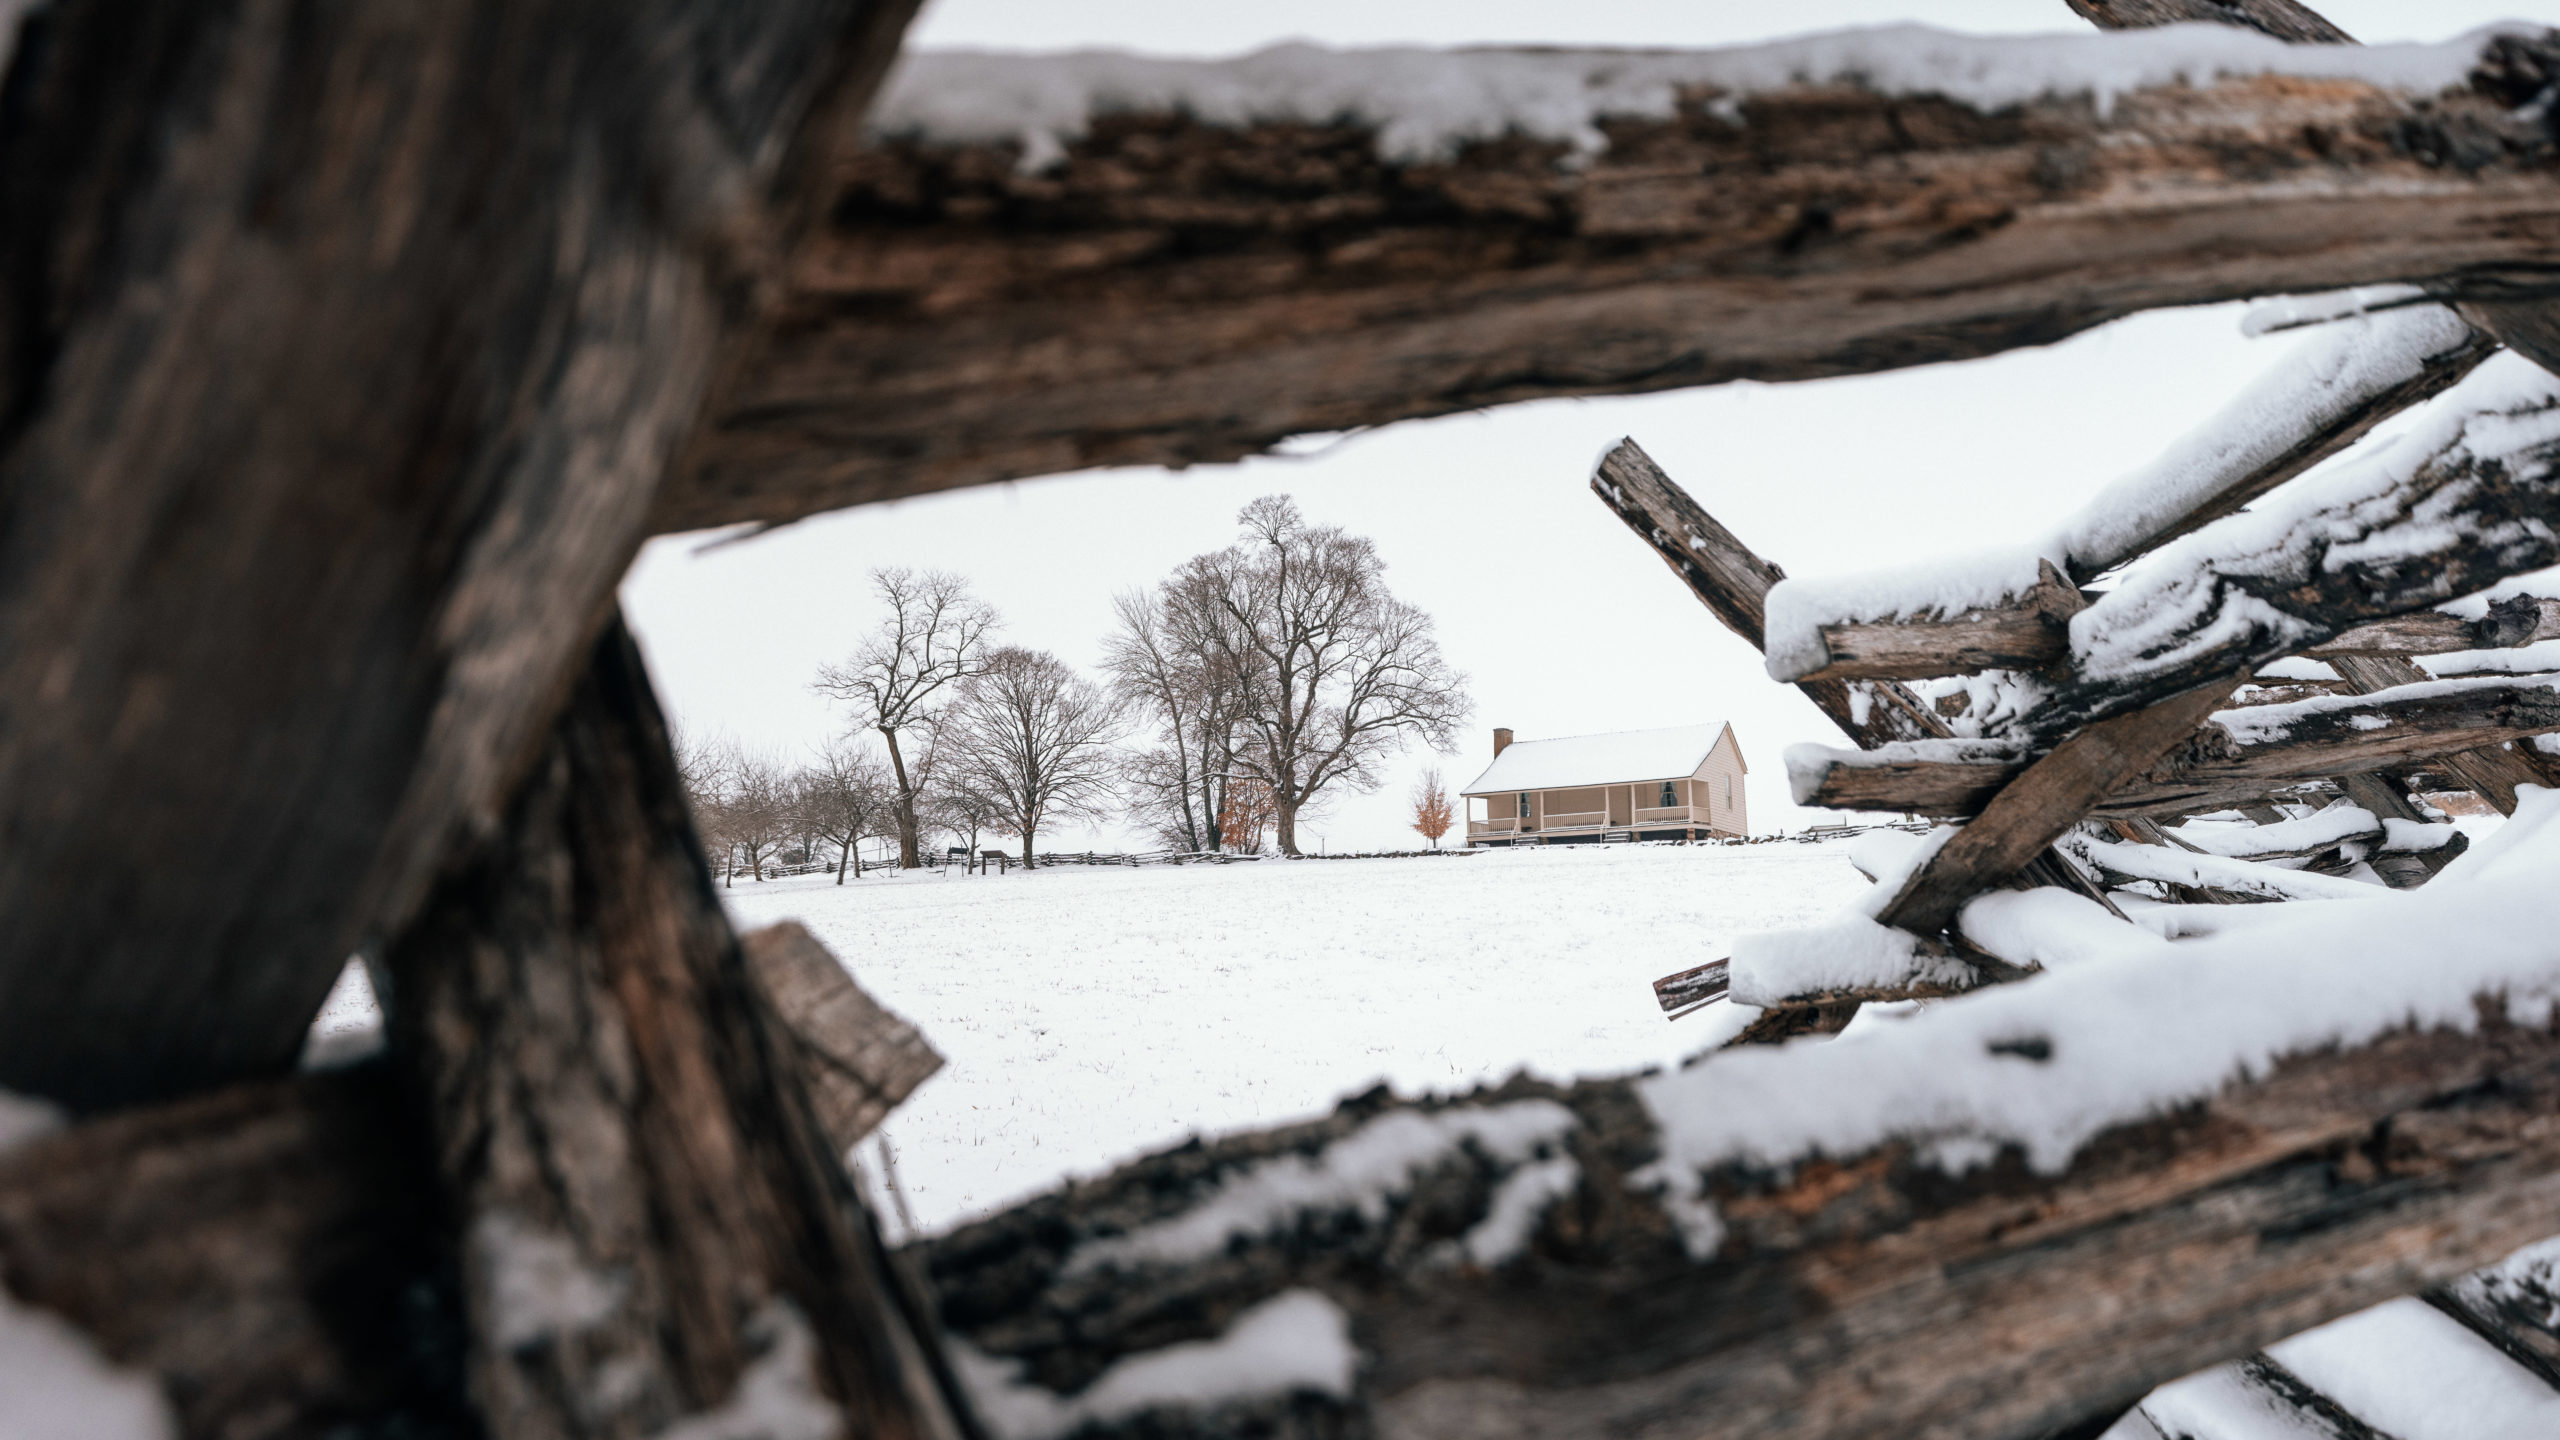
You may be inclined to take your photos at eye level but don’t forget to try different angles. Getting down low to the ground or holding your camera high up can offer new perspectives. Additionally if you have multiple lenses you can play around with compression using a telephoto lens.
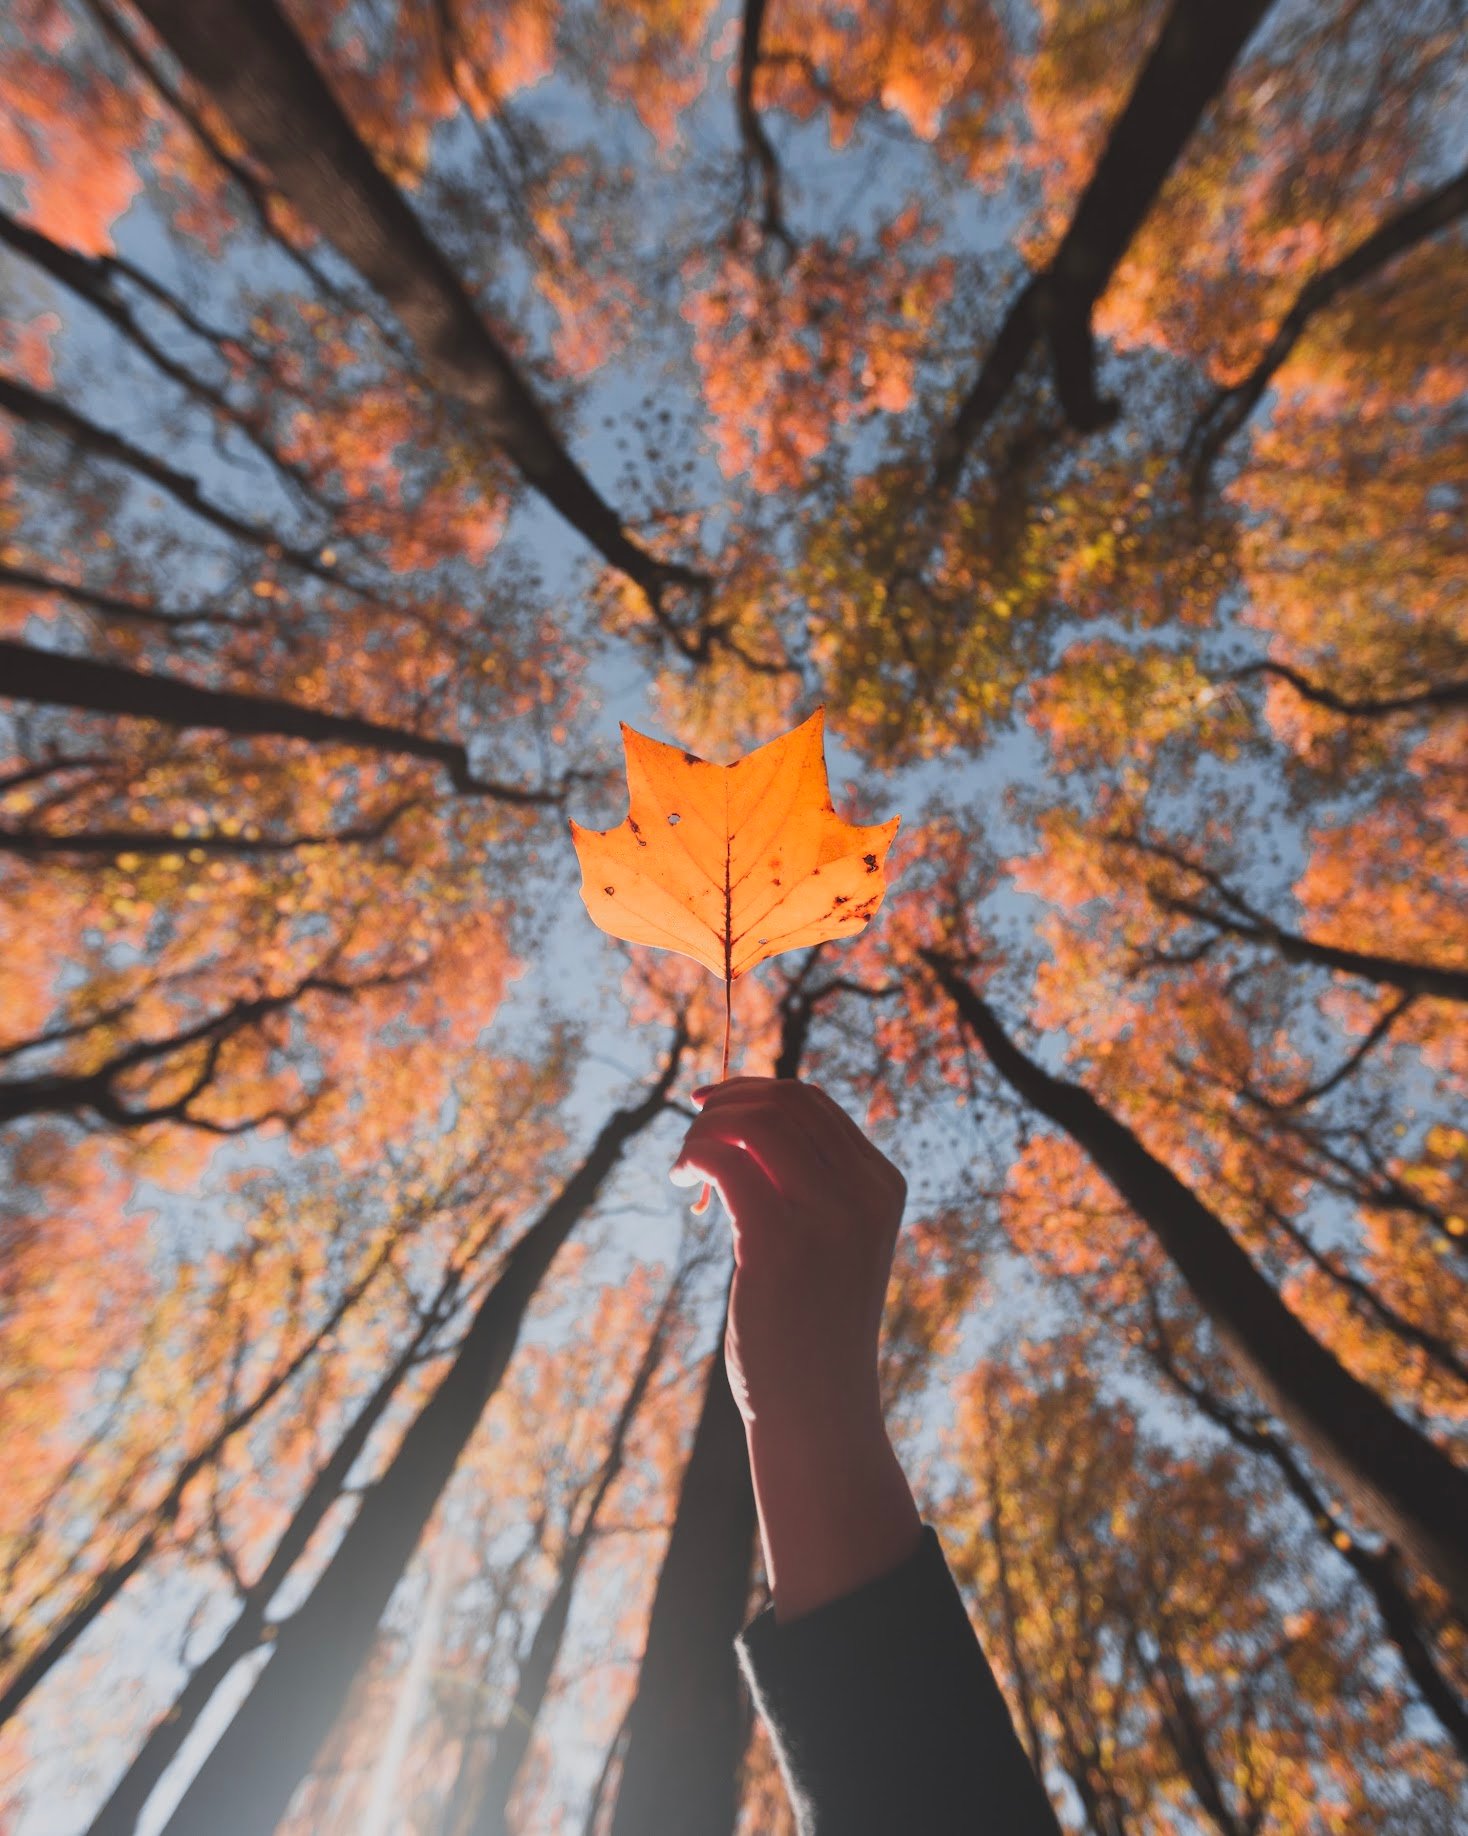
I also recommend playing around with foreground elements too. Leaves, reflective surfaces (glass) or even a fence can look great in the foreground. Adding foreground elements to your images will create more depth, especially if you’re shooting a low f-stop.
9. Be Patient
If you’ve found a great location for your shot don’t just take your photo and move on. Having patience can often bring different photography opportunities than you would have gotten otherwise. This is especially important if you’re shooting at sunrise or sunset as the light can quickly change.
Spending more time at a location will also give you time to play around with angles and settings. Some of my favorite images have come out of this exploration rather than getting the shot I planned initially.
Being patient is especially important at crowded tourist sites. Most gaps in the crowd appear within 60 seconds of waiting, so don’t just take the first shot and move on. When the light starts to fade, tourists head out and photographers stay, which means you get cleaner frames and a more cooperative crowd. At heavily visited landmarks like the Eiffel Tower or the Colosseum, shooting at sunrise is the single most effective strategy. You get better light AND far fewer people in the same move.
If someone is ever in the way of a shot I’m shooting I always wait as well. I have seen some photographers shoo people away but our job as photographers is to wait for the right shot.
10. Learn Your Camera Settings
If you’re shooting on auto you will not have complete control over your final image.
While auto mode is great to start shooting on it’s important to learn how ISO, aperture, and shutter speed affect your final image. You’ll also want to ensure you are shooting photos on RAW instead of JPEG. This gives you more flexibility when editing in post-processing.
Shooting photos at night?
Read: Night Photography Tips for Beginners
Typically, when traveling, I shoot in aperture priority mode so I can control the aperture to affect the final image. When shooting with a tripod, I typically use aperture priority with an F/8 and ISO manually set to 100. Additionally, when using a tripod, I enable a 2-second timer on my camera so the camera doesn’t vibrate when I hit the shutter button. This setup allows the camera to determine the correct shutter speed, resulting in a sharp, noise-free image.
You can also spend time improving your photography skills by mastering manual mode for full creative control over your images. In manual mode you’ll need to understand all of the basics of photography like aperture, shutter speed, ISO, and white balance.
Once you understand how each camera setting affects your images, you gain greater control over the photos you produce, including managing the level of noise, depth of field, and shutter speed effects.
11. Get Better at Editing Your Photos
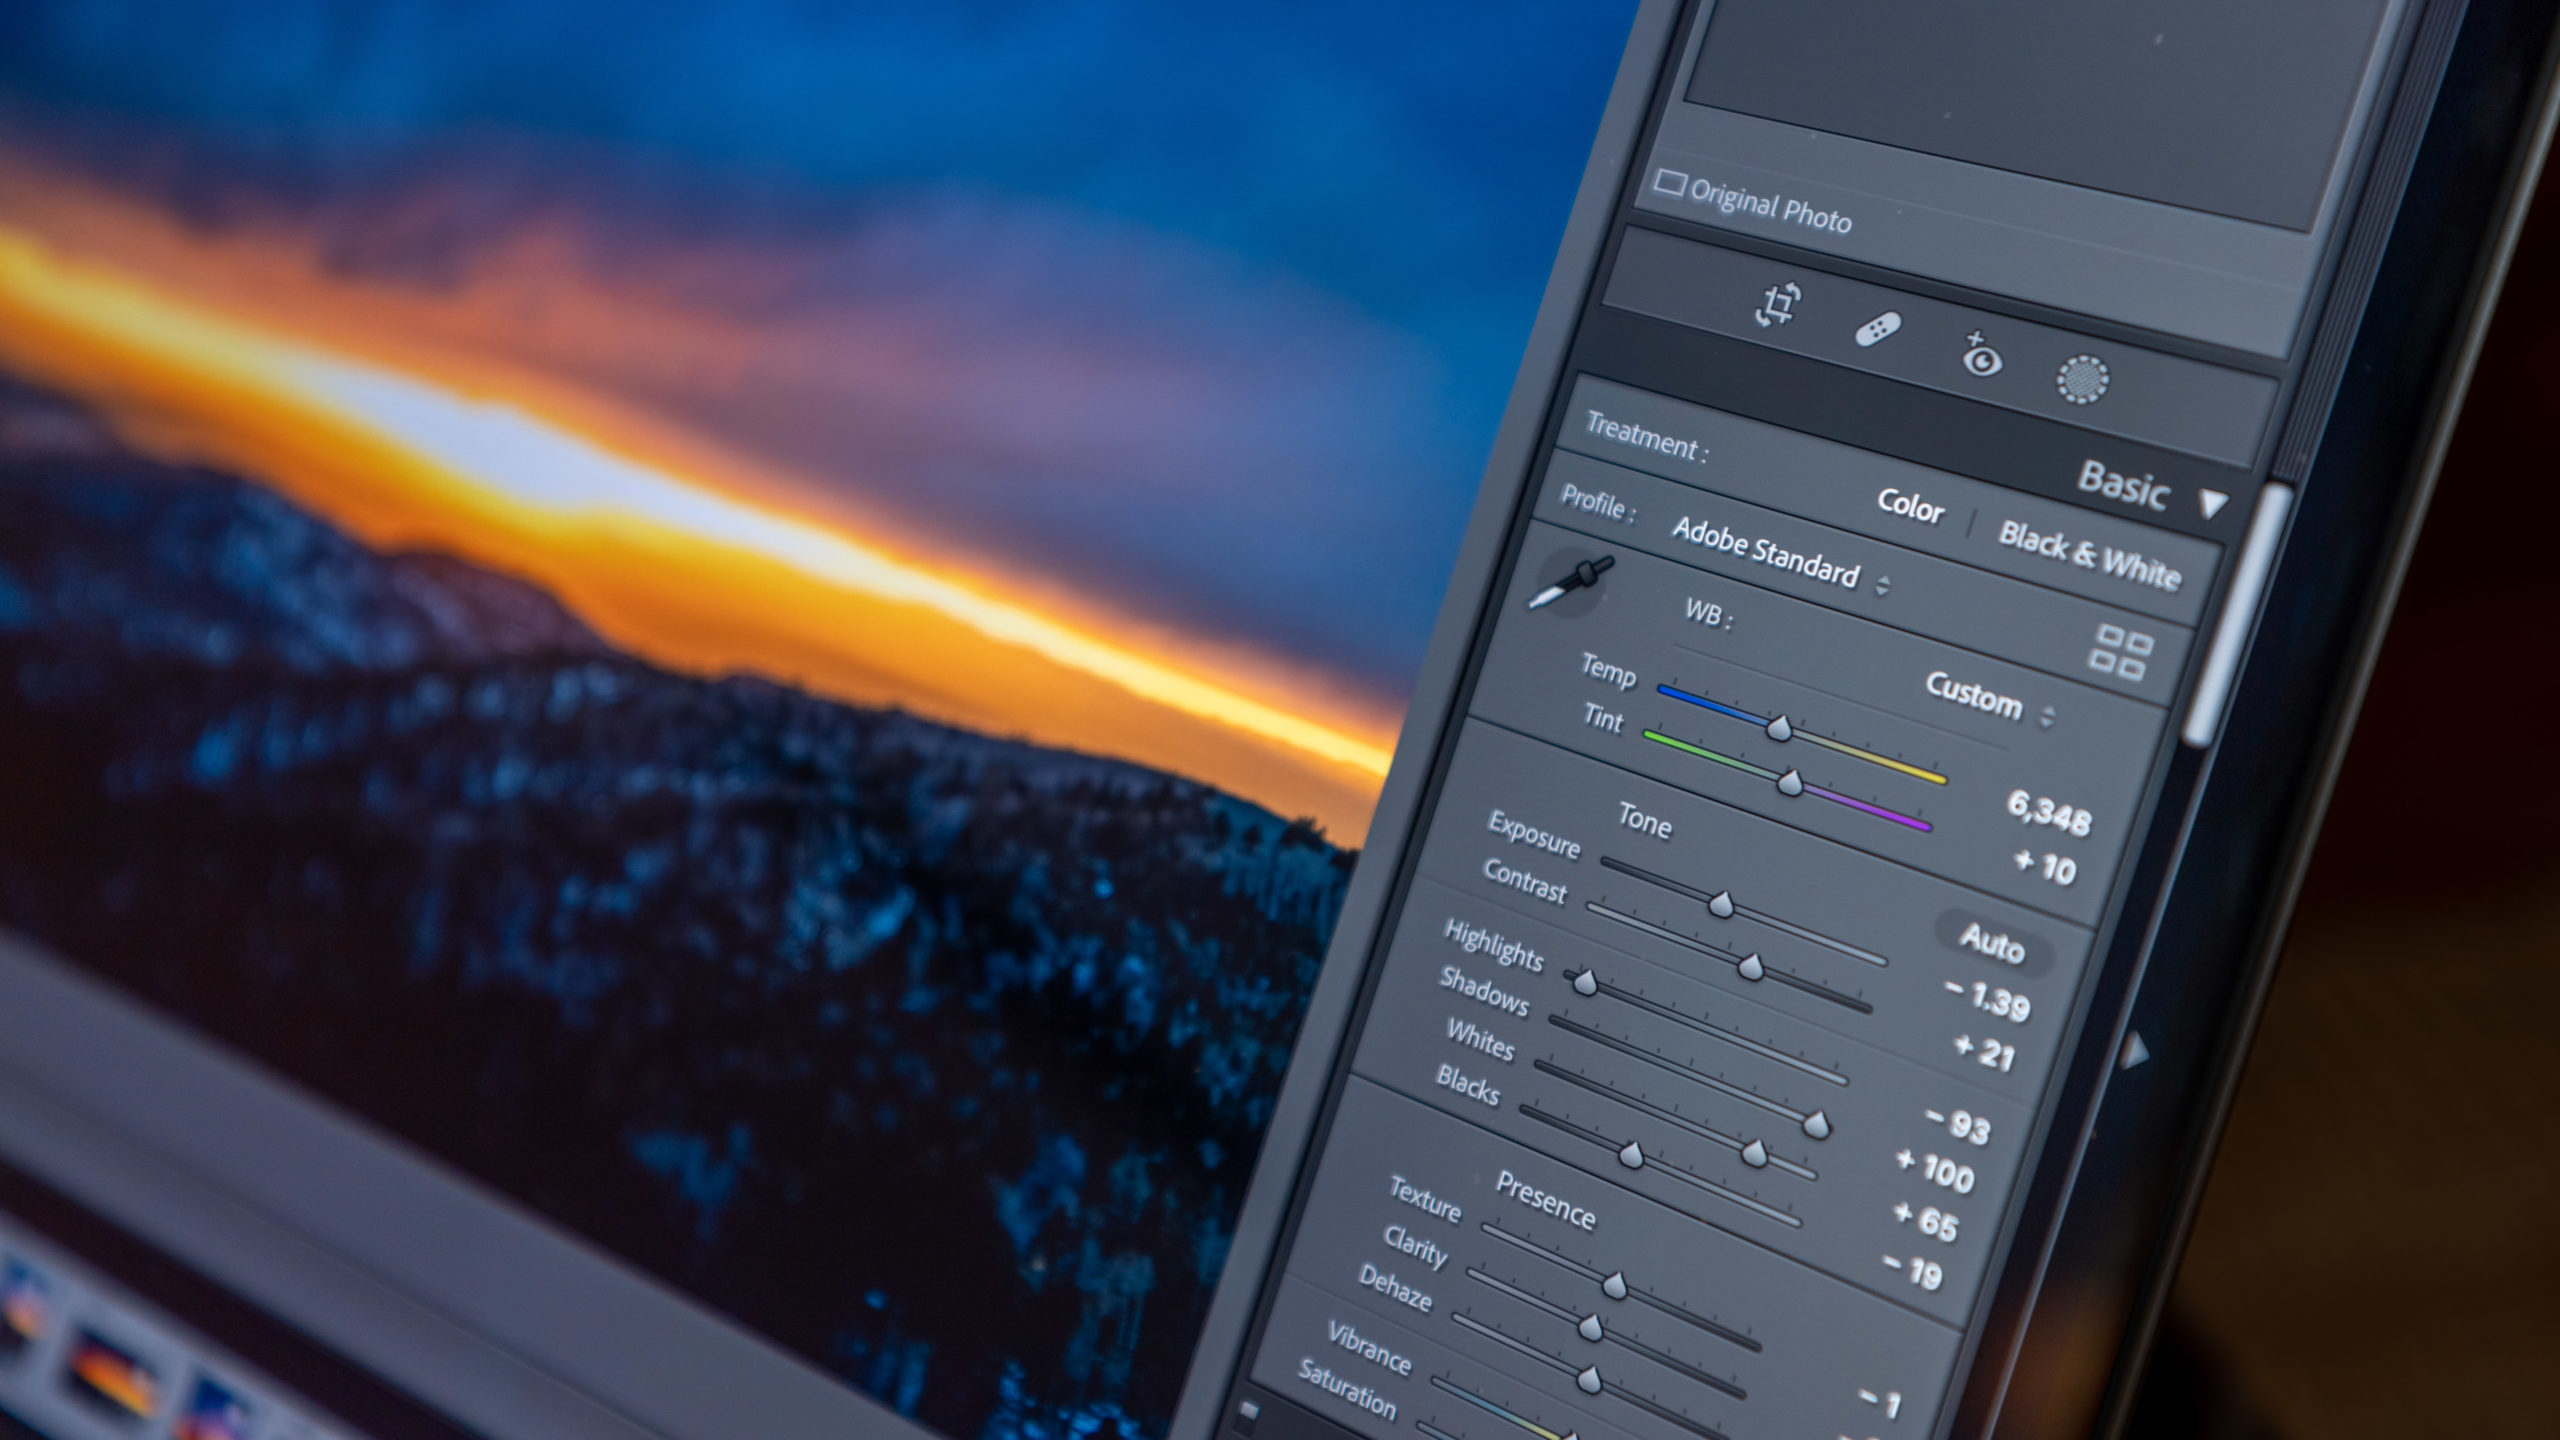
New photographers often overlook editing but it’s essential to great images. Modifying colors, lighting, and cropping are all things you can do in post-processing.
My favorite editing software is Lightroom which you can get bundled with Photoshop for $9.99/month. Lightroom also offers a free version for the phone but to get the most out of it you’ll want the paid plan. Once you are subscribed to Lightroom you can edit on your computer or phone.
There are plenty of editing tutorials on YouTube (See my photography tutorial video playlist). With 20 minutes you can learn the basics of Lightroom and start processing your photos. You would be surprised how good Lightroom’s “Auto” functionality is at pulling out details.
Lightroom has added strong AI tools that save real time. Generative Remove lets you erase distracting objects (trash cans, strangers walking through, power lines) with a brush stroke and a click. AI Lens Blur adds background blur if you couldn’t get enough separation in camera. If you edit on iPhone, Apple’s built-in Clean Up tool in the Photos app does basic object removal without any subscription. These tools are genuinely useful for travel photos where you rarely control what else is in the frame.
12. Don’t Obsess over Gear
It’s easy to think all of your issues are because of your photography gear. You’ll see plenty of videos from pro photographers on YouTube telling you why you need the next best thing. But if you already have a camera you’re comfortable with then you should focus on mastering it. Even if it’s just an iPhone camera you can do a great job at capturing your travels.
Most photographers (me included) have fallen into the trap of constantly wanting the latest and greatest gear. Your money is better spent traveling and your time is better spent shooting! Both of these will bring you success and joy as a photographer, rather than a new camera to sit on your shelf.
You can learn how to use bracketing to create HDR images with your camera giving it more dynamic range while editing. Many photographers overlook HDR as cheesy but modern HDR images can increase your quality of images with the gear you already have.
Don’t get me wrong though, there is no problem upgrading your gear. Especially after you’ve recognized limitations of your current gear, just be conscious of the cycle you may be in.
If you’re shooting on a smartphone, every tip in this article still applies. Modern iPhones and Android flagships shoot in multiple focal lengths and support RAW formats (ProRAW on iPhone, RAW on Pixel). A few things that help: shoot in the highest quality format your phone supports, use the main lens instead of digital zoom for the sharpest results, and tap the screen to lock exposure before you shoot rather than letting the phone decide. For low-light scenes, use Night mode rather than pushing underexposed shots in editing. Night mode on recent iPhones handles dark environments better than many dedicated cameras at the same price point.
13. Try New Camera Accessories
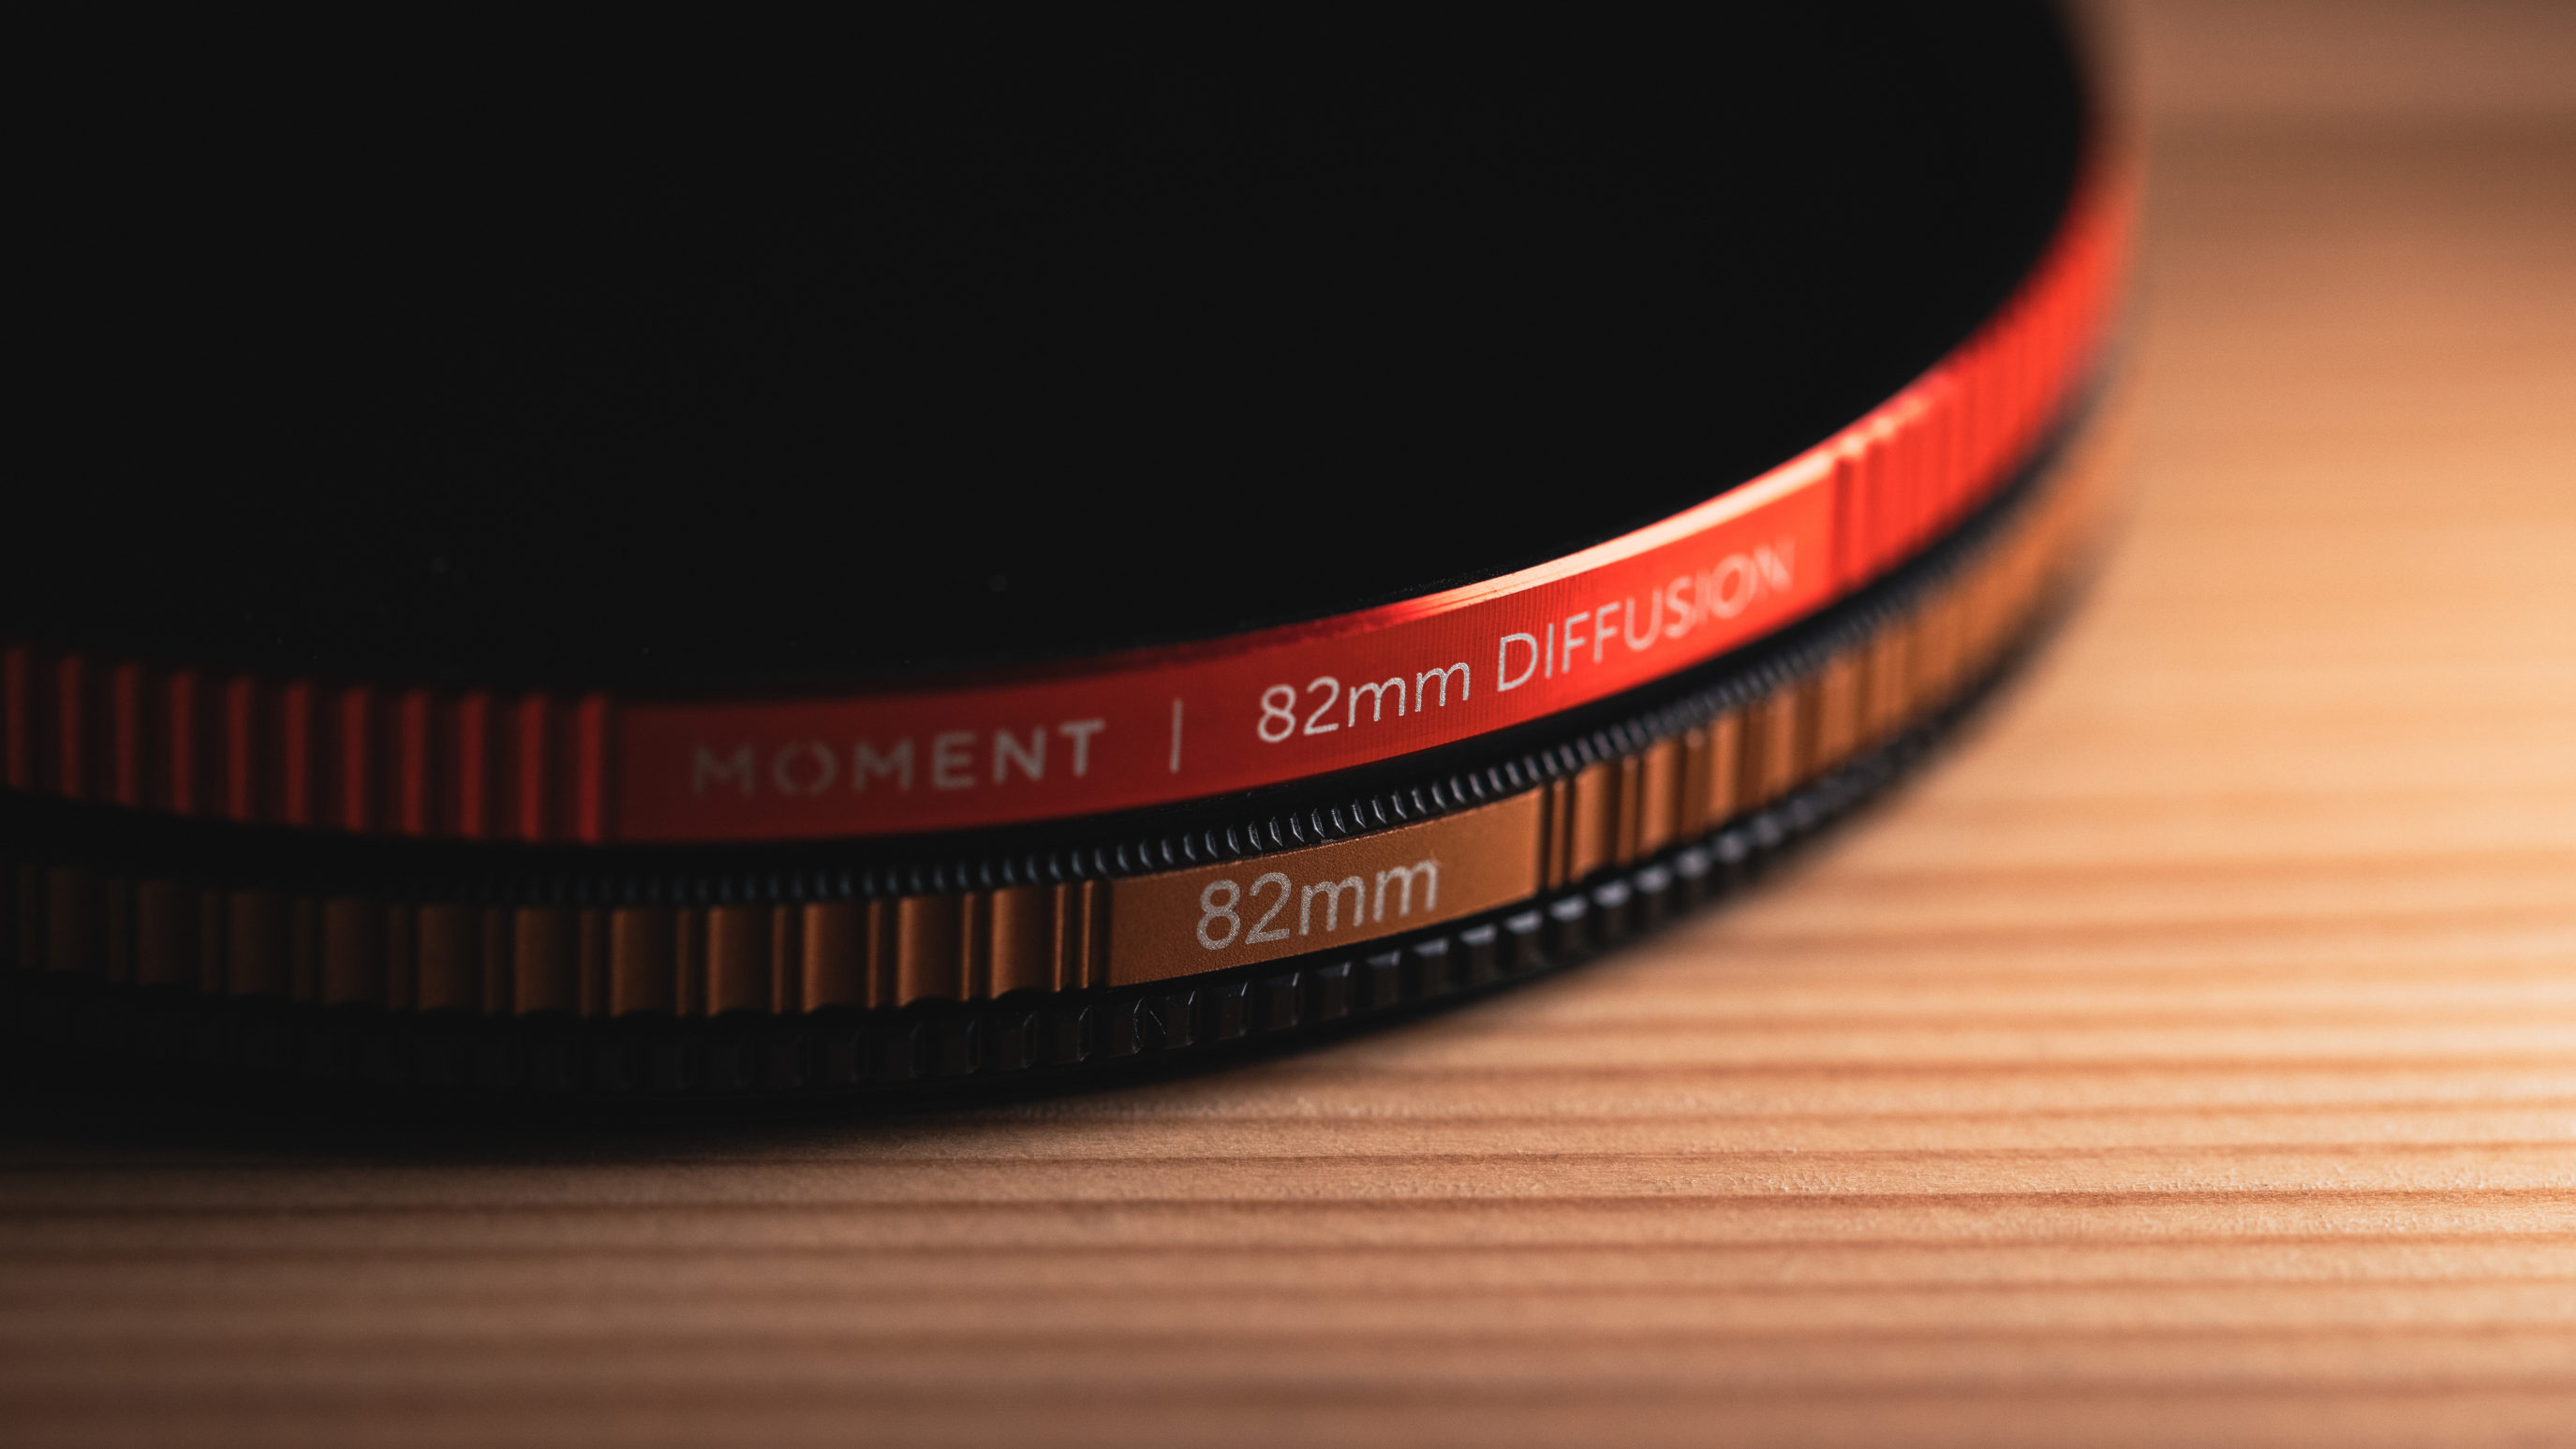
I know it may seem counter intuitive with my previous tip but it’s important to know about new camera gear and accessories. My main rule is to use what you have until you out grow it and need new gear. Adding a few filters to your camera bag won’t take up too much room or cost much but can have a big impact on your photos. If it’s a bright sunny day having an ND filter will allow you to use lower f-stops to add more depth of field to your photos. There are plenty of interesting filters to experiment with like mist filters, polarized filters, and ND filters. One of my favorite techniques is to use a 10-stop ND filter to create a long exposure for smooth clouds.
14. Backup Your Photos
There is nothing worse than losing your original photos while traveling. You aren’t able to get the memories back if your memory card or hard drive is stolen. You could try to use a cloud backup solution like Backblaze but it can be challenging to find fast internet while traveling.
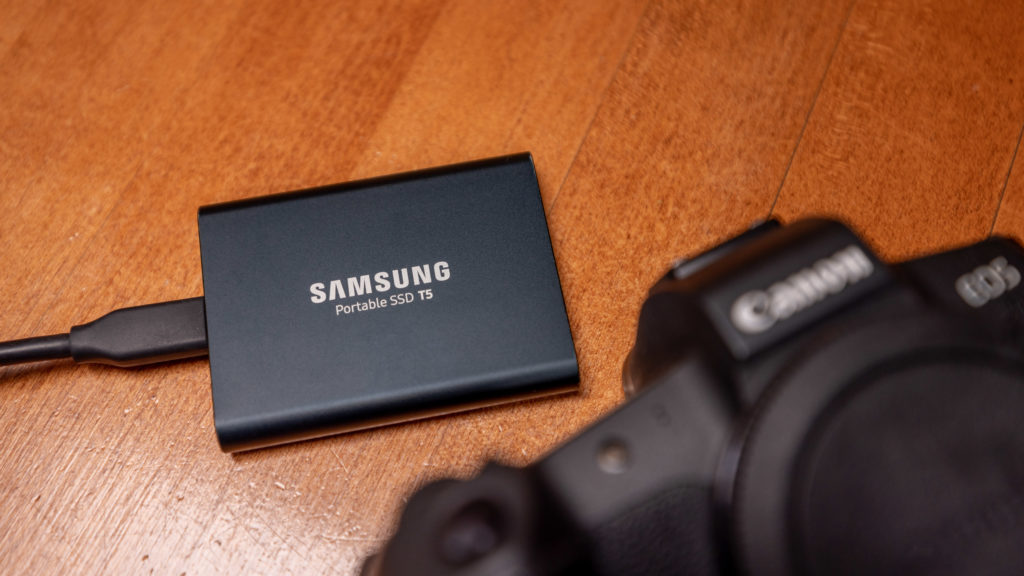
At a minimum you should keep your photos on a hard drive that isn’t with you while traveling. One of my favorite portable drives is the Samsung T7 SSD which comes in multiple capacities and fast enough to edit my RAW files off of the drive. The Samsung T5 and X5 are also great choices but are at different budgets.
Additionally I recommend storing your edited photos in the cloud. iCloud Photos, Google Photos, and Dropbox are all great choices for storing your processed photos. In my personal workflow, I export my photos to a Dropbox folder so I know that all of them are backed up.
15. Explore!
The most important thing you can do for your travel photography is simple: get out and explore.
The best travel photos rarely come from the obvious angles. They come from wandering past the tourist markers and finding what’s around the corner. Some of my favorite shots came from leaving early for a planned location and stumbling onto something entirely different along the way.
Give yourself unscheduled time on every trip. Not every hour needs a planned photo location. Going out with just one lens and no shot list forces a different creative mode. You start looking more carefully because you’re working with limits.
Talk to locals when you can. Locals know spots that don’t appear in any search result or travel guide. A quick conversation at a coffee shop has pointed me toward places I would never have found otherwise. Being genuinely curious and friendly pays off as a travel photographer in ways no amount of research can replicate.
Travel Photography Frequently Asked Questions
Here are common questions I’ve been asked about travel photography.
What is travel photography?
Travel photography covers any photos taken while exploring locations away from home. It includes landscapes, cityscapes, street scenes, portraits, wildlife, architecture, and food. There’s no single style. The goal is to capture what makes a place feel like itself, not just the landmarks everyone photographs but the smaller details, the light, and the moments between the obvious shots.
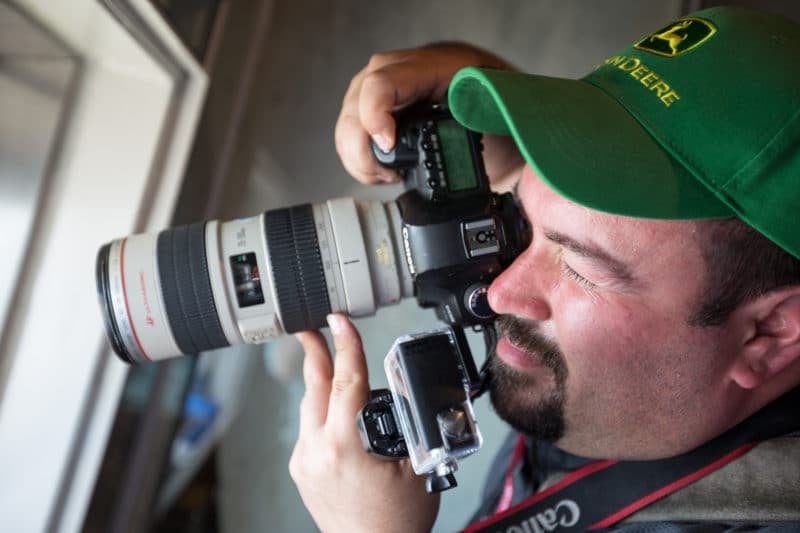
What equipment do I need to bring for travel photography?
It really depends on what type of photography you want to do. A mirrorless camera with a zoom lens (~24-70mm), a tripod, and a few extra batteries and memory cards should be adequate for taking general travel photos. However, you might require a wider lens, a telephoto lens, and a polarizing filter if you want to photograph landscapes or wildlife. To keep your equipment safe, don’t forget to bring a camera bag. Knowing how your camera bag is packed is also a massive help, when you’re on a trip you can easily waste time looking for items if your bag isn’t organized.
How do I prepare for a travel photography trip?
Do some research beforehand and plan your itinerary (I’ve written a few travel guides), so you know where and when to go for the best photo opportunities. Check the weather forecast and pack accordingly. Downloading maps before hand can also save you tons of headaches if you’re heading somewhere with bad reception. Apps like Google Maps, Apple Maps, and GAIA GPS let you download maps for offline use. If you’re planning a road trip make sure to think out what you need in your car. I recommend having a battery for your tech and emergency supplies like a car tire pump. Also, don’t forget to bring any necessary travel documents, such as passports or visas.
How can I take better travel photos?
Shoot during golden hour and blue hour. Get lower or higher than eye level. Stay at a location longer than feels comfortable. Use the rule of thirds as a starting point but break it when it makes sense.
Pay attention to what draws your eye in a scene. Learning to recognize emphasis in your compositions will help you create stronger images without any extra gear.
The biggest improvement most beginners can make is simply slowing down and spending more time at fewer locations instead of rushing through a checklist.
Is it okay to take photos of people when traveling?
It depends on the culture and the situation. In some countries, it’s considered rude or disrespectful to take photos of people without their permission. Make an effort to learn about local customs and ask for permission before taking someone’s photo. Also, be mindful of the privacy and dignity of the people you are photographing. In the United States it’s legal to take photos of anything if you’re on public property.
How can I protect my photos while traveling?
Make sure you backup your photos regularly, either by transferring them to a laptop or external hard drive, or by using cloud storage. Keep your memory cards in a safe place and avoid exposing them to extreme temperatures or moisture.
Consider using a password or encryption to protect your drives from theft or loss. Also be aware that your photos contain EXIF data including GPS coordinates. If you share images online, you may want to strip location data first for privacy.
Can I sell my travel photos?
Yes. Stock platforms like Getty Images, Shutterstock, and Adobe Stock accept travel photos and pay royalties each time someone licenses an image. Travel magazines, blogs, and tourism boards also license photos directly.
The main requirements are technical quality (stock agencies generally want 20MP or higher) and that you hold model releases for recognizable people and property releases for private locations.
What are some common mistakes to avoid in travel photography?
Some common mistakes include over-editing photos, relying too much on post-processing instead of capturing the right moment, and not researching the location beforehand.
Another big one is not paying attention to details and not understanding your camera sensor. Knowing whether you shoot on a full frame or crop sensor affects your lens choices and framing. Try to avoid taking overdone or touristy photos in favor of more creative and genuine images.
How can I make money with my travel photos?
Stock licensing and print sales are the most passive options. Leading photography tours is the most active and often the most lucrative per hour. Building an audience on Instagram or YouTube around travel photography can lead to brand partnerships, preset sales, and workshop income. Pairing your images with photography quotes on social media is a simple way to boost engagement and grow your following. A travel photography blog with affiliate links to gear generates income long after the post goes live.
I hope these travel photography tips give you something useful to take on your next trip. Whether you’re shooting with a mirrorless, DSLR, or phone, the fundamentals here apply across the board. Good light, patience, and curiosity will take you further than any gear upgrade. Photography makes travel richer, so get out and shoot.
If there is a travel photography tip I missed let me know in the comments and I’ll be sure to include it.
Enjoyed this article?
Please share a pin on Pinterest