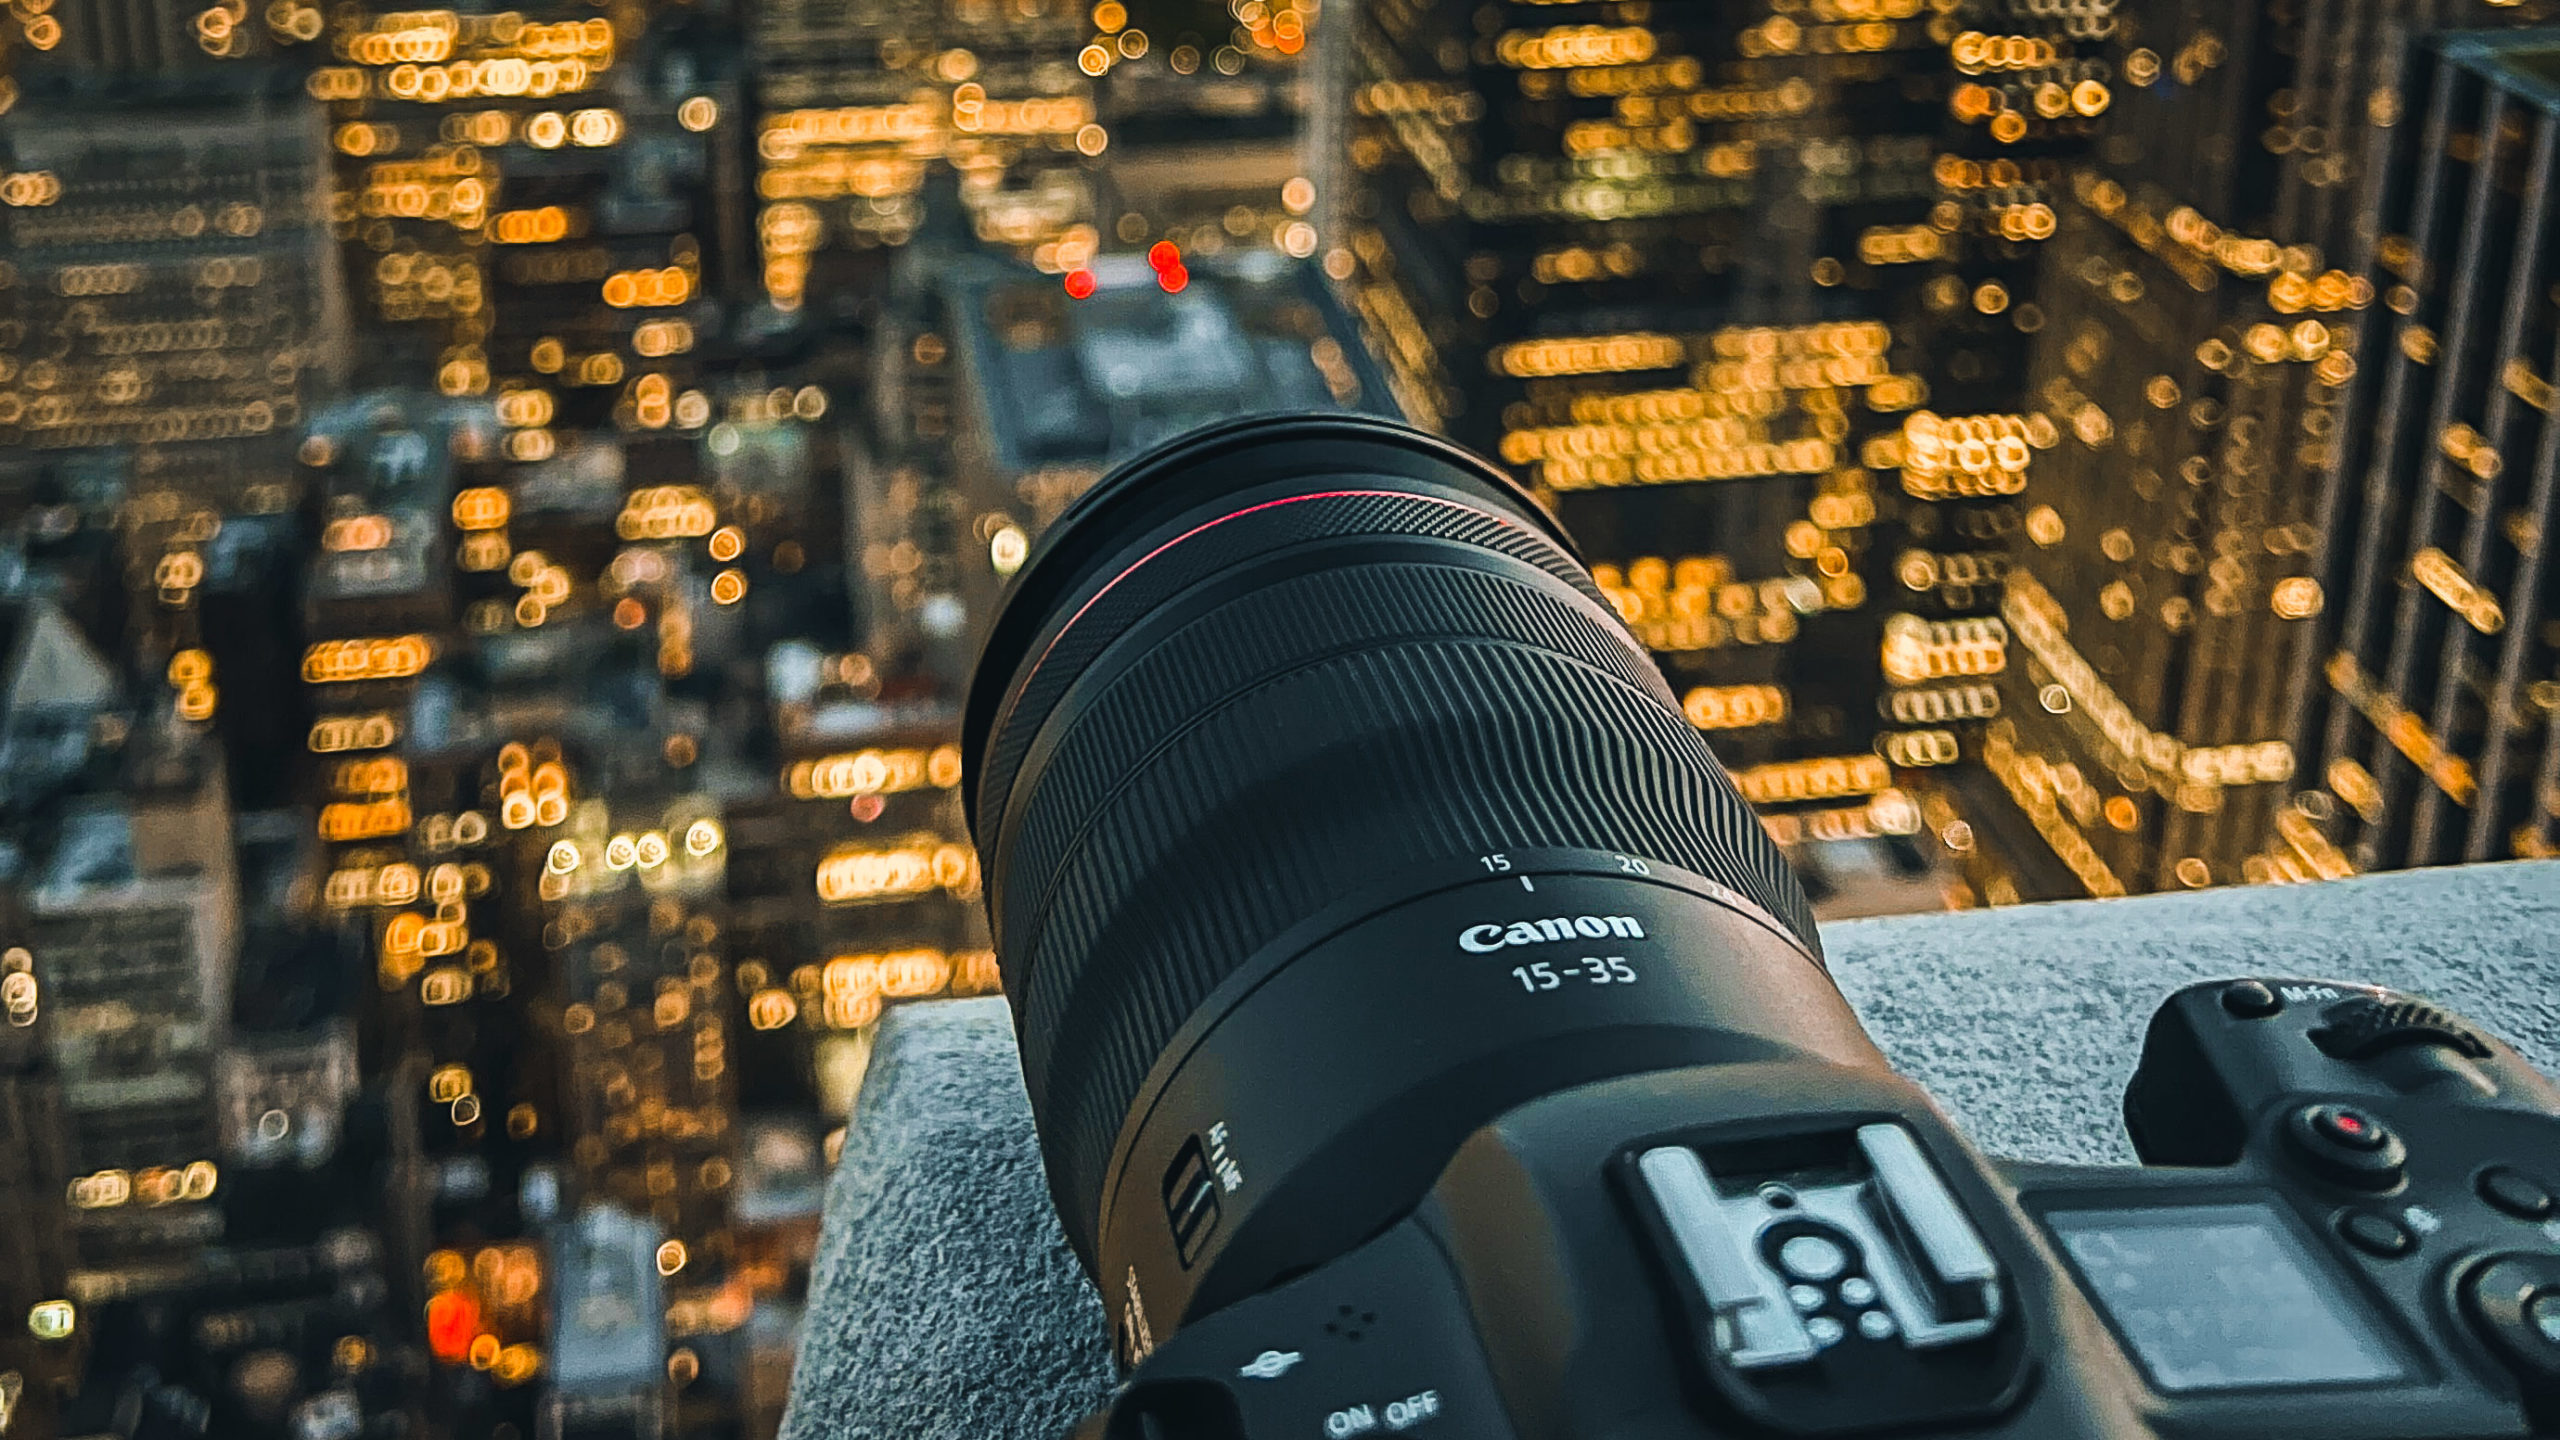
ISO in Photography plays a key role in capturing well-exposed images. It’s one of the three pillars of the exposure triangle, along with shutter speed and aperture.
But what exactly does ISO mean, and how can photographers use it to their advantage?
In this post, we’ll cover the basics of ISO, how it affects image quality, and practical tips for choosing the right ISO in different shooting conditions.
Table of contents
Understanding ISO in Photography
Definition and Purpose of ISO
In photography, ISO refers to the sensitivity of the camera’s sensor to light. This started with film photography offering film with different sensitivity to light. In early film photography it was called ASA.
These days ISO refers to the light sensitivity of your digital camera’s sensor. Digital cameras can dynamically change their ISO for each shot which is great for multiple lighting situations while shooting. The higher the ISO number, the more sensitive the camera’s sensor is to light.
The purpose of ISO is to help photographers capture well-exposed images in different lighting conditions. In low light situations, a higher ISO (like ISO 1600) is needed to capture enough light to expose the image correctly. In bright conditions, a lower ISO (like ISO 100) is best to avoid overexposure.
Connection Between ISO, Aperture, and Shutter Speed
ISO, aperture, and shutter speed work together to create a well-exposed image. Aperture controls the amount of light that enters the camera by adjusting the size of the opening in the lens. Shutter speed controls the amount of time the sensor is exposed to light. ISO controls the sensitivity of the sensor to light.

When shooting in low light conditions, a higher ISO is needed to compensate for the lack of light. However, this can result in increased noise or grain in the image. To balance this out, the aperture can be opened wider to allow more light in, and the shutter speed can be slowed down to allow more light to reach the sensor.
In bright conditions, a lower ISO is best to avoid overexposure. This means that the aperture needs to be closed down to reduce the amount of light entering the camera, and the shutter speed needs to be increased to reduce the amount of time the sensor is exposed to light.
Of course in digital photography most of these functions happen automatically if you’d like depending on your camera mode. The modes on most cameras are similar including mirrorless and DSLRs.
Here are common digital camera modes and what they do:
- Full Auto: In full auto the camera will work out the ISO/aperture/shutter speed for each shot automatically.
- Program (P): Similar to auto program mode will automatically control your shutter speed and aperture. One addition though is that you can modify either the aperture or shutter speed making it a mix of auto and manual.
- Aperture (A) or (Av): In aperture priority mode you set the aperture while the camera automatically adjusts the shutter speed for proper exposure.
- Shutter Priority (S) or (Tv): In shutter priority mode you set the shutter speed while the camera determines the appropriate aperture for correct exposure.
- Manual (M): In manual mode you’ll have to control both aperture and shutter speed to achieve desired exposure manually.
Most camera modes listed above allow you to use auto ISO or set a manual ISO.
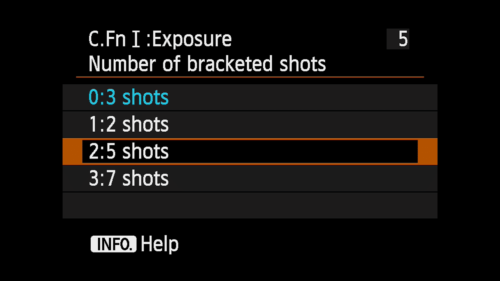
Auto ISO tip: Most modern cameras let you set Auto ISO with a maximum limit (for example, Auto ISO with a cap at ISO 6400). The camera will keep ISO as low as possible and only raise it when needed, but never above your limit. You can also set a minimum shutter speed so the camera raises ISO before the shutter gets slow enough to cause blur. This is one of the most practical settings for beginners since it handles ISO decisions for you while keeping noise under control.
Common ISO Values
ISO directly controls the sensitivity of your camera’s sensor to light. Understanding the different ISO values can help you achieve the desired results.
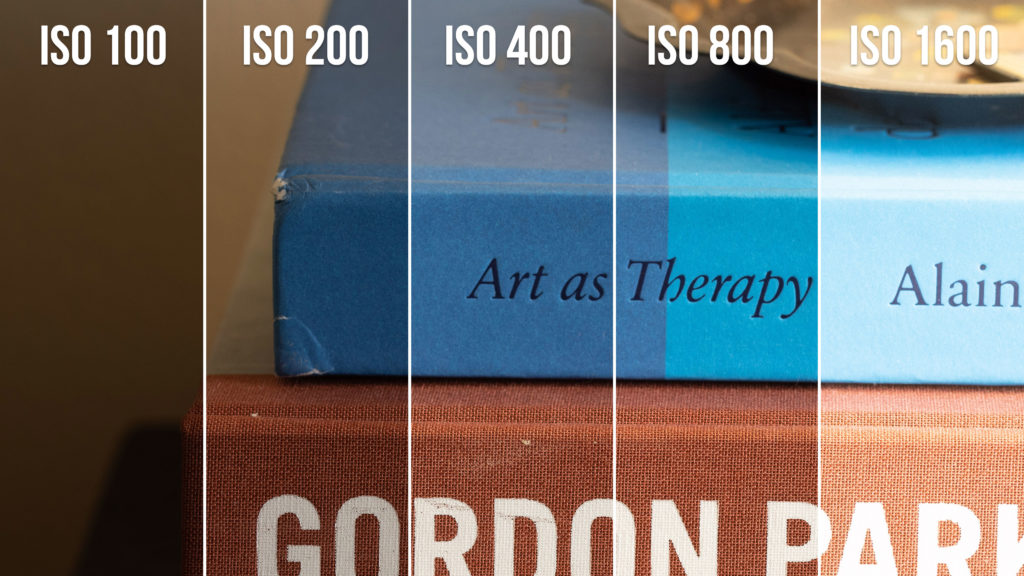
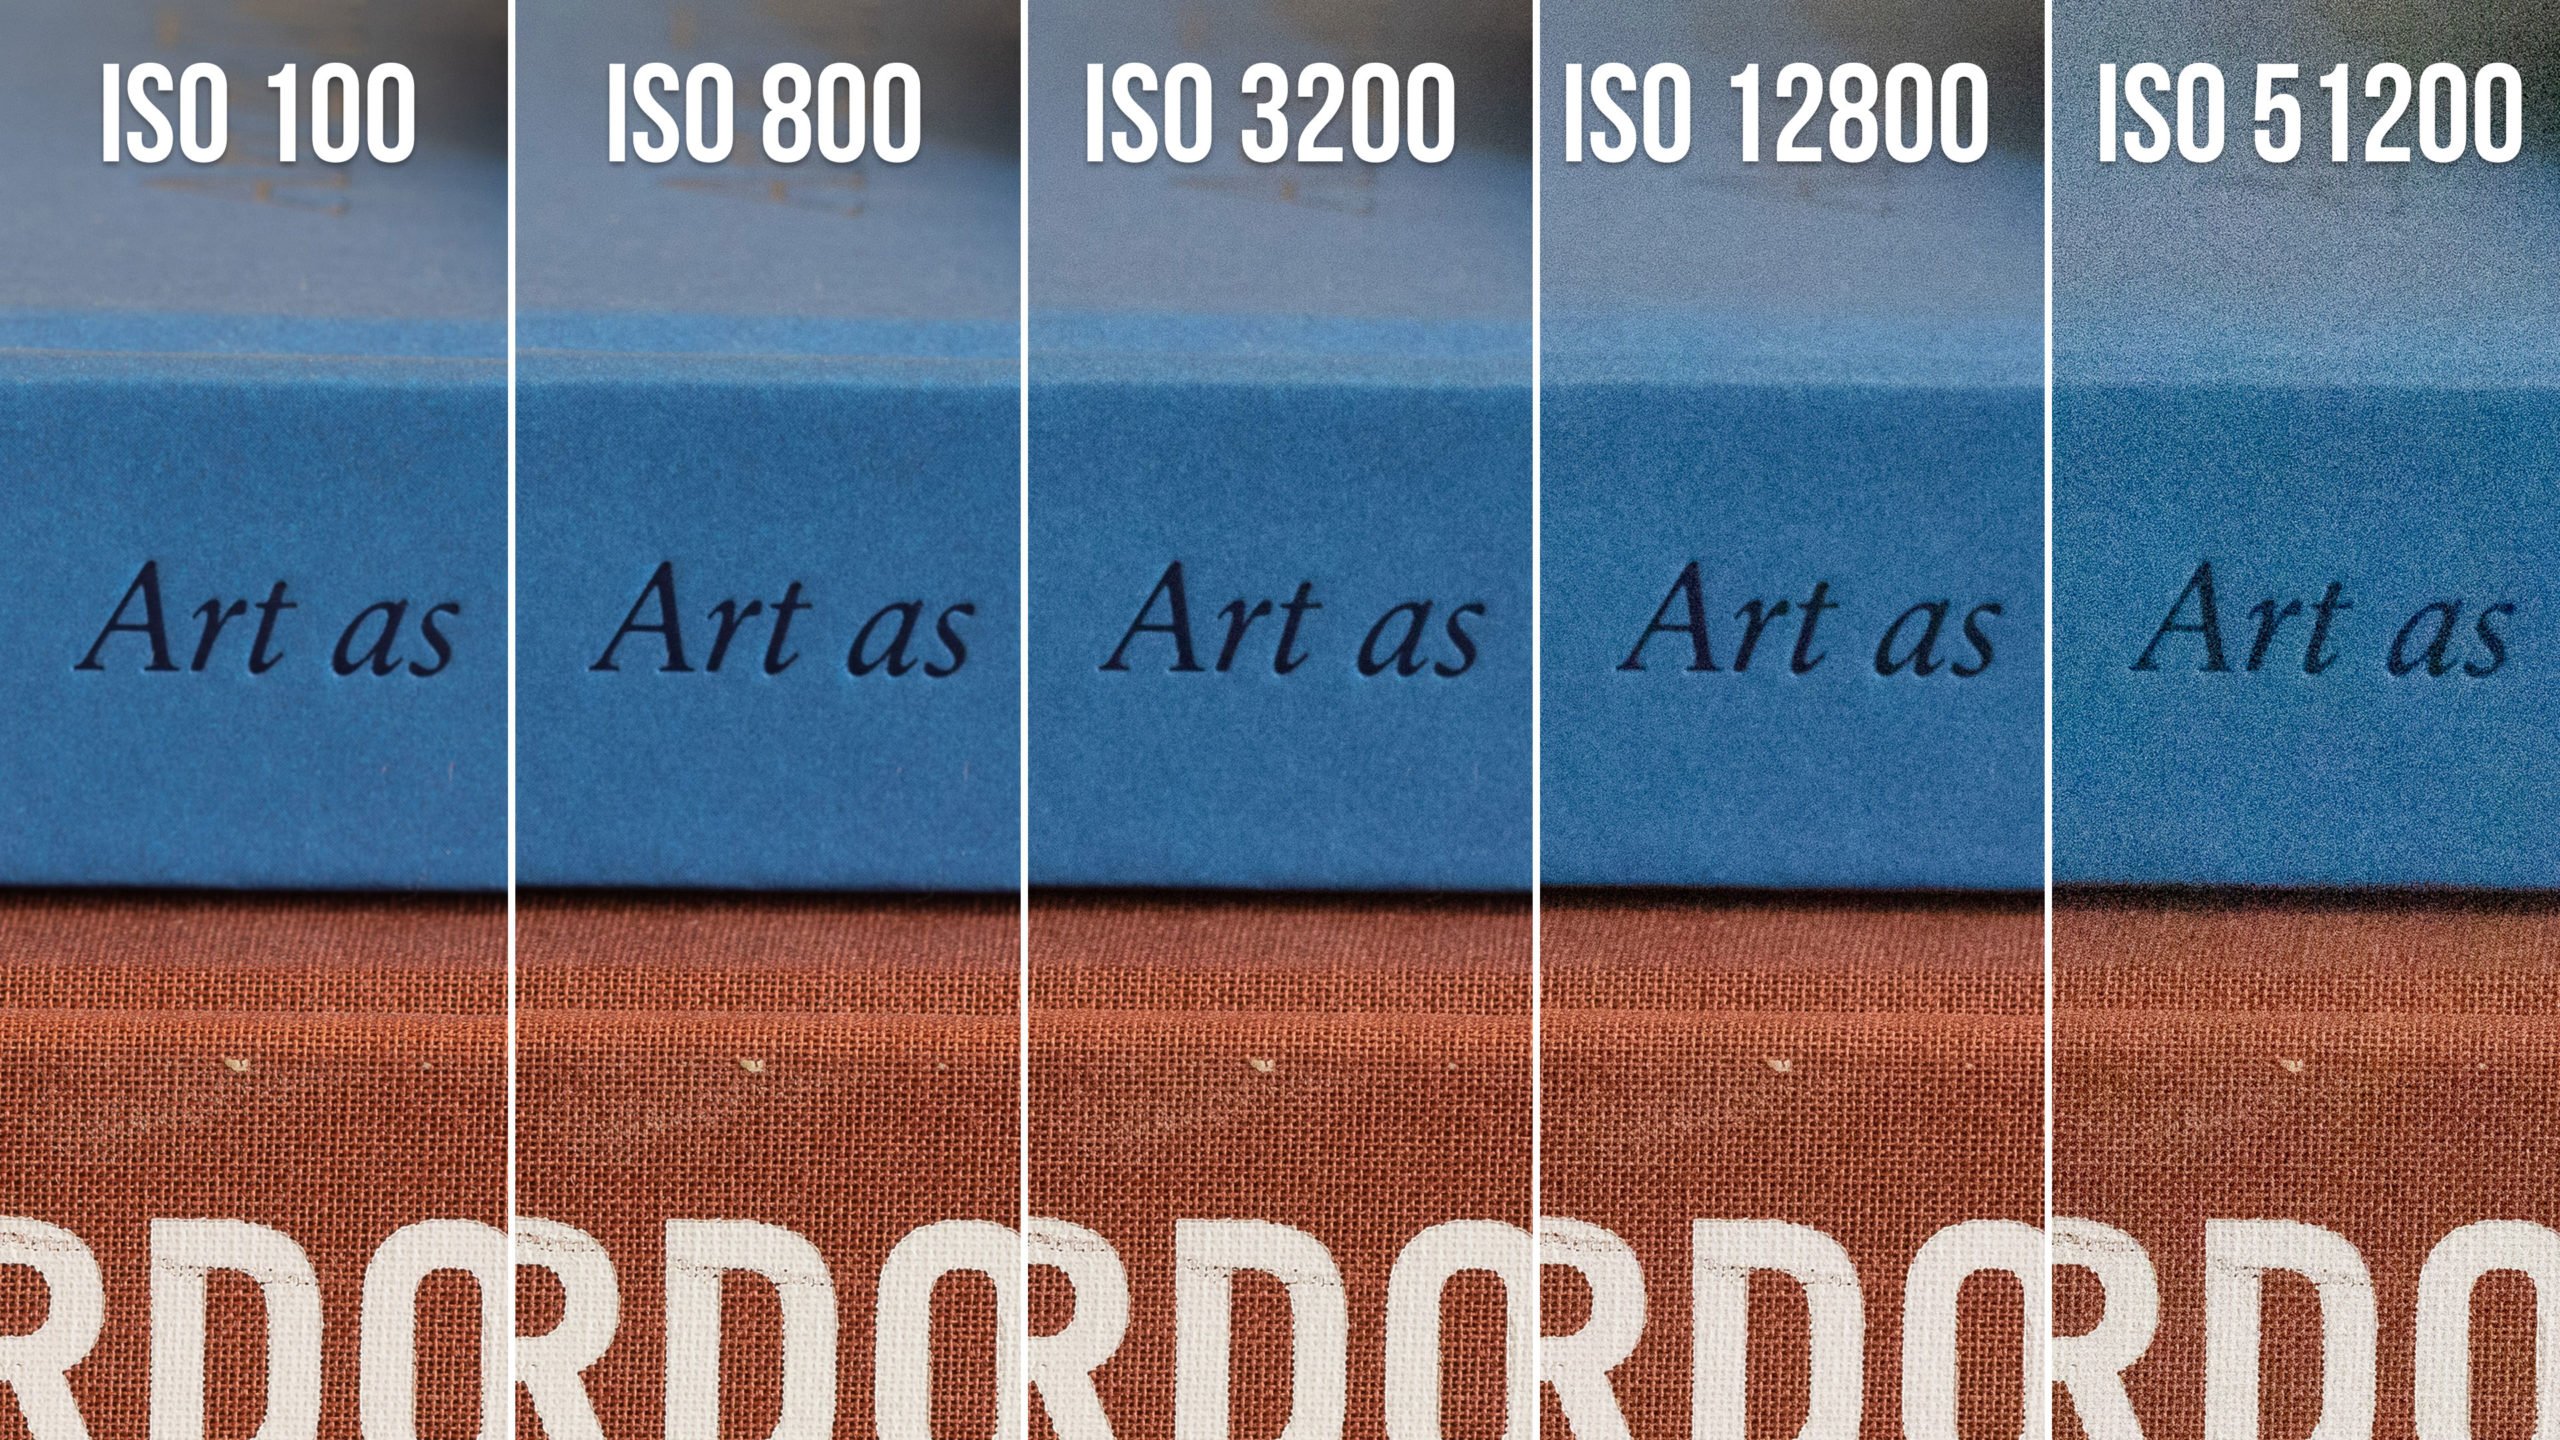
Generally, ISO values range from 100 to 6400, and some cameras can even go higher than that. As your ISO increases your camera will be more sensitive to light, allowing you to capture darker subjects but increasing noise on the resulting image.
Here are common ISO values and their best use cases:
Low ISO (100-200)
A low ISO of ISO 100 or ISO 200 is ideal for capturing bright and well-lit scenes, such as on sunny days or in well-lit rooms. They produce images with minimal noise and a high level of detail.
The trade-off is that using low ISO values could result in longer shutter speeds or wider apertures, which may affect the overall sharpness of your image.
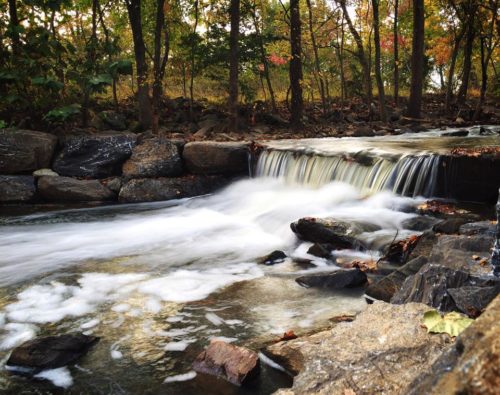
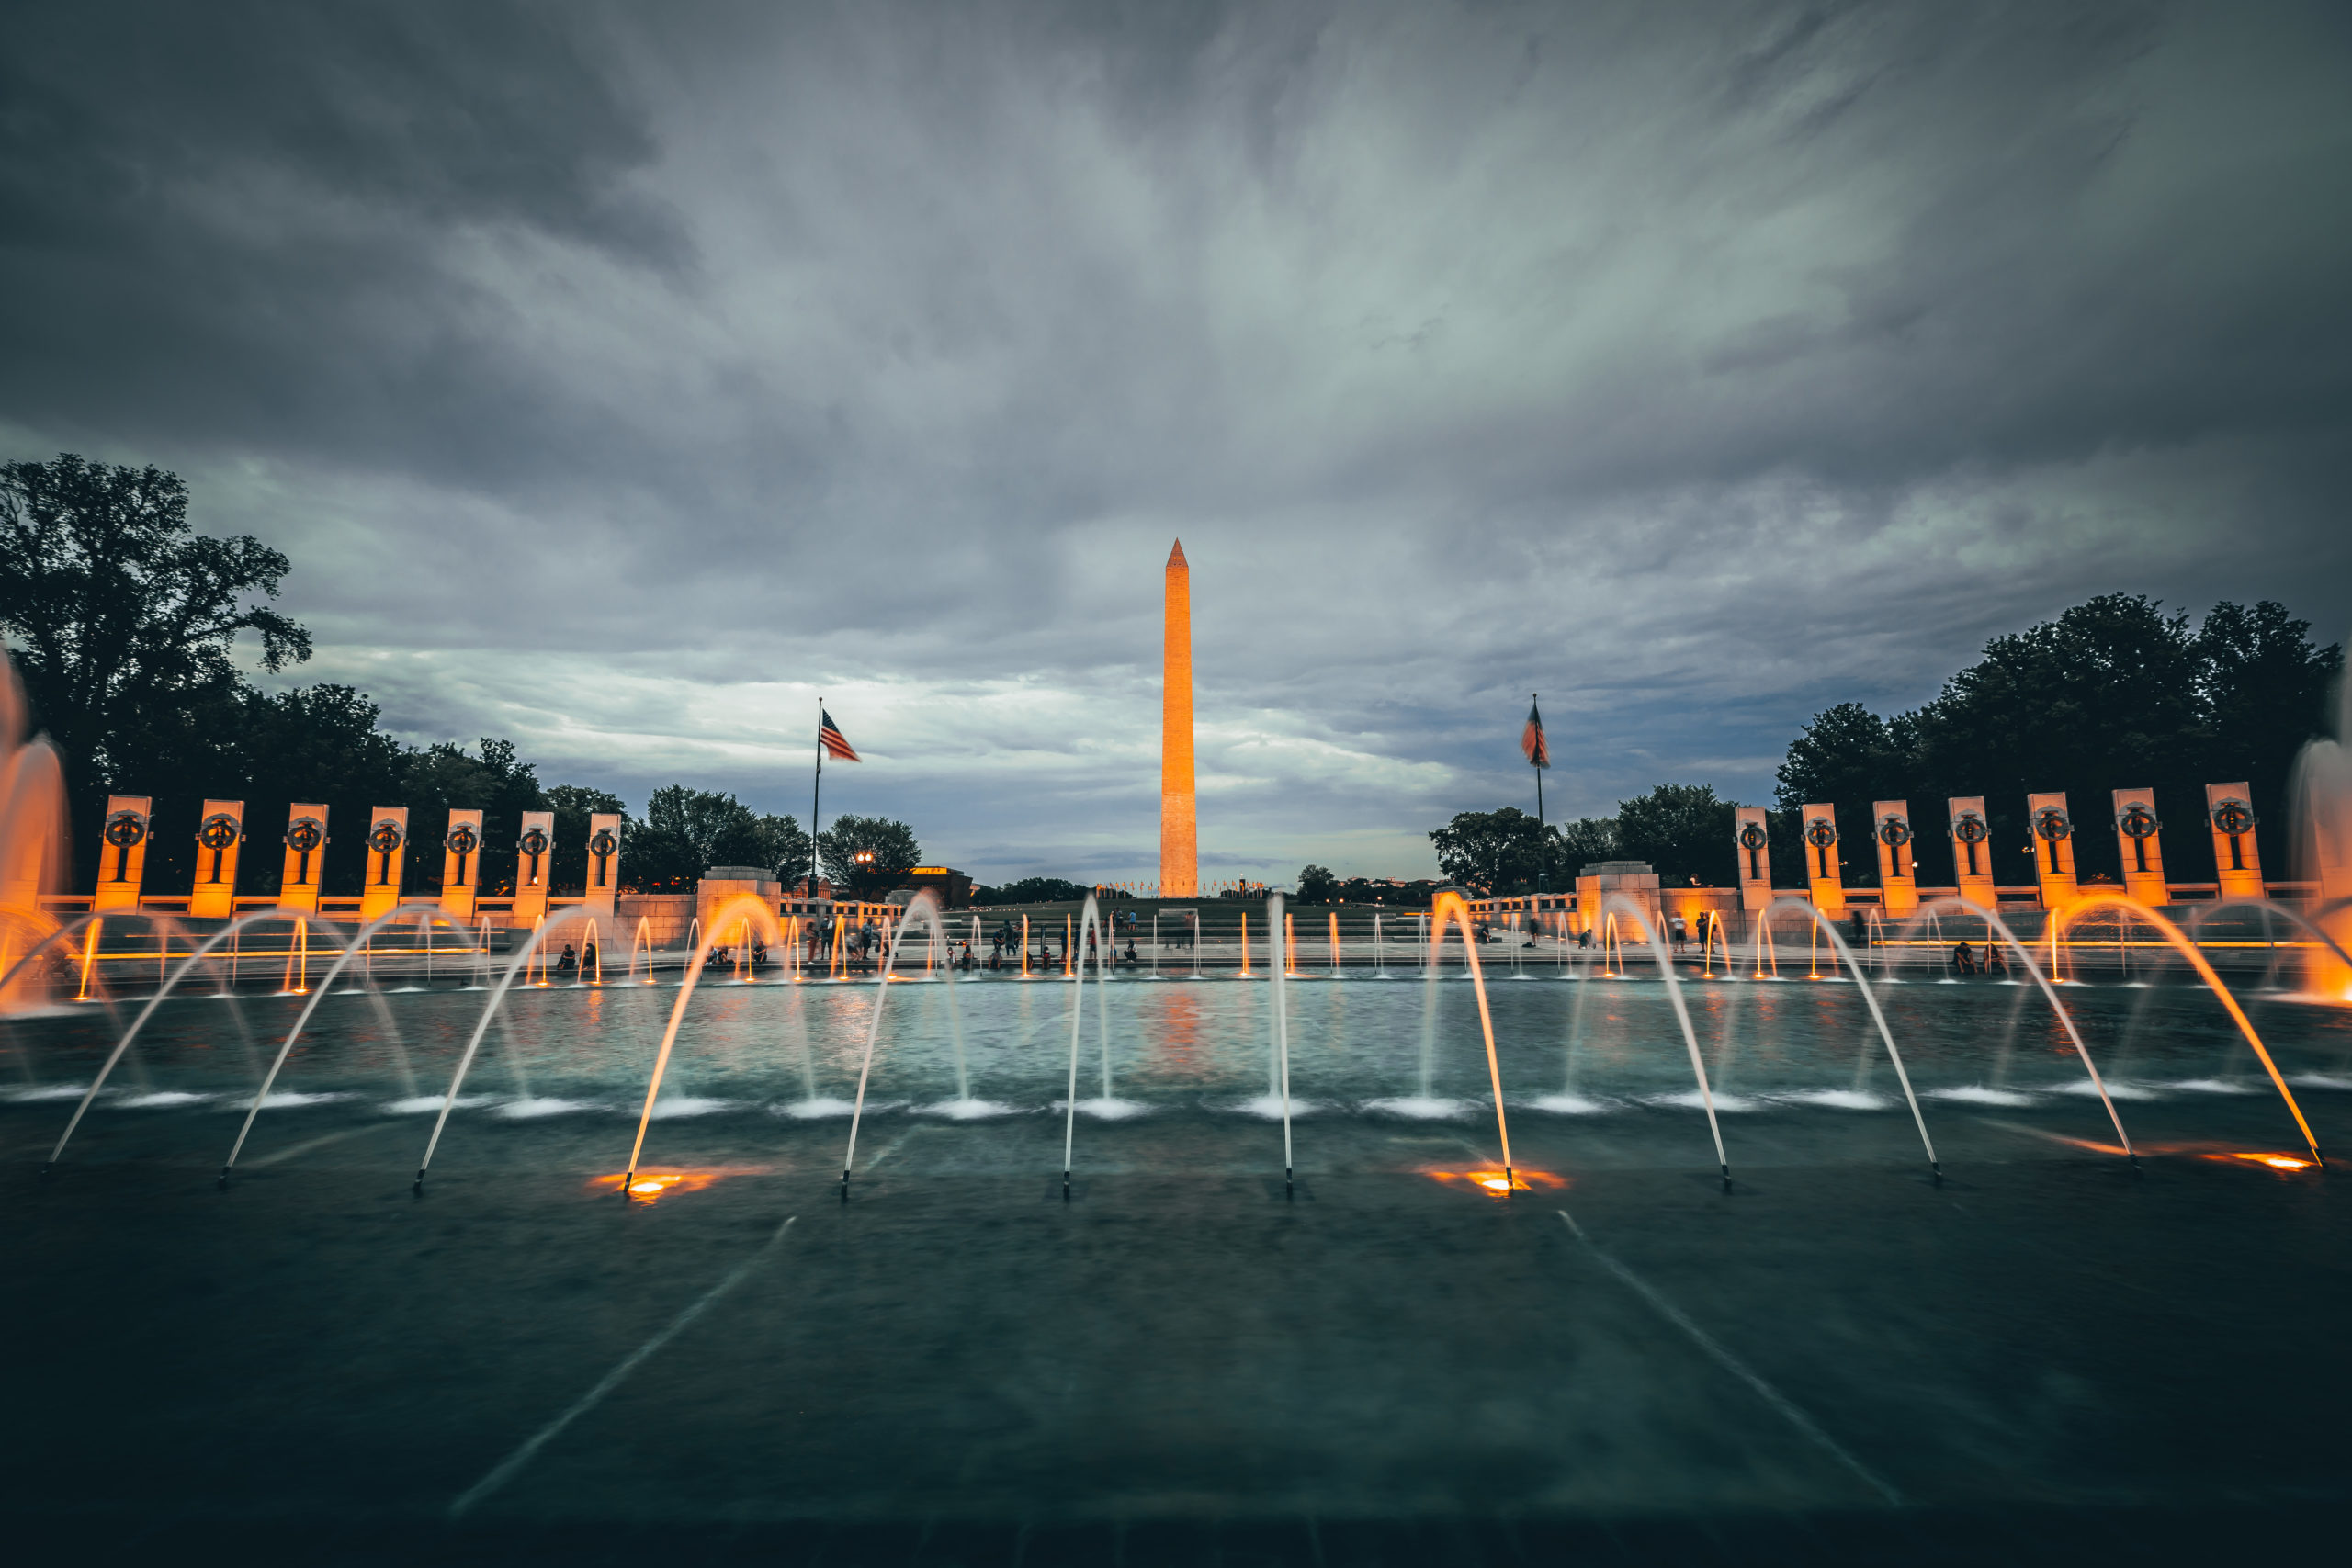
If you’re using a tripod you’ll also likely want to use a low ISO to capture a noise free image depending on your subject. It’s common to use a low ISO for night photography.
Typically ISO 100 is considered the “base ISO” of many cameras meaning it’s the best for quality and the lowest point for noise.
Medium ISO (400-800)
Medium ISO values are perfect for situations where the lighting is not too bright but not too dark. They produce images with a balance of detail and noise, making them ideal for general photography. However, it is essential to keep in mind that as you increase the ISO value, the noise in your images will also increase. Most modern digital cameras do a great job with noise when shooting under ISO 800.
High ISO (1600 and above)
High ISO values are best suited for low-light situations, such as handheld night photography or indoor shots. The higher sensitivity of the camera sensor to light allows you to capture images even in the darkest environments. However, the downside of using high ISO values is that they tend to produce images with more noise, which may affect the overall quality of the image.
It is essential to remember that the optimal ISO value for your photography will depend on various factors such as lighting conditions, the effect you want to achieve, and the camera you’re using. Experimenting with different ISO values can help you determine the ideal setting for your shooting conditions.
How to Choose the Right ISO Setting
Assessing Lighting Conditions
When selecting the appropriate ISO setting for a photograph, it’s essential to assess the lighting conditions first. If you’re shooting in a low-light environment, you’ll need to bump up the ISO to capture more light. On the other hand, if you’re shooting in bright daylight, you can lower the ISO for a cleaner image.
Balancing Grain and Detail
One of the most significant factors to consider when selecting an ISO setting is the balance between grain and detail in your image. The higher the ISO, the more noise or grain your image will have. While a low ISO setting will result in a cleaner image, it may not capture enough detail in your subject. To balance these factors, you’ll need to experiment with different ISO settings to find the perfect balance between grain and detail for your specific image.
Prioritizing Shutter Speed or Aperture
When selecting the ISO setting, you’ll also need to consider whether you prioritize shutter speed or aperture. If you need a faster shutter speed to capture motion, you’ll need to raise the ISO. On the other hand, if you want a wider aperture for a more shallow depth of field, you can lower the ISO. It’s important to remember that changing the ISO will impact the overall exposure of your image, so you’ll need to adjust your shutter speed or aperture accordingly.
The Impact of ISO on Image Quality
Noise and Grain in High ISO Images
When you increase ISO, the camera amplifies the signal from the sensor to brighten the image. This amplification also boosts digital noise and grain, which can reduce image quality.
Digital noise and grain appear as speckles or dots of different colors in your images. The higher the ISO, the more noticeable these artifacts become. The noise and grain can be distracting and reduce the sharpness and details of your photos. Therefore, it’s essential to find the right balance between ISO and image quality.
Dynamic Range and Color Accuracy
Another impact of ISO on image quality is dynamic range and color accuracy. Dynamic range refers to the range of tones from the darkest to the brightest areas in your photos. Low ISO settings can capture a wider range of tones, resulting in higher dynamic range and better color accuracy.
When you increase the ISO, you compress the dynamic range, making it harder to capture details in the highlights and shadows. Additionally, high ISO settings can affect color accuracy by introducing color shifts and noise that alter the hues and saturation of your images.
Therefore, it’s essential to choose the right ISO setting for your shooting situation to balance image quality, noise, and dynamic range. You can use lower ISO settings for well-lit scenes and higher ISO settings for low light conditions, but be aware of the trade-offs.
Tips for Managing ISO in Various Scenarios
Knowing which ISO to use depends on your shooting situation. Here are practical settings for the most common scenarios:
Outdoor Photography
When shooting outdoors, it is important to take into consideration the amount of available light. In bright daylight, you can use a low ISO setting such as 100 or 200. This will produce sharp and clear images with minimal noise. However, when shooting in low light conditions such as during sunset or in cloudy weather, you may need to increase your settings to ISO 400 or higher.
Indoor Photography
Indoor photography can be challenging due to the limited amount of available light. In this scenario, you may need to use a higher ISO setting such as 800 or 1600. This will enable you to capture more light and produce a well-lit image. However, be careful not to go too high as this may introduce noise into your image.
Low Light Photography
Shooting in low light can produce dramatic images but requires some extra care. When shooting in low light, you may need to increase your ISO to ISO 1600 or higher. This will enable you to capture more light and produce a well-exposed image. However, be mindful of noise and grain that can be introduced with higher ISO settings. You can use noise reduction tools in post-processing to reduce the noise in your images but it’s ideal to get it right in camera.
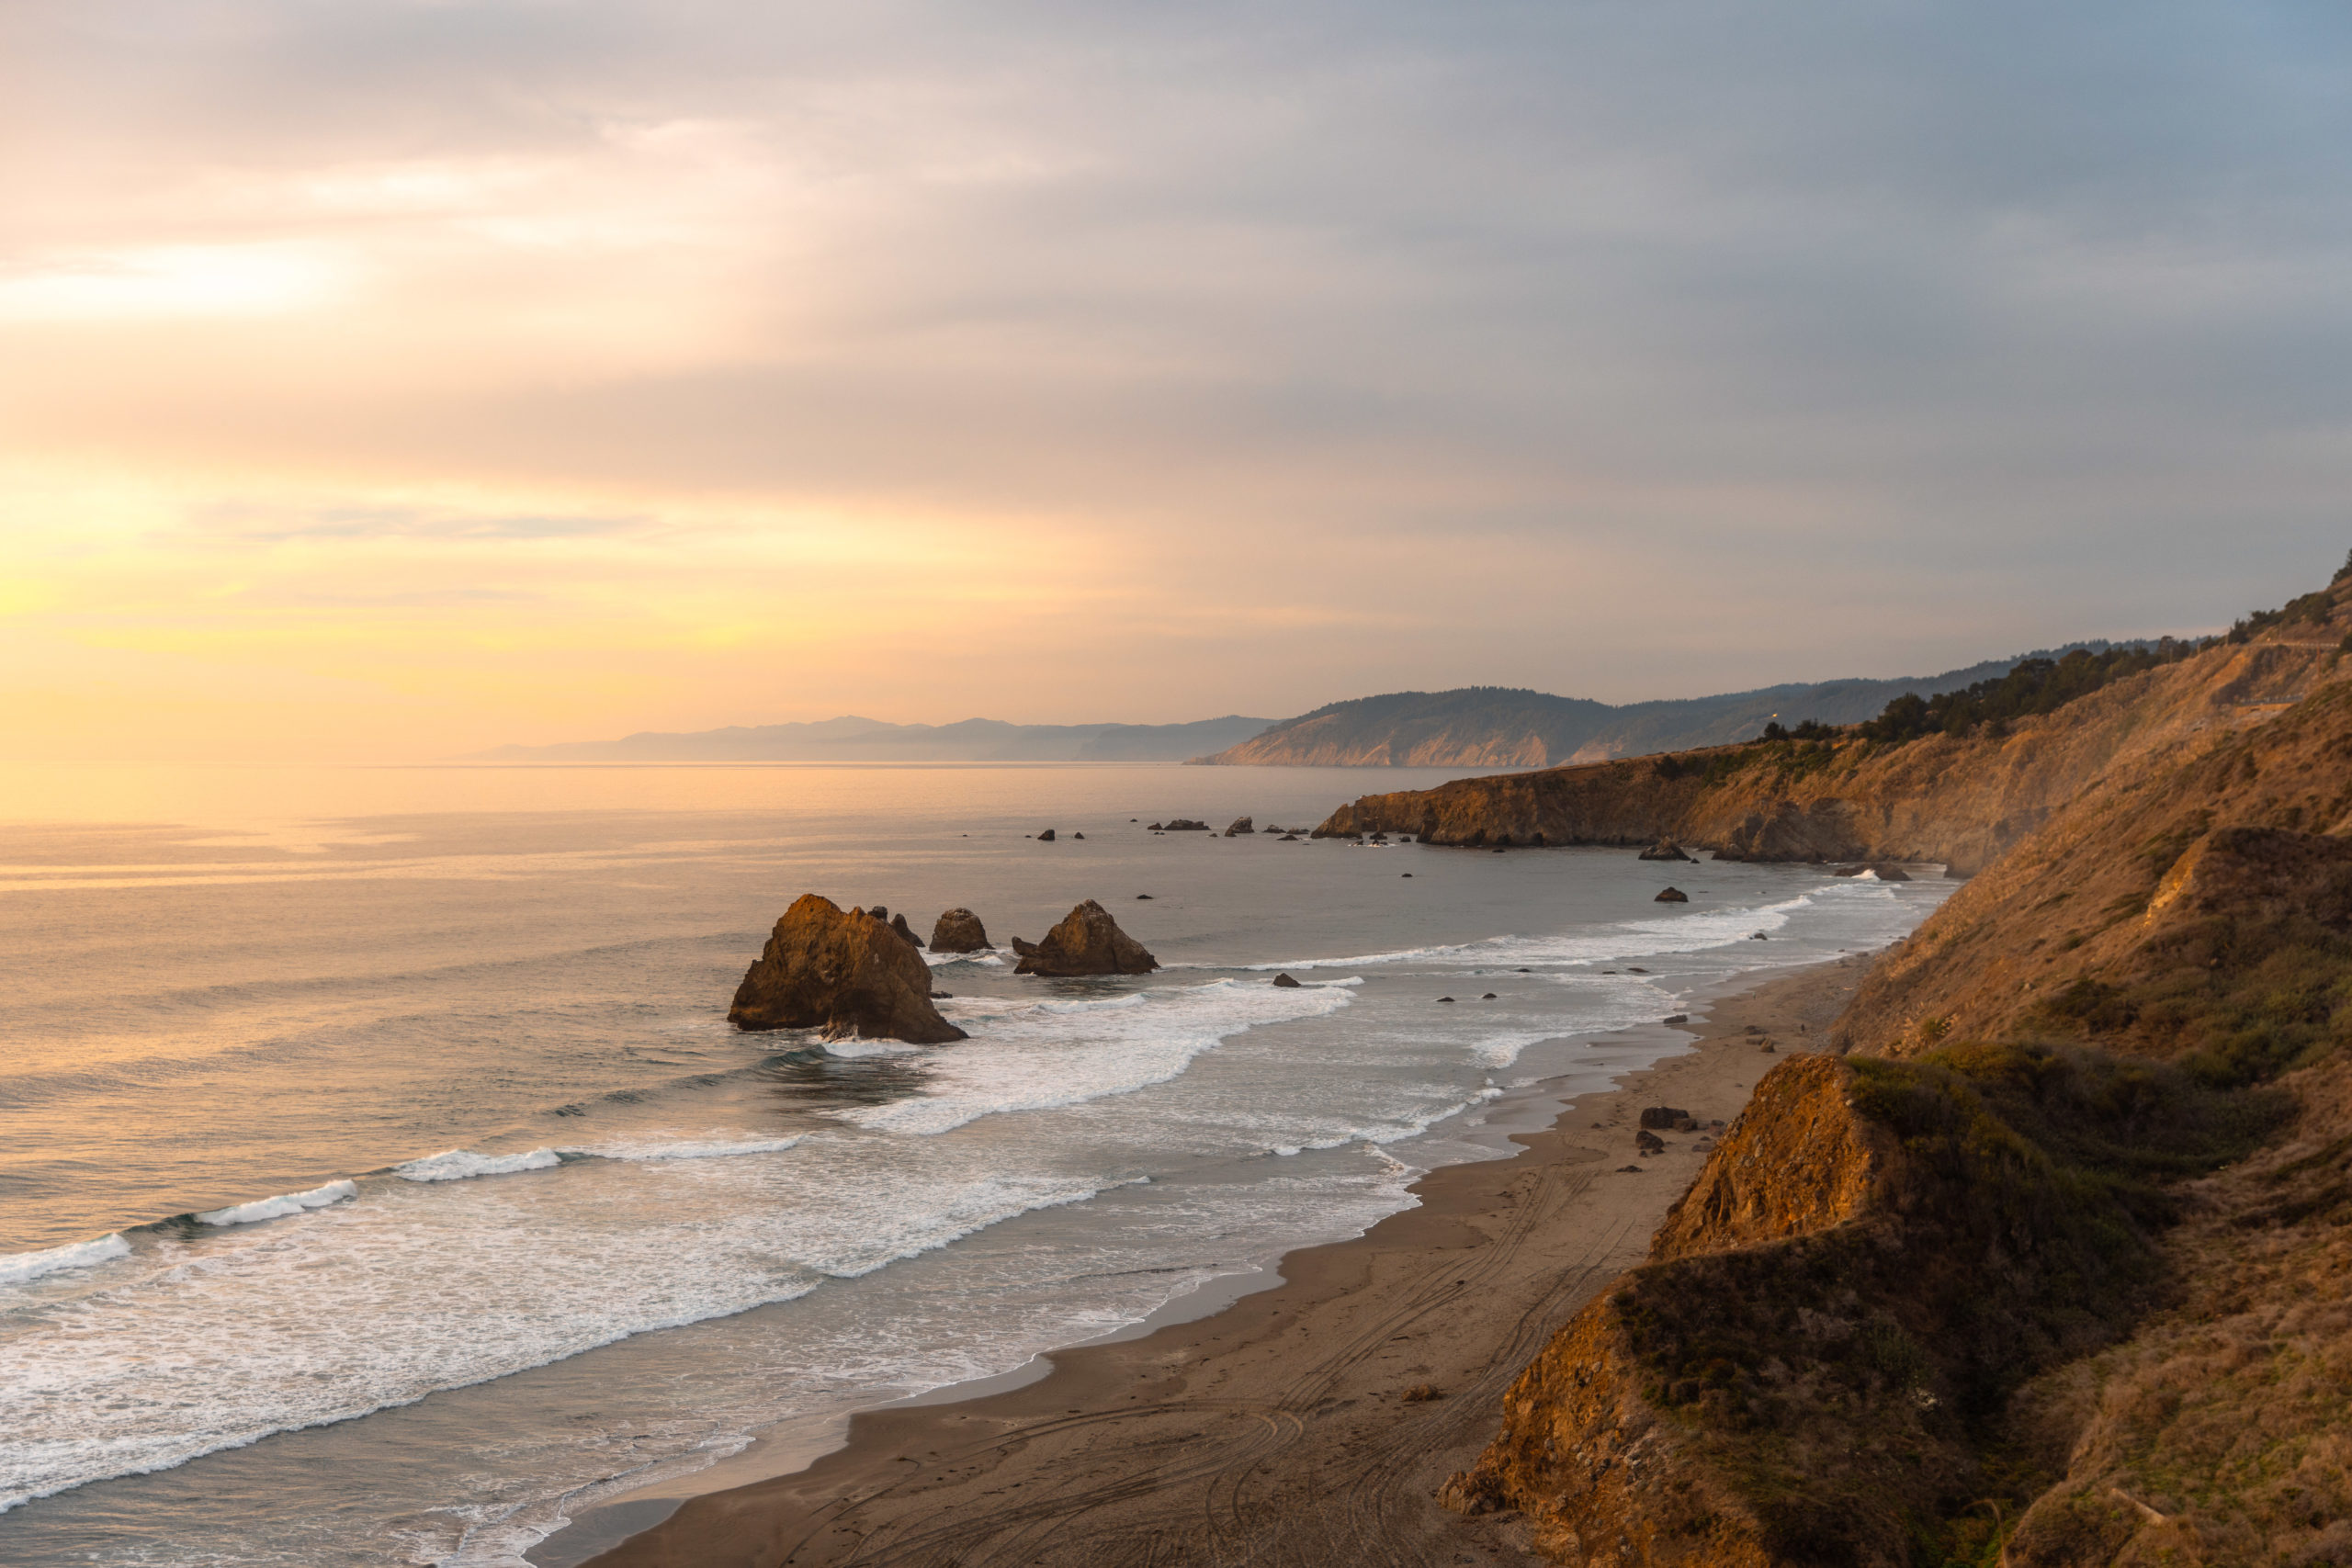
Night Photography
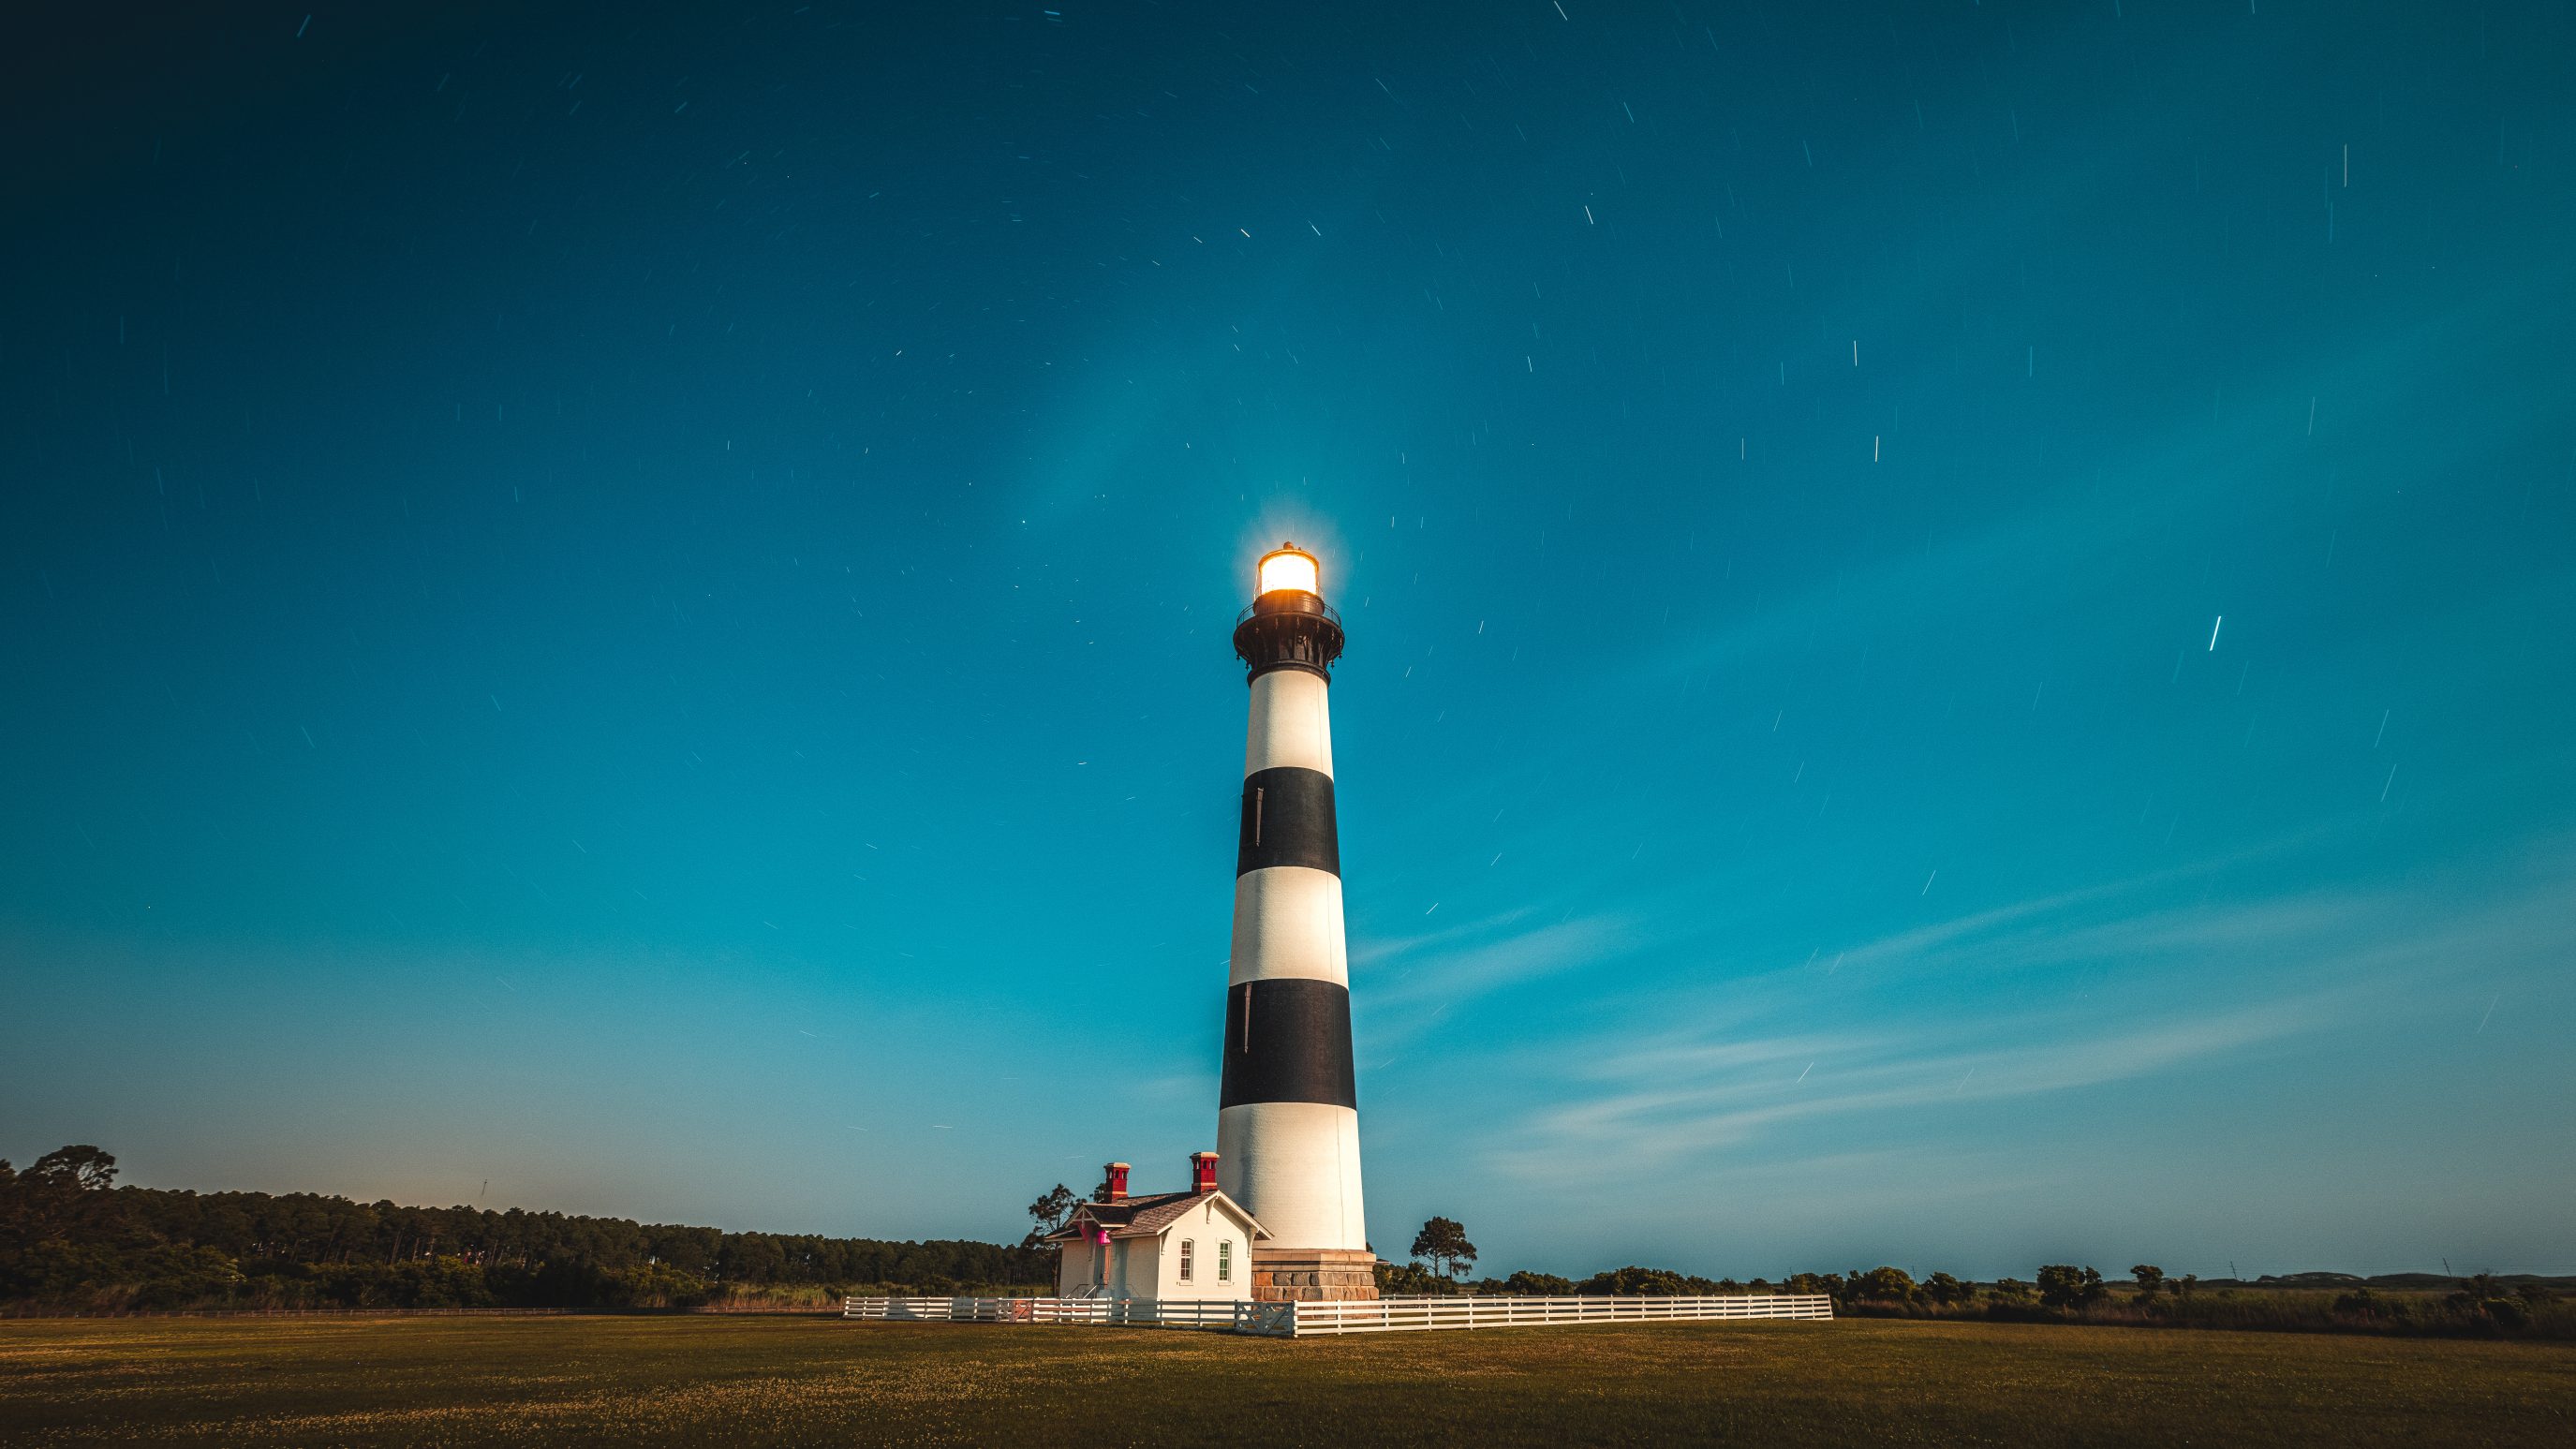
Night photography can be exciting and rewarding, but it requires some special considerations. When shooting at night, you may need to use a high ISO such as ISO 3200 or higher. This will enable you to capture the available light and produce a well-lit image.
However, be mindful of noise and grain that can be introduced with higher ISO settings. You can use noise reduction tools in post-processing to reduce the noise in your images. Additionally, you can also use a tripod to stabilize your camera and prevent camera shake.
The key across all of these scenarios: start at the lowest ISO you can get away with, then raise it only when you need a faster shutter speed or can’t open the aperture any wider.
Frequently Asked Questions about ISO
What Does “ISO” Stand For?
ISO stands for International Organization for Standardization, which is an organization that publishes standards for various industries. In 1974, the film speed standards ASA and DIN were combined into ISO standards. There are now standards for digital cameras (ISO 12232:2019), color negative film (ISO 5800:2001), and black-and-white negative film (ISO 6:1993). To keep things standardized, camera manufacturers use only the name ISO and specify the range of ISO sensitivities their cameras can reach.
When should I use a high ISO?
You should use a high ISO when you are shooting in low light conditions and need a faster shutter speed to avoid camera shake or capture motion. A high ISO also allows you to use a smaller aperture, which can increase your depth of field.
When should I use a low ISO?
You should use a low ISO (like ISO 100) when you have plenty of light and want to capture clean, noise-free images. A low ISO is also ideal for situations where you want a longer shutter speed to create motion blur or a wider aperture to create a shallow depth of field.
What is digital noise?
Digital noise is the visual distortion that appears in photos taken with high ISO settings. It appears as grainy or speckled areas within the image. You’ll typically notice this in low light scenes.
How can I reduce digital noise in my photos?
You can reduce digital noise by using a lower ISO setting (like ISO 100), shooting in RAW format, and using noise reduction software during post-processing. Adobe Lightroom’s AI Denoise feature can clean up high-ISO images dramatically, often making ISO 3200-6400 shots look nearly noise-free. Standalone tools like DxO PureRAW and Topaz Photo AI also produce excellent results. These AI-powered tools have changed how photographers think about ISO since noisy shots are now much more recoverable than they used to be.
Is there a maximum ISO I should use?
There is no specific maximum ISO, but generally, the higher the ISO, the more digital noise will be introduced into the image. It is recommended to use the lowest ISO possible to achieve the desired exposure and avoid excessive noise. Personally I would try to stay below ISO 6400 but the noise level will be heavily dependent on your camera and sensor.
Can I change the ISO while shooting?
Yes, you can change the ISO while shooting. That’s one huge benefit of digital photography over film. However, it is recommended to avoid changing the ISO frequently to maintain consistency in exposure and minimize digital noise. Additionally if you’re editing a large amount of photos it can create more work while editing if settings are all over the place.
Conclusion
Start at your camera’s base ISO (usually 100) and only raise it when you need to. With Auto ISO, modern noise reduction tools, and an understanding of the exposure triangle, ISO becomes less of a worry and more of a tool you can use confidently. The best way to learn is to experiment: shoot the same scene at ISO 100, 800, 3200, and 6400, then compare the results on your computer.