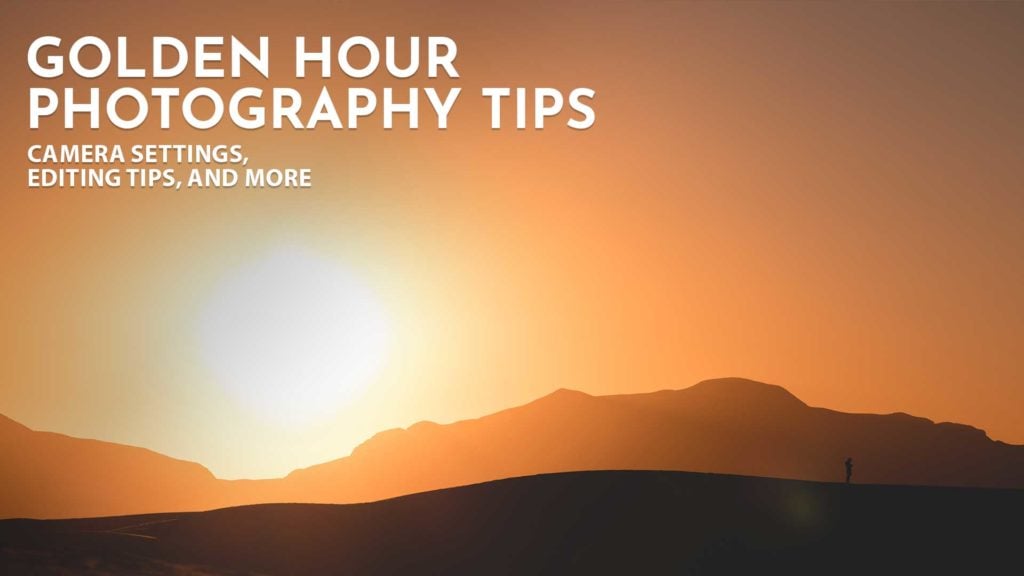
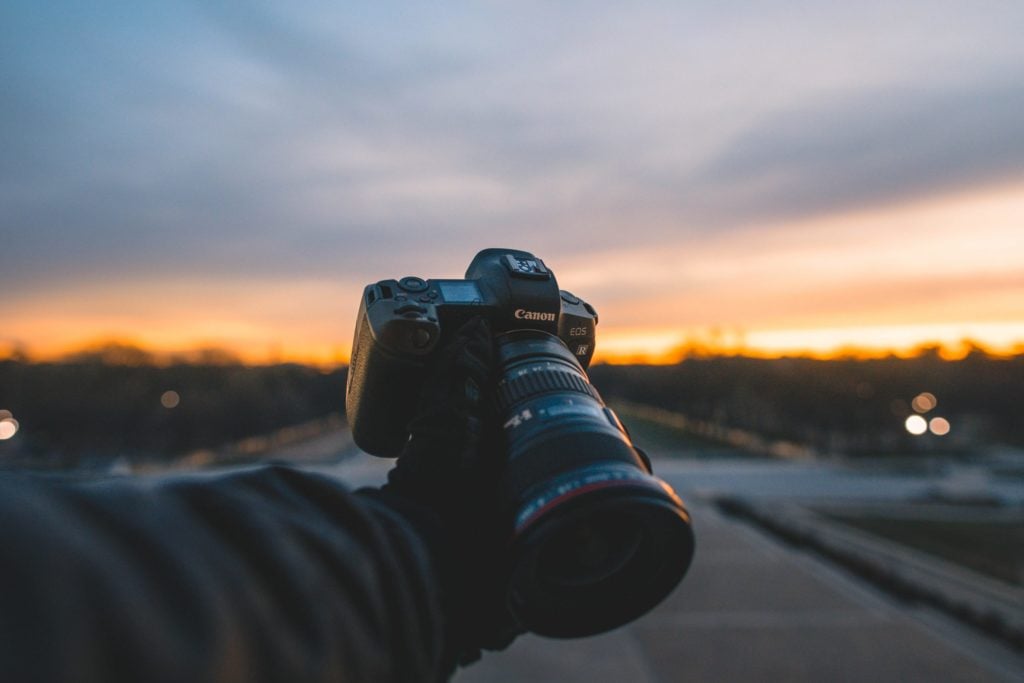
Golden Hour is a magical time when the light offers soft, warm hues, and is the perfect opportunity for photographers to capture great images. With the right compositions and a few of my helpful tips, anyone can capture this beautiful time of day.
Jump to golden hour camera settings
Golden hour photography is popular for all types of photography. No matter if it’s travel photography, landscape, cityscape or portrait photography golden hour can enhance just about any photo.
In this post, we’ll go over essential golden hour photography tips to help you capture better photos during this time of day. From choosing the optimal location to understanding camera settings, these tips will help you shoot golden hour like a pro, no matter your experience level.
Table of contents
Understanding Golden Hour
You’ve probably heard the term “Golden Hour” mentioned a lot; especially if you’re a photographer. It’s a magical time of day when the light is warm, soft, and flattering. But what exactly is golden hour, and what makes it so special for your photos?
What is Golden Hour?
Golden Hour is a period of time shortly after sunrise or before sunset when the sun is low on the horizon, creating a soft, warm, and diffused light. During this time, the quality of the light is softer and more colorful, casting long shadows and creating a warm glow that can transform any scene. The exact duration of golden hour varies depending on your location, time of year, and weather conditions, but Golden Hour typically lasts around an hour.
Why is Golden Hour Important for Photography?
Golden Hour is a photographer’s dream come true. It offers a range of benefits that improve nearly any photo you take. Here are some of the Golden Hour benefits to photography:
- Soft Light: During Golden Hour the sun’s rays are at an angle creating a diffusion effect. This makes the light perfect for portraits offering a softer effect.
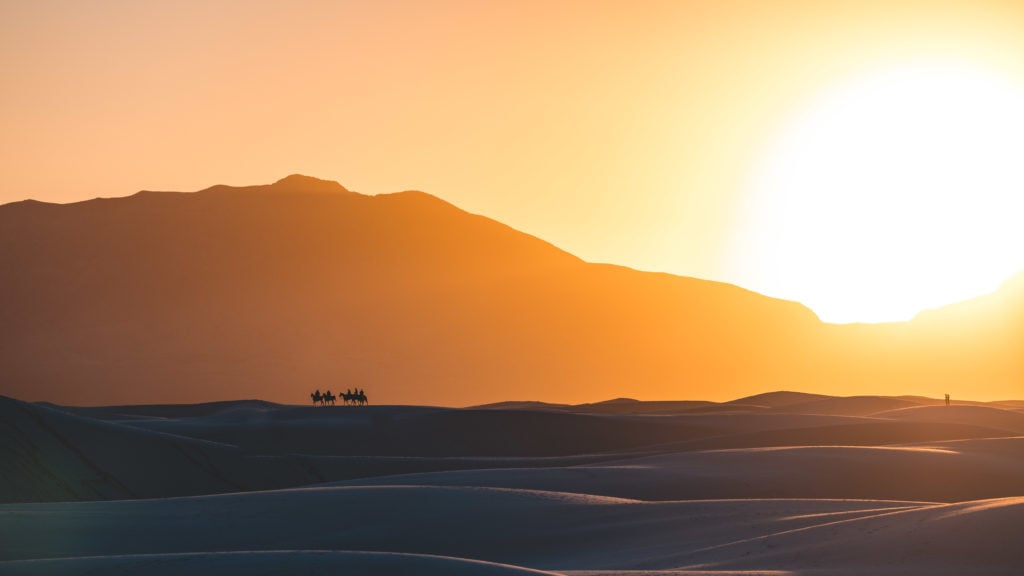
- Directional: With the sun’s low position in the sky it creates very directional light. This is great for capturing silhouettes, dramatic shadows, sunbursts, rim lighting, and other unique lighting conditions.
- Warm Colors: Golden Hour light is warming offering an orangish glow to your photos. The warm and diffused light can create a romantic and dreamy atmosphere, perfect for capturing stunning portraits, landscapes, and cityscapes.
- Reduced Contrast: Since the sun is low on the horizon during golden hour, there are fewer shadows and less contrast in your photos depending on the angle of your shot.
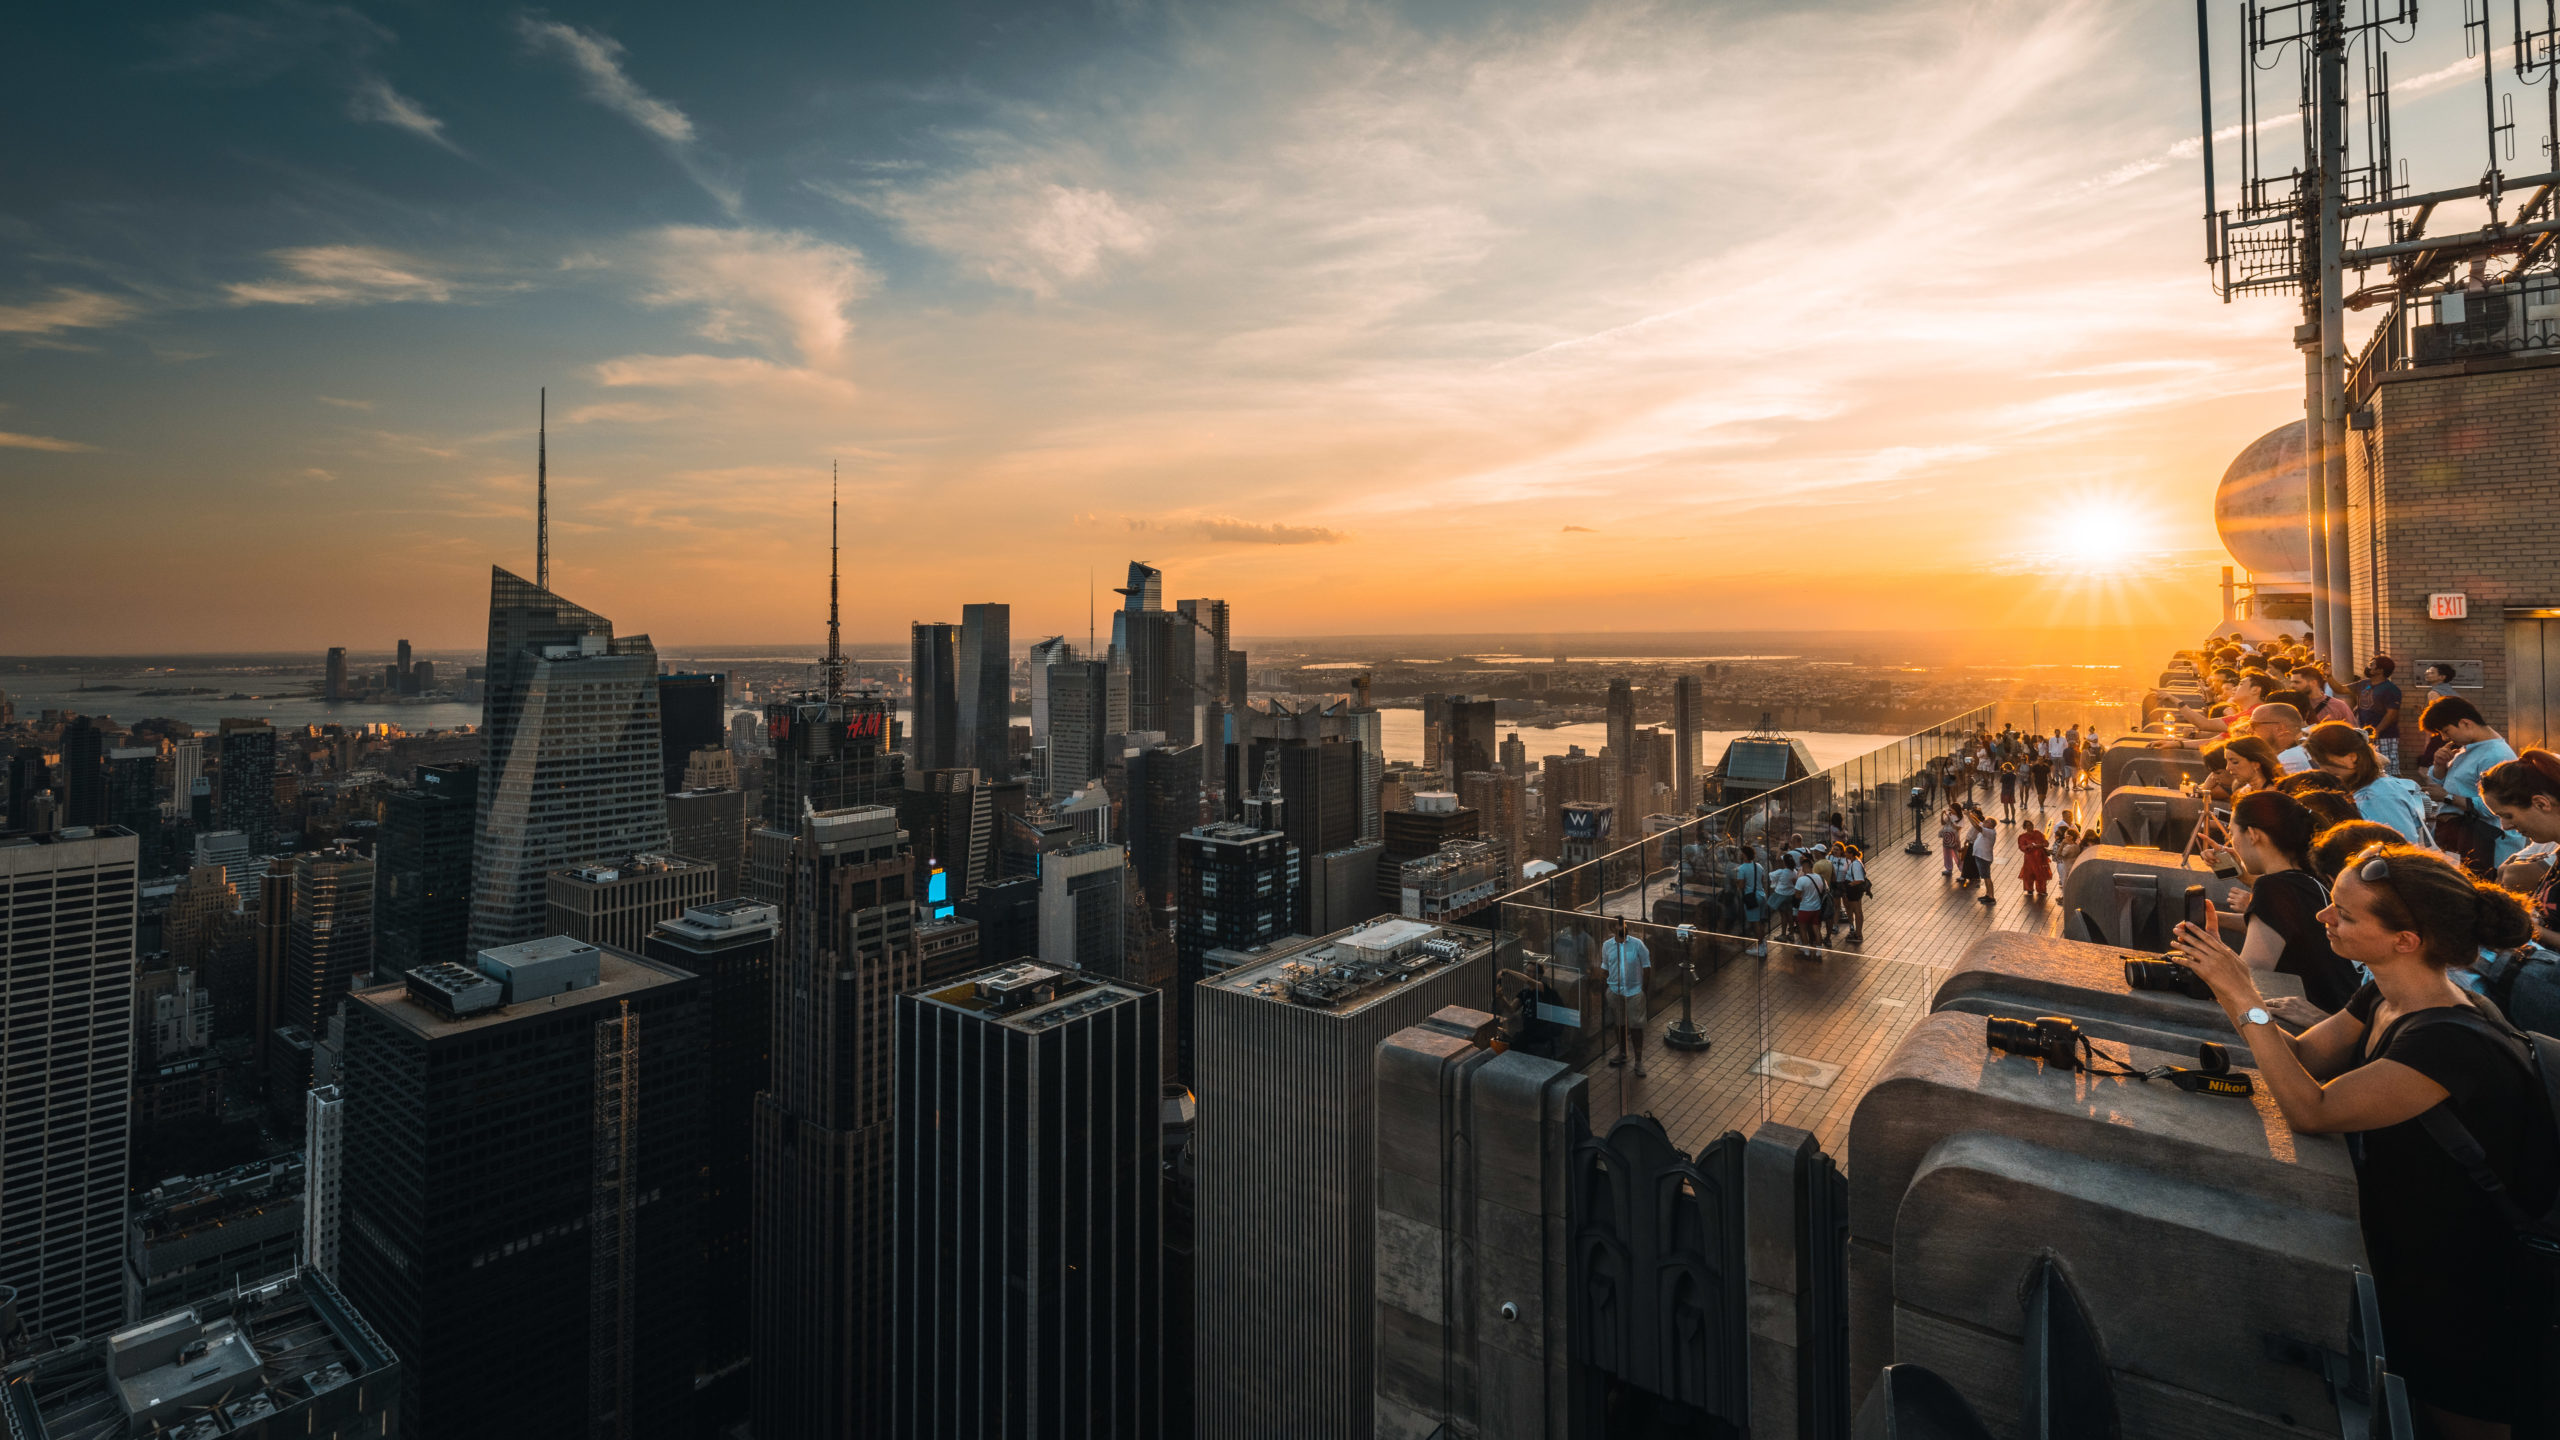
- Colorful Skies: During golden hour, the sky takes on a beautiful, warm hue that can be perfect for landscape photography. This warm sky becomes a natural backdrop that makes your photos pop.
- Less Crowded: Because golden hour occurs either early in the morning or late in the evening, there are typically fewer people around. This means you can take your time and focus on capturing the perfect shot without worrying about crowds or distractions. Personally I love an early morning sunrise to start the day.
Since Golden Hour only lasts an hour (hence its name), you need to be prepared to make the most of it. Plan your shots in advance, arrive early, and be ready to shoot as soon as the light starts to change. You’ll also need to be aware that the light can change rapidly during golden hour, so be prepared to adjust your camera settings and composition accordingly.
Camera Settings for Golden Hour Photography
To capture the perfect shot during golden hour, you need to adjust your camera settings. In this section, we’ll discuss the three main camera settings that you need to consider: Aperture, Shutter Speed, and ISO.
Quick Golden Hour Camera Settings Breakdown:
- Shooting Mode: Aperture priority (Av)
- ISO: Low, ISO 100 – ISO 200
- Aperture: Low, ideally f/2.8 – f/4.0
- Shutter Speed: Since the camera is on Aperture priority, your camera will automatically adjust.
- Image Format: RAW
Aperture
Aperture, which is measured in f-stops, controls the amount of light that enters the camera lens. During golden hour, the light is soft and warm, so you want to use a wide aperture (small f-stop number) to capture the rich colors and depth of the scene. Of course this will vary depending on what effect you’re going for. An aperture of f/4 or lower is ideal for golden hour photography because it allows more light to enter the lens. If you are capturing a landscape and want more of the scene in focus you can use an aperture of around f/8.
Shutter Speed
Shutter speed is the amount of time that your camera’s sensor is exposed to light. During golden hour, the light is fading quickly, so you need to use a faster shutter speed to prevent blur in your photos. A shutter speed of 1/125 or higher is recommended for golden hour photography, but you can experiment with different speeds to achieve the desired effect.
ISO
ISO measures the sensitivity of your camera’s sensor to light. During golden hour, you want to use a low ISO setting to reduce the amount of noise in your photos. A setting of ISO 100 or 200 is ideal for golden hour photography, but you may need to increase the ISO if the light is too dim. As the evening gets darker you’ll need to crank your ISO up if you are shooting handheld.
White Balance
White balance controls how warm or cool your photo looks and it matters more during golden hour than any other time of day. Avoid Auto White Balance (AWB) since your camera will try to “correct” the warm golden tones back to neutral, killing the glow you came to capture. Instead, set your white balance to the Cloudy or Shade preset to preserve and enhance the warm tones. If your camera supports manual Kelvin, try shooting between 5500K and 6500K. Since you’re shooting in RAW, you can always fine-tune white balance in post without losing quality.
Tips for Golden Hour Photography
Here are my tips for getting the best golden hour photos.
Finding the Right Location
The first step to taking great golden hour photos is finding the right location. Look for areas with interesting landscapes, such as mountains or beaches. You can also try shooting in urban areas with tall buildings and interesting architecture. This is where knowing your city comes in handy, I have written plenty of travel guides for locations if you need inspiration. Keep in mind that the sun will be low in the sky, so you’ll want to find a location with a clear view of the horizon.
Apps like The Photographer’s Ephemeris can help you plan when golden hour is and where the light will be shining.
Utilizing Natural Light
It’s hard to hate the sun’s beautiful warm and soft glow during golden hour. One popular composition during golden hour for portraits is to position your subject so that the sun is behind them. This creates a beautiful backlight that will make your subject appear to glow. You can also experiment with shooting directly into the sun to create a dramatic silhouette. If you are taking backlit portraits and want better results you could try using a reflector.
Creating Depth

Golden hour’s long shadows and directional light naturally create a sense of three dimensions in your photos. To maximize this effect, get low and place a strong foreground element (wildflowers, rocks, a leading line) close to your lens with a wide-angle focal length. The scene will stretch out behind it, pulling the viewer’s eye from front to back. Side lighting is especially powerful here: position yourself so the golden light rakes across your subject from the left or right, revealing texture in every surface. For landscapes, use f/8 to f/11 to keep both your foreground and background sharp.
Get Out Early to Avoid the Crowds
Want to stay away from busy areas? Consider leaving early! This may sound like a simple tip but you’ll be surprised how easy it is to forget. You can avoid the crowds and enjoy your trip in quiet if you leave earlier than normal. You’ll notice that there are substantially fewer people about in the morning, whether you’re going to a major tourist attraction or just wandering a city. Set your alarm up a little earlier and leave before the crowds begin to swell!
Shooting Golden Hour on Your Phone
You don’t need a dedicated camera to shoot golden hour. On an iPhone or Android, tap and hold on your subject to lock focus and exposure (you’ll see “AE/AF Lock” on iPhone). Then swipe up or down on the sun icon to manually adjust brightness. To capture a silhouette, tap the brightest part of the sky so the camera exposes for the highlights and your subject goes dark. If your phone supports RAW or ProRAW (iPhone 12 Pro and later), enable it for more editing flexibility. One last tip: clean your lens before shooting since fingerprints cause hazy flare in direct sunlight.
Capture the Sun with a Sunburst Effect
Capturing the sun with a sunburst/starburst effect is a simple technique that adds a stunning, eye-catching touch to your photographs. Commonly called lens flares this is the star like effect that your camera’s aperture blades create when shooting a direct light source. To achieve this effect, simply position your camera so the sun is visible anywhere in your frame. You’ll want to use a higher f-stop like f/16 which will create the “sunburst” effect.
The result adds drama and dimension to your photos. Partially hiding the sun behind a tree, building, or the horizon line produces cleaner, more defined rays. The number of sunburst points depends on your lens: even-numbered aperture blades produce rays equal to the blade count, while odd-numbered blades produce double.
Just be careful not to leave your camera facing the sun without a lens cap on since it can damage a camera if it sits too long with direct sun exposure.
Post-Processing Golden Hour Photos
A few edits in post can push your golden hour photos from good to great. Here are the most useful adjustments.
Enhance Colors
One of the best ways to enhance the colors of a golden hour photo is to adjust the saturation and vibrancy. This can be done using tools like Adobe Lightroom or Photoshop. Start by increasing the vibrance to bring out the colors of the photo. Using the vibrance setting in Lightroom will give your photo a natural look compared to increasing saturation. Be careful not to overdo it, you can quickly make a photo look unnatural. Another option is to adjust the white balance to make the colors appear warmer or cooler. This is why shooting in RAW is essential when taking pictures during golden hour. RAW photos can have their color temperature modified without damaging the original image.
Adjust Exposure
Golden hour can be tricky to expose correctly, especially if you are shooting directly into the sun. Sometimes, the photo may appear too bright or too dark. Adjusting the exposure can help to correct this. In Lightroom or Photoshop, you can adjust the exposure using the exposure slider tool. If the photo is too bright, decrease the exposure. If the photo is too dark, increase the exposure. Be careful not to go too far, as this can lead to loss of detail.
How much detail you can recover from the highlights/shadows will depend on your camera’s dynamic range. This is why it’s best to capture the image you want in camera.
Add Contrast
Golden hour photos can sometimes appear flat and lacking in contrast. Adding contrast can help to bring out the details and make the photo look more dynamic. In Lightroom or Photoshop, you can use the contrast slider tool to adjust the contrast.
Post-processing golden hour photos is essential to get the most out of the warm light you captured. Experiment with these adjustments and find what works best for your style. If you shot in RAW, you have plenty of room to push the colors and exposure without losing quality.
Golden Hour Photography Frequently Asked Questions
What is golden hour photography?
Golden Hour Photography refers to the period of time shortly after sunrise or before sunset when the lighting conditions are ideal for capturing stunning, warm, and soft golden tones in your photographs. Golden Hour is by far one of the most popular times for photographers to go out and take pictures.
Why is the golden hour considered the best time for photography?
As you’ve seen in this post during the Golden Hour, the sun is low in the sky, which creates a soft and diffused light that enhances the colors and textures in your photos. The warm golden tones and longer shadows also add depth and dimension to your images, making them more visually appealing.
How long does the golden hour last?
Golden hour is defined as the period when the sun is between 6 degrees below and 6 degrees above the horizon. At the equator it lasts about 50 minutes, at mid-latitudes (like New York or London) about 60 minutes, and at northern latitudes (like Oslo) it can stretch to 90 minutes or more. In summer at high latitudes, golden hour can last for hours. The most dramatic light happens in the final 15 to 20 minutes before sunset or the first 15 to 20 minutes after sunrise.
How can I make the most of the Golden Hour lighting?
To make the most of the Golden Hour lighting, it’s important to plan ahead and be prepared. Scout your location in advance, take note of the direction of the light, and consider how it will interact with your subject. Experiment with different compositions and angles to capture the best possible shots. Additionally, shooting in RAW format allows for greater flexibility in post-processing, enabling you to bring out the full potential of the Golden Hour lighting in your photos.
Which subjects are best suited for golden hour photography?
Golden Hour lighting can enhance a wide range of subjects, such as landscapes, portraits, nature, architecture, and even street photography. The warm and soft light can add a magical and dreamy atmosphere to your images, making them more captivating and inviting.
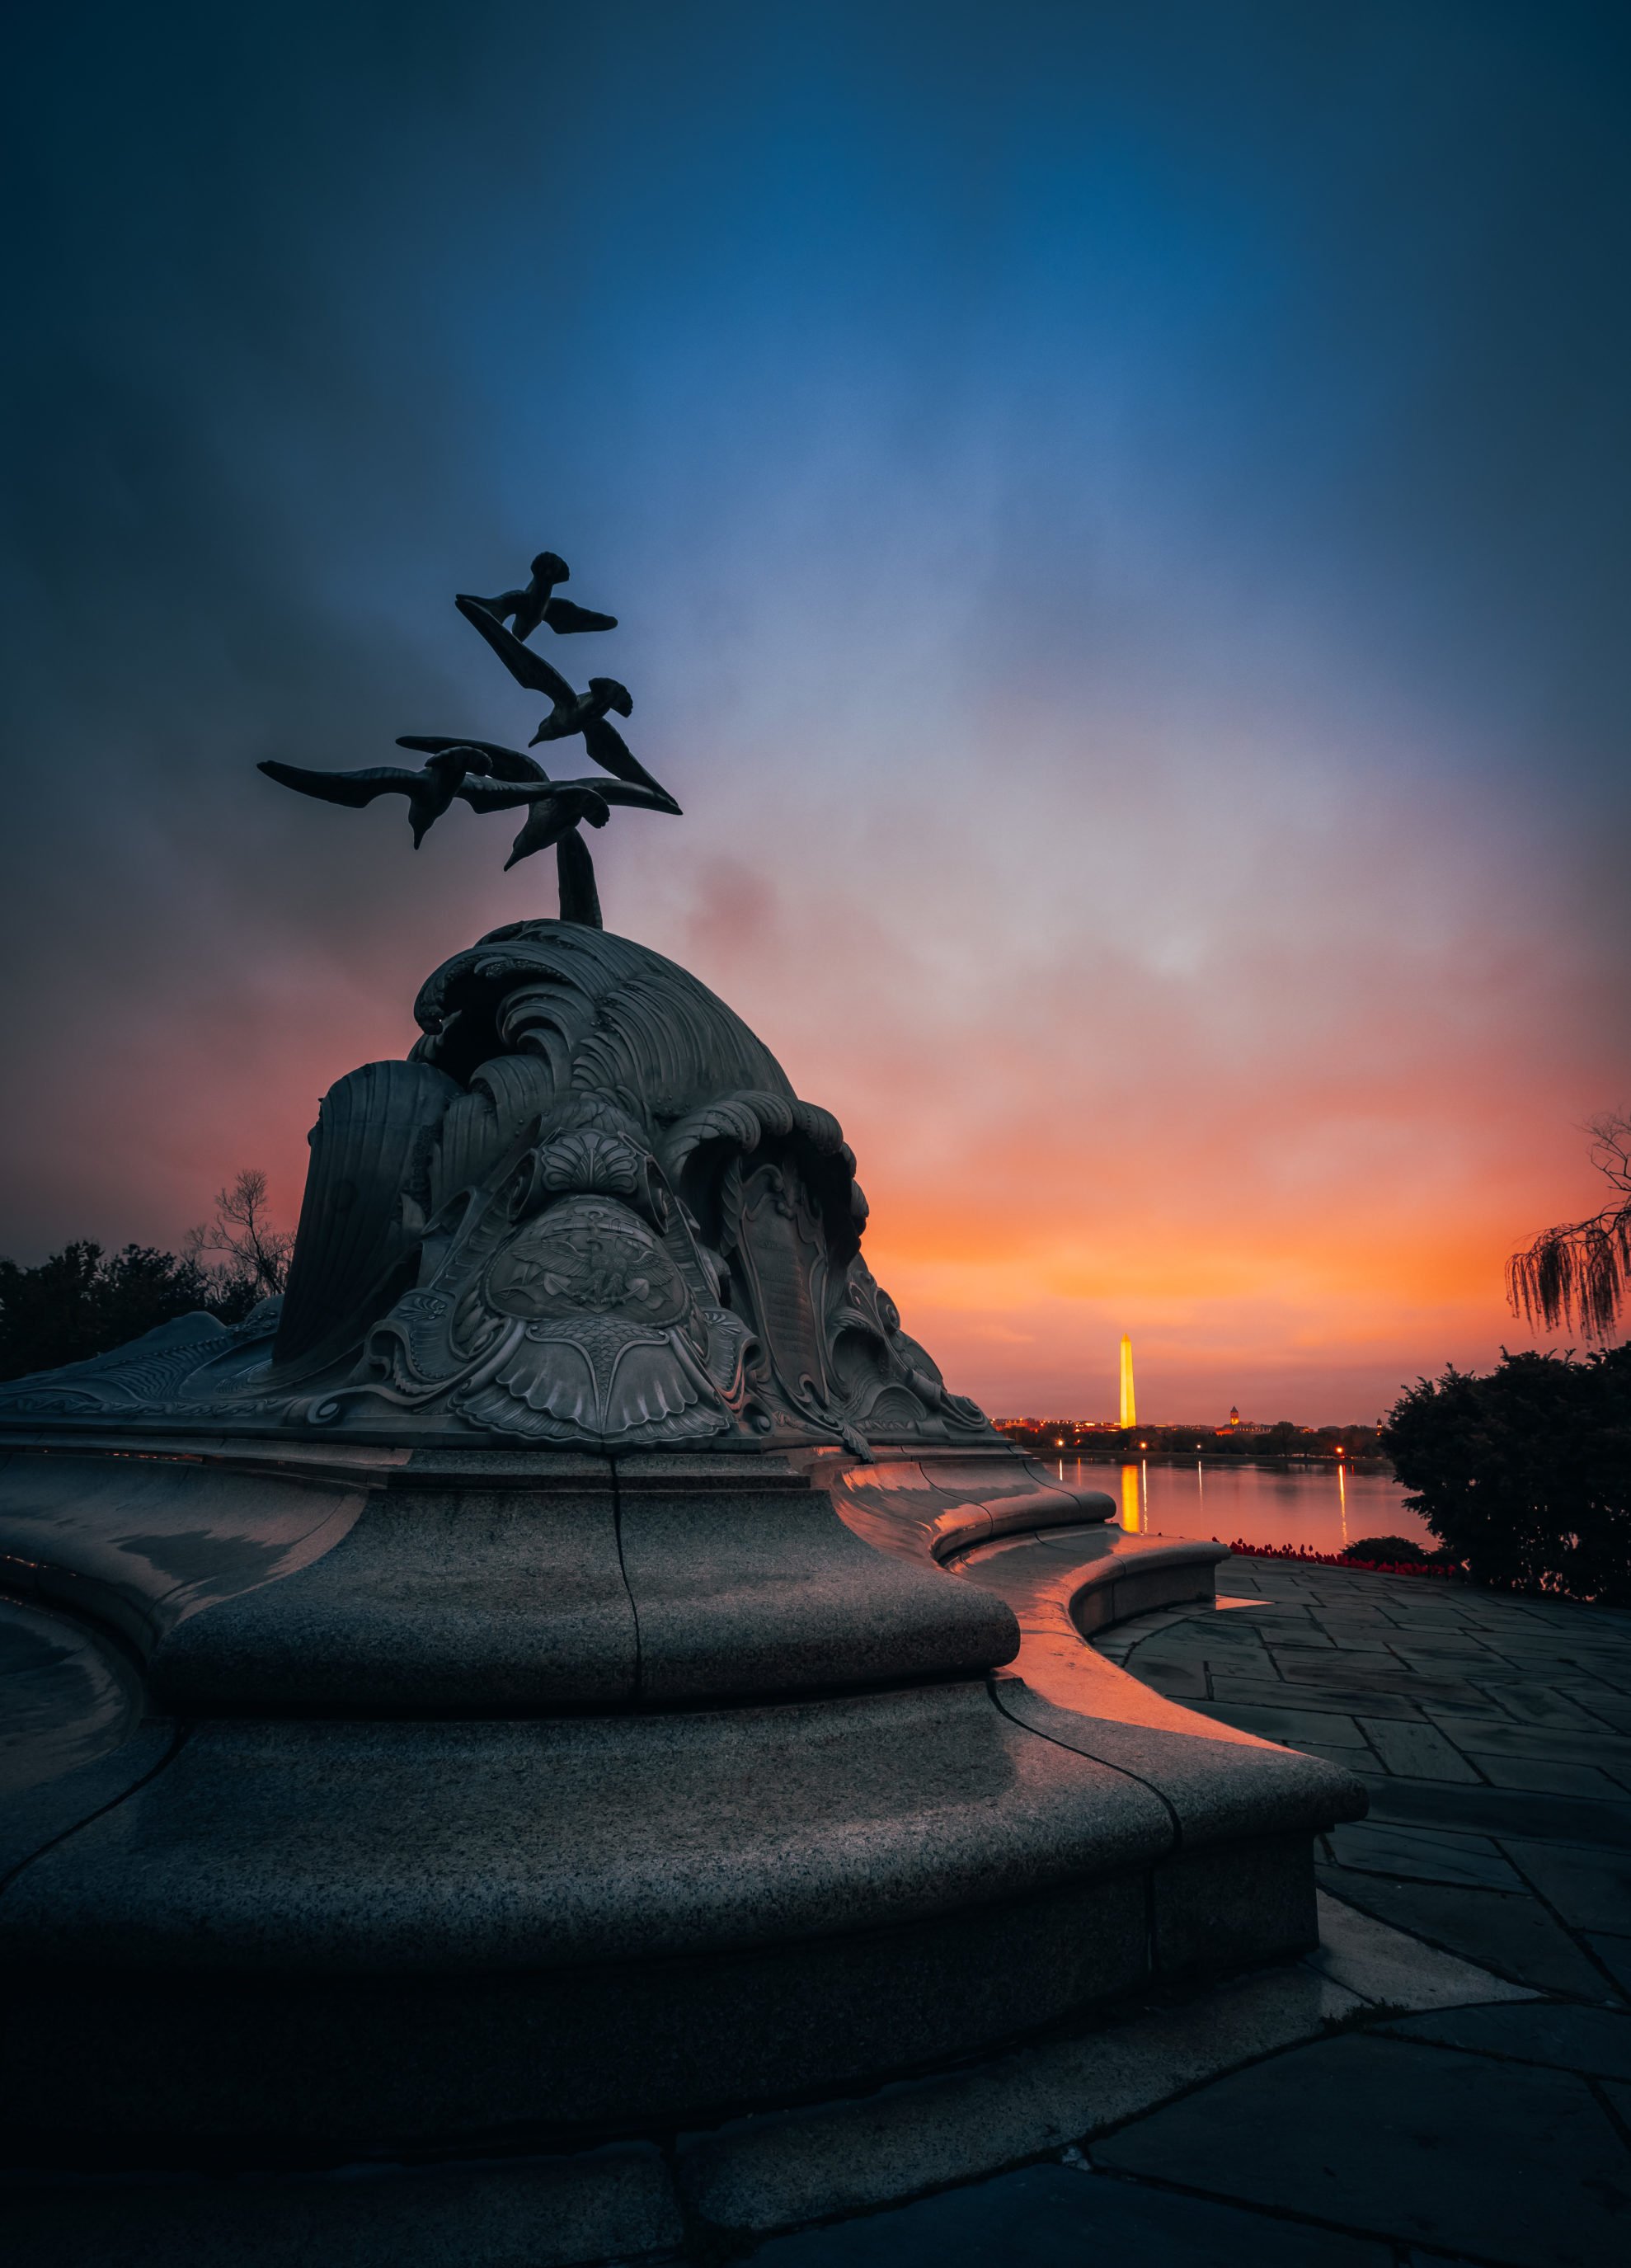
What if I can’t shoot during the Golden Hour?
If you’re unable to shoot during the Golden Hour, there are still ways to achieve beautiful lighting in your photos. Consider shooting during the “Blue Hour,” which occurs shortly before sunrise or after sunset when the sky has a deep blue hue. Additionally, you can experiment with artificial lighting techniques, such as using off-camera flash or reflectors, to create interesting and unique lighting effects.
Conclusion
Golden hour rewards the photographers who show up early and stay late. Set your alarm, scout your location, dial in your settings, and shoot plenty of frames while the light is changing. After golden hour fades, stick around for blue hour to capture an entirely different mood. Happy shooting!