What better way to enjoy a rainy day than to go out and photograph the weather. Splashes, reflections, moody clouds, fog, and the occasional rainbow are all on the table when it’s wet outside.
If you’ve got a weather-sealed camera you have no excuse not to shoot in the rain. If not, an umbrella, a lens hood, or a dedicated camera rain cover will protect your gear well enough for short outings.
This post covers the practical side of rain photography (gear protection, camera settings, lighting) plus a list of concrete photo ideas to try the next time a storm rolls through.
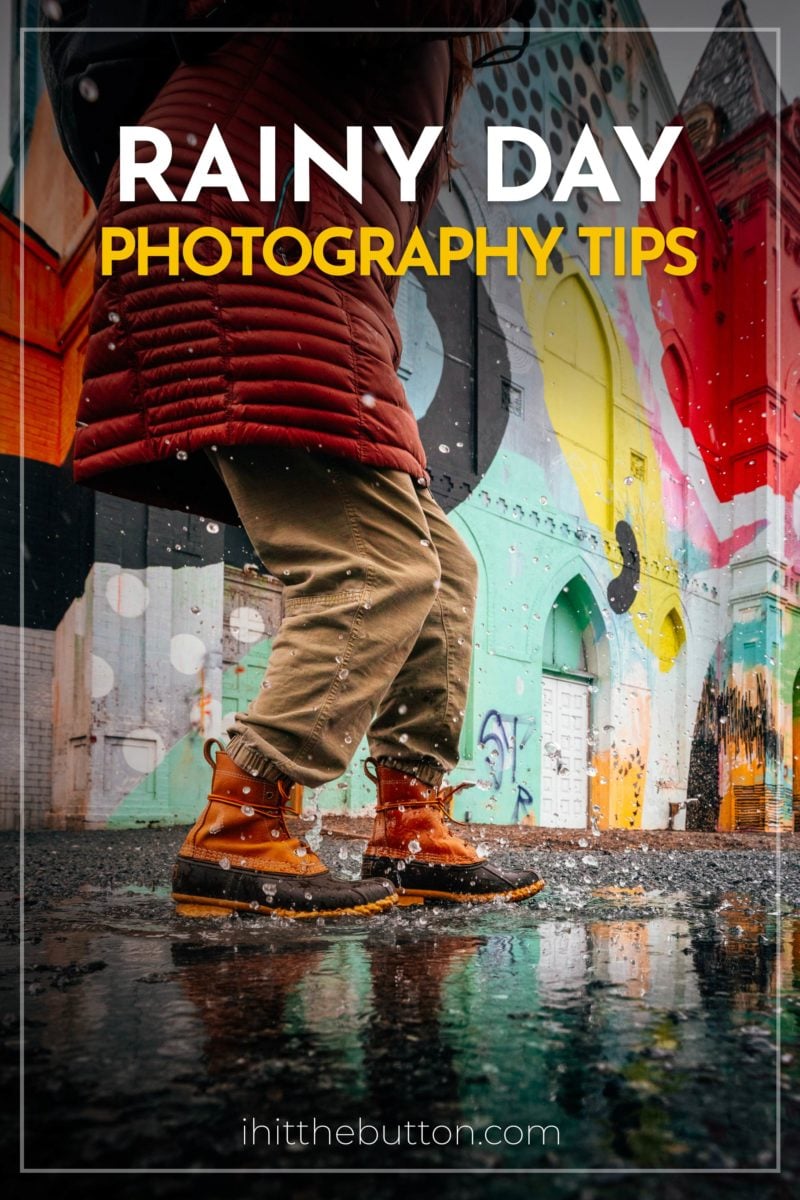
Rainy Day Photography Tips
Rain adds atmosphere, texture, and reflections that a clear-sky day can’t match. Here are the tips I’ve picked up over years of shooting in wet weather.
Protecting Your Gear from the Rain

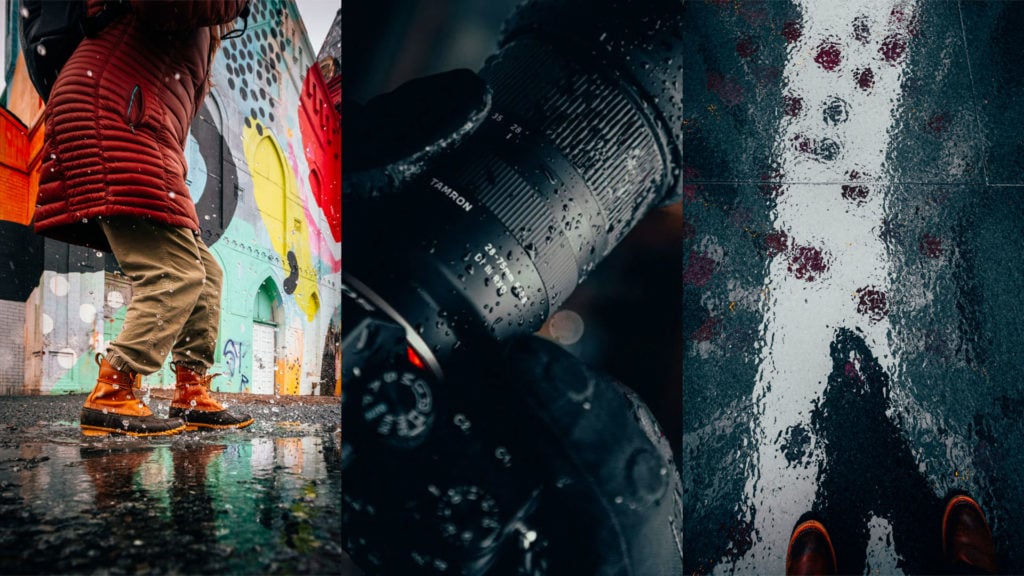
Before you head out into the rain, make sure your camera and lenses are protected from water damage. You could use a plastic bag to protect your camera but I recommend investing in a rain sleeve or a waterproof camera cover to keep your gear dry. Many pro-level DSLR and mirrorless cameras will be weather sealed but it never hurts to add additional protection.
Typically I also add a lens hood to my camera for a little bit more protection from the rain. Additionally, wipe down your camera and lens regularly with a dry cloth to prevent water droplets from ruining your shots.
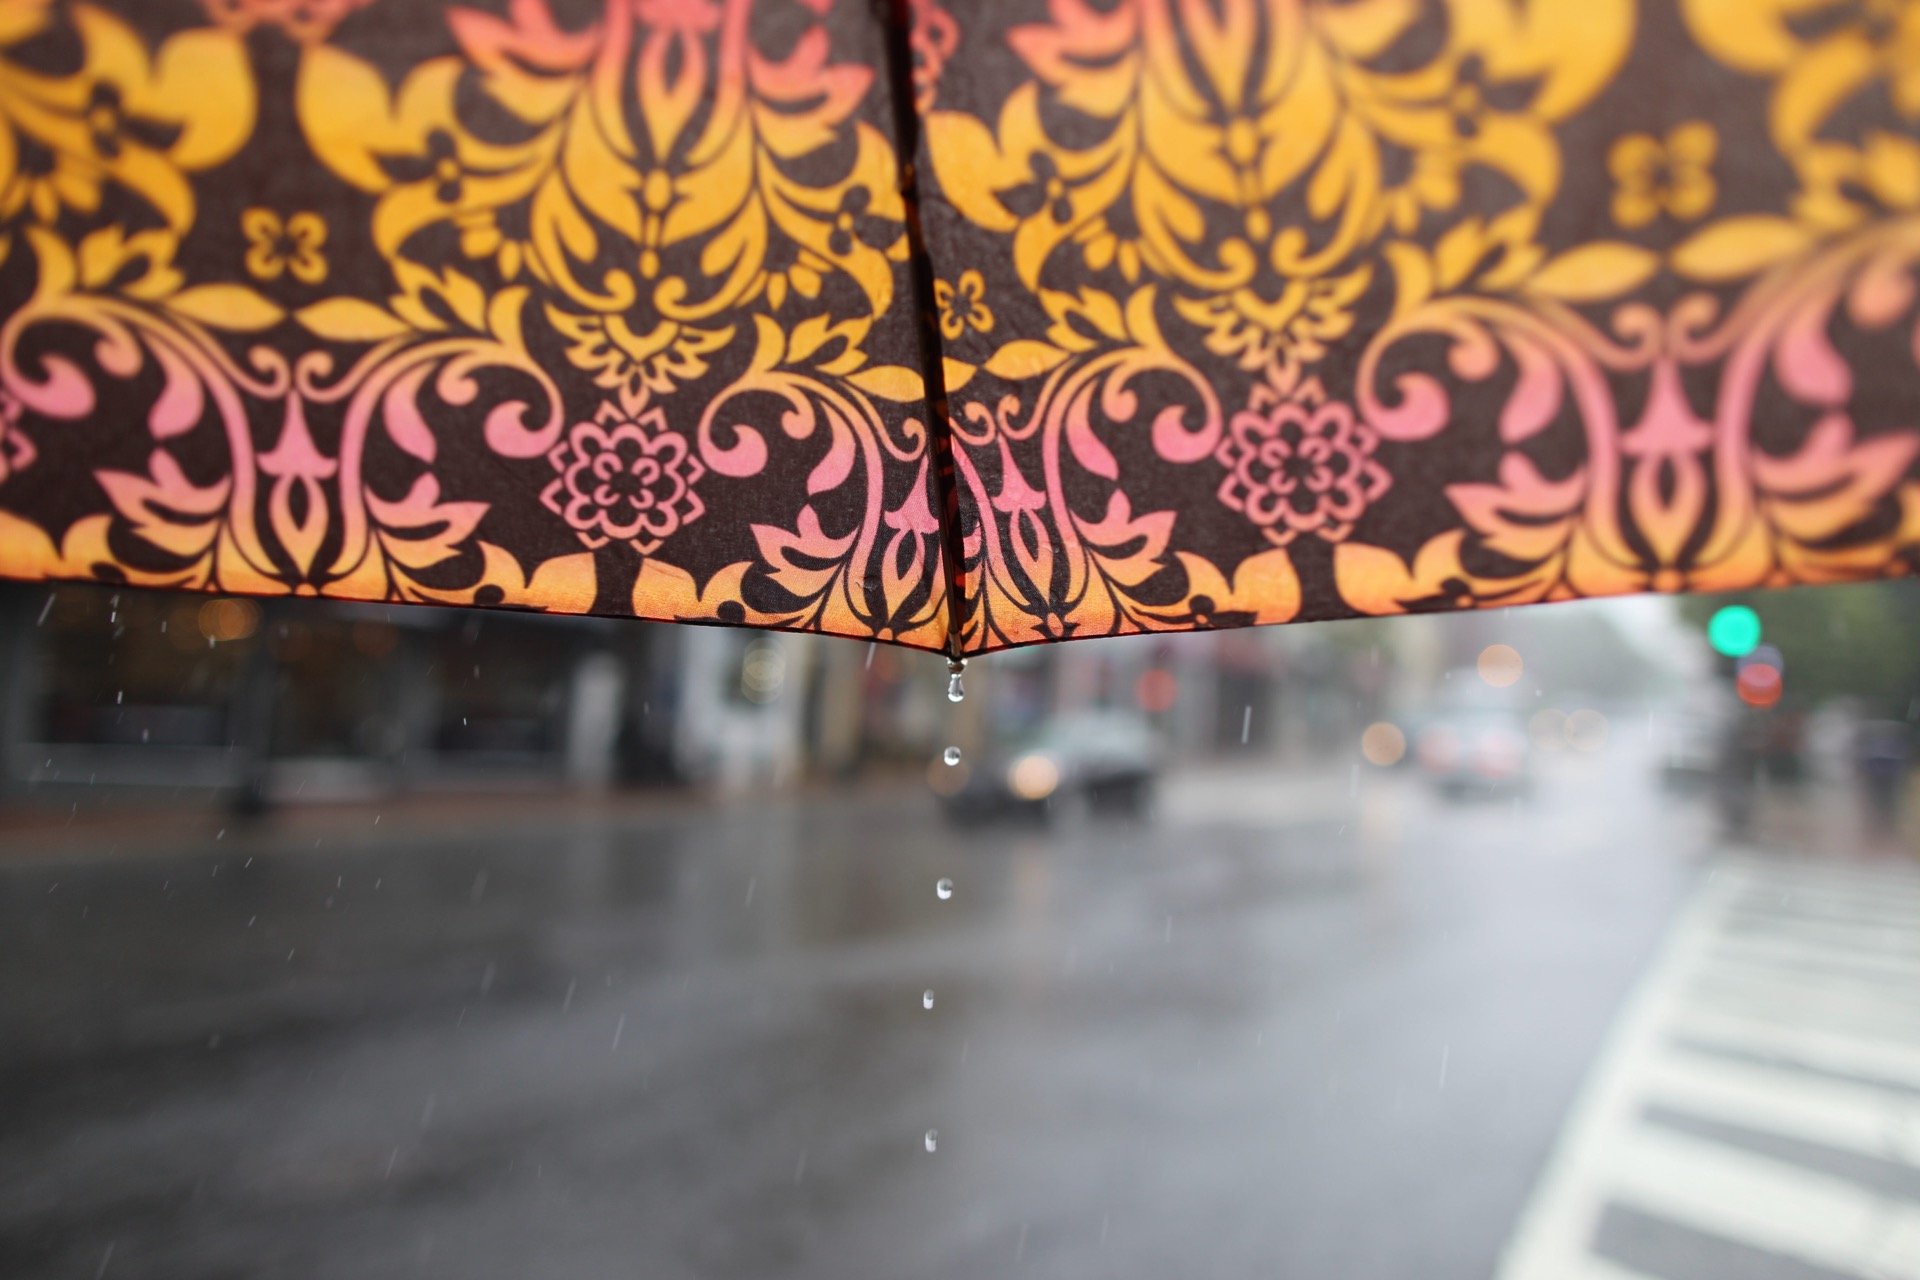
Of course you’ll also want to worry about keeping yourself dry with a raincoat and an umbrella.
Camera Settings for Rain Photography
Here’s a quick rundown of some tips for camera settings on rainy days:
- ISO: To capture photos in the rain with low-light conditions, a medium-to-high ISO (ISO 400-3200) is required. This will maintain your desired shutter speeds without compromising the quality of the shot.
- Shutter Speed: To capture rain in action, make sure to use quick shutter speeds, especially when shooting water splashes. You can also use slow shutter speeds and a tripod to capture light trails and other creative photo ideas.
- Aperture: This will depend heavily on how much light is available and what lens you’re using. You could begin with an aperture setting of f/4 and play around with different options until you discover the one that works best for your shots. A lower aperture (for example f/2.8) will give you a shallow depth of field if you want bokeh in your photograph.
- Focus: If you’re trying to photograph individual rain drops I recommend manual focus. But autofocus will work for most shots in the rain.
Finding the Right Lighting
Overcast skies act like a giant softbox. Light is even and diffused, which is great for portraits and detail shots and saves you from having to fight harsh shadows. The trade-off is that ambient light is dim, so expect to bump your ISO higher than usual and watch your shutter speed to keep handheld shots sharp. Skip flash unless you’re using it intentionally, since bare flash on wet surfaces produces ugly glare.
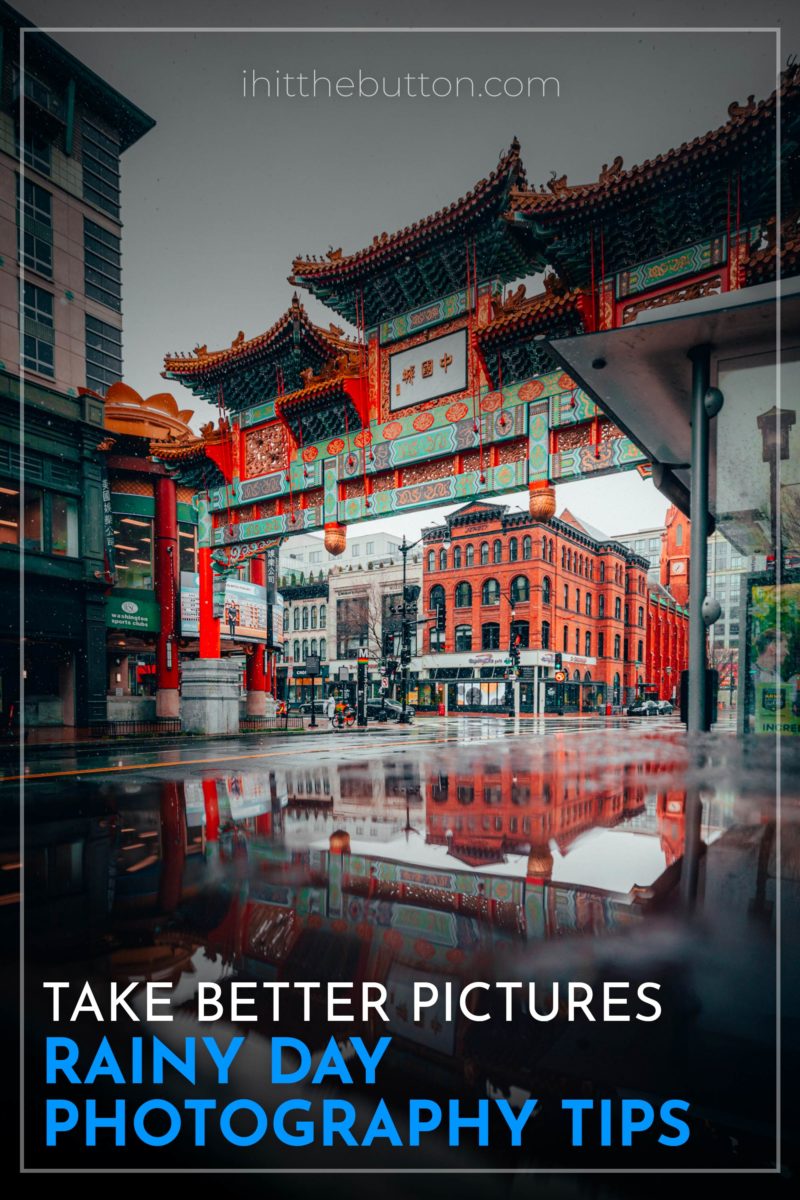
Using Reflections to Your Advantage
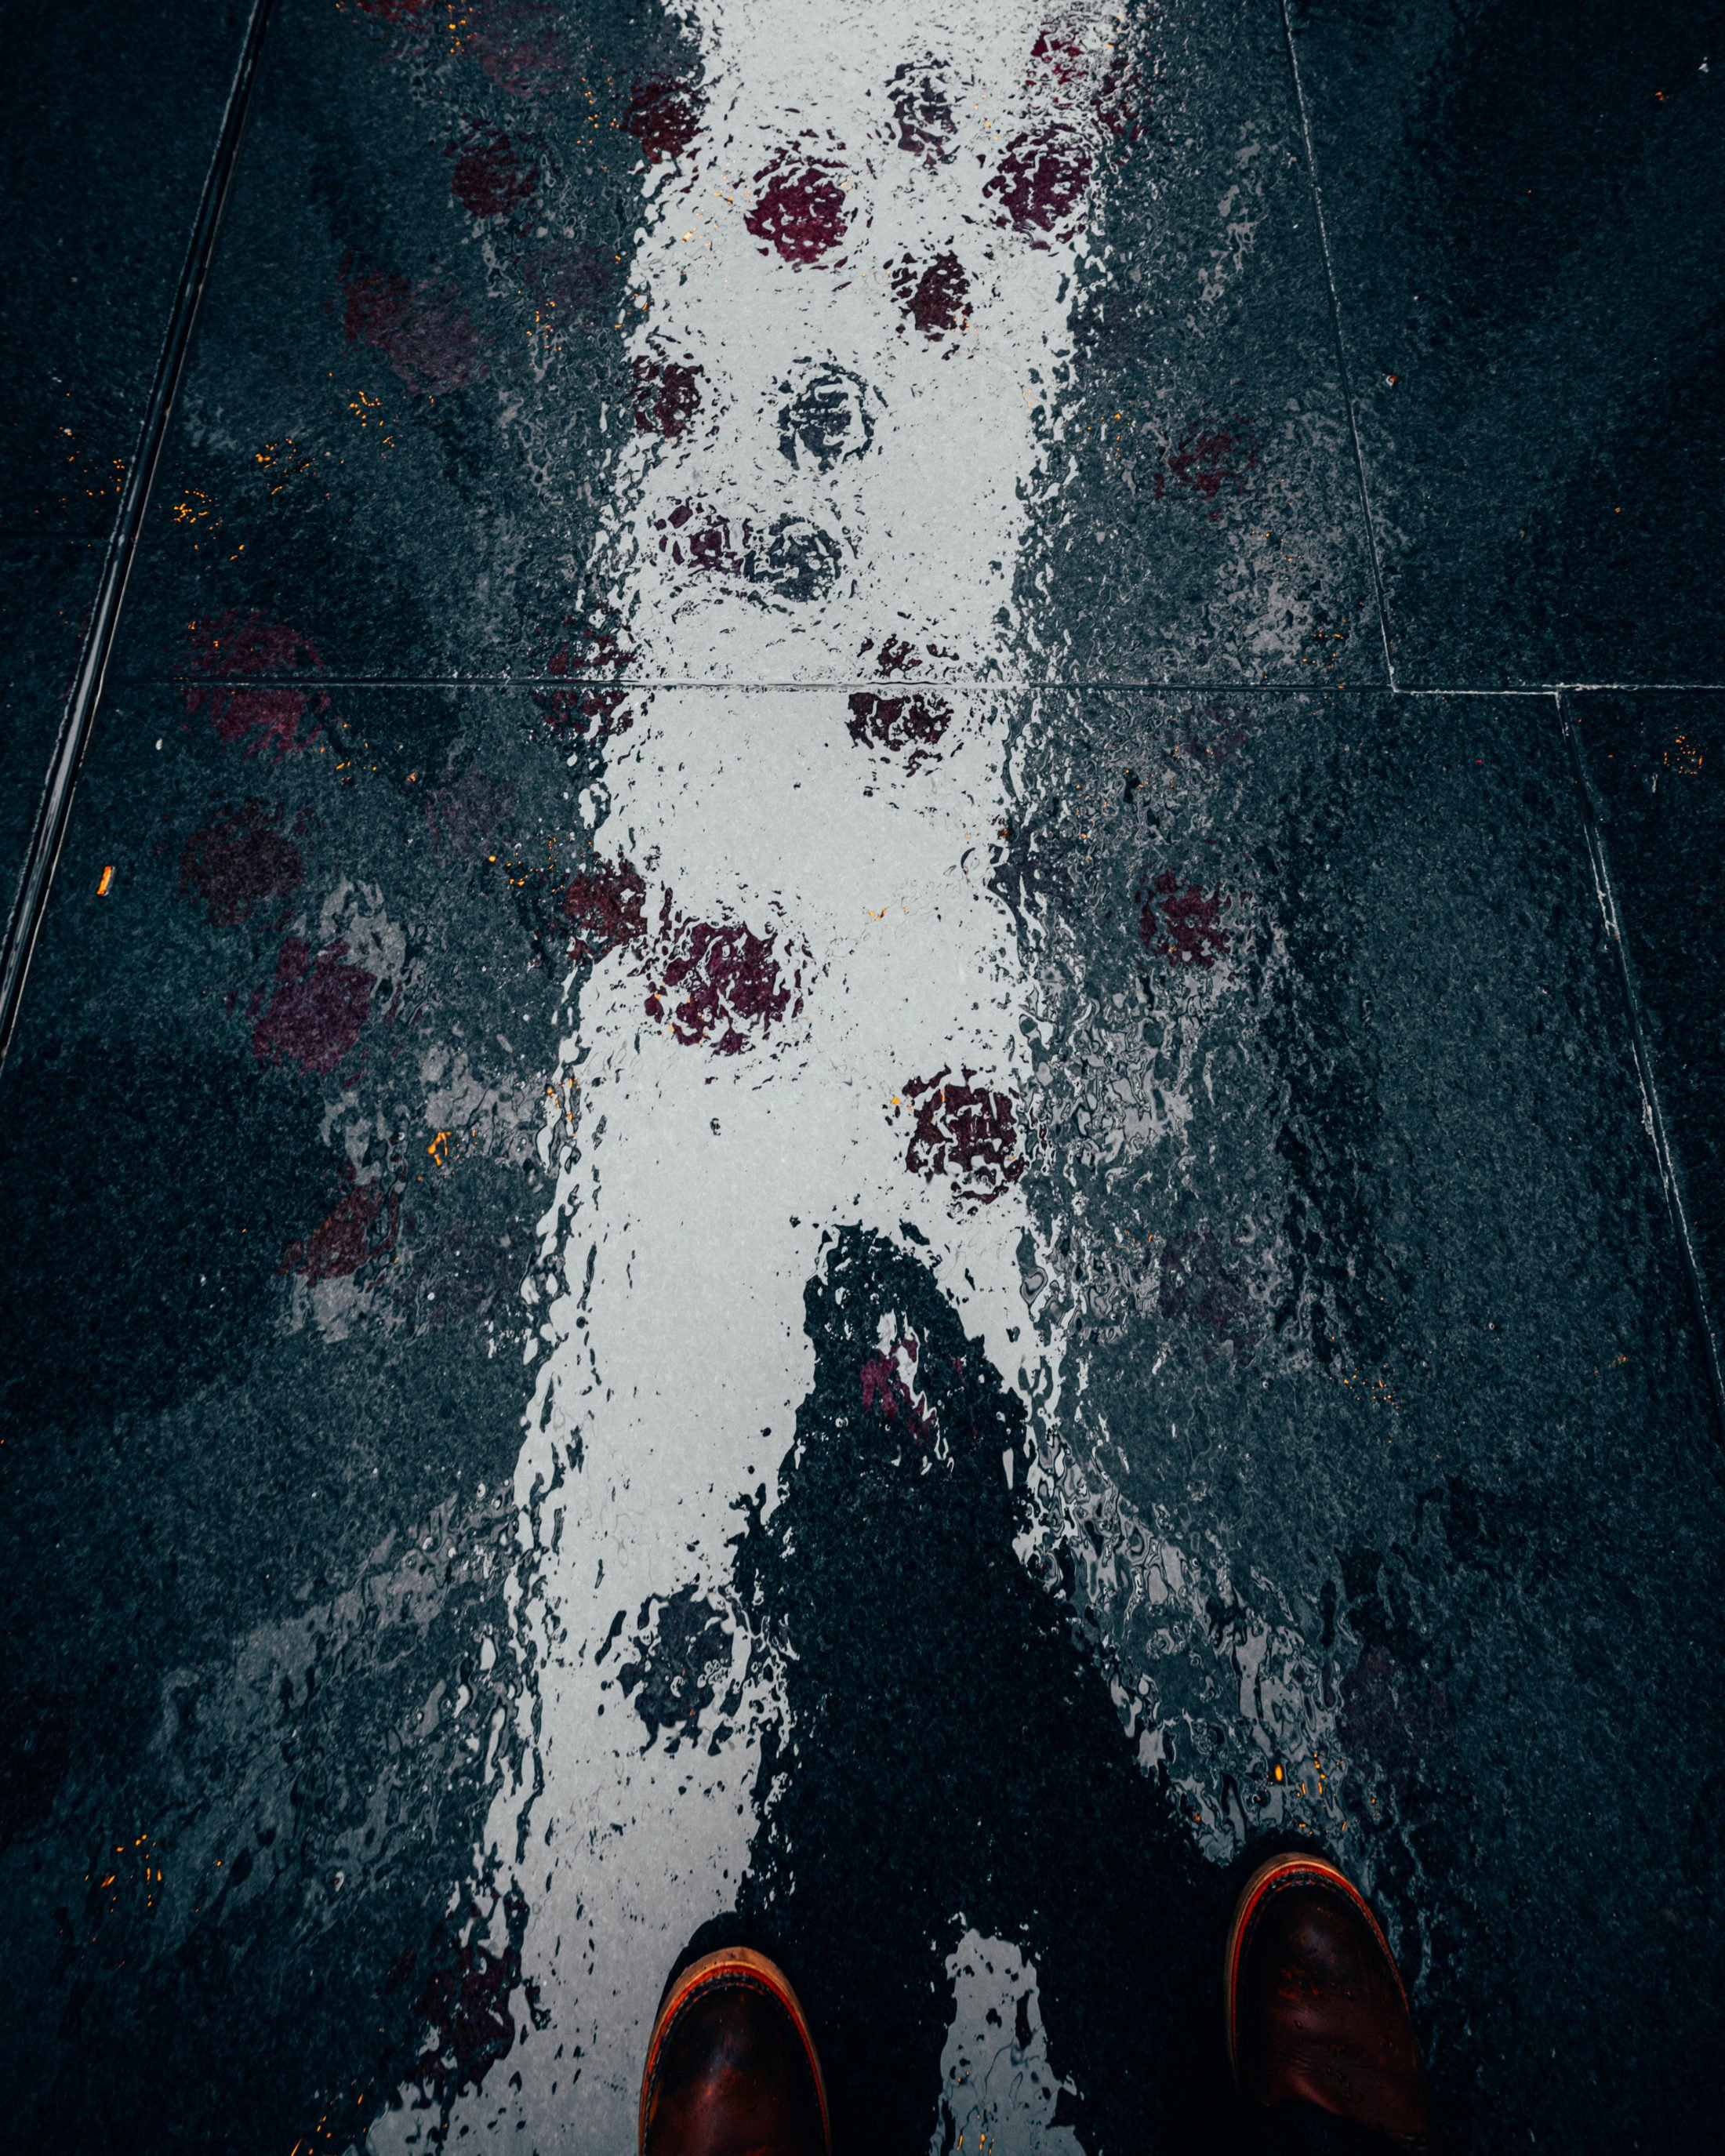
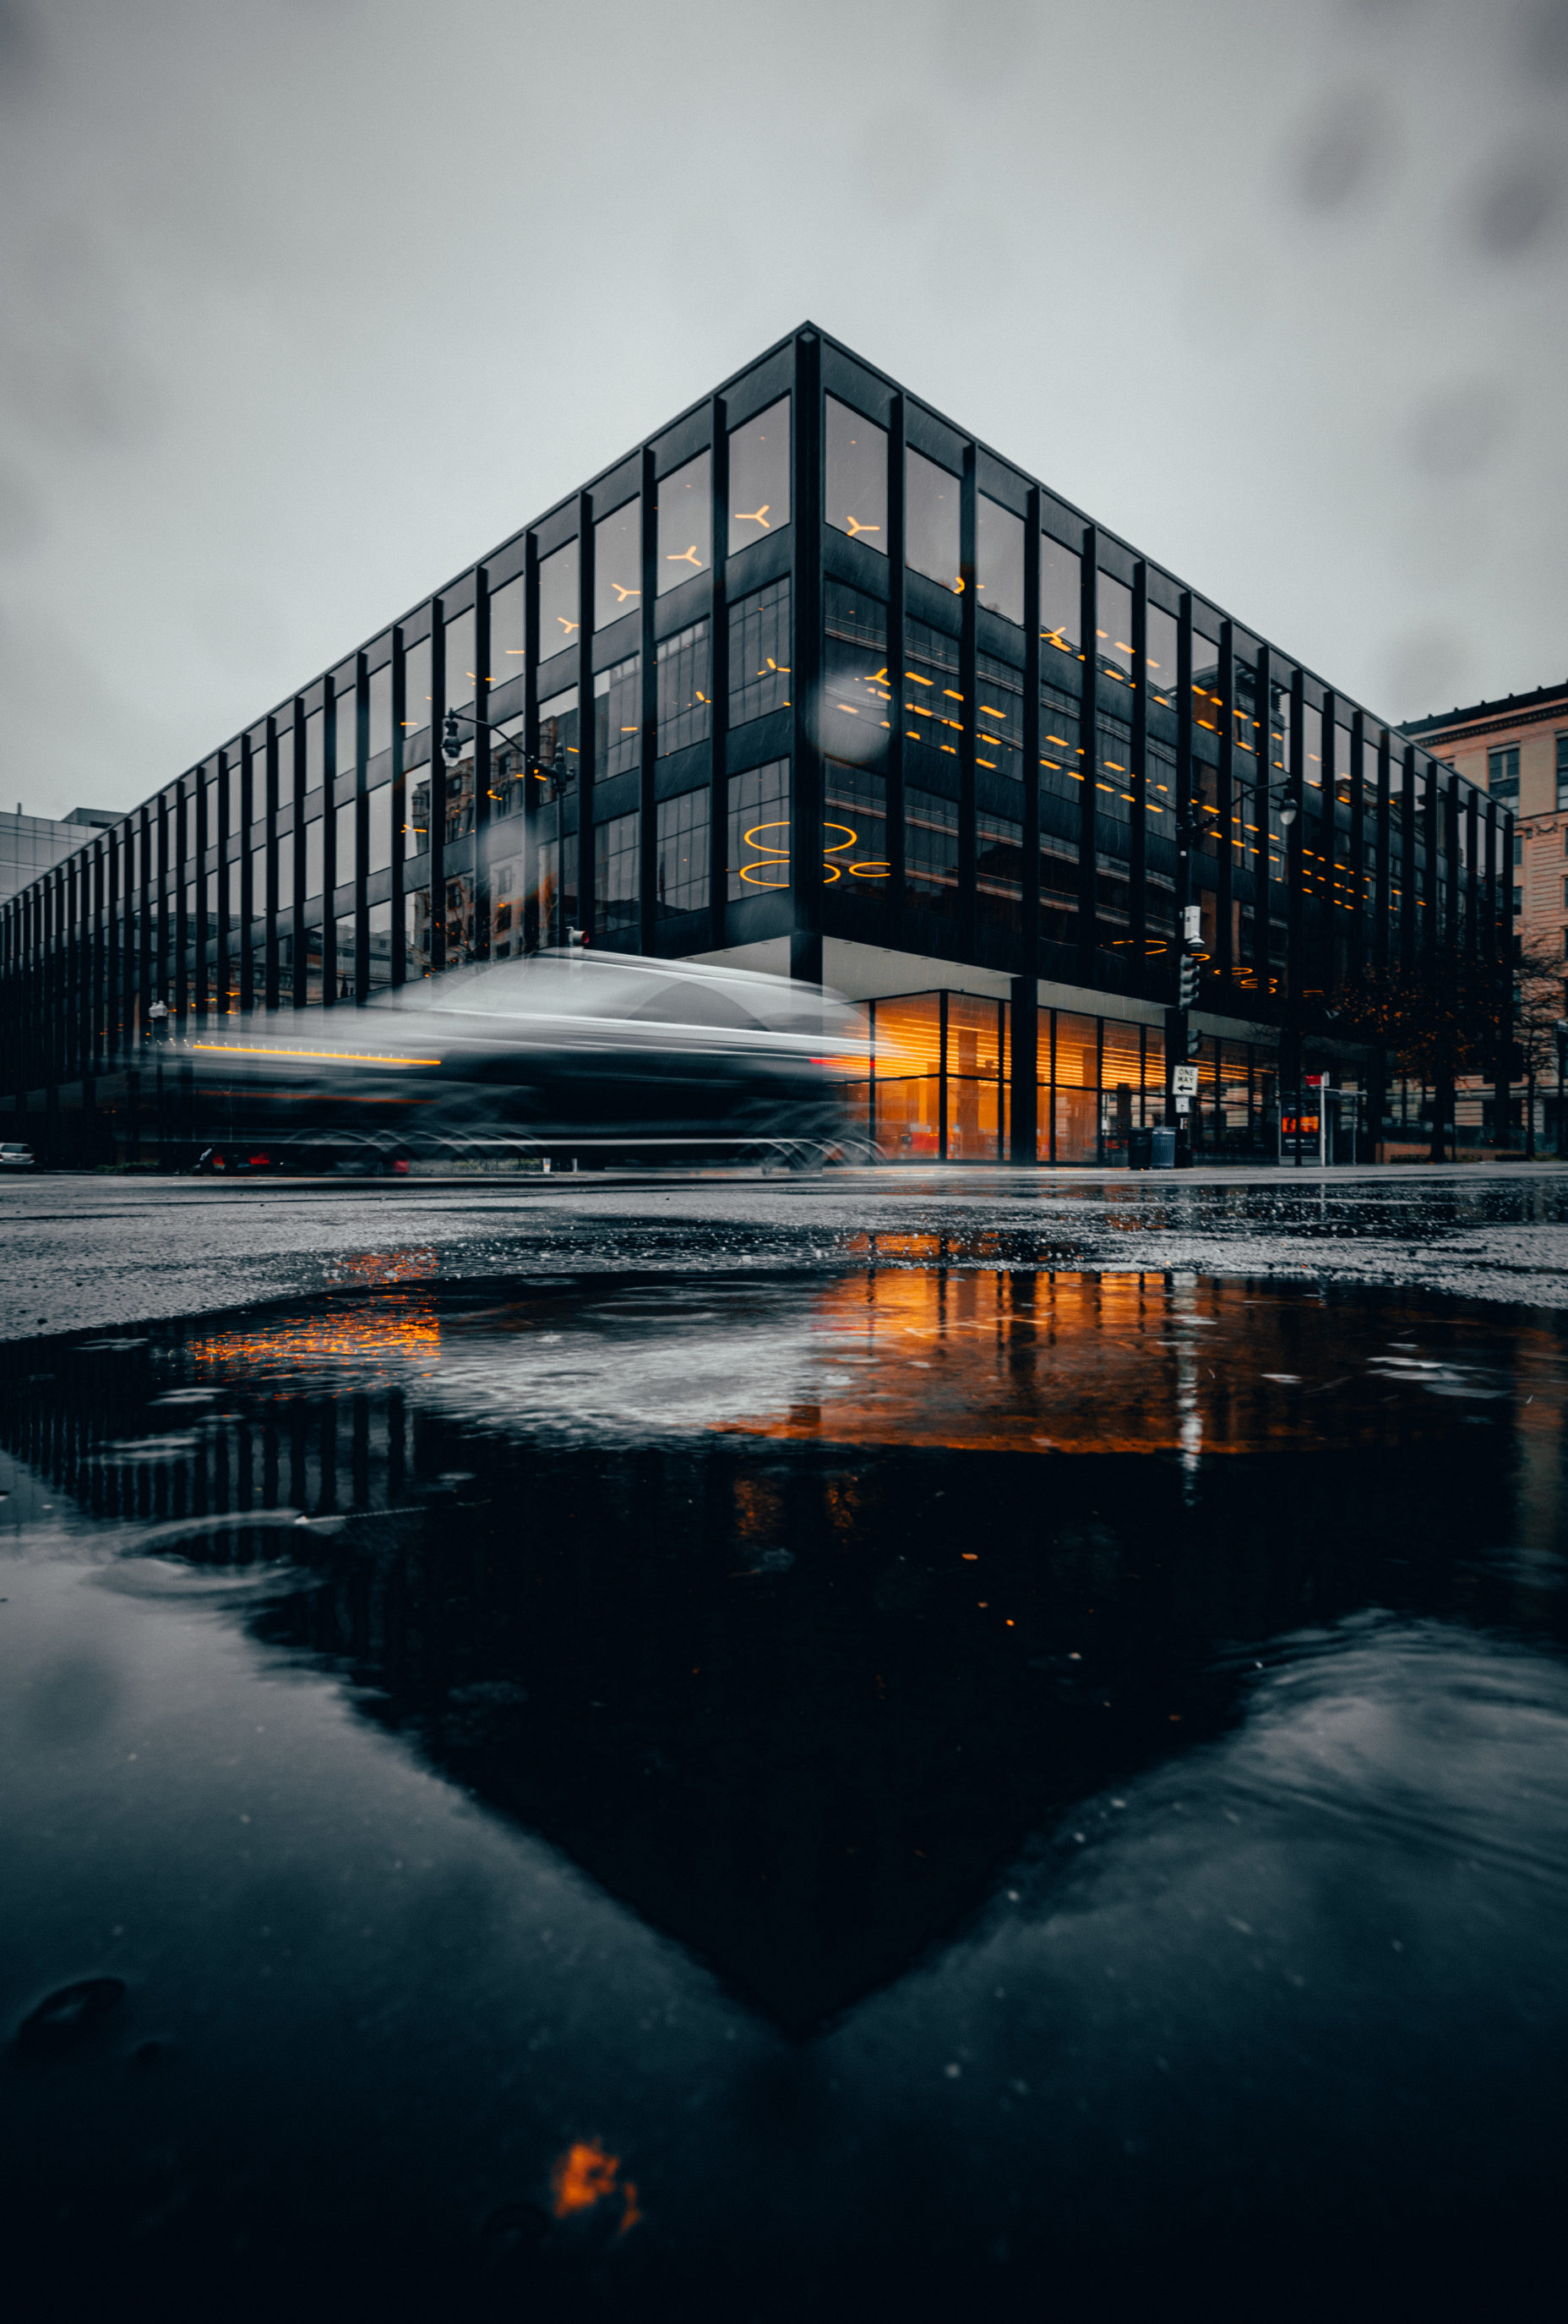
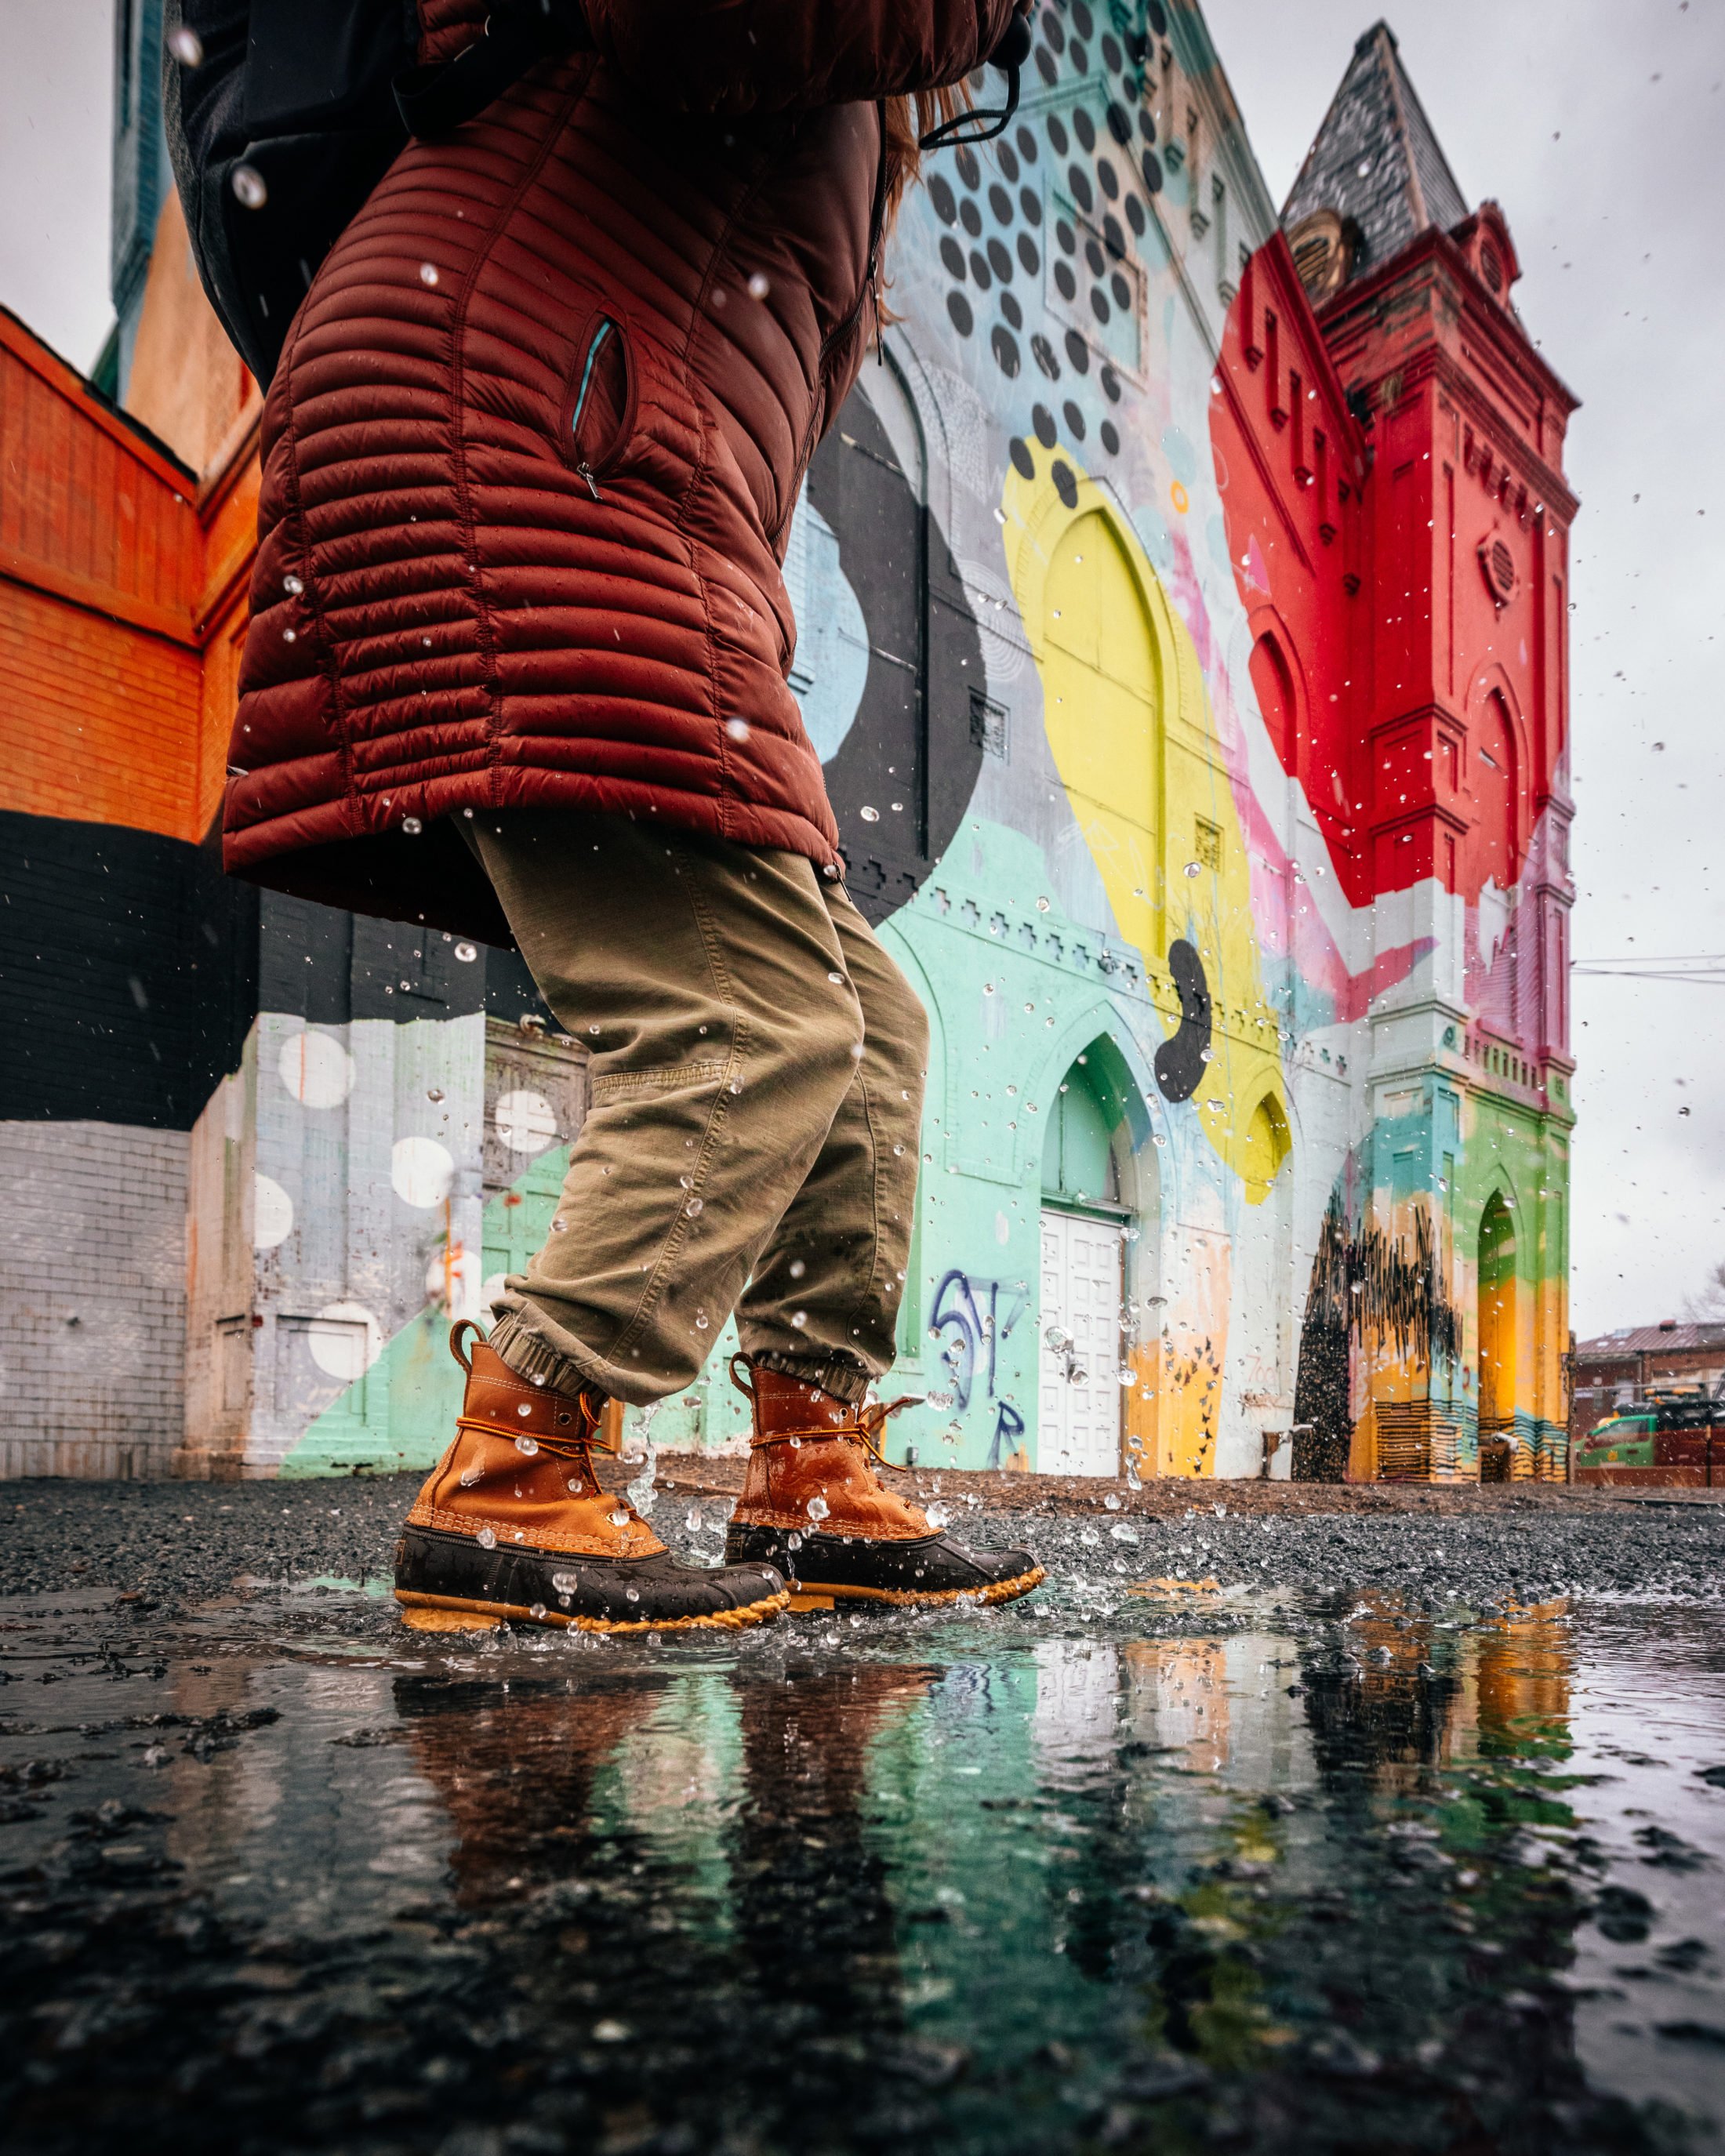
Wet pavement, puddles, and storefronts all turn into mirrors after rain. Get the camera low (down near puddle level) for the strongest reflections, and look for shots where the reflection adds a second composition rather than just doubles up the first. There are more reflection examples in the photo ideas list below.
Capturing Motion in the Rain
Rain adds easy motion to a shot. Slower shutter speeds (1/30s to 1/8s with a tripod or steady brace) blur the falling drops into visible streaks. Faster shutter speeds (1/500s or quicker) freeze drops mid-air. Both look good, just pick one. Pair the streaked-rain look with a stationary subject, and pair the frozen-drop look with active subjects like people walking through puddles or cars splashing.
Embracing the Mood of a Rainy Day
Lean into the look of the weather rather than fighting it. Wet hair, glistening jackets, fogged windows, neon reflections, and umbrella silhouettes are all part of the visual language of rain. It’s well-developed in everything from Blade Runner to Brassaï’s Paris work. Use it.
Photography Ideas for Rainy Days
Now that we went over photography tips for rainy days we can go over specific examples of photography ideas on rainy days.
1. Reflections & Puddles
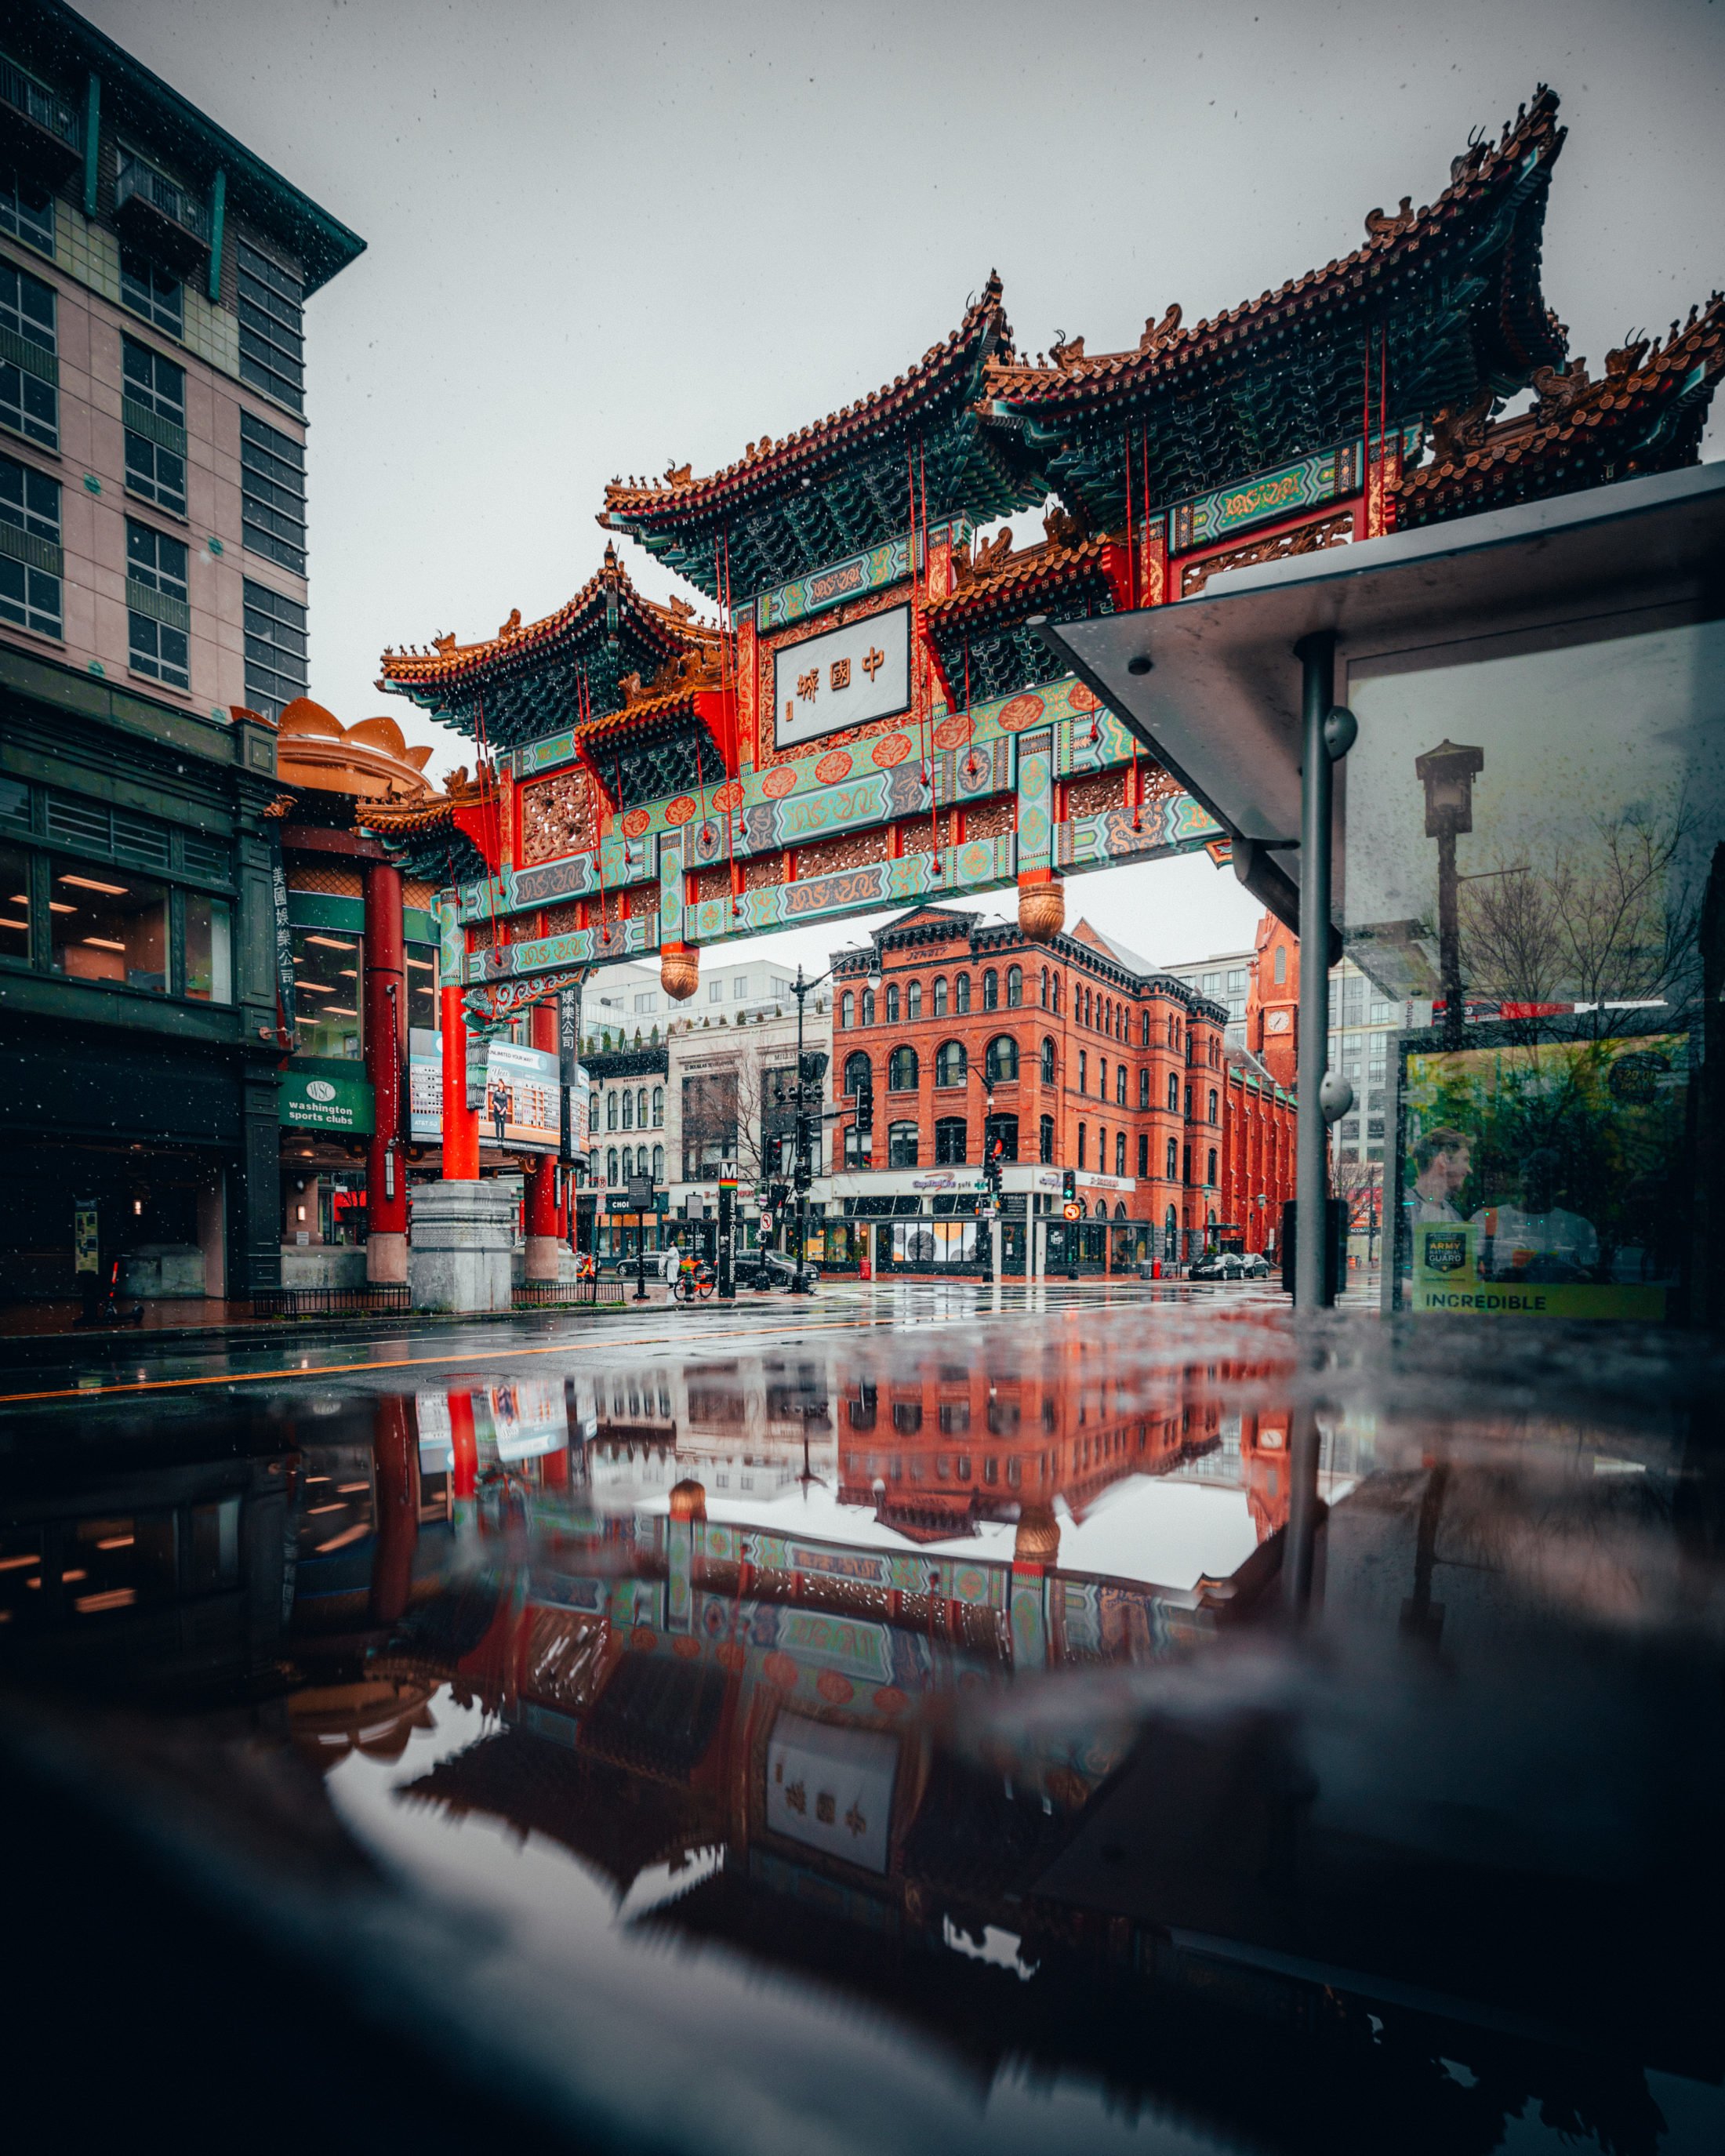
The most obvious thing to photograph on a rainy day is puddles and reflections. No matter where you’re shooting, you’ll find tons of unique angles by getting the camera down low; phone-on-pavement low if you have to.
When using reflections you can get plenty of unique compositions. Some tripods enable you get a few feet off the ground to take long exposure photos as well.
2. Rain Splashes
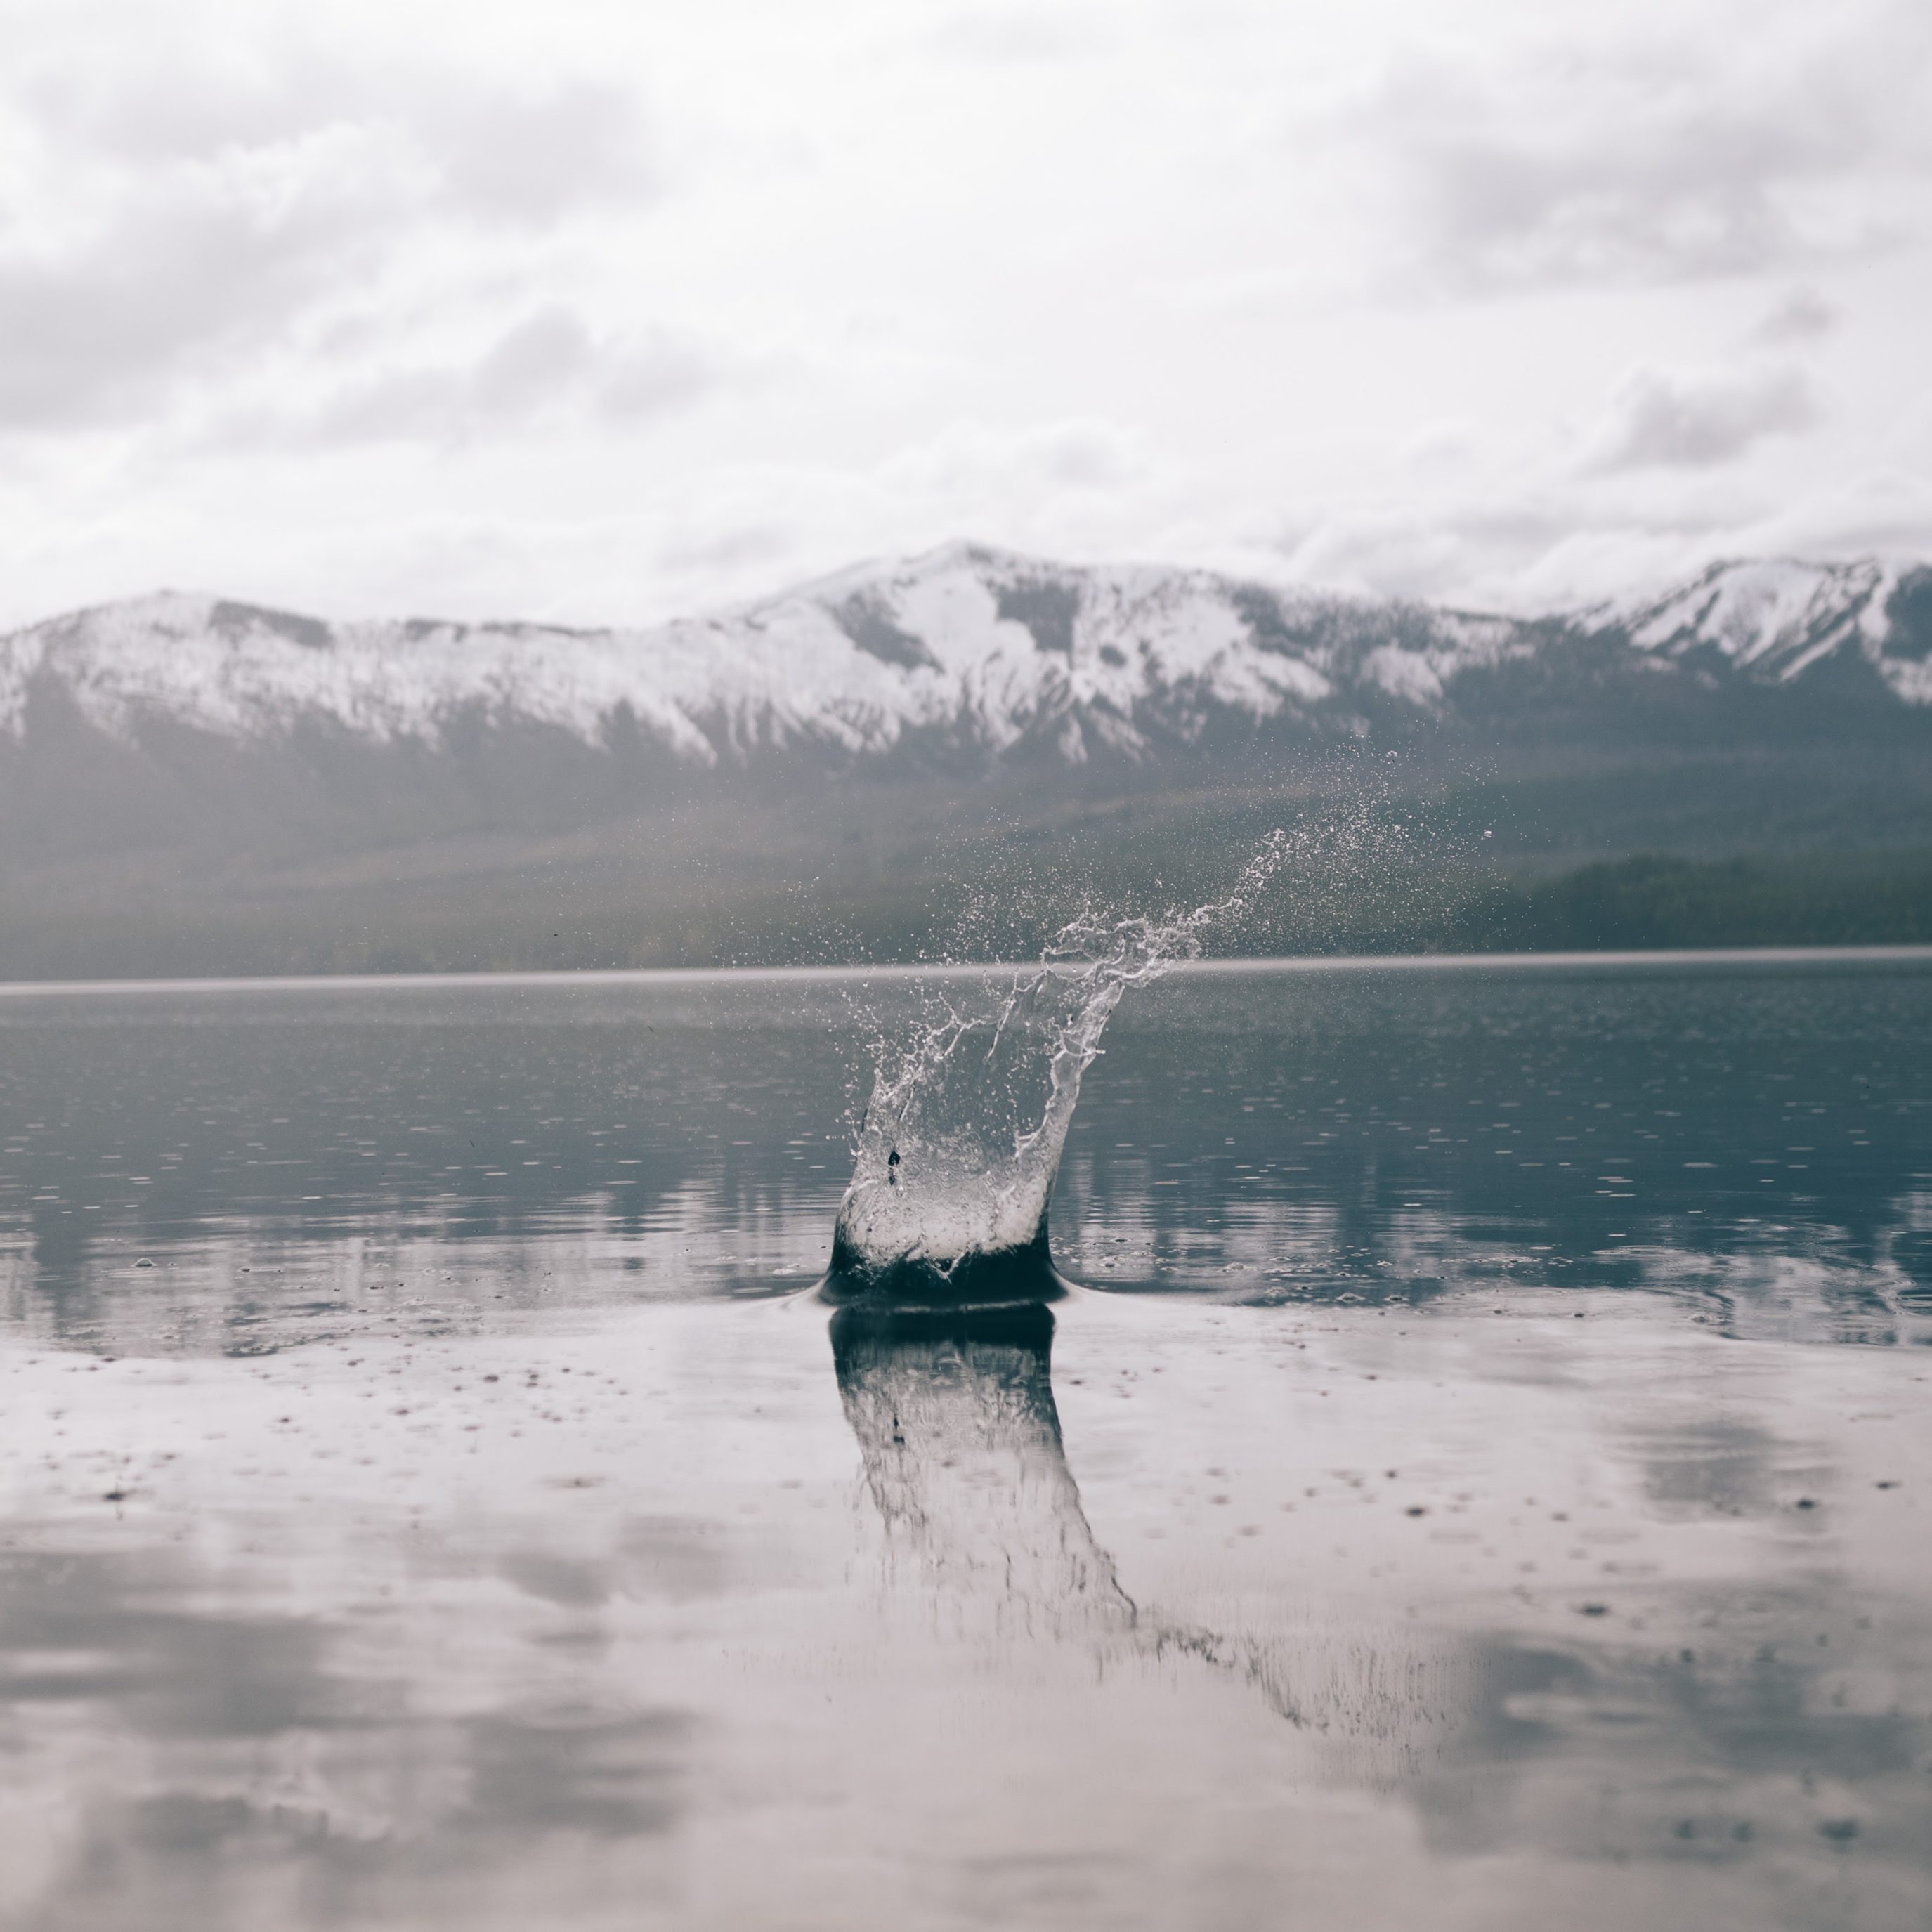
Use all the puddles to your advantage by making a splash! It’s the perfect way to add some motion to your photo in a unique way. Whether it’s a car driving by a puddle or a friend stomping in the water there are plenty of possibilities.
Usually you’ll want to use a fast shutter speed to capture splashes mid-air. You can also capture the blur of the water moving using a slightly slower shutter speed, just remember to hold the camera steady.
3. Rainbows

Rainbows show up when the sun breaks through during or just after rain. The best chance is when the sun is low (early morning or late afternoon) and you’re facing away from it with rain still in front of you. Keep your camera ready when a storm starts clearing, since rainbows often last only a few minutes.
4. Rain Drops
If you’re trying to photograph a rain drop in motion you’ll want to use a fast shutter speed like 1/1000th of a second. This will create an effect as if the droplet is suspended in air. Make sure to combine this effect with a low aperture so the rain drop has separation from the background.
5. Cloudy Skies
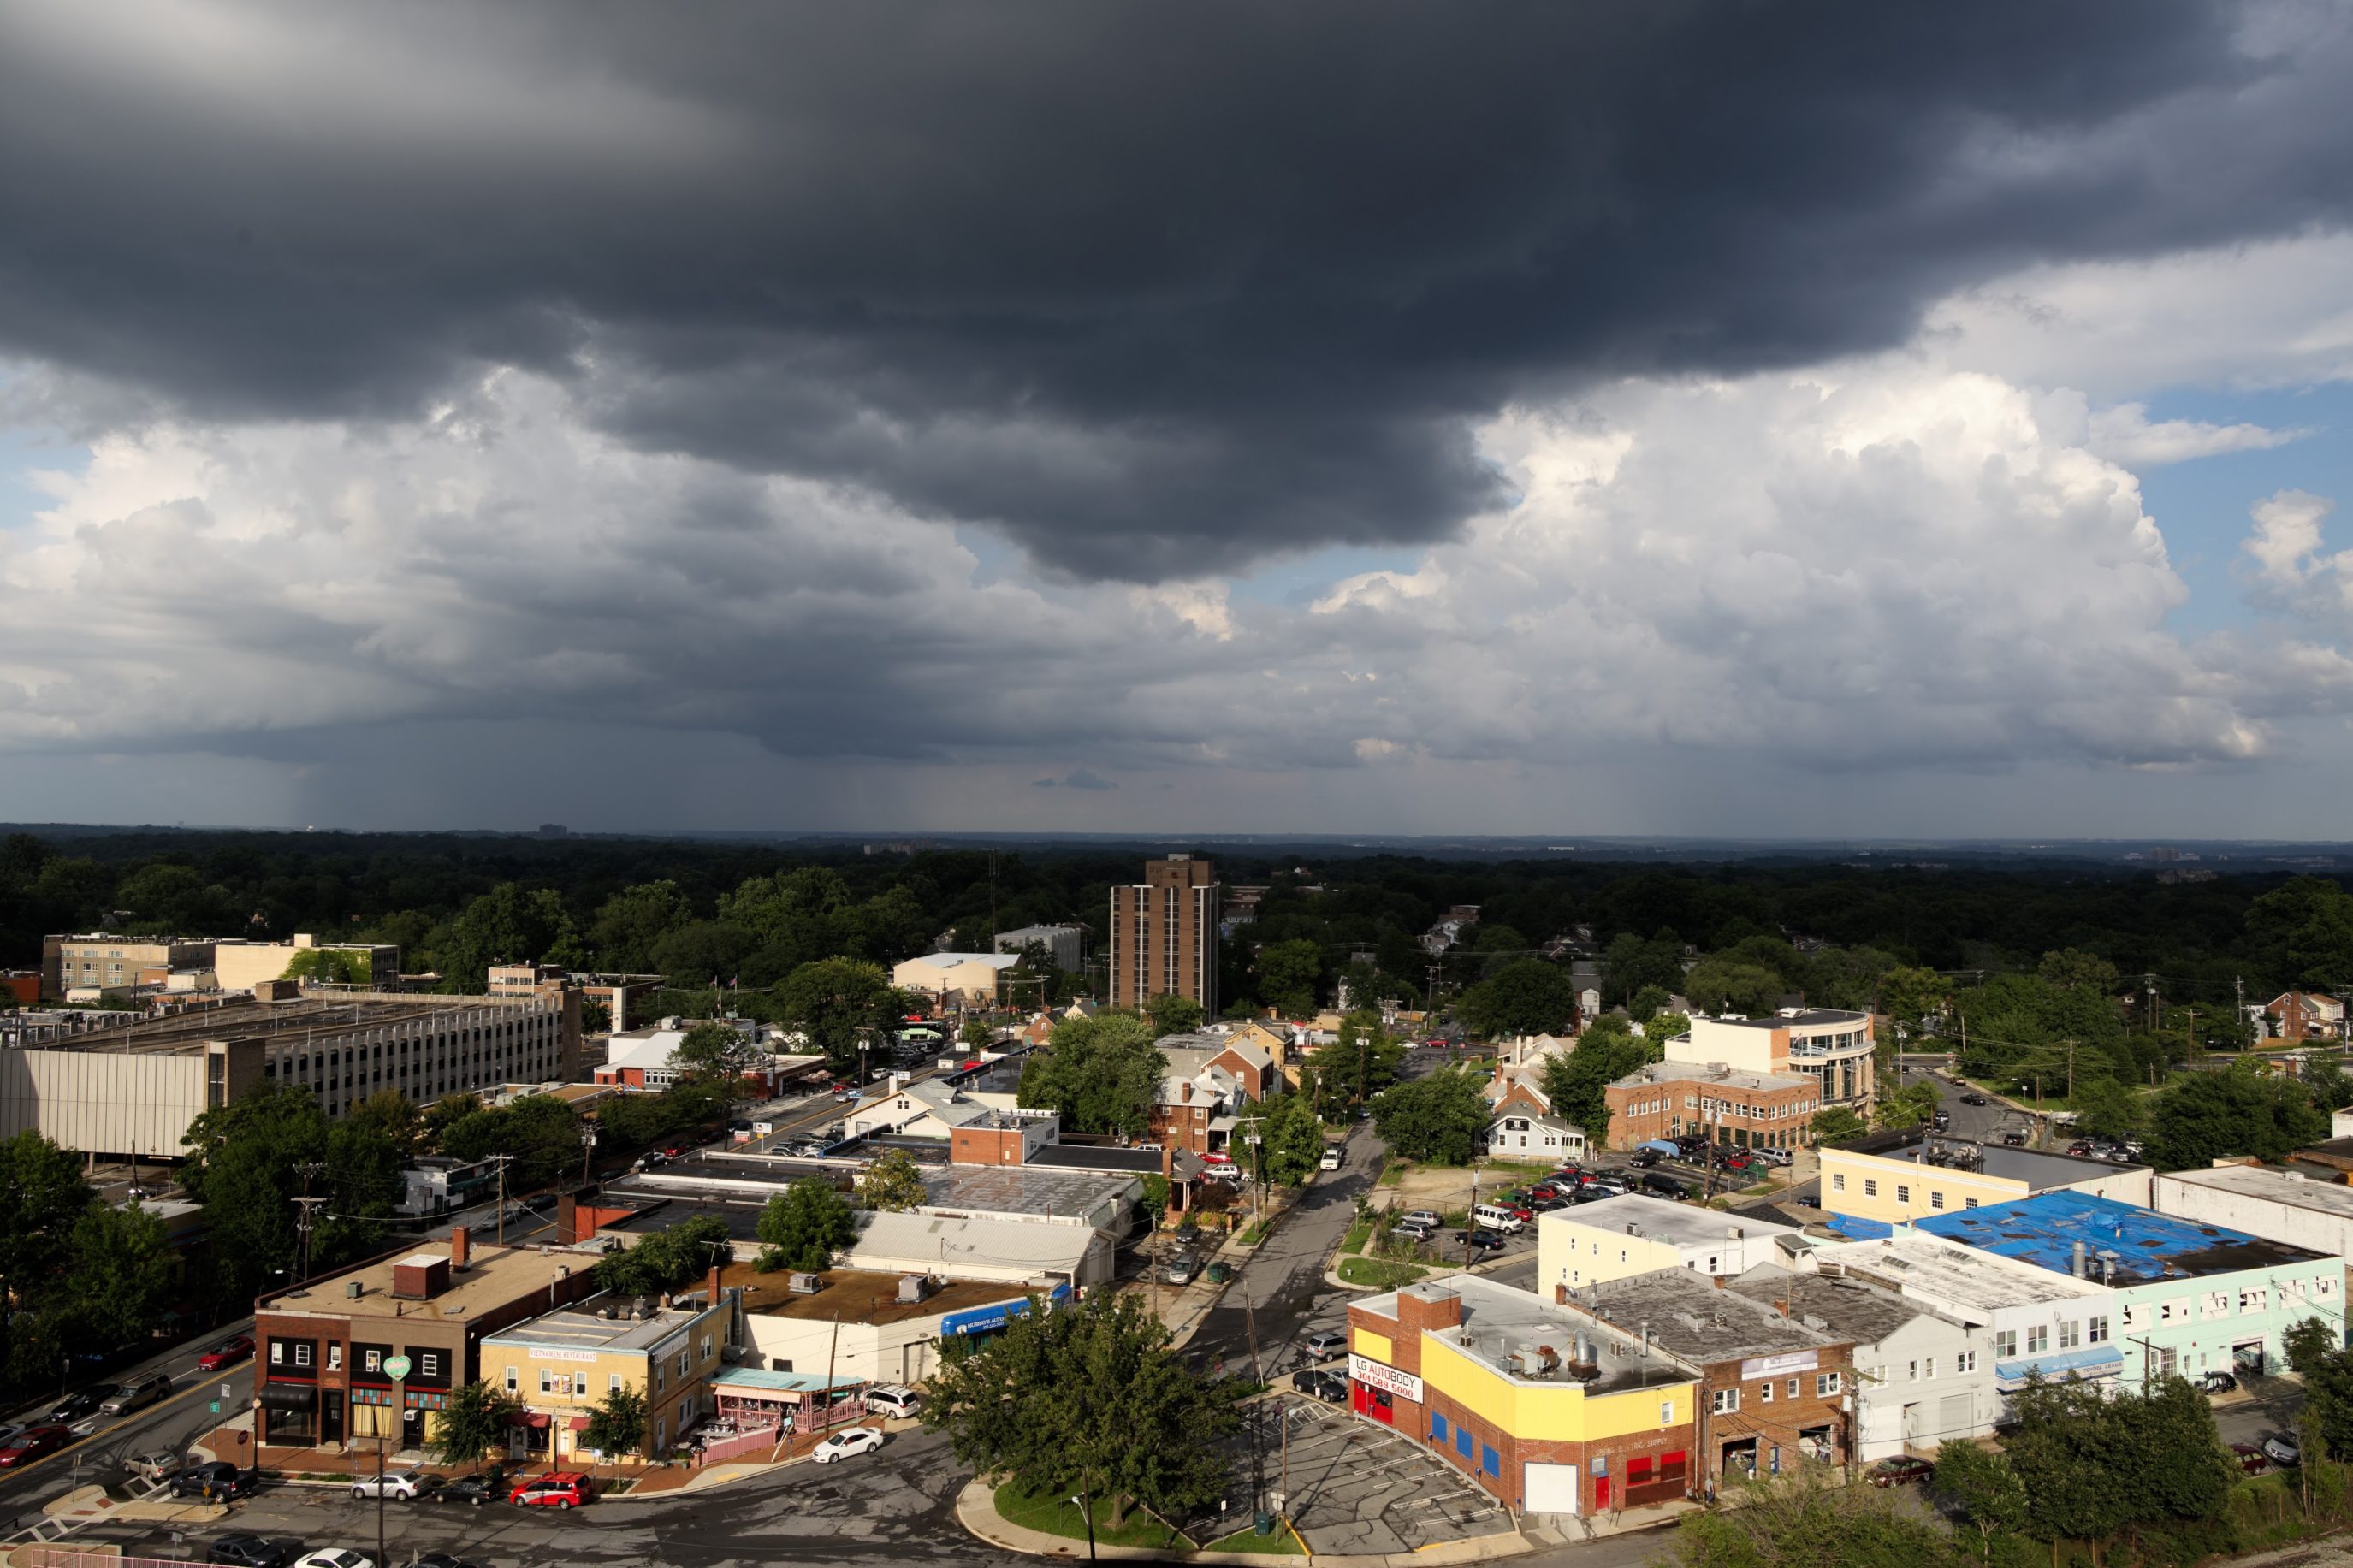
Storm clouds make their own subject, especially when sun breaks through the gaps. For a stronger effect, use a tripod and an ND filter for a long exposure. Multi-second exposures smooth out cloud movement and turn moving storms into ribbons across the sky.
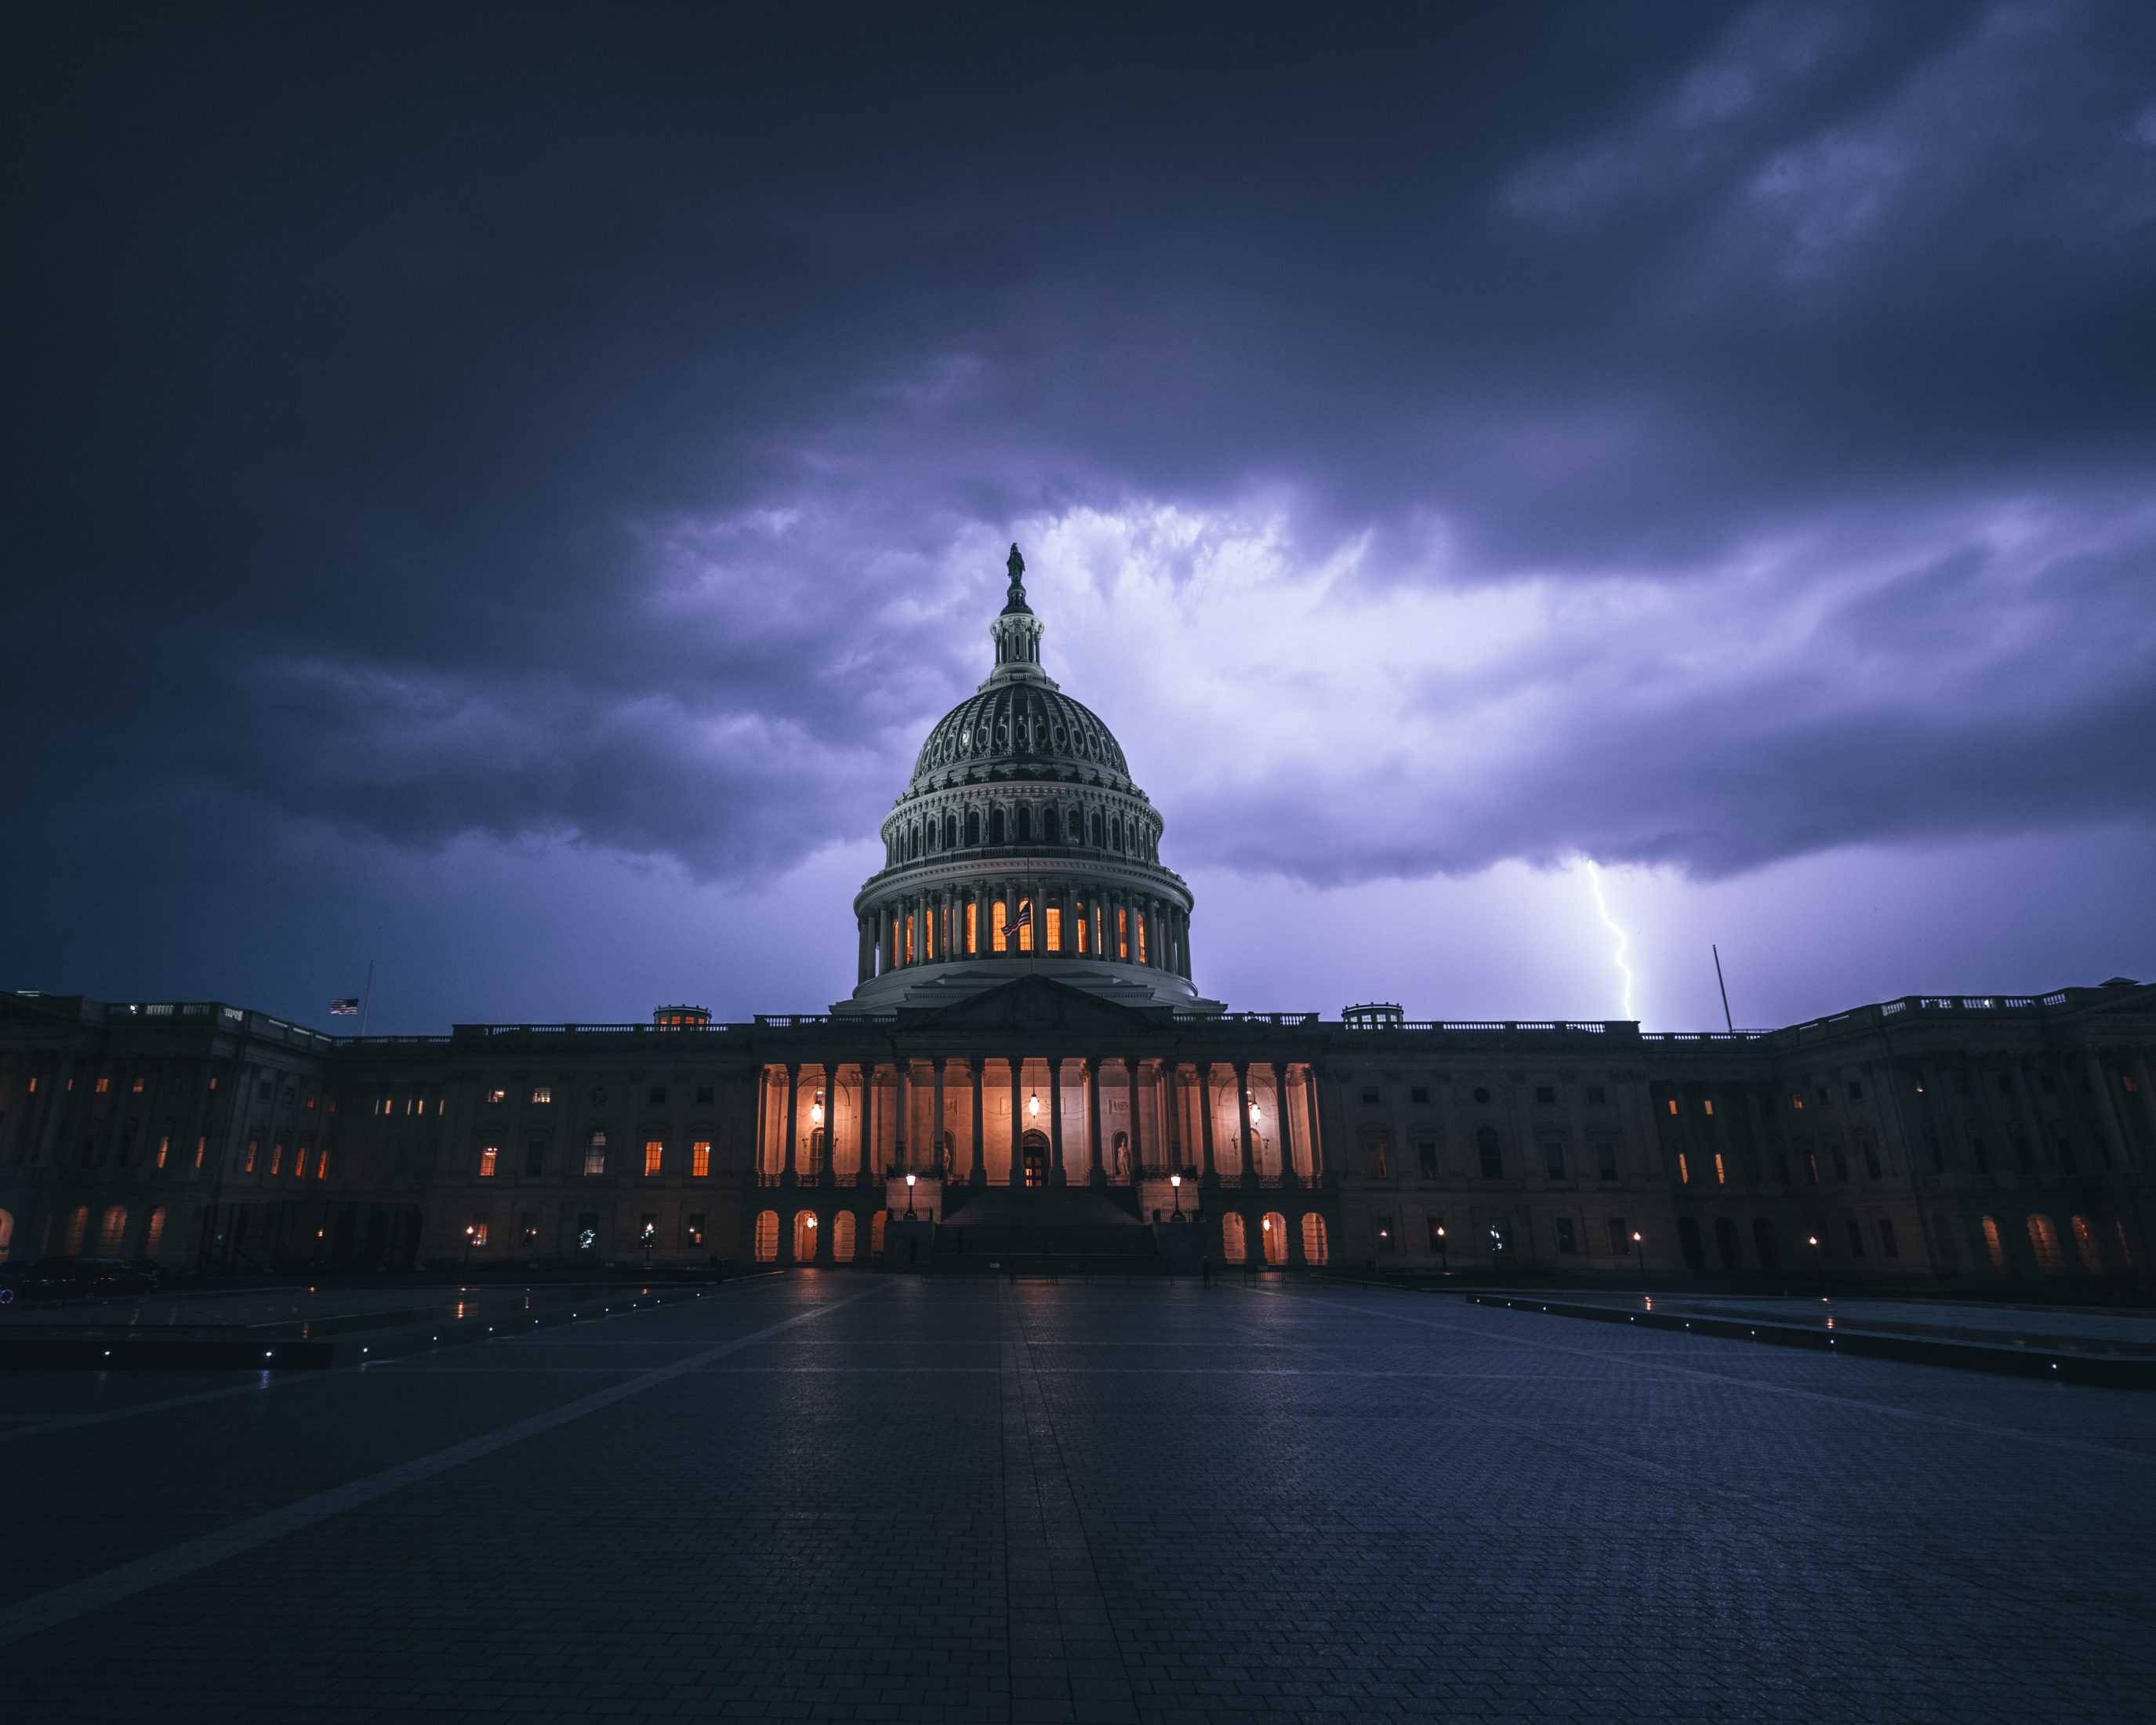
6. Storms & Lightning
Not every rainy day comes with lightning, but when one does, it is worth getting out to photograph it (safely, from inside or under solid cover). Use a live lightning strike map to see exactly where strikes are happening in your area.
Capturing a lightning strike as it happens can be a challenge. You can use a tripod with long exposures or just shoot bursts until a strike happens. Some companies even make lightning activated shutters.
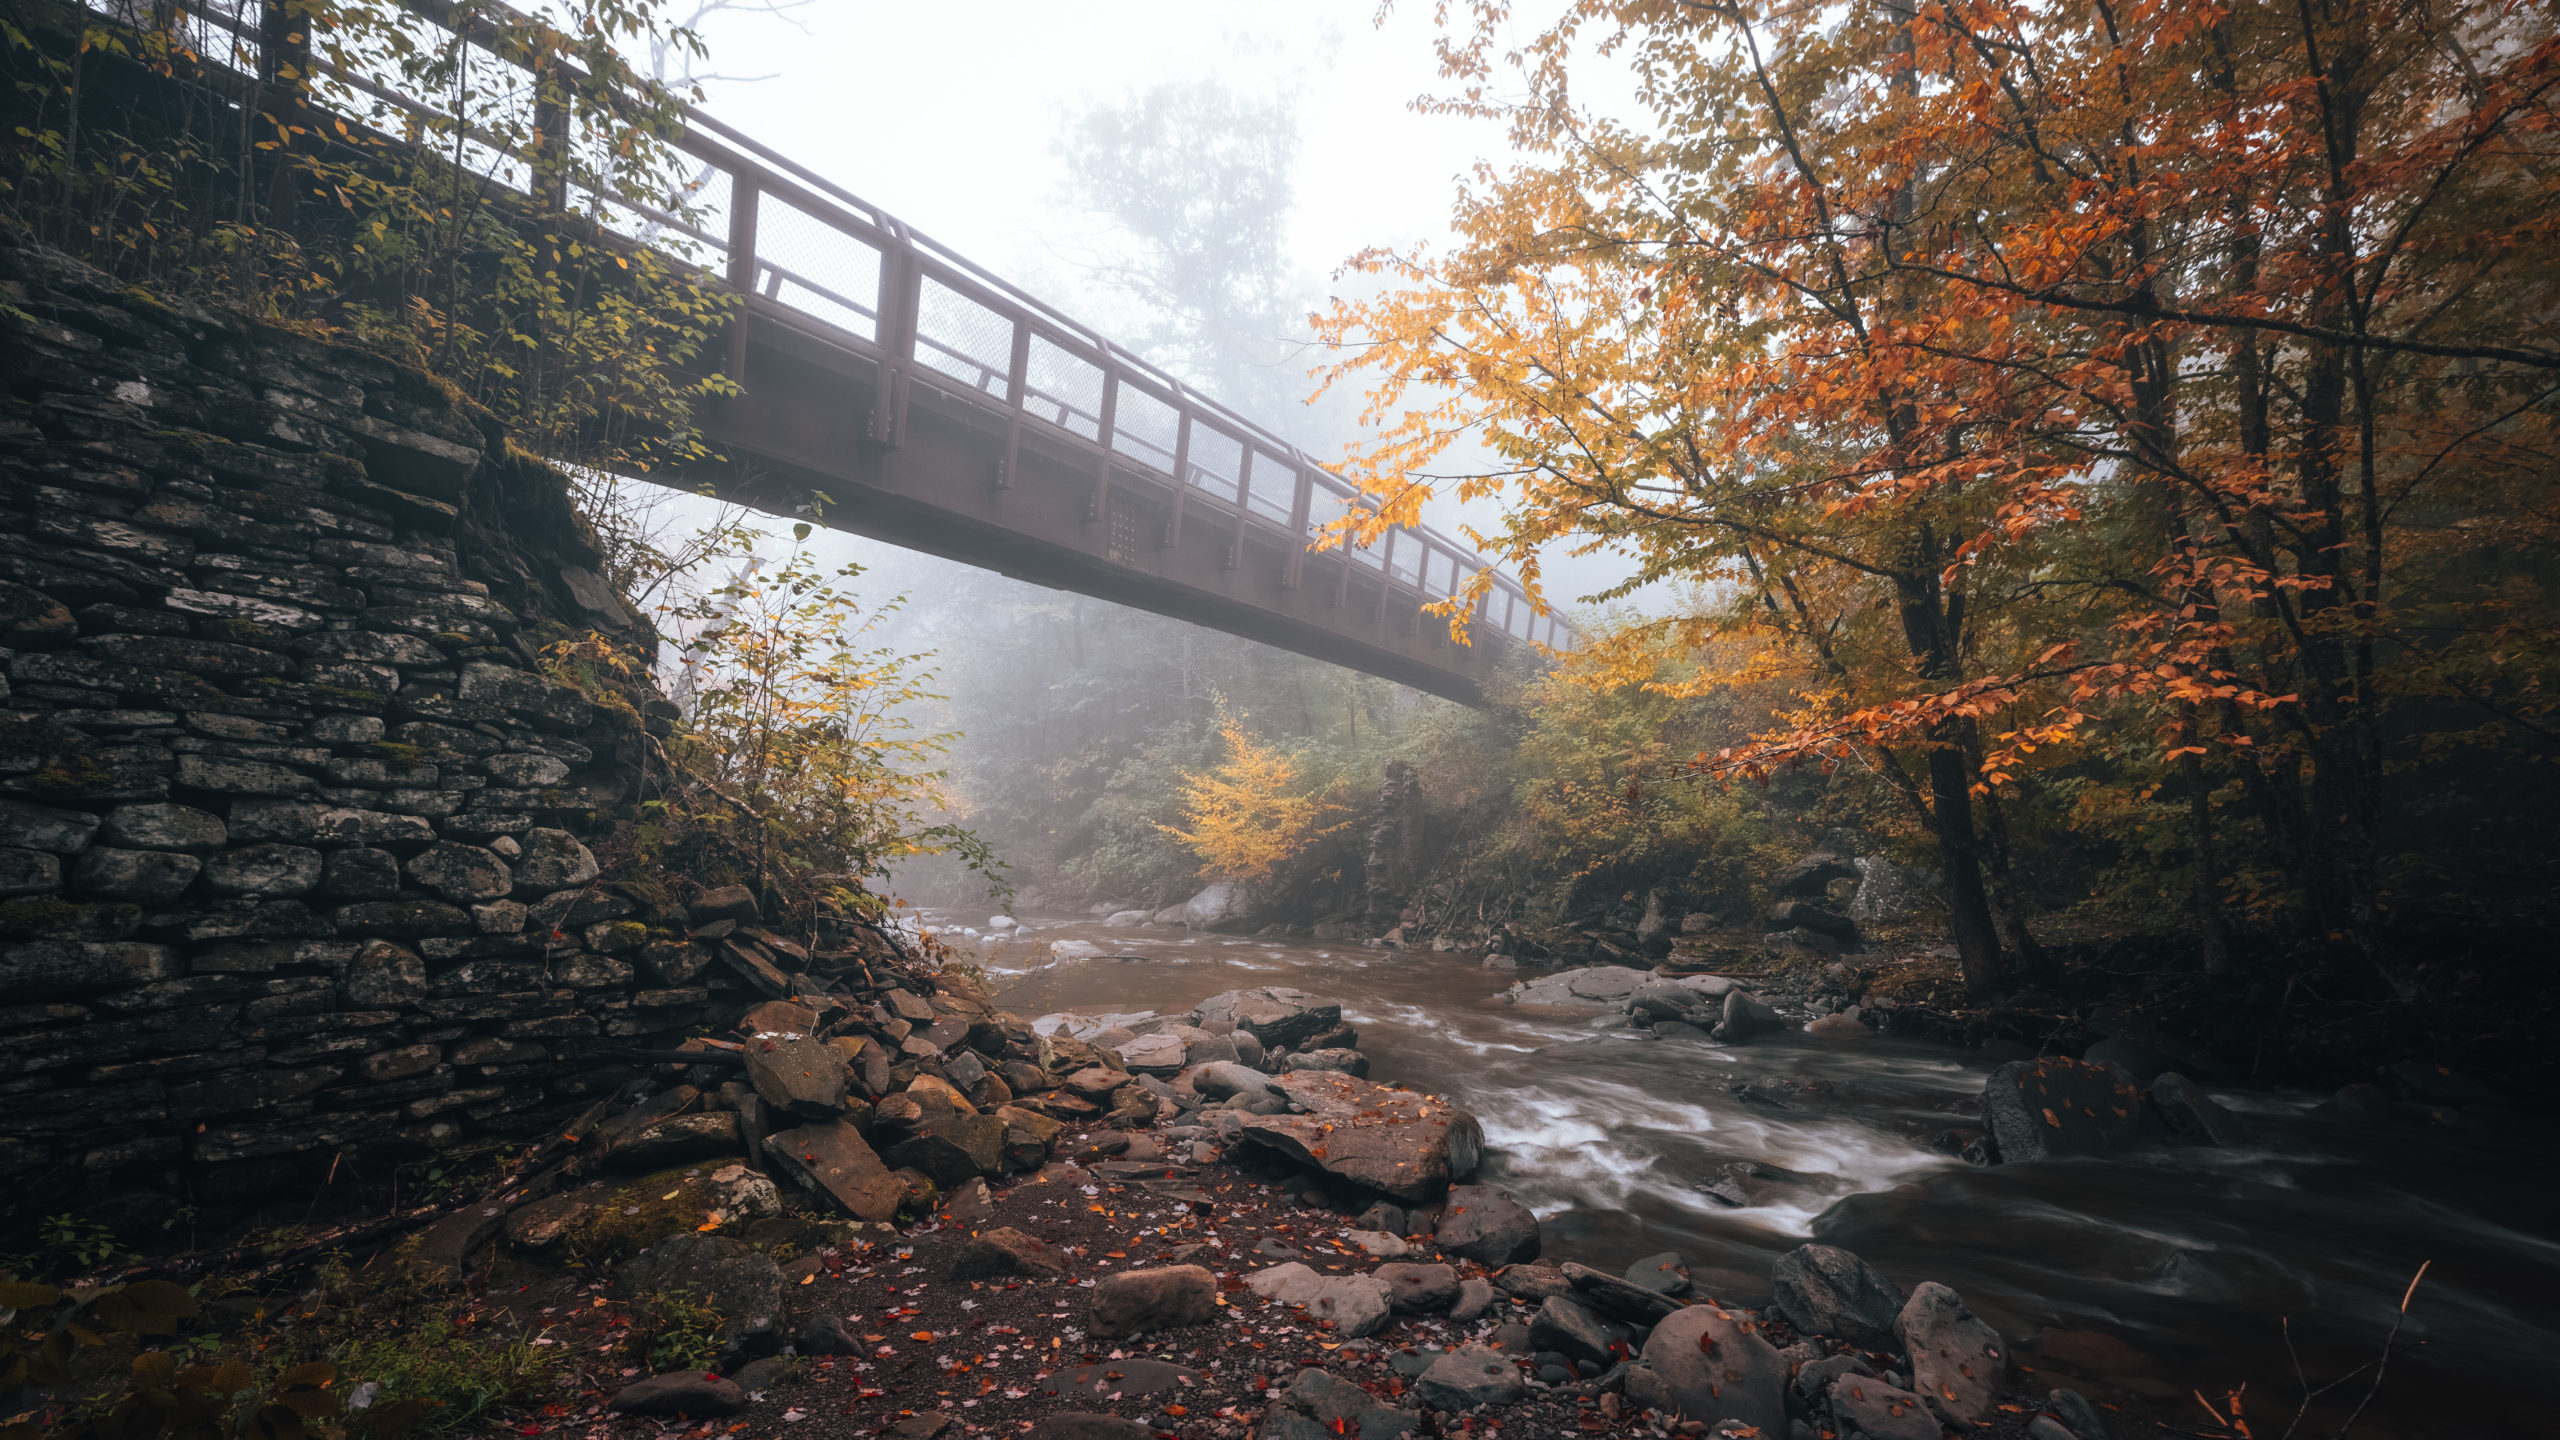
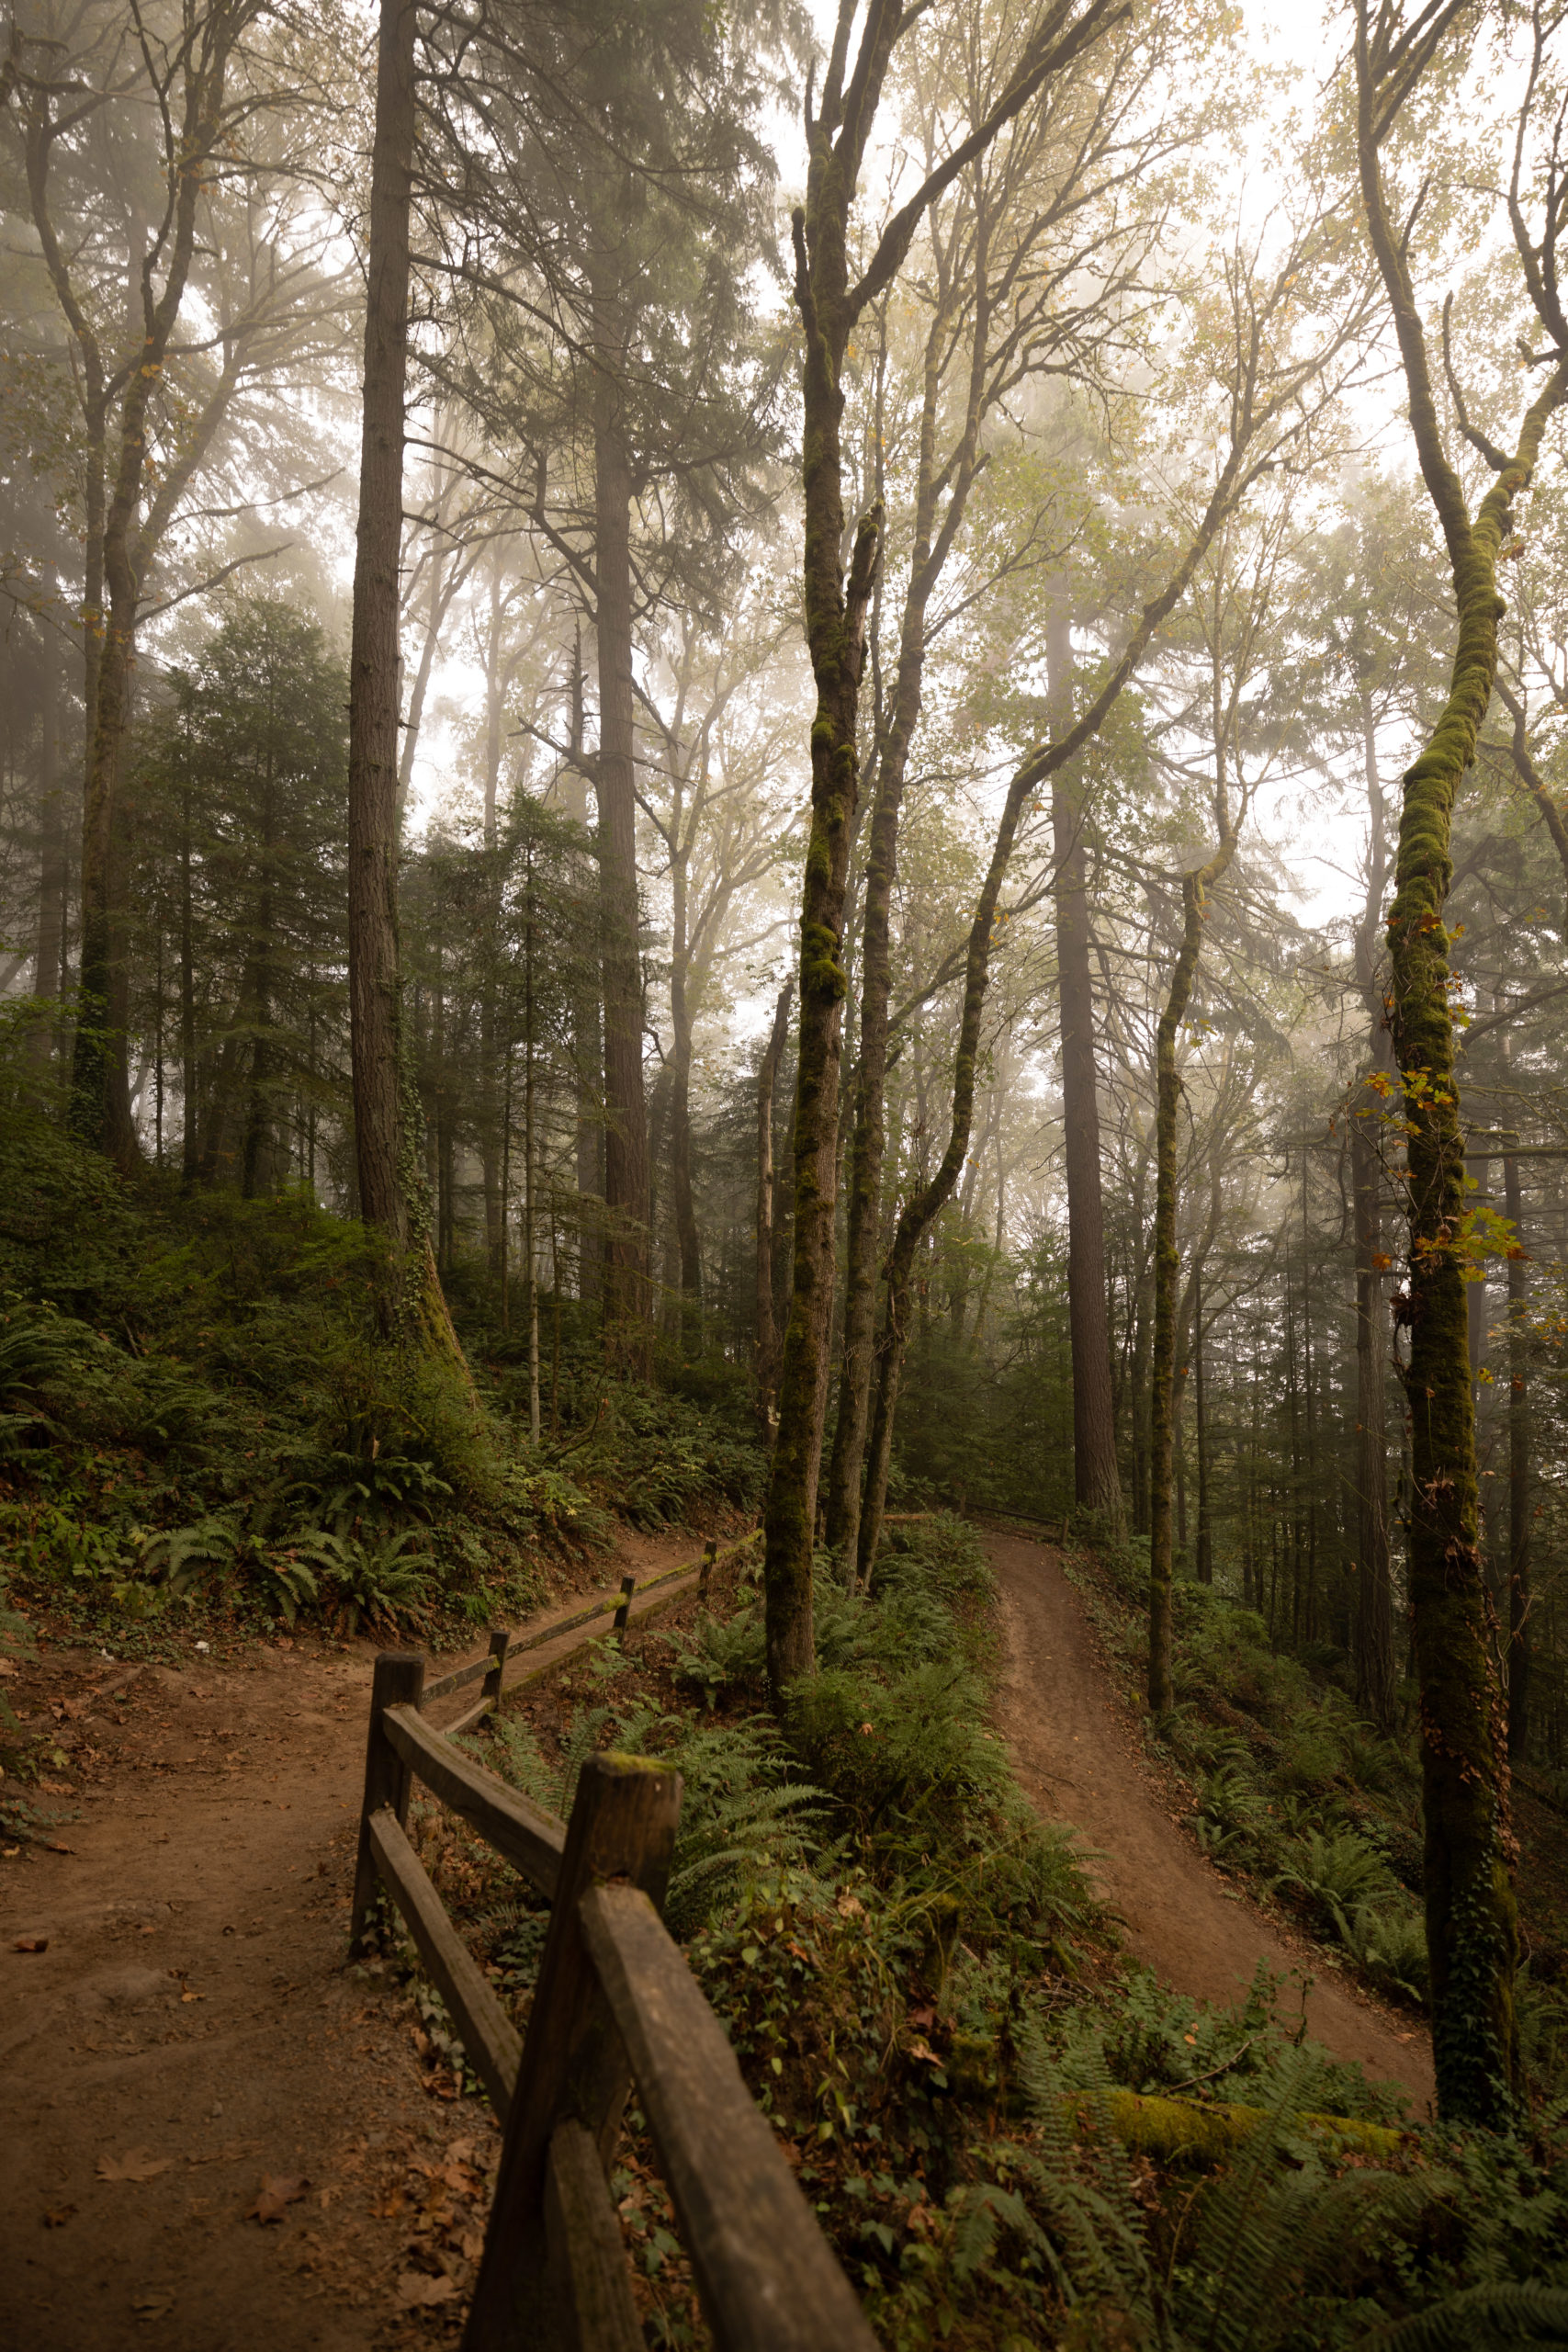
7. Mist & Fog
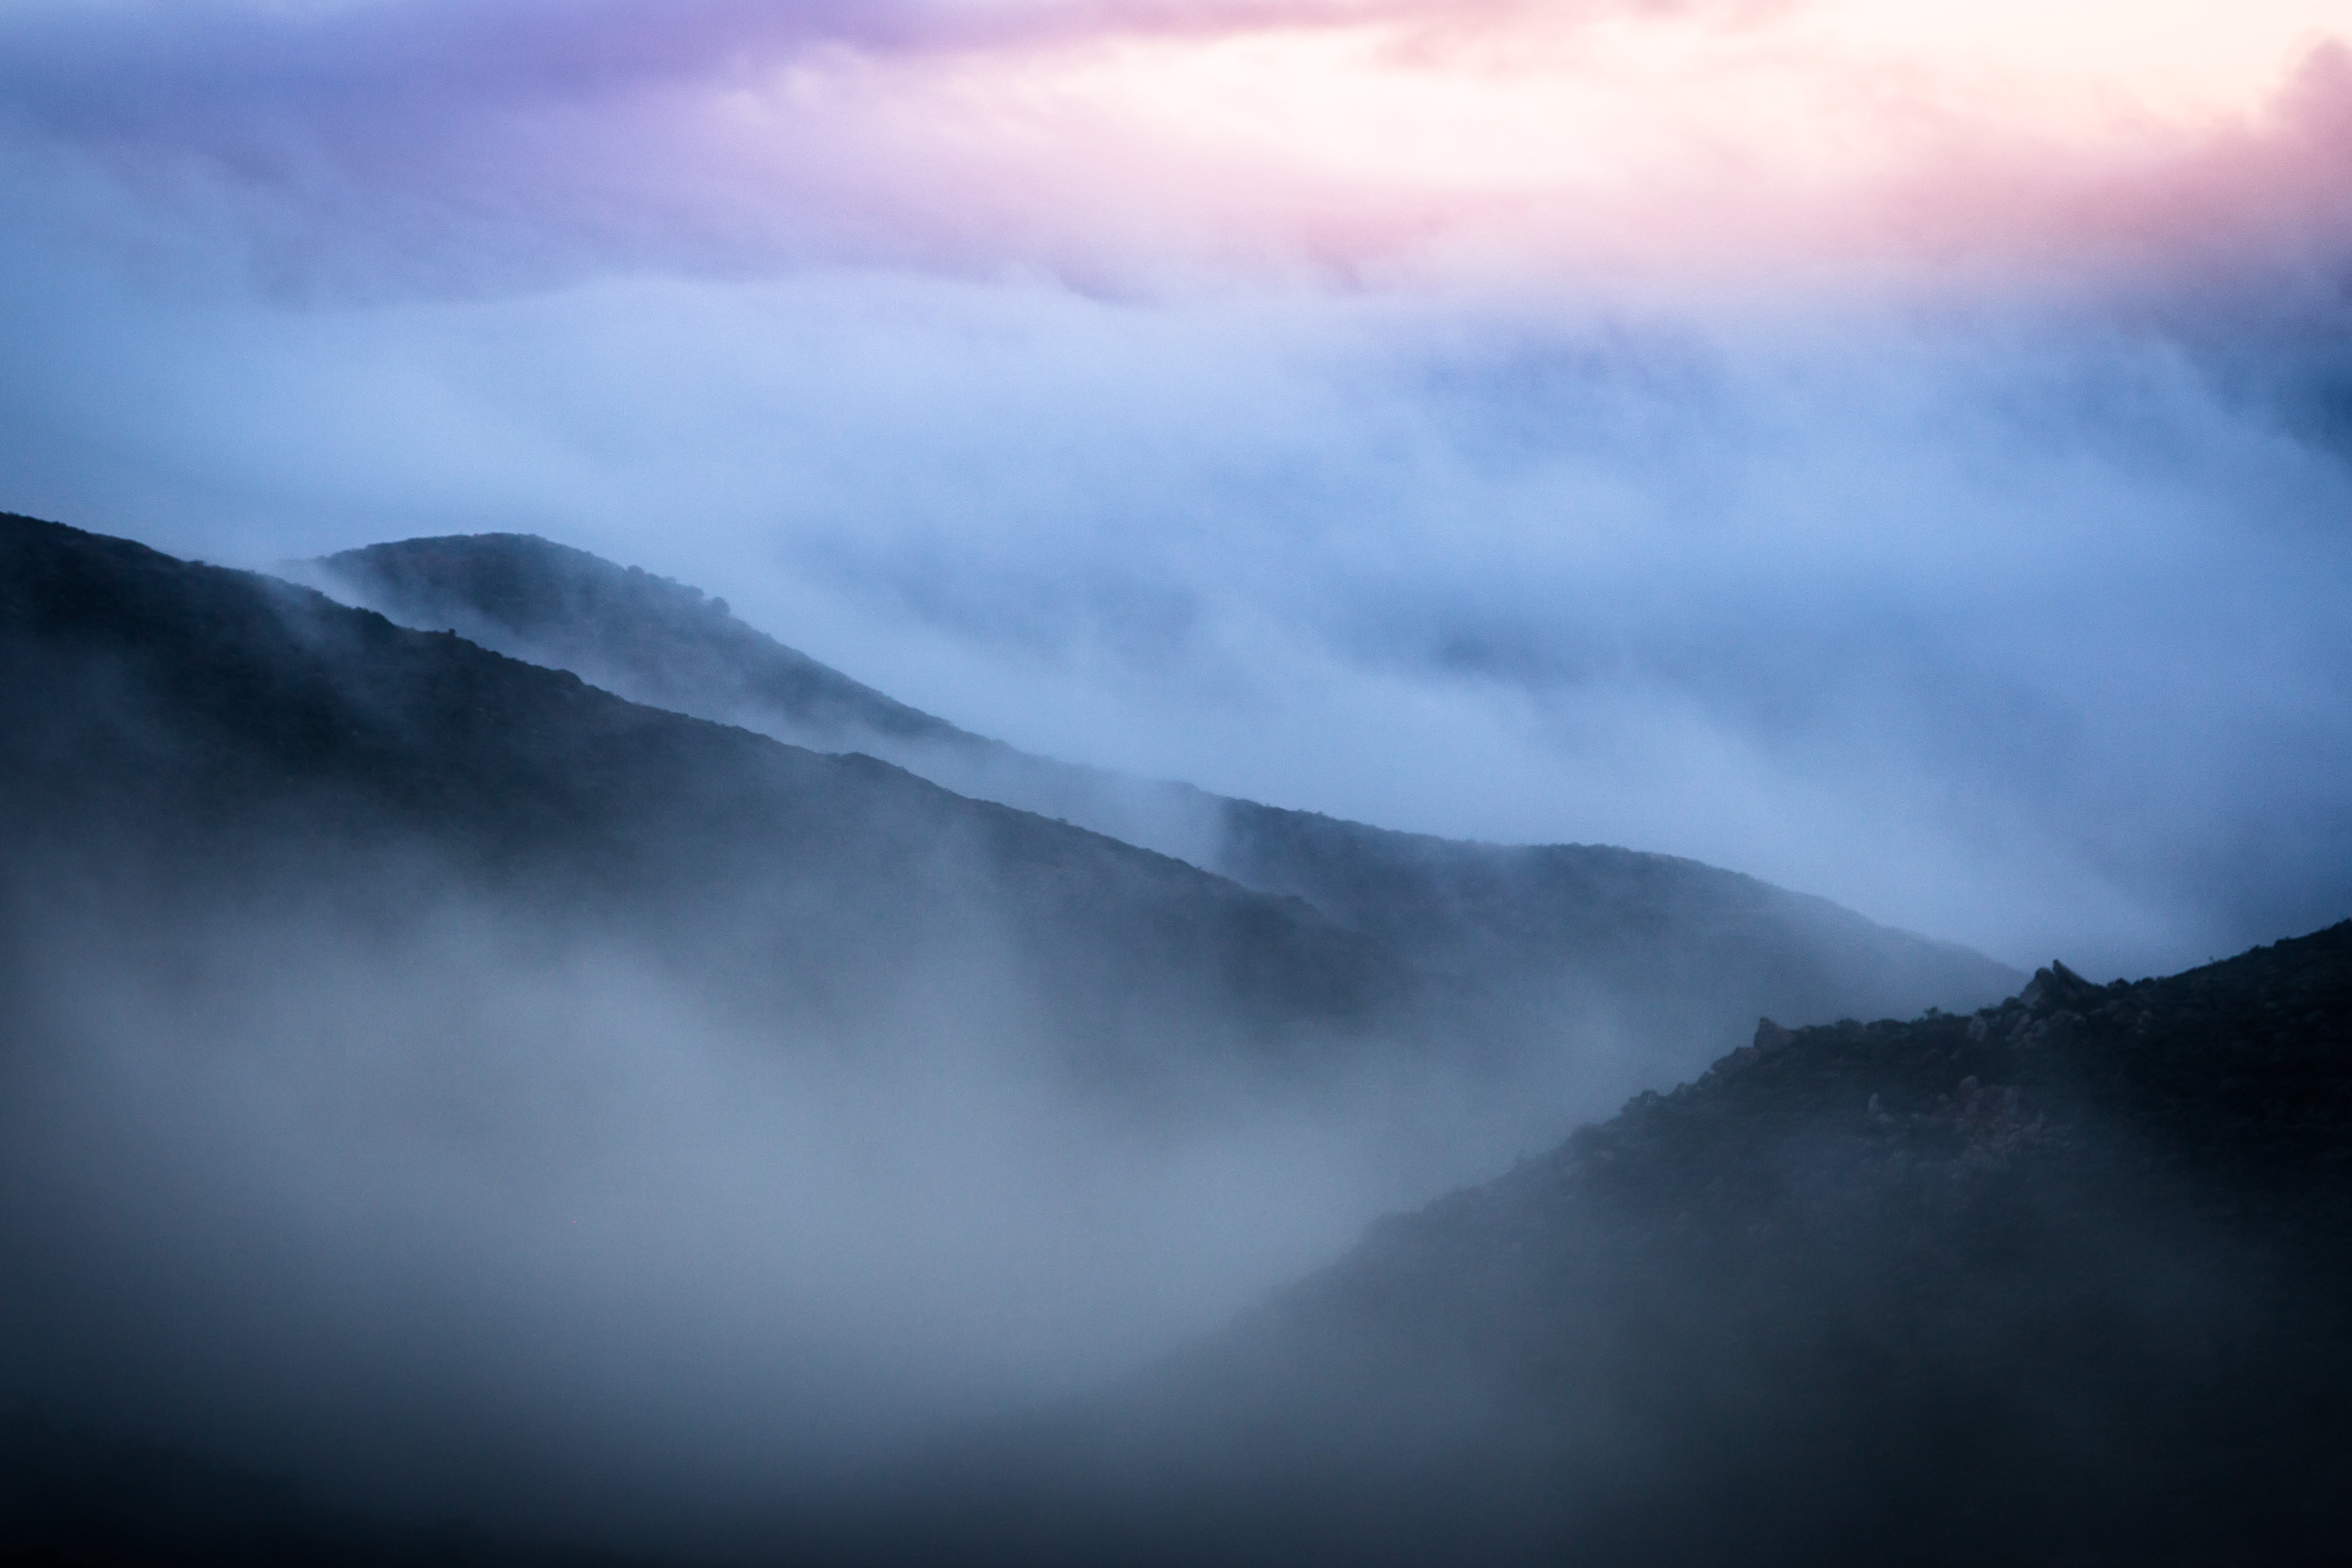
Typically after it rains you’ll be able to spot plenty of fog and mist. Typically precipitation fog forms when rain falls through cold air.
Editing Rainy Day Photos
Rainy-day shots usually come out of the camera looking flatter and less colorful than what you saw with your eyes. Editing is where you bring that back, and shooting RAW gives you the most room to do it. A few adjustments cover most rain photos.
Enhancing Colors and Contrast
The first lever I reach for on a rainy-day photo is white balance. The camera often guesses too cool in flat overcast light, leaving colors looking dead. Push the temperature slider warmer until skin tones and warm objects look right, then nudge the tint slightly toward magenta if greens look sickly. This single change usually solves most of the “lifeless” feeling on its own.
Then add contrast in small steps. Rain photos respond well to a Lightroom blacks slider pull (around −15 to −25) plus a small whites bump, which deepens the wet pavement and brings out highlights on water surfaces. Saturation should usually stay light; vibrance (which boosts muted colors without touching already-saturated ones) is the safer slider for rainy scenes.
Creating a Mood with Post-Processing
For mood, a subtle vignette (around −15 to −20 in Lightroom’s post-crop vignette panel) is hard to beat. It pulls attention toward the subject and gives rainy scenes a slightly closed-in feel that matches the weather.
Color grading also helps. For a moody, cinematic look, drop the shadows toward teal or blue and push the highlights warmer. For a cleaner, more inviting feel, leave the shadows neutral and warm the midtones with a slight orange tint. Both work; just pick a direction and commit.
Finally, check the dehaze slider. Light to moderate dehaze (+10 to +20) can recover a lot of detail in foggy or misty rain photos without crushing the natural softness of the scene.
Rain Photography FAQ
Can you take photos in the rain?
Yes. Almost any modern camera handles light rain fine, especially weather-sealed bodies. For heavier rain, use a rain sleeve, an umbrella, or a dedicated camera rain cover. Wipe water off the front element with a microfiber cloth between shots, and a lens hood helps keep drops off the glass in the first place.
What shutter speed do you use for rain photography?
It depends on the look you want. To freeze individual raindrops mid-air, use 1/500s or faster. To blur the rain into visible streaks for a more dramatic shot, use 1/30s to 1/8s on a tripod or solid brace. For general rainy-day shots where rain isn’t the main subject, normal handheld shutter speeds (1/125s to 1/250s) work fine.
Do polarizing filters help in rain photography?
Sometimes. A circular polarizer can cut reflections on wet leaves, pavement, and glass, which is useful for landscape and outdoor portrait shots. The catch is that for reflection-heavy compositions (puddle photography, storefronts), the polarizer kills the very reflections you want, so leave it off for those. Polarizers also eat 1 to 2 stops of light, which already-dim rainy scenes can’t always spare.
How do you protect your camera in heavy rain?
Three layers in order of how much rain you’re expecting: a lens hood (always), an umbrella (light rain), and a dedicated camera rain cover or a clear bag rigged around the body (heavier rain). Pack a microfiber cloth, keep a small towel in your bag, and avoid changing lenses outside in the rain unless you have shelter. After shooting, wipe the body down and let it air-dry with the battery door open before putting it back in your bag.
Is it safe to take photos in a thunderstorm?
Only from inside a building or a vehicle. Lightning kills people every year and a metal tripod outside is the last place you want to be standing during a storm. Shoot lightning through windows, from a covered porch, or from inside the car. A live lightning map like lightningmaps.org tells you when a storm is close enough to be a real risk.
Hopefully these rainy day photography tips help on your next storm. If you have favorite techniques I missed, drop them in the comments.
Enjoyed this article?
Please share a pin on Pinterest