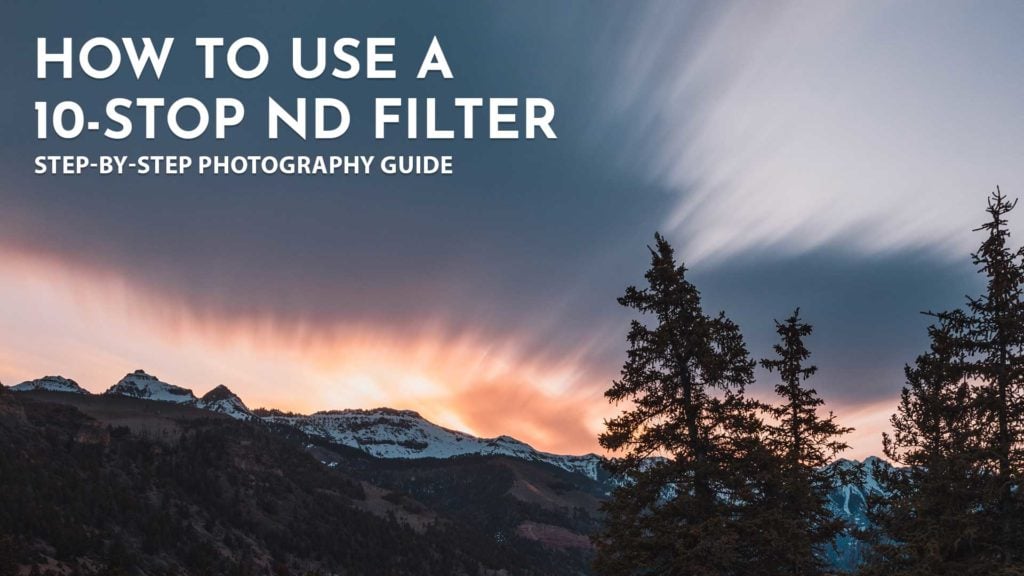
In this guide we’ll go over how to use a 10-stop ND filter to level up your photography. From what is an ND filter, which one to buy, when to use it, and how to use it this will cover everything you need to know!
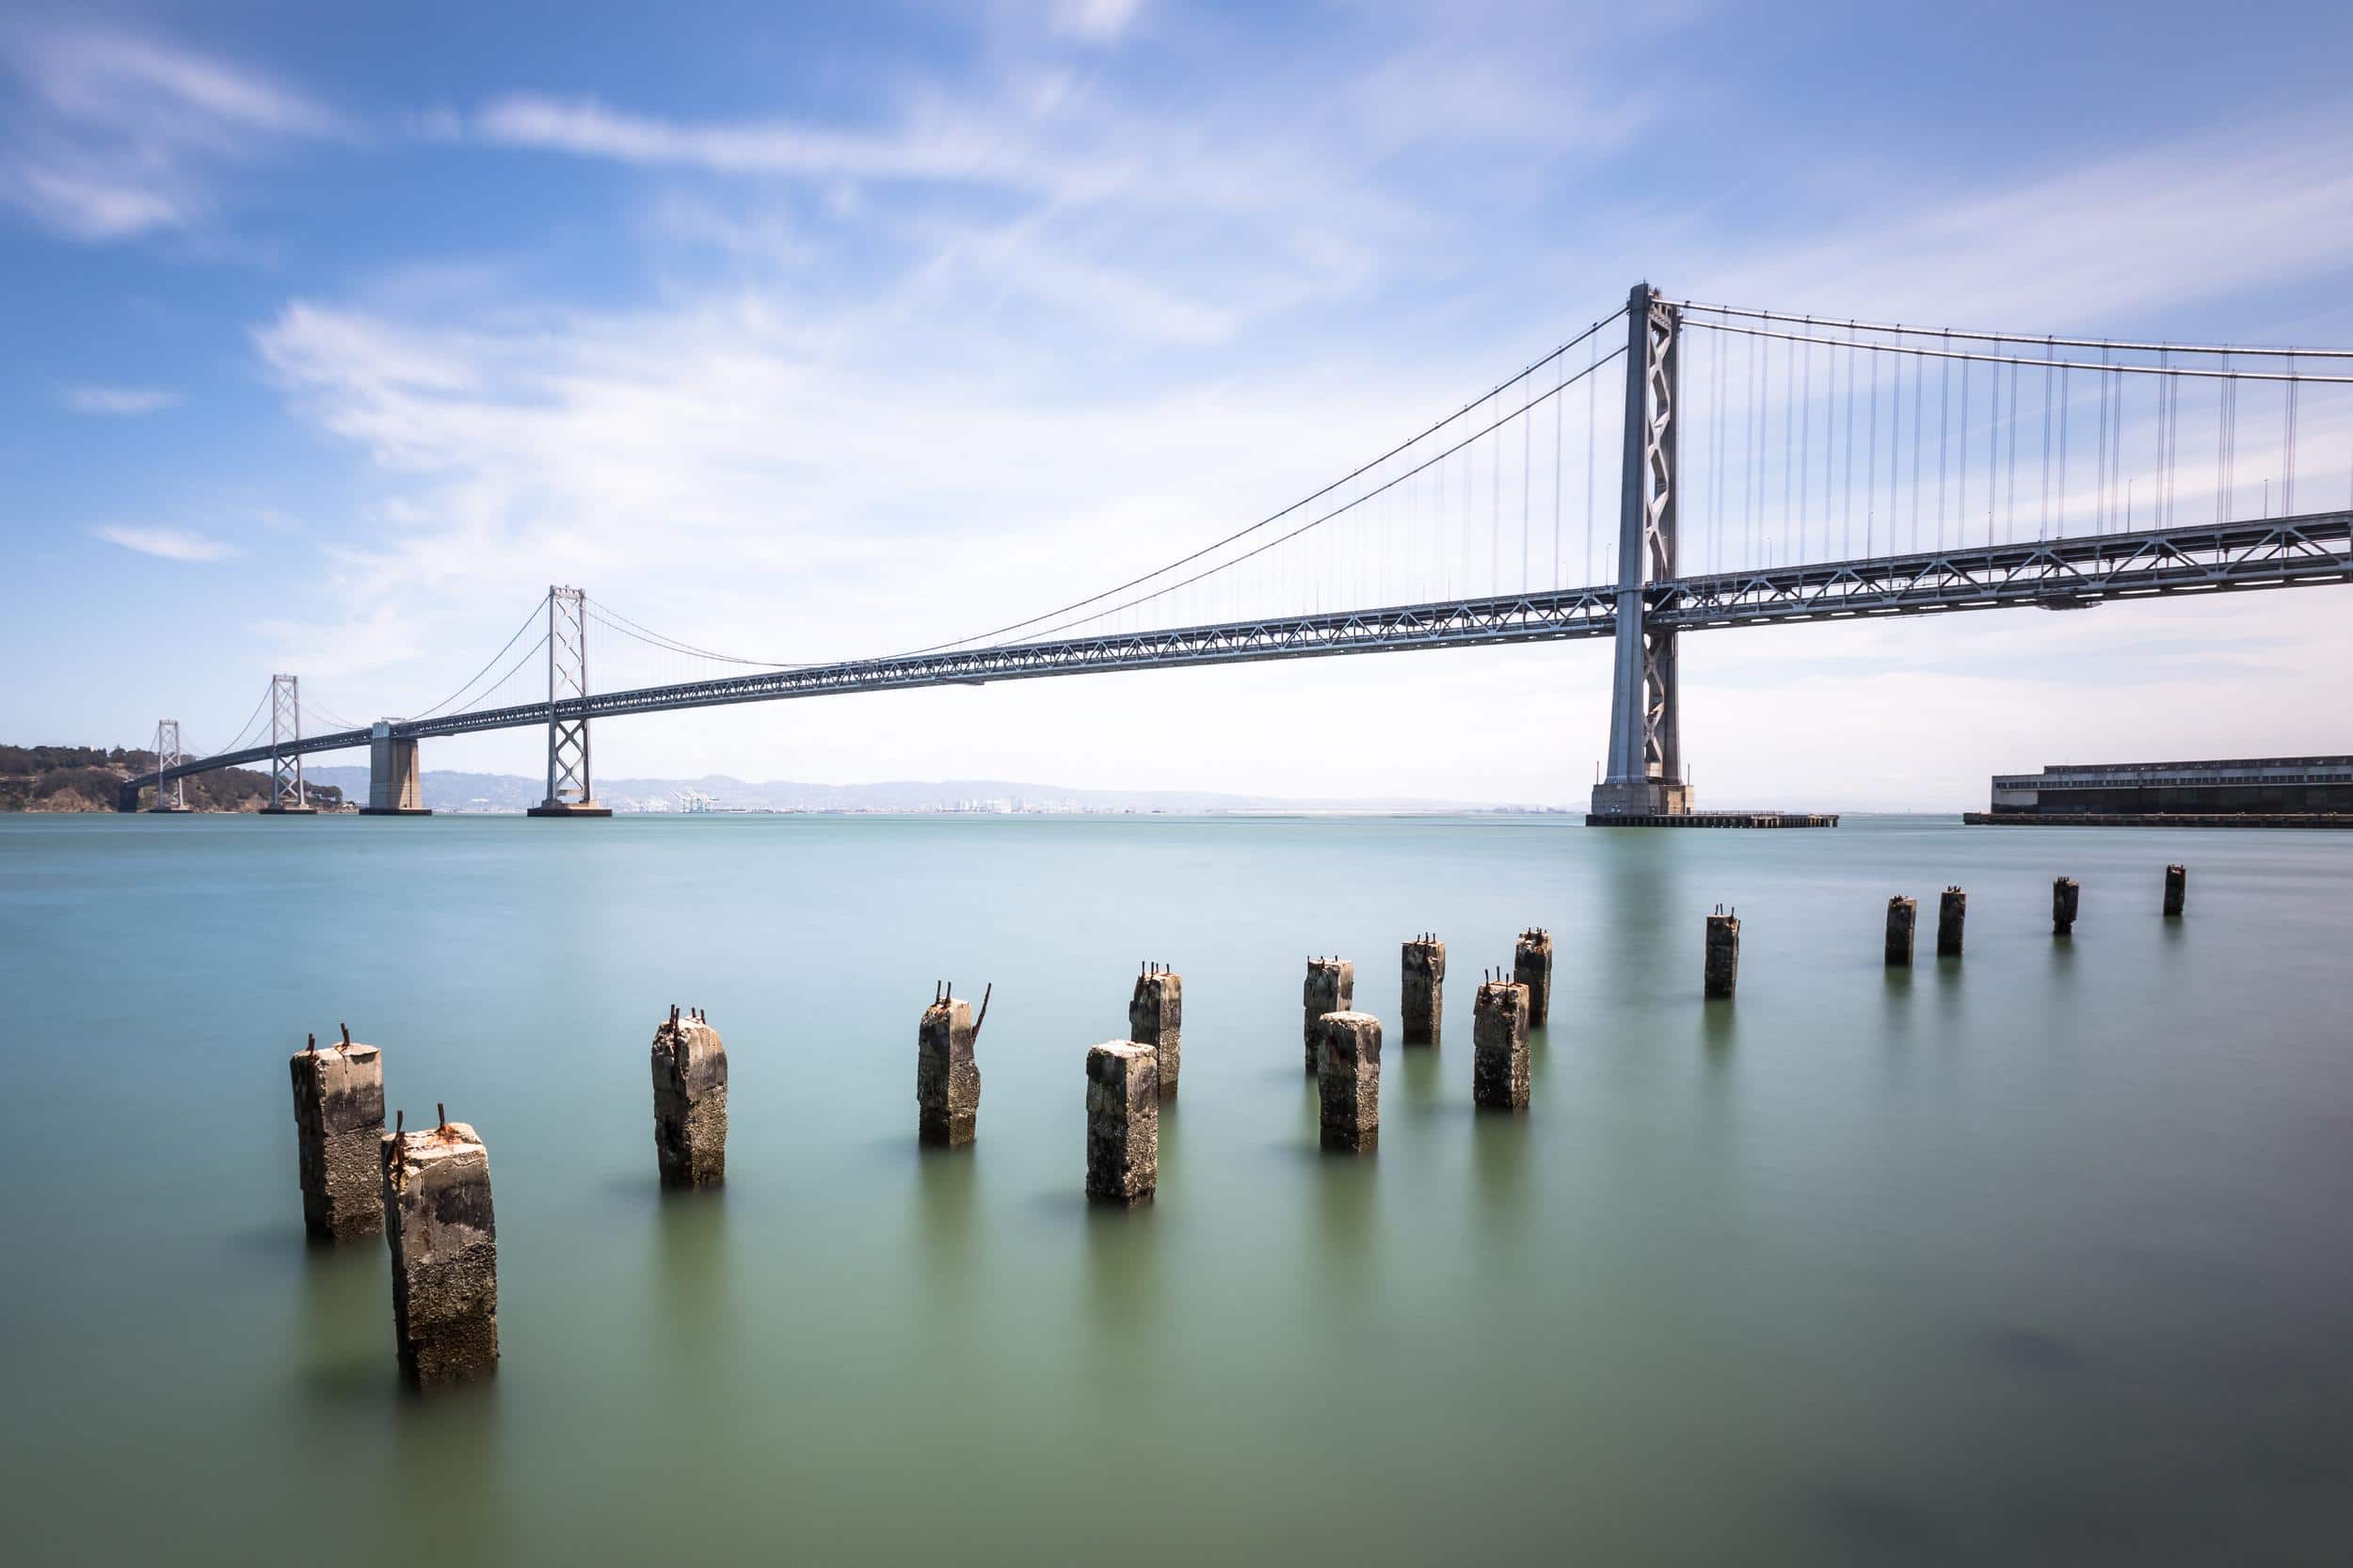
One of my favorite photography techniques is using a 10-Stop ND filter. These very dark filters allow you to capture scenes you typically wouldn’t be able to in your camera. This includes smoothing out clouds or making water appear completely smooth.
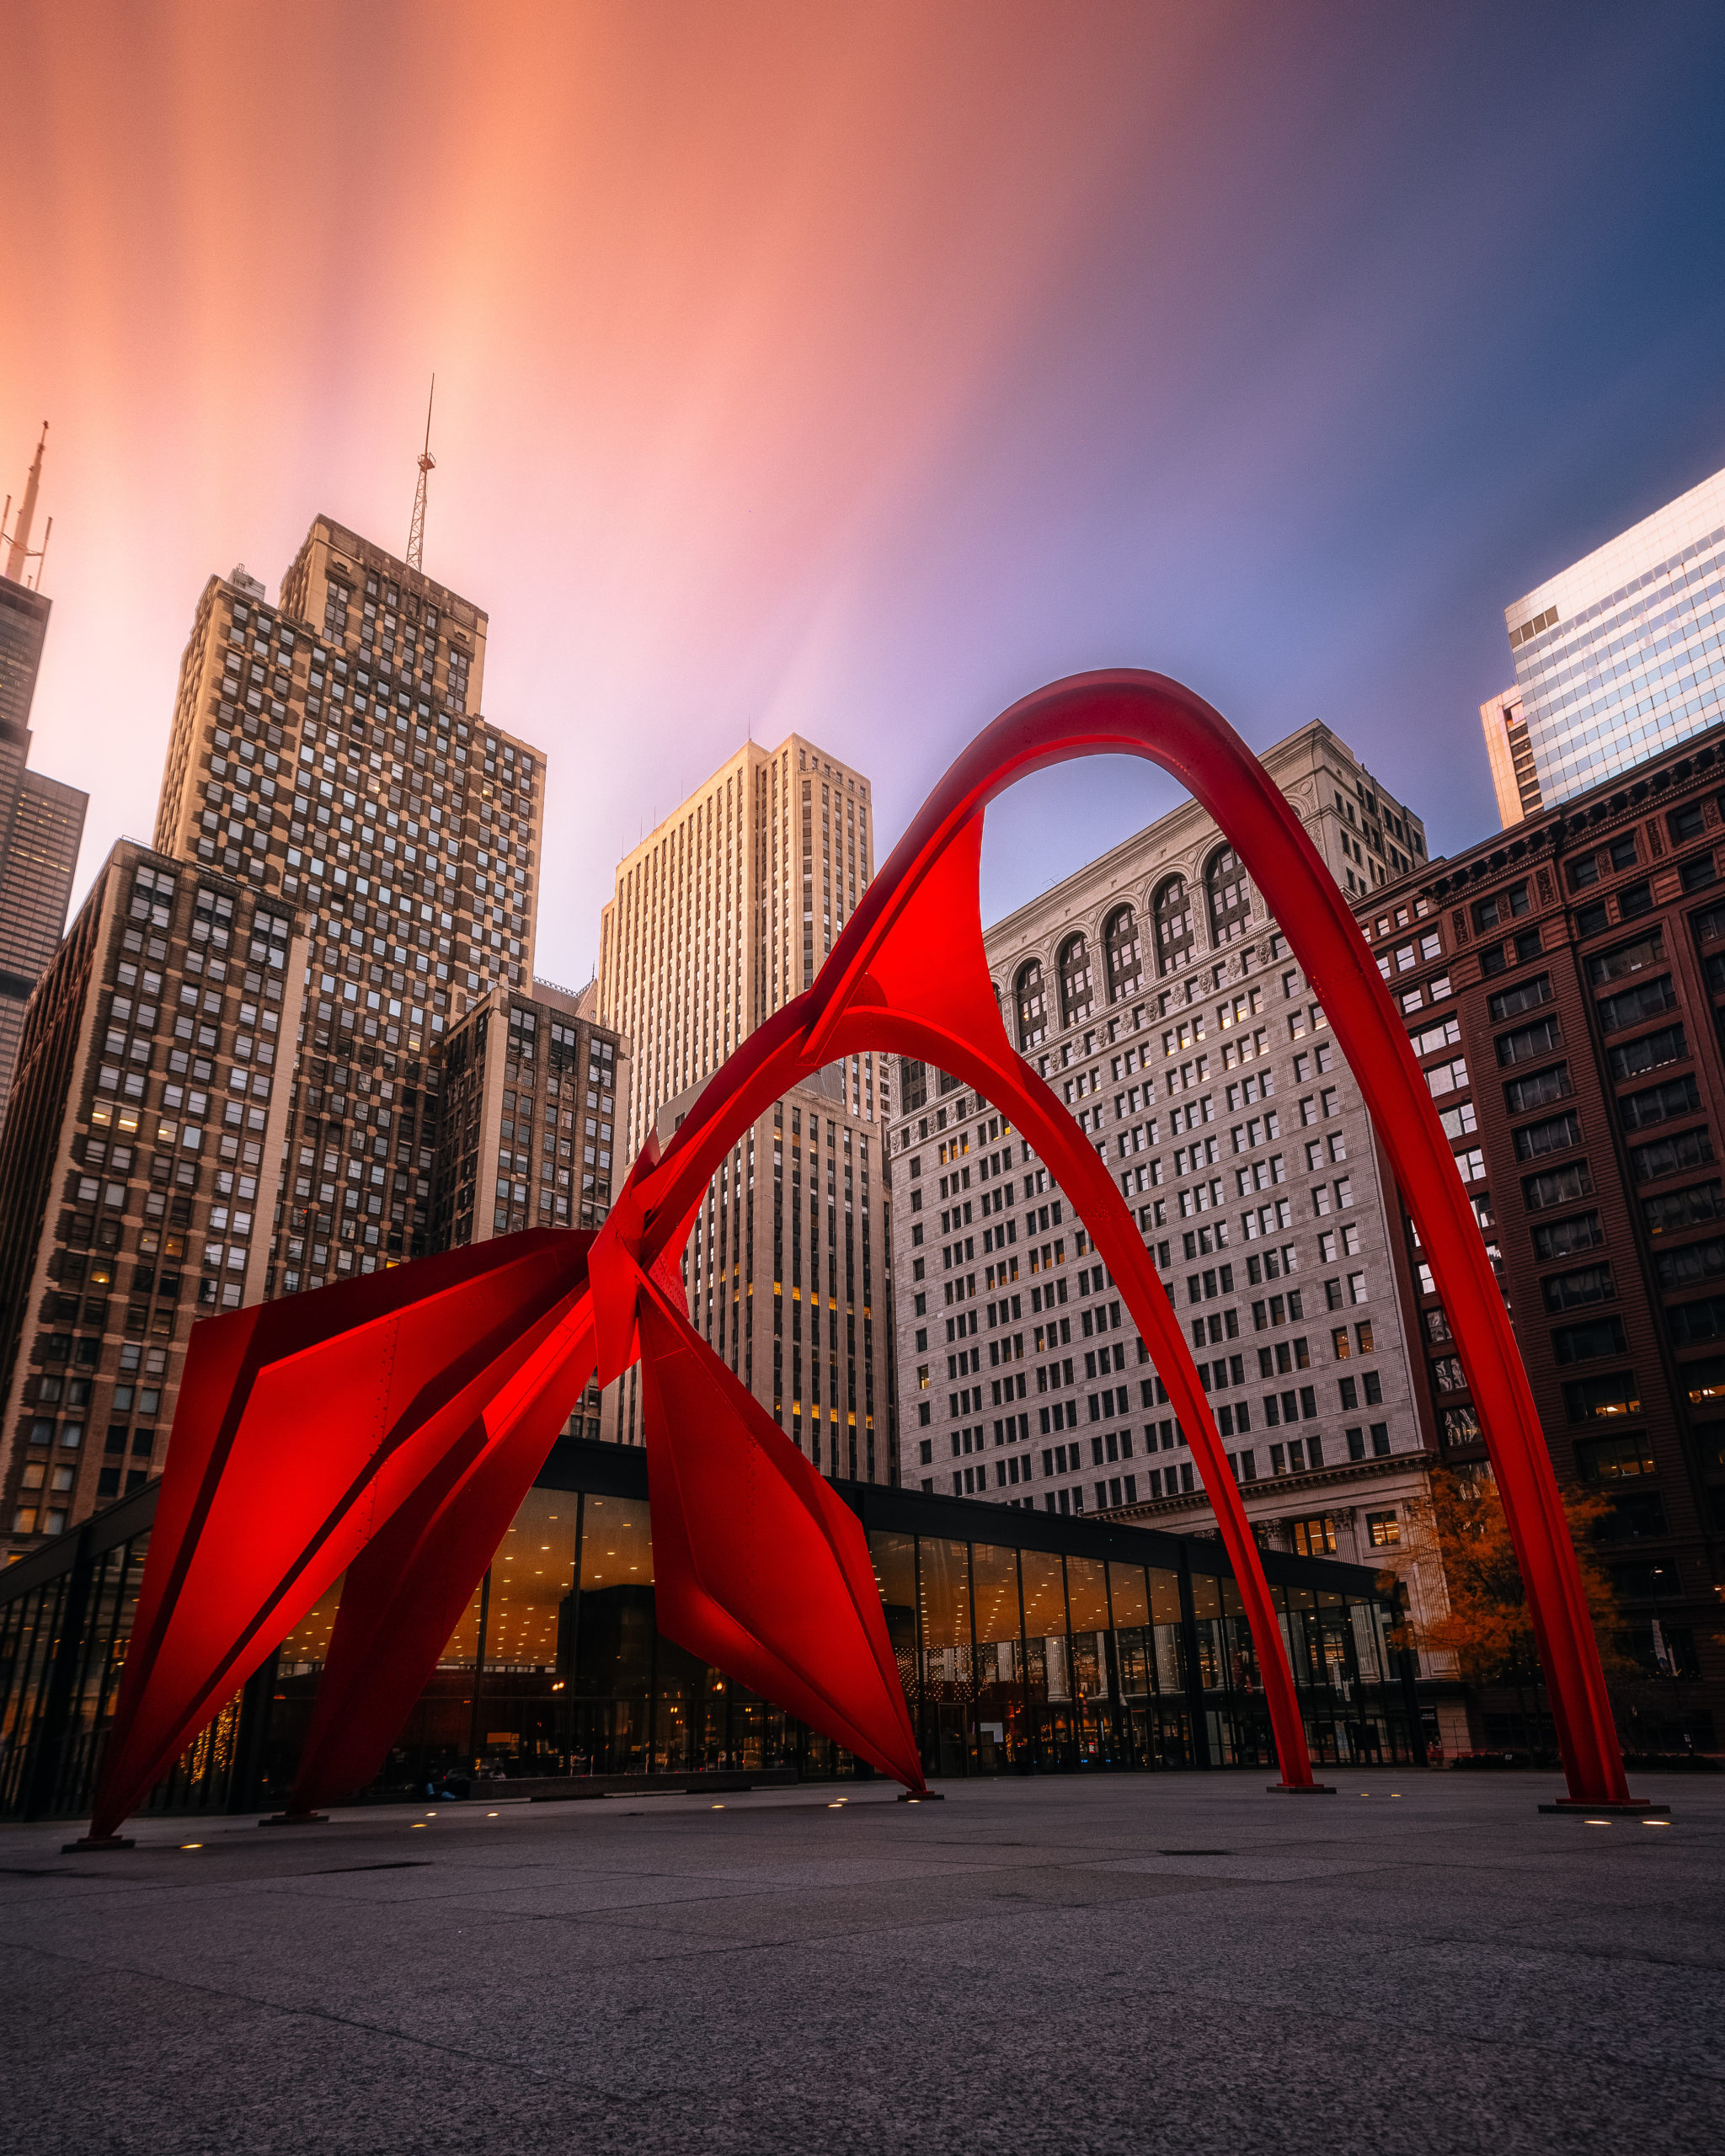
Table of contents
First I’ll be going over what a 10-stop ND filter is and what you’ll need to take photos with one.
What is a 10-Stop ND Filter?
To understand what an 10-stop ND filter is you first have to know what an ND filter is. Think of an ND filter like sunglasses for your camera. A neutral density filter is a dark piece of glass that blocks light from entering your camera. ND filters range in how much light they block, typically they block 2-stops to 16-stops of light. Today we’ll be talking about a 10-stop ND filter which is perfect for capturing smooth water or clouds.
A 10-stop neutral density filter takes this to the next level by being an extremely dark piece of glass. Hence it’s name a 10-stop ND filter blocks 10 stops of light from entering your camera. This means your camera needs 10 stops more light to compensate for the filter.
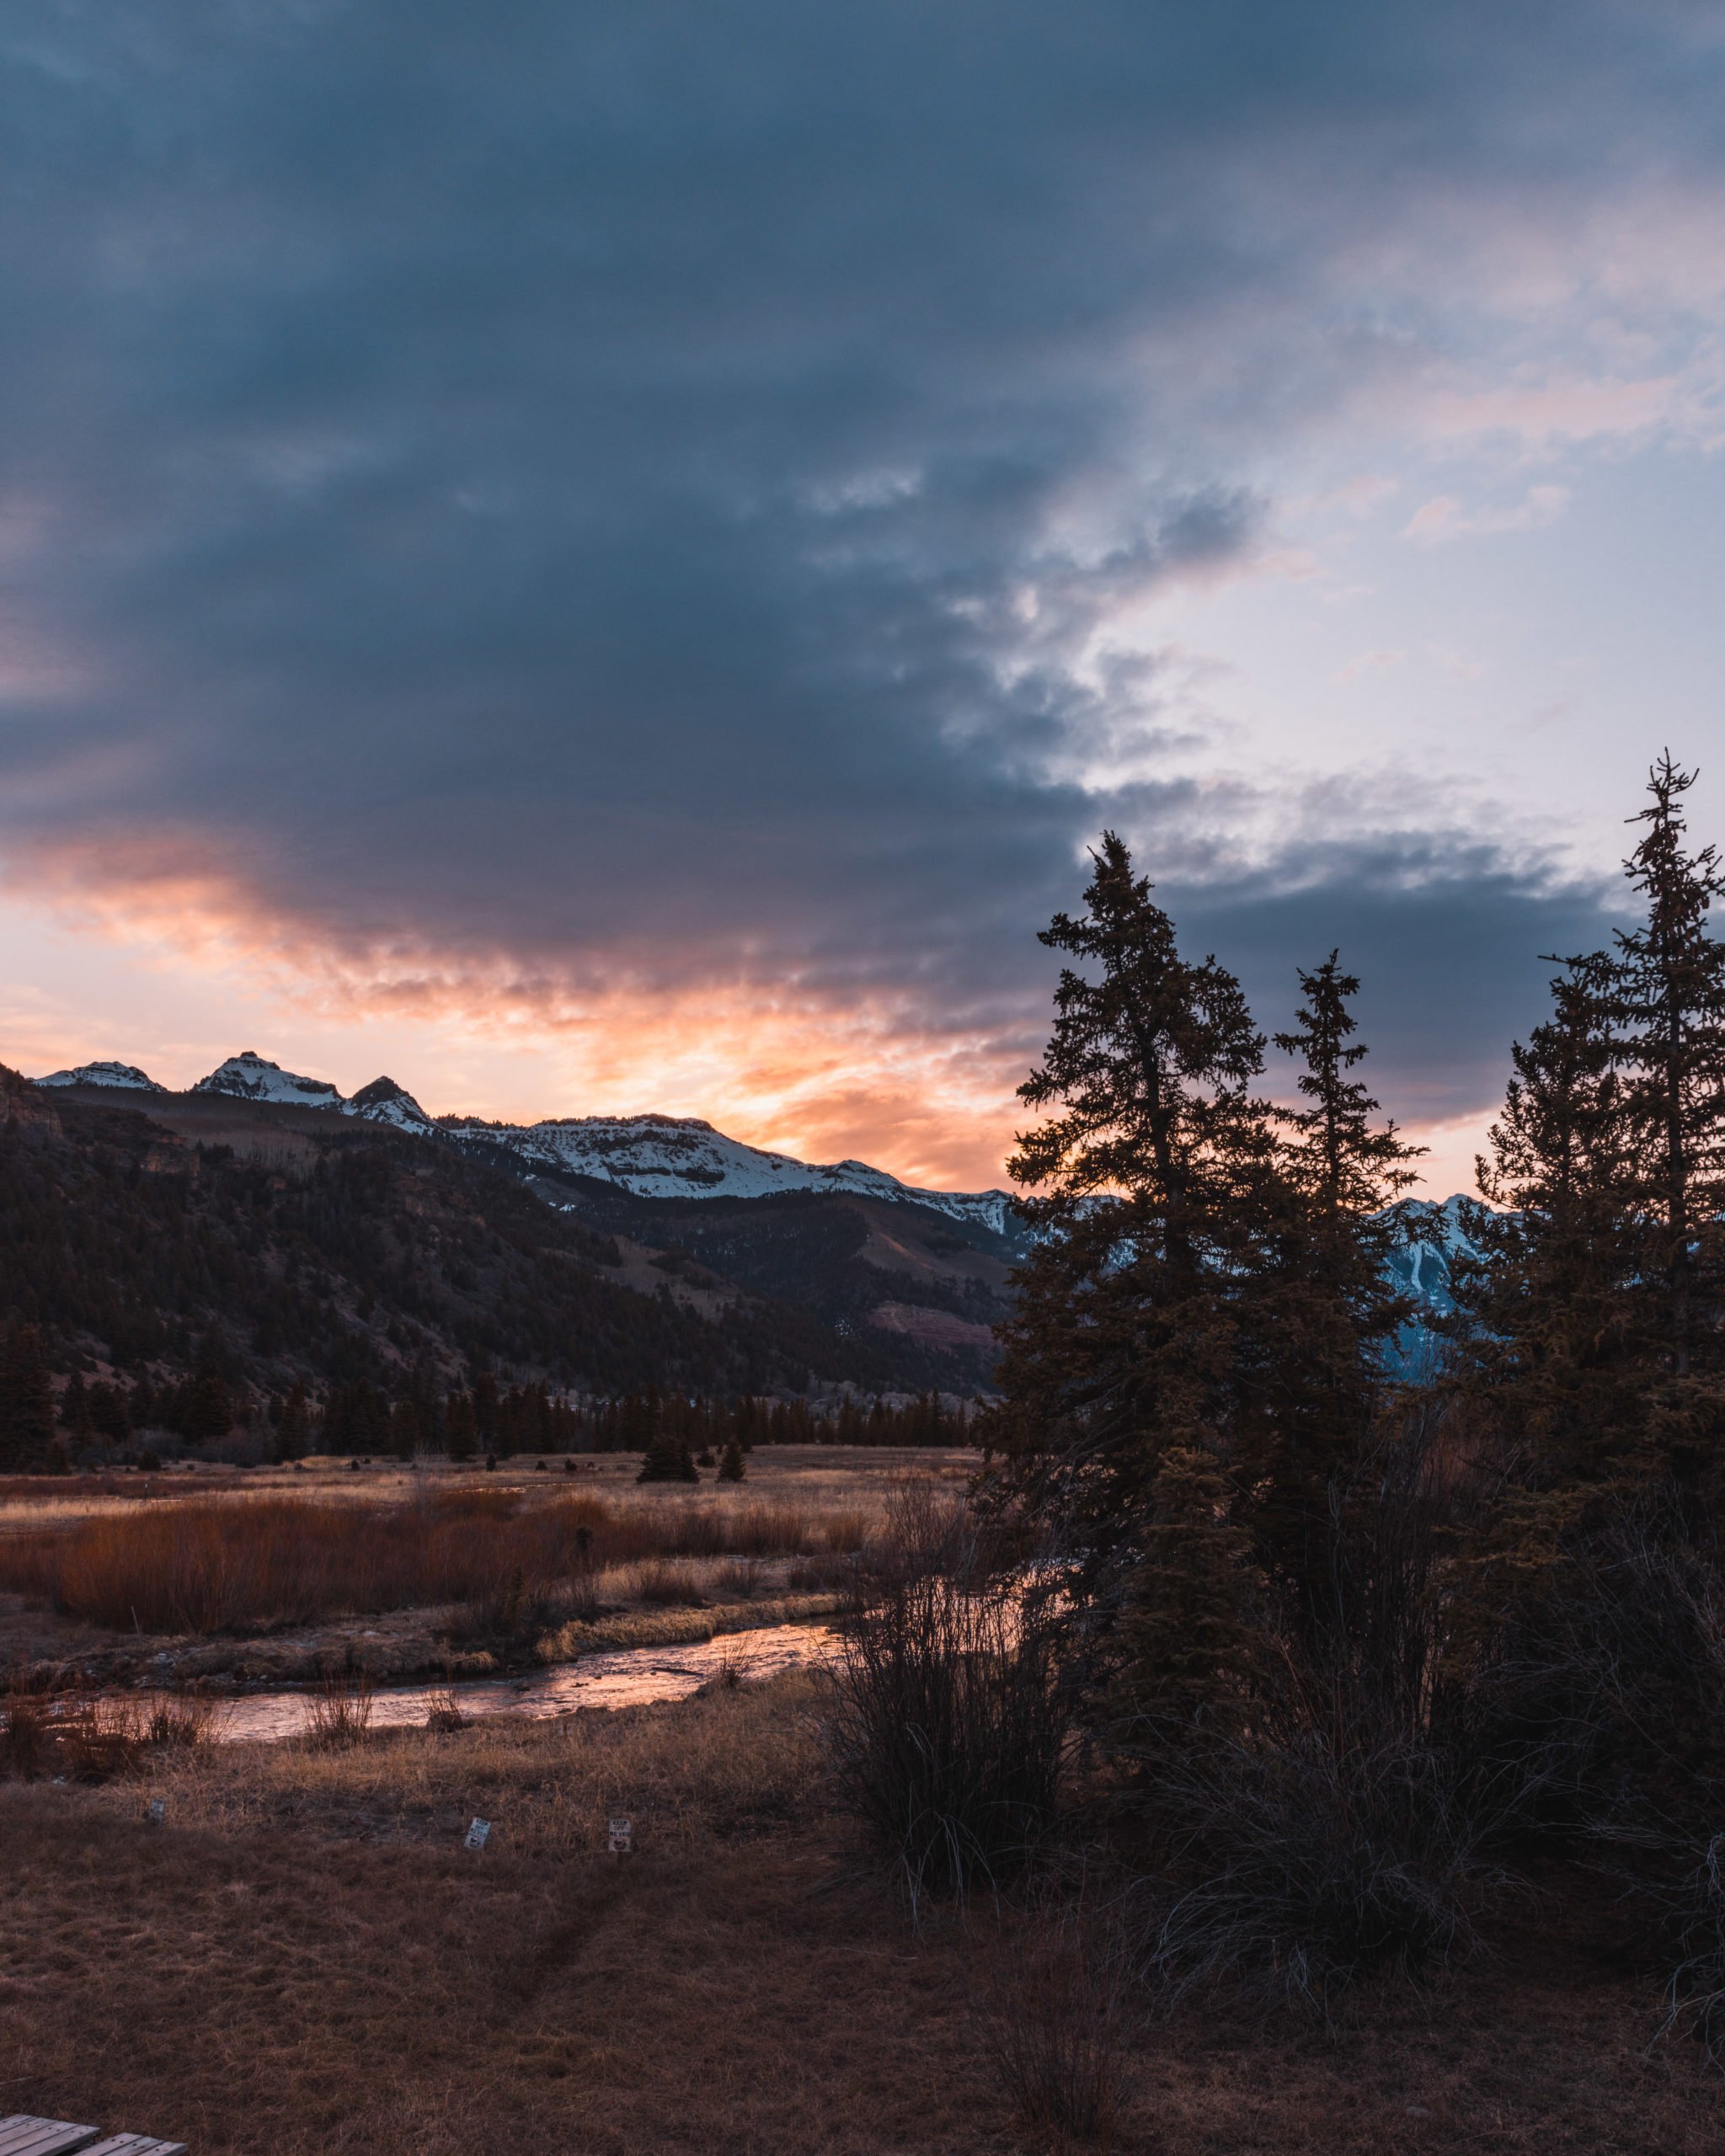
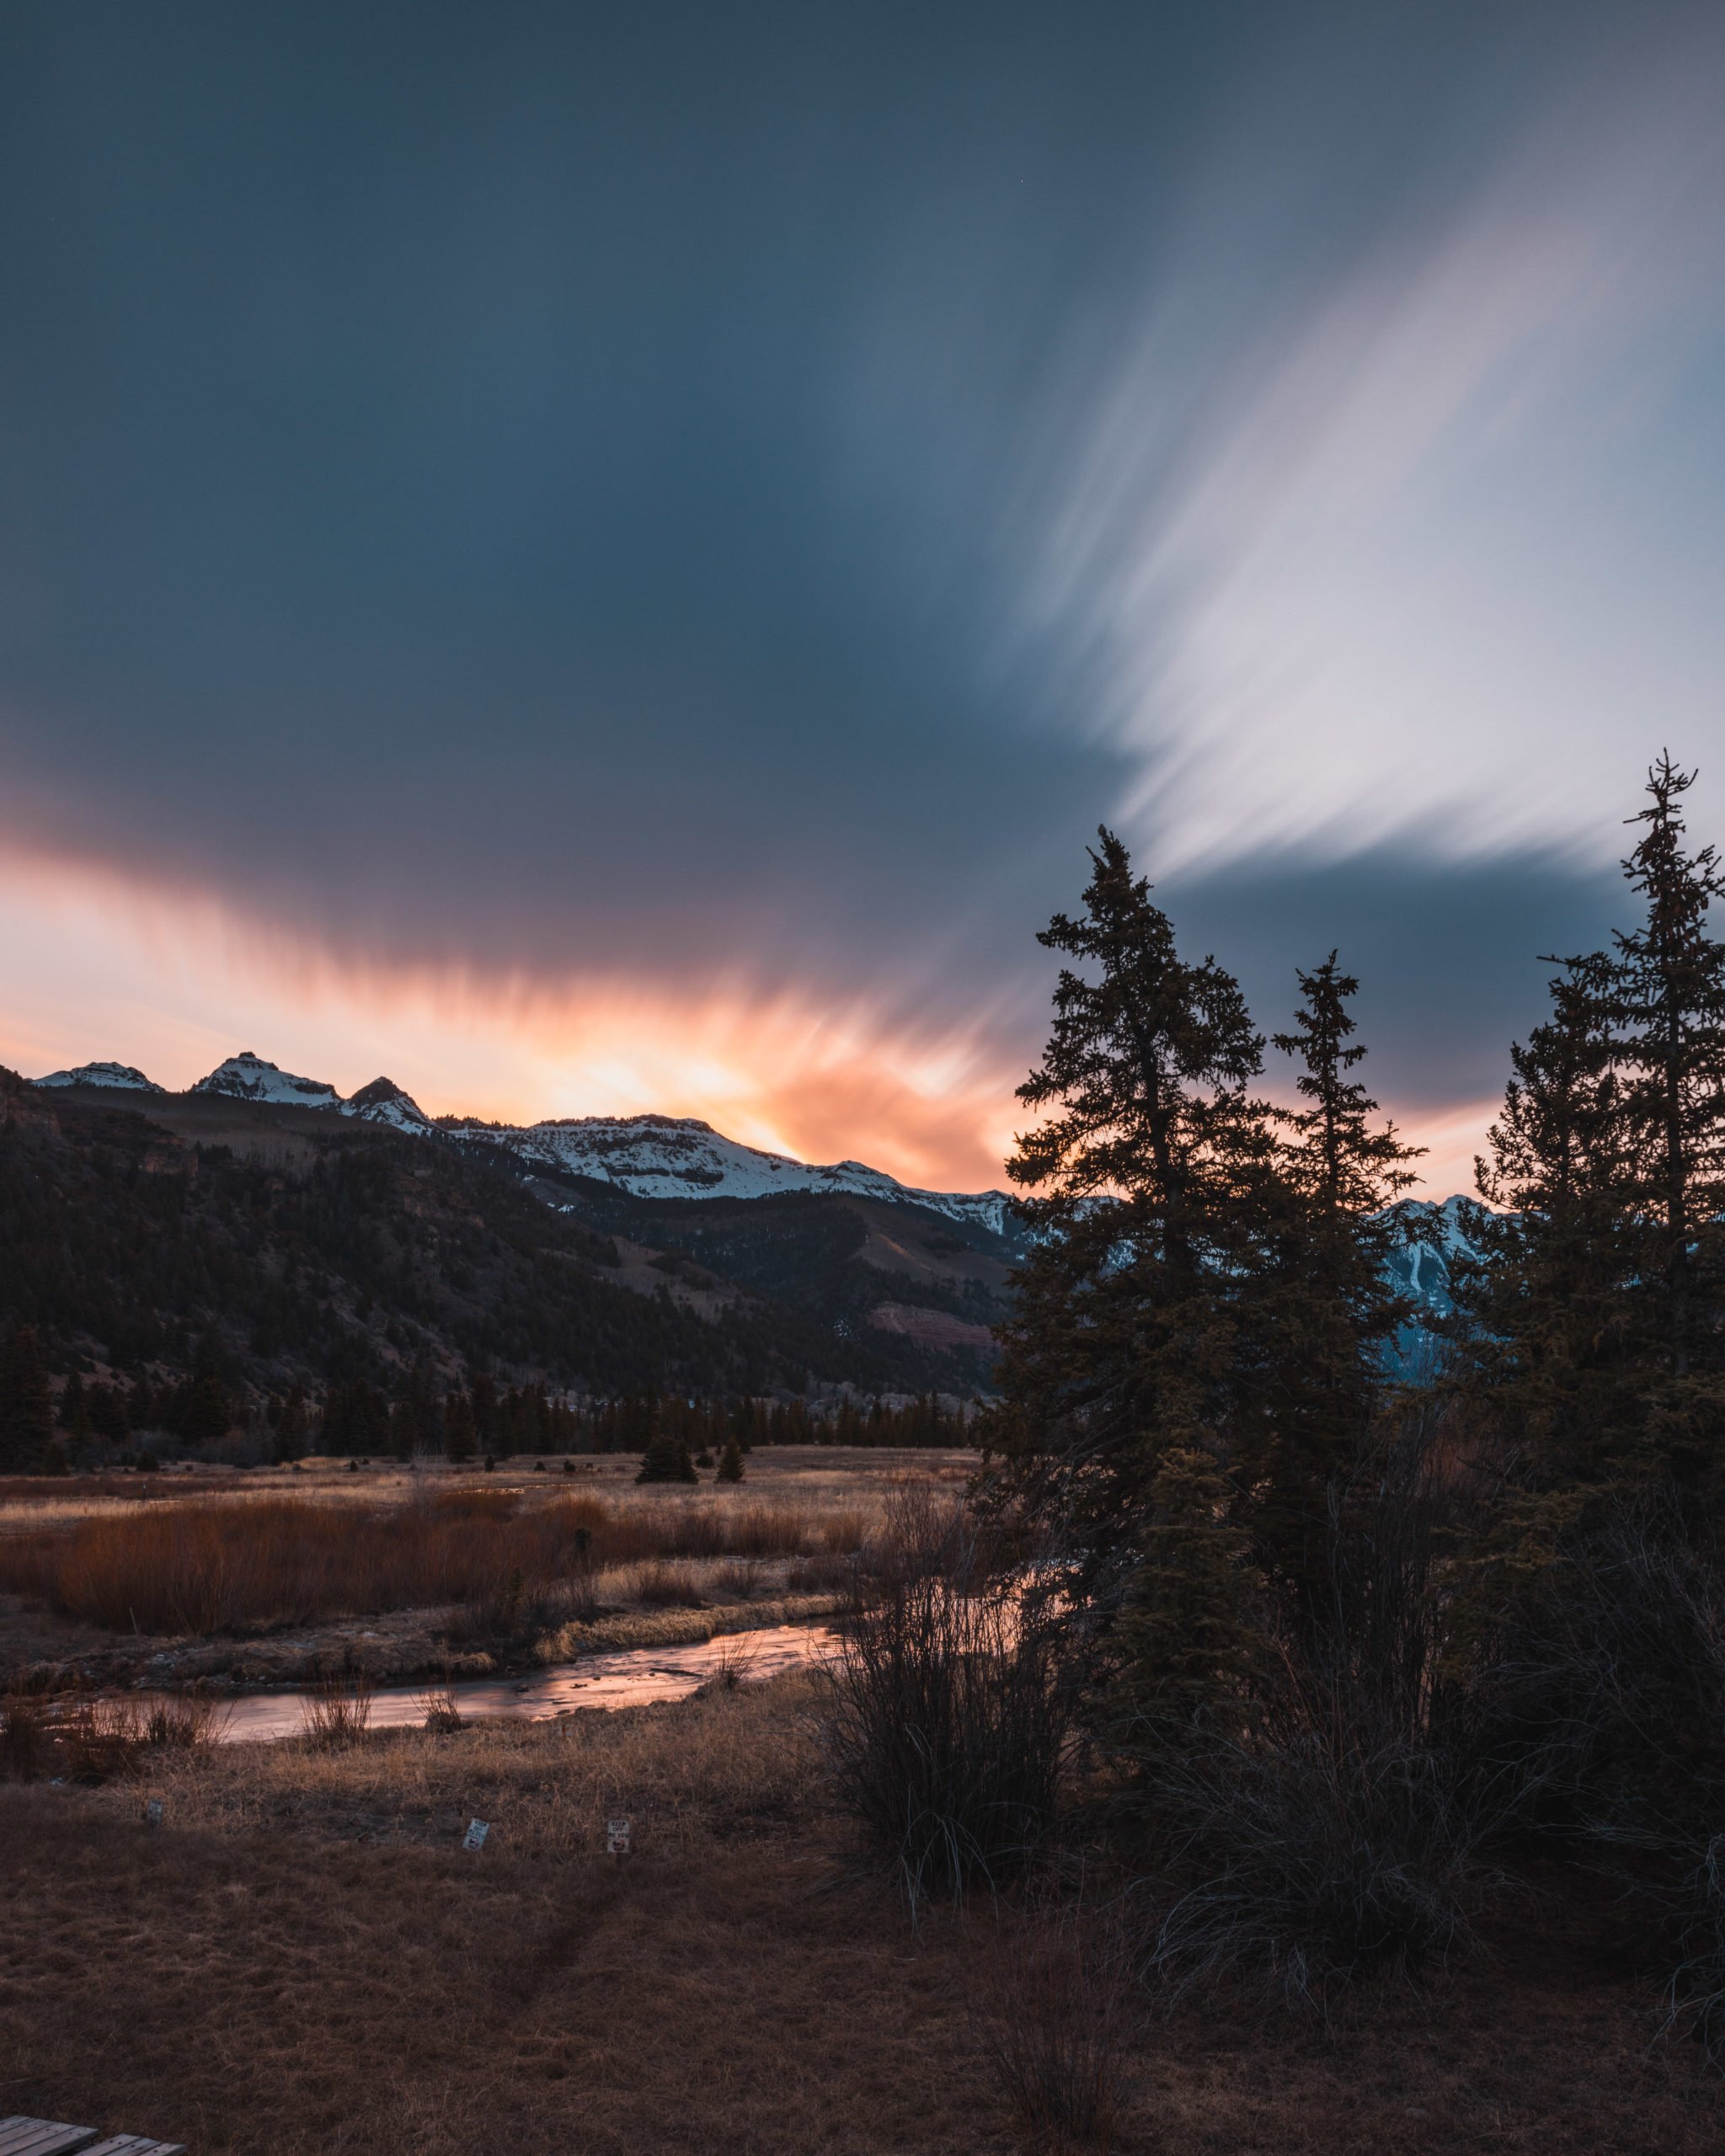
Here is an example of what a photo looks like with and without a 10-stop ND filter. Notice how the clouds’ movement creates a blur effect at the top of the frame. Luckily there wasn’t much wind this morning so the trees stayed still for the long exposure.
This is where the fun begins since the camera has such little light entering it you can crank the shutter speed to 1-minute+ during a sunny scene. This allows us to capture clouds moving over time or water appearing completely still.
Things You’ll Need for 10-Stop ND Photography
Most importantly you’ll need a 10-stop ND filter but here are some of the other basics you’ll need for your photos.
- A camera with manual/bulb mode (Most DSLR/Mirrorless cameras will work)
- An ND Filter that fits your lens (My favorite 10-Stop ND Filter)
- A sturdy tripod
- A shutter release if your camera doesn’t have a built-in bulb timer
- A long exposure calculator app (Like PhotoPills or this app)
Unsure of what your lens filter size? Here’s a camera lens filter size chart for Canon and Nikon. Typically you’ll find the filter thread size of your lens on the front with a Ø symbol next to it.
Now let’s jump into the fun part, using a 10-stop ND filter to take photos.
How to Use a 10-Stop ND Filter
1. Planning Your Shot
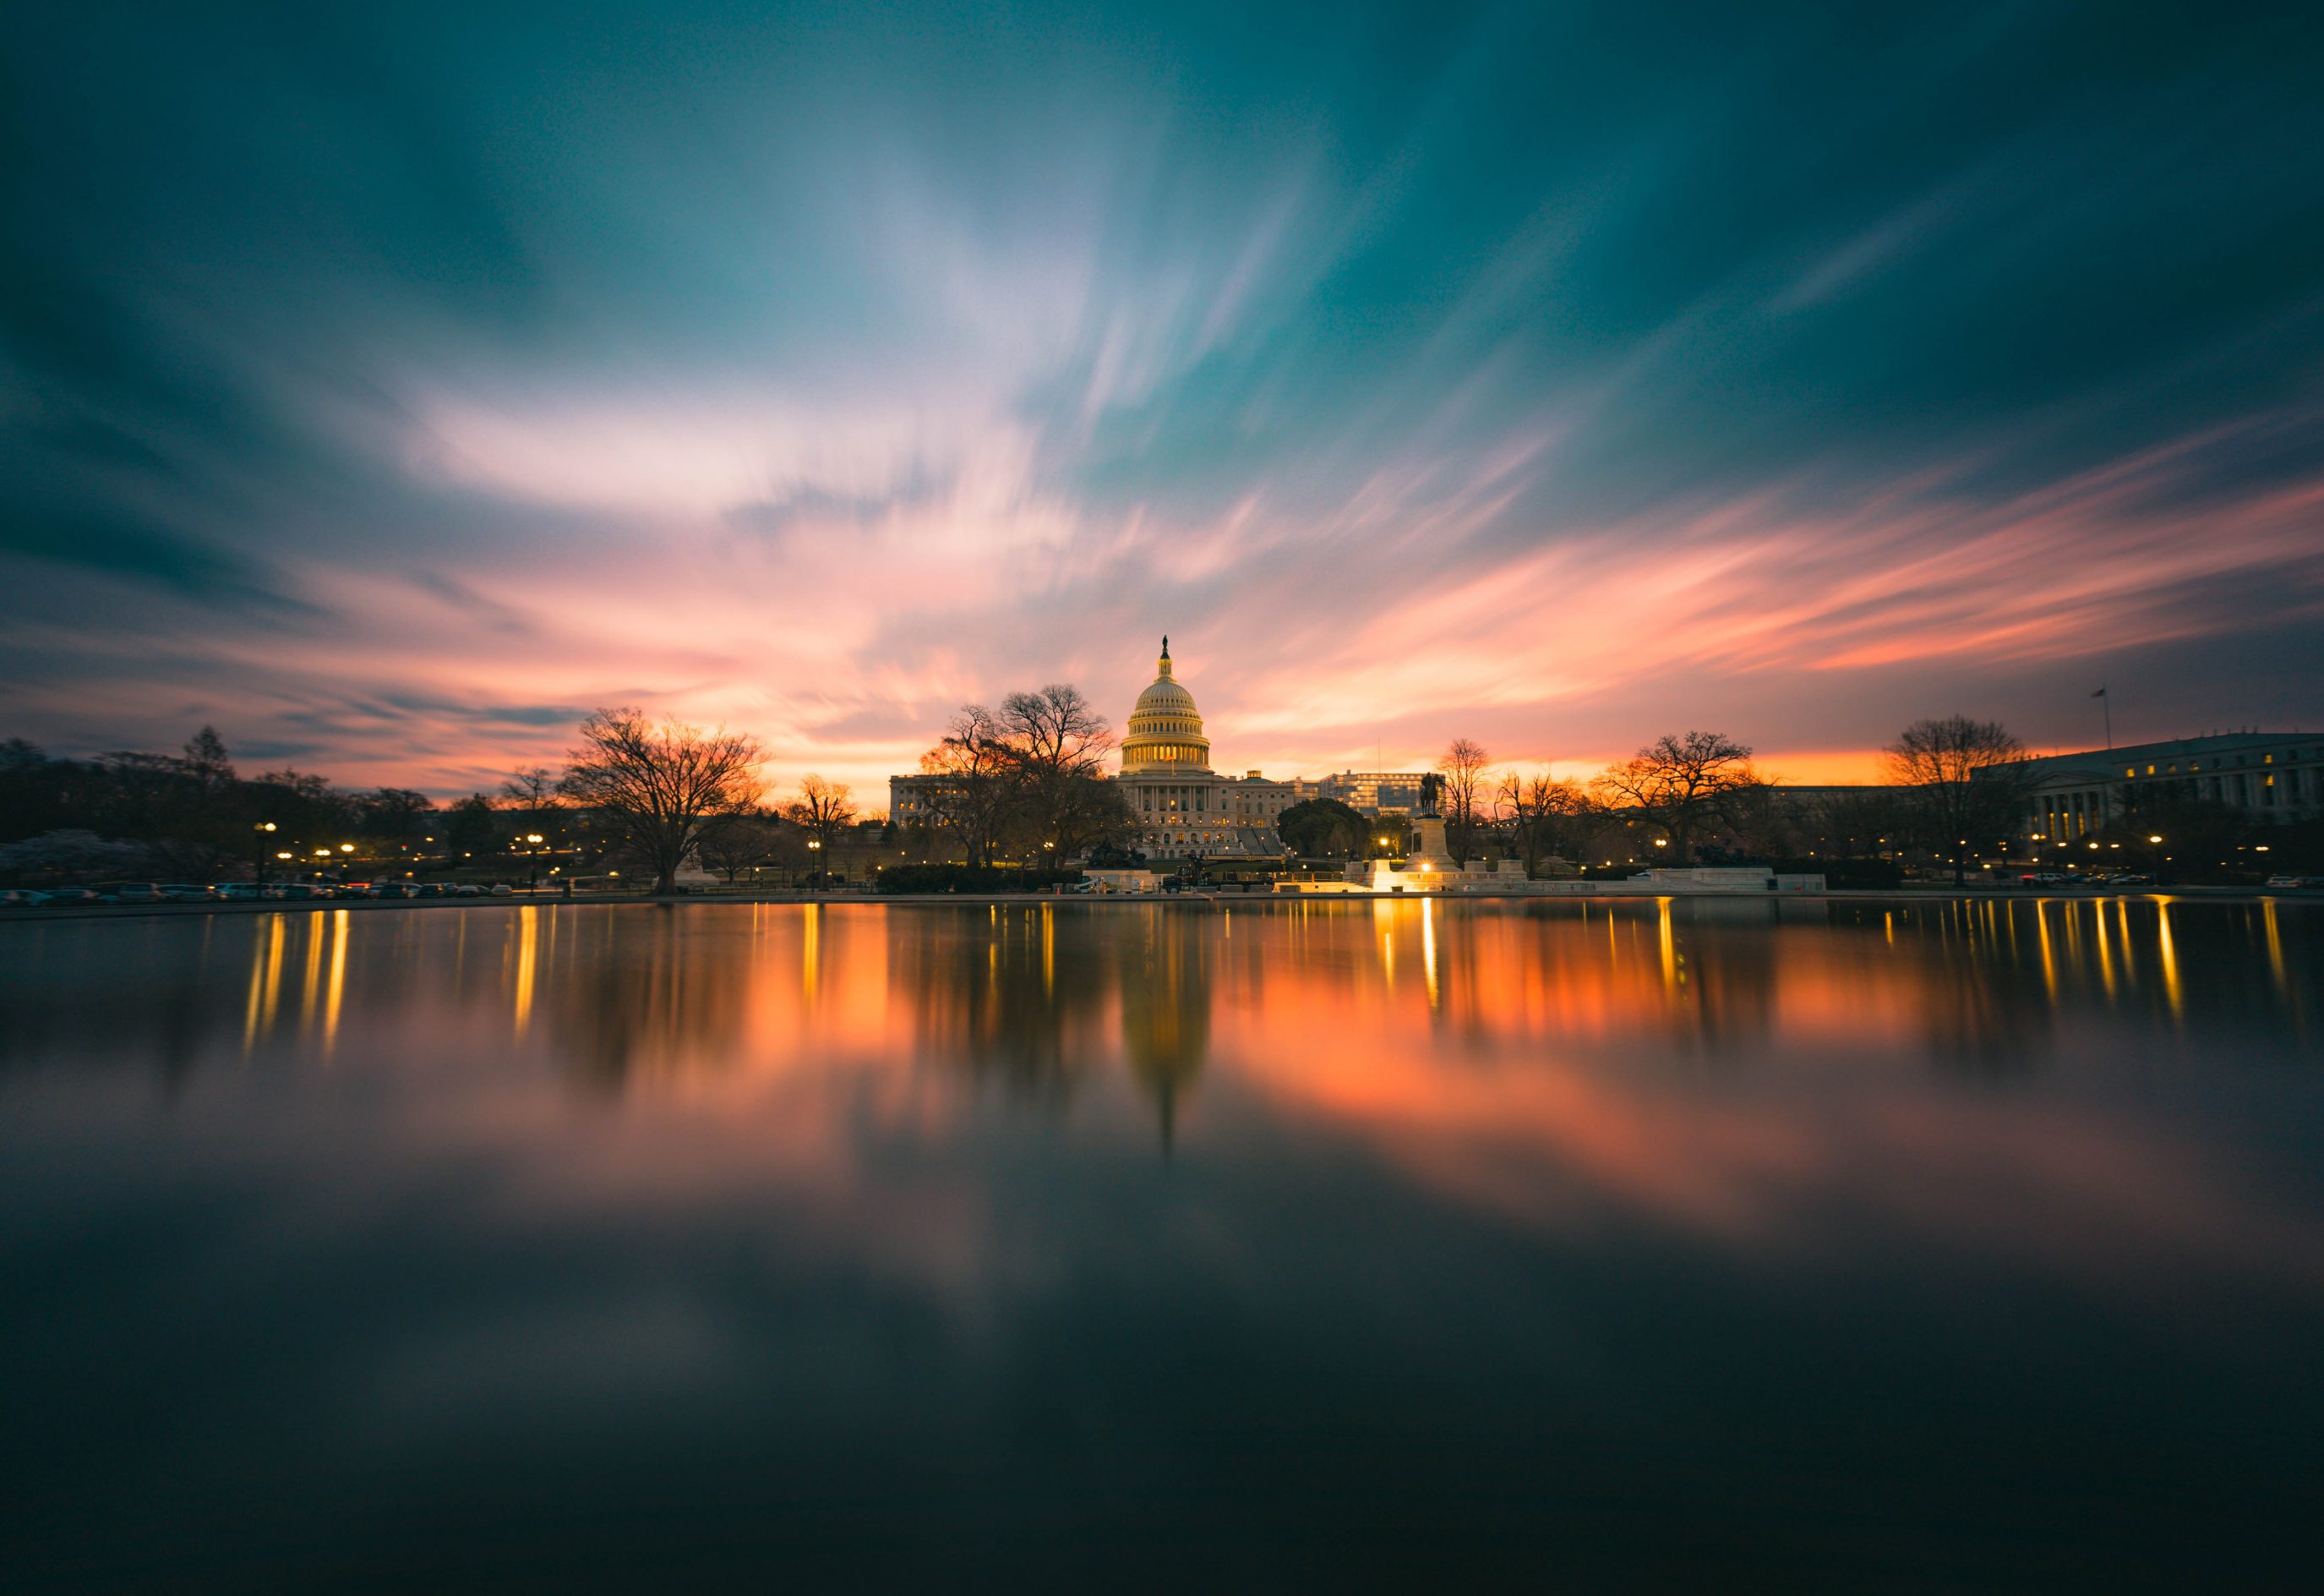
You’ll want to plan your shot out with the 10-stop ND filter since not all scenes will benefit from the effect. Sunrise and sunset are my favorite time to use a 10-stop ND filter. Especially when there are clouds in the sky to increase the effect.
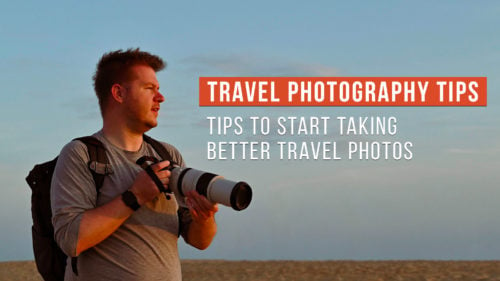
Want to improve your travel photography?
Read: Travel Photography Tips
Once you have your composition in mind set your tripod up and ensure it’s steady. You’ll also want to make sure your camera is set to RAW capture; this will ensure we can change the white balance in post-processing. Then you’ll want to set your camera to bulb and hook up your shutter release or enable the camera’s built-in bulb timer. After this you can set your lens to manual focus since your camera won’t be able to focus with the filter on.
Quick setup breakdown for 10-stop ND shots:
- Put your camera on a tripod
- Set your camera to RAW
- Set your camera to bulb
- Set your focus to manual
- Typically you’ll want to set your ISO to 100-400 and aperture around f/4-f/10
- Calculate the correct exposure using a long exposure calculator (details further down)
- Use your built in bulb timer or remote to expose your photo for the correct amount shutter speed
In the next step we’ll go over setting your exposure more in-depth.
2. Find Your Exposure Without the Filter On
Before even putting your filter on you’ll need to figure out your exposure settings without the filter on. We do this because most cameras can’t calculate exposure settings over 30 seconds.
We’ll be setting the exposure like any other typical tripod shot. This means setting an ISO low to reduce noise, an ISO between 100 and 400 will work. Additionally a great f-stop to start around is f/8 which is typically the sharpest for many lenses. From here we can correctly set the exposure by changing the shutter speed. This part is important since it lets us see the exposure’s shutter speed without the 10-stop filter. For example if your shutter speed without the filter is 1/30s we’ll remember that and put it into our app in the next step giving us a 30s exposure with the filter on.
You’ll also want to manually set your focus without the filter on since you won’t be able to see once the filter is on. Just keep in mind sometimes when you turn a camera on and off focus may shift.
3. Put on the 10-Stop ND Filter
This step is easy! Simple screw on your 10-stop ND filter to your lens. Just be sure not to change your focus, focal length or composition while screwing the filter on.
4. Calculate Exposure for 10-Stop with an App
Now with our existing exposure in mind (without the filter on) we can calculate our shutter speed for our shot. This is easiest using an app to calculate the shot. For example Long Exposure Calculator on iOS will do the math for you. The app allows you to put in your original shutter speed and it’ll tell you what it should be with the 10-stop ND filter on.
Common shutter speeds and their 10-stop ND exposure equivalents:
| 1/60s = 15s | 1/30s = 30s | 1/15s = 1m |
| 1/8s = 2m | 1/4s = 2m | 1s = 16m |
5. Take Your Shot
Now for the fun part, taking the photo!
Whether you’re using a shutter release or a built-in bulb timer you’ll need to set the correct time. If you don’t have either you can also just hold your shutter and use a timer on your phone, granted this will likely add vibration to your photo.
After your photo is taken of course you can modify your exposure depending if it’s overexposed or under exposed. From my experience photos typically come out underexposed during your first shot. Just keep in mind a multiple minute exposure can make you miss great light if you have to get the exposure right.
Frequently Asked Questions about 10-Stop ND Filters
Do you need a 10 stop ND filter?
10-stop ND filters are a great way to add variety to your photo bag. Especially if you shoot a lot of water or sunrises/sunsets. If you are new to photography you probably don’t need a 10-stop ND filter. If you’re an experienced photographer you’ll want to add one to your kit to achieve new effects with your photography.
What is the optical density of a 10 stop ND filter?
A 10-stop ND filter will modify your exposure by 10-stops. You may notice that ND filters are also titled by their optical density. The optical density of a 10-stop ND filter is 3.0; often listed as ND 3.0. 10-stop ND filters are extremely dark and cut light by 1000x.
Can I stack multiple ND filters together?
It is not recommended to stack multiple ND filters together as it can cause vignetting and reduce image quality. That being said it’s technically possible to stack filters.
Can a 10-stop ND filter be used with autofocus?
Technically 10-stop ND filter can be used with autofocus. But due to the low light the camera receives it can be unlikely that the camera has enough light to correctly focus. This means it’s best to focus before adding your 10-stop ND filter.
How do I clean a 10-stop ND filter?
To clean a 10-stop ND filter, use a microfiber cloth and a cleaning solution designed for camera lenses. Avoid using harsh chemicals or abrasive materials that can scratch the glass.
I also asked a few photographer friends why they love 10-stop ND photography and here’s what they had to say.
The 10 Stop ND is a crucial part of my kit for one reason. Control. It gives me flexibility to control intensely lit compositions and bring the movement of the scene into to life during any part of the day
Photographer

Conclusion
Now go out and shoot! 10-stop ND photography is a ton of fun, if you have any questions let me know in the comments below.