It took me a bit to figure this out so I figured I’d share how to “burn” your captions onto your video using Final Cut Pro X.
Yes you can sit there and make titles for each caption but why spend all that time where there is an easy automated way!
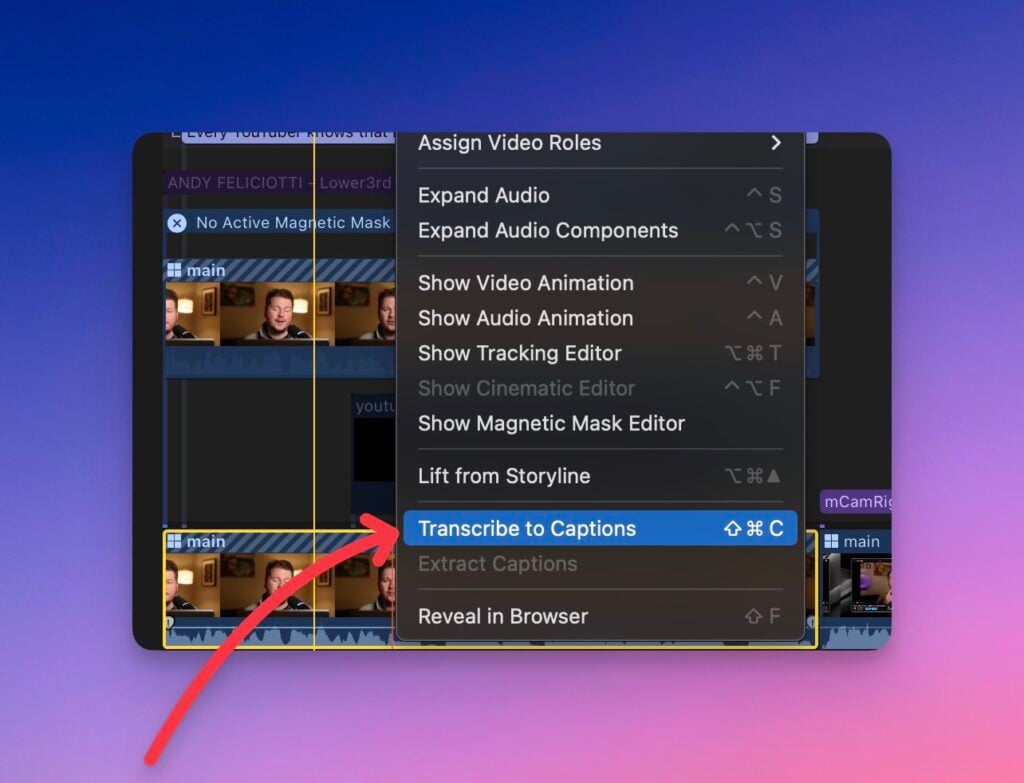
If you’re new to adding captions to your videos first you’ll need a caption file. I use rev.com to automatically create captions for my videos which is done by hand with humans. They only cost $1/min and their turnaround time is usually a few hours! If you’d prefer a cheaper option Rev offers AI captions, you could use an app like MacWhisper to generate SRT files, or use something like RightBlogger’s transcription tool. Additionally Final Cut Pro 11 offers the ability to generate captions automatically.
If you want to know more about buying captions check out my YouTube video.
Most platforms support captions such as YouTube, LinkedIn, and Facebook. Which will allow you to upload your captions with the video making it easy for users to turn them on. Instagram for example does not support closed captions so this method is great for embedding captions directly onto the video. This is called “burning” the captions onto the video. That way they are rendered on top of the video rather than in a separate file.
Steps to burn captions onto a video in FCPX
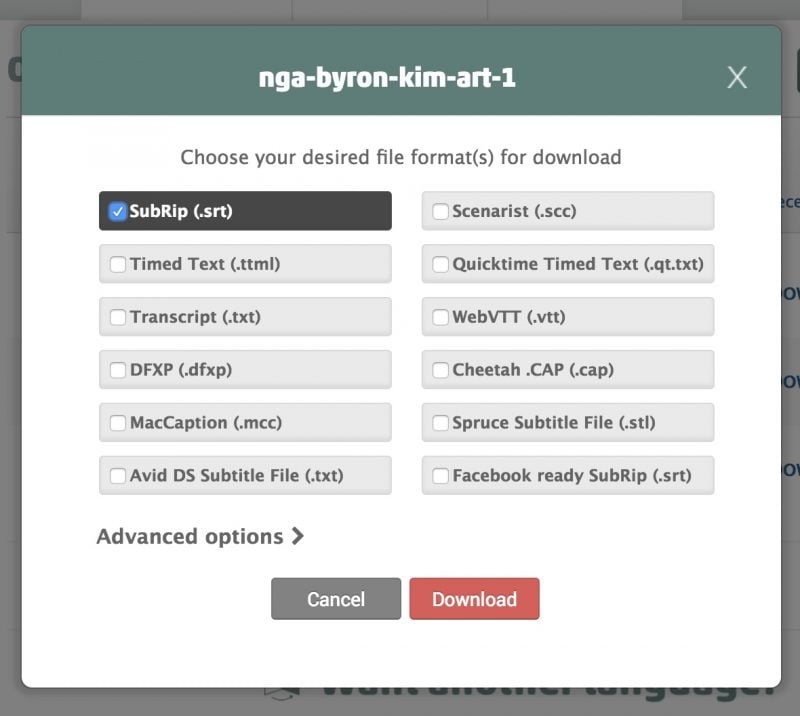
First you’ll need a caption file. Like I said above I use Rev.com to have those made. Below is the export screen of Rev which lets you download the .srt file.
We’re going to be using this free app to generate the caption titles for FCPX. X-Title Importer (it’s kind of hard to find the download button but if you scroll down it says “Download XTI for MacOS”)
At first this app confused me but it’s pretty simple.
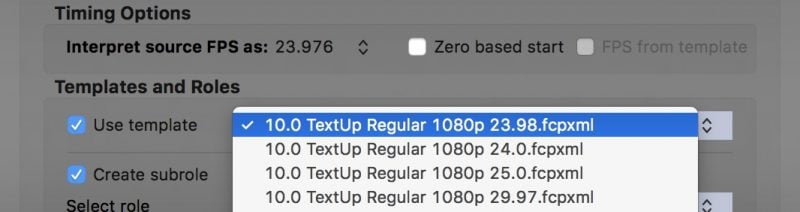
First you’ll see “Timing Options” make sure to select your frame rate in the “Interpret source FPS” option.
After this check “Use Template” and you’ll select a template (pick the correct one for your frame rate so the captions lineup).
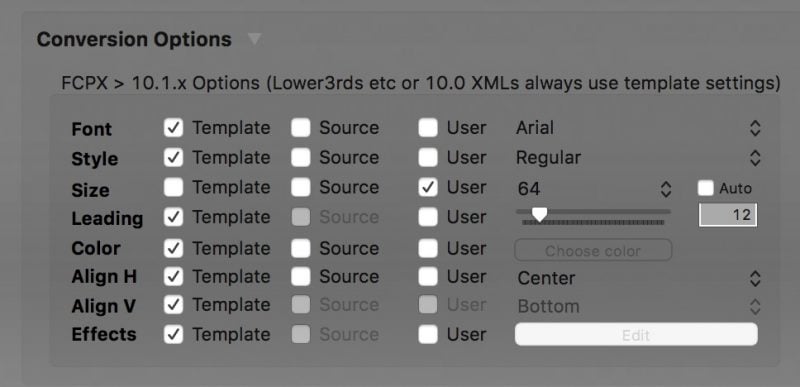
Then there are a few theming options for your captions. These are important since you won’t be able to easily change the style once it’s in the video.
I found if you set the size to 64 and turn off “auto” it’ll create large subtitles on a 1080p video which is perfect for seeing on Instagram.
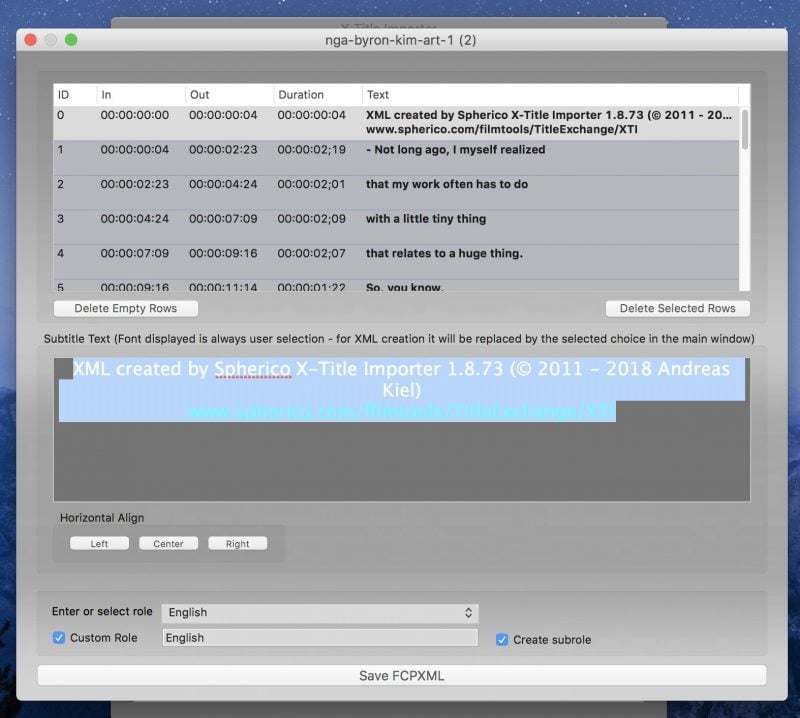
Once you’ve set all that you can click “select file and convert” at the bottom. This will allow you to select a caption file (.srt) and review the captions.
The first caption it adds is a credit to X-Title importer but I found you can just erase this and then click “Save FCPXML”
Once you have your new FCPXML file open it in FCPX. It should look something like below. Now you can drag your footage into FCPX below the captions and you’ll find you have correctly timed titles as captions on your video. You can also just copy the layer to your original project as well.
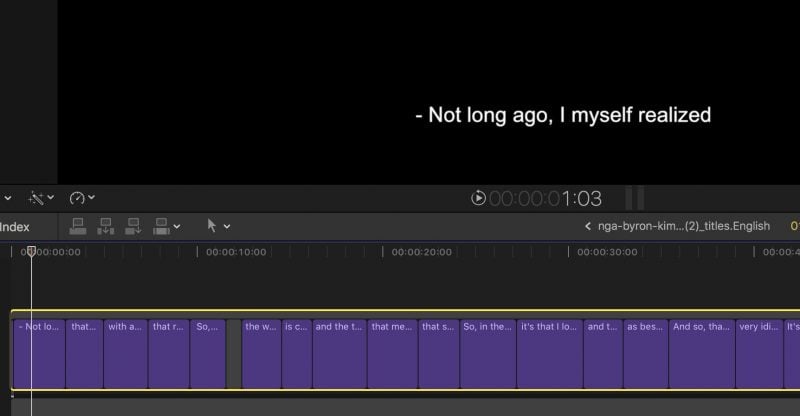
Then just export your project and you have captions on top of your video! If you dislike the styling you can just go back to X-Title importer and change the settings and try again.
Additional Styles with DH_SubtitleX
There are also plugins that are compatible with X-Title Importer. For example I am using “DH_SubtitleX” which adds a different style to the captions generated by XTI. Once you install DH_SubtitleX it’ll show up under the templates in XTI. DH_SubtitleX did cost around $30 but I think it’s worth it if you plan on burning subtitles to many videos.
Thanks for following along! let me know if you have any questions in the comments below.
If you’d like to see more from me subscribe to my YouTube where I share photo, travel, and video tips. One last quick recommendation: if you’re looking to streamline your video editing process, check out Envato Elements Final Cut Pro X templates.
If you’d prefer a simpler route you can also use a tool like Submagic or Handbrake to bake subtitles into a video.