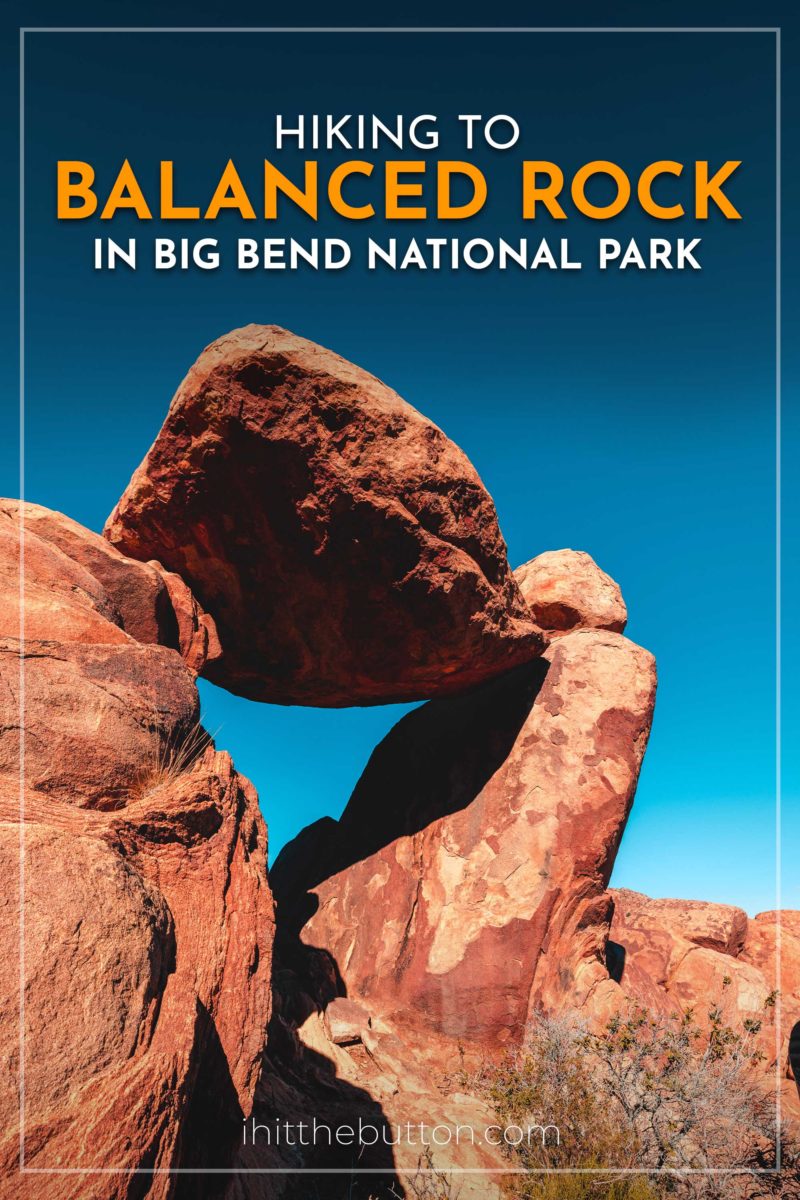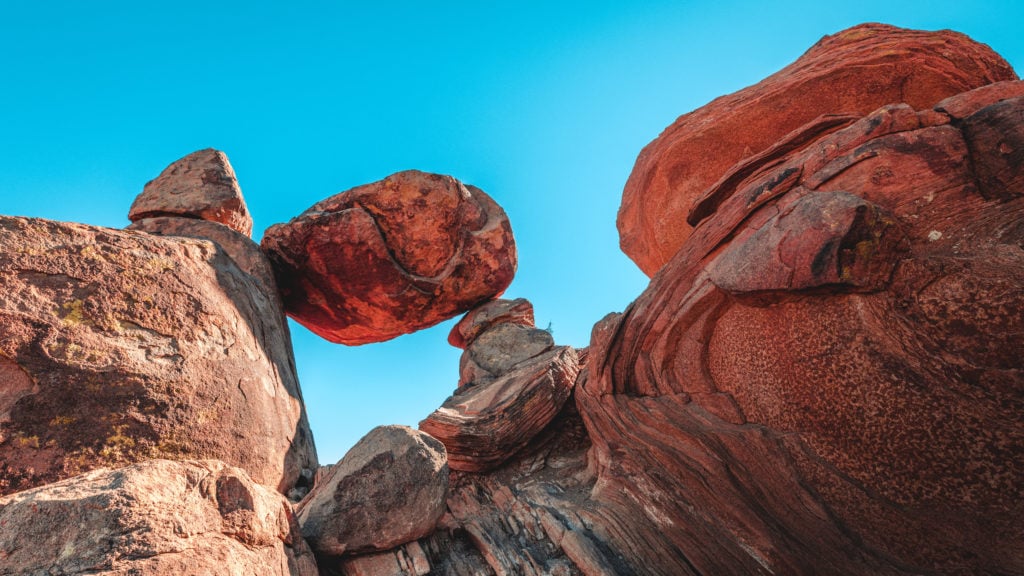
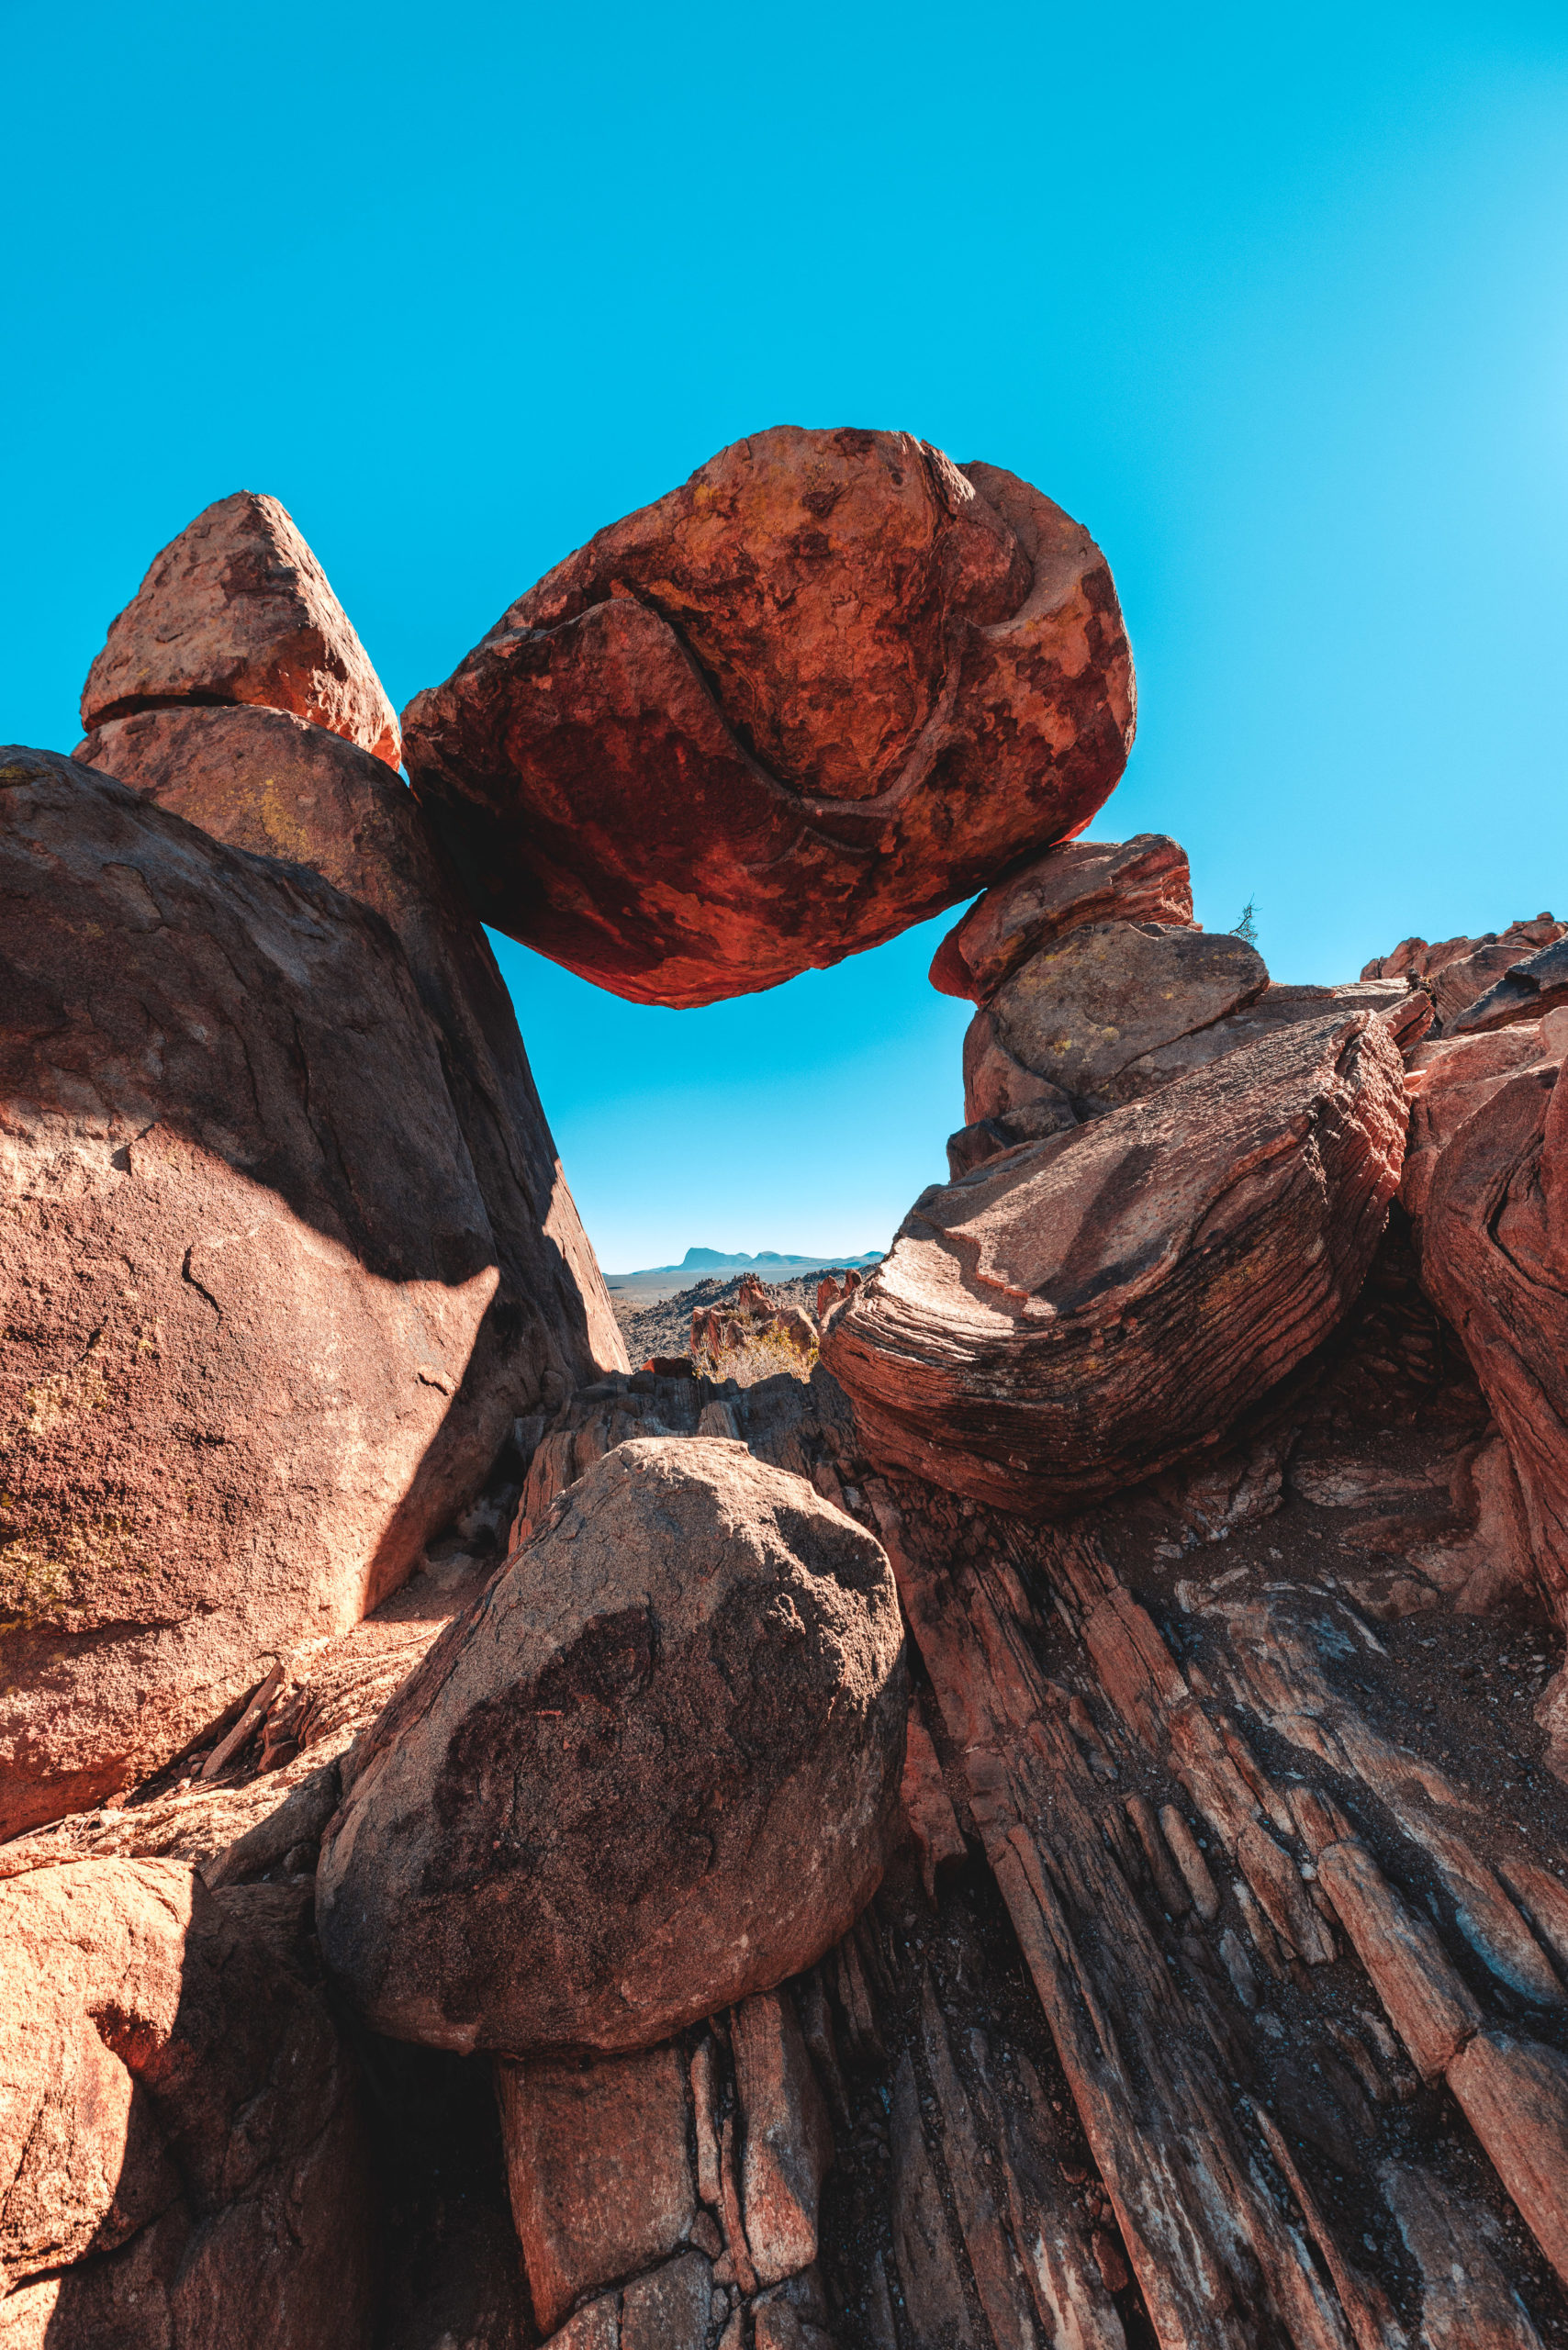
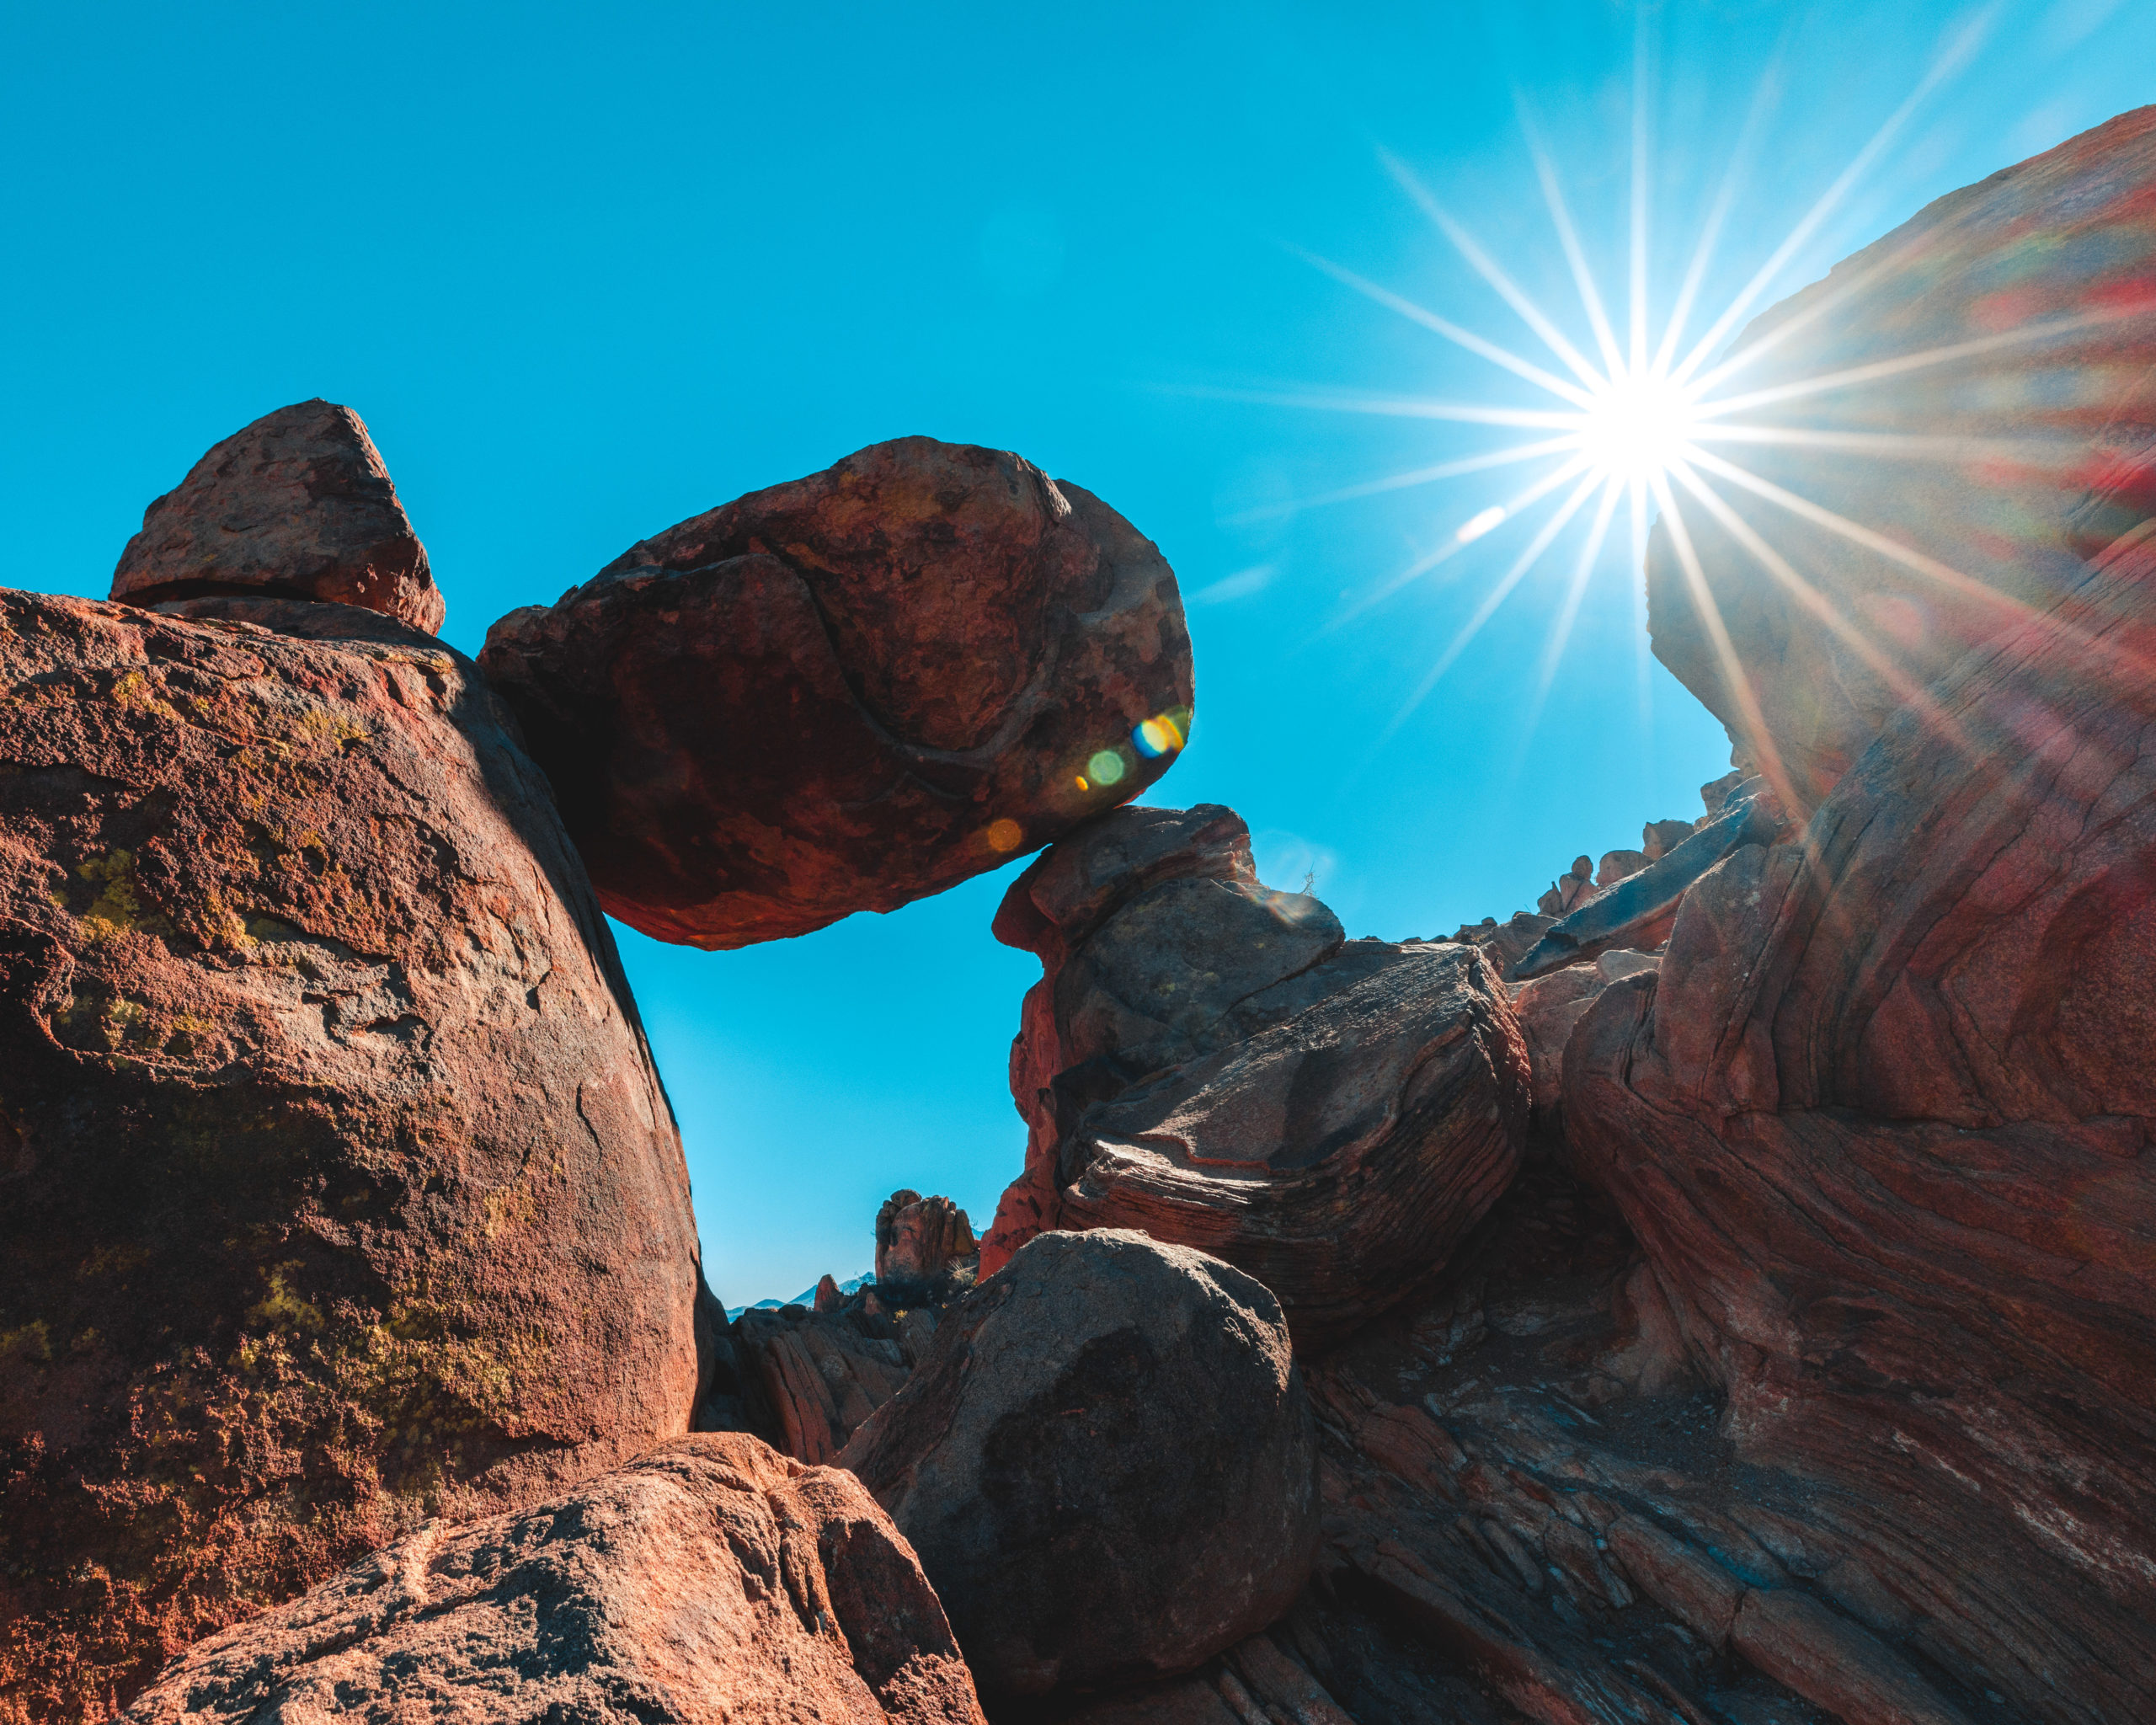
One of the most popular hikes in Big Bend National Park is Balanced Rock. This out-and-back hike is 2 miles and takes you through the Grapevine Hills up to Balanced Rock. Located at the end of the hike is the unique rock formation that features a large stone balancing on 2 large rocks.
The hike to Balanced Rock is well worth it if you’re visiting Big Bend National Park.
Table of contents
In this post I’ll be sharing all of my experiences from the hike, including the photos I took.

Tips for Hiking Balanced Rock
- Plan 1-2 hours to complete the hike at Balanced Rock. My girlfriend and I finished this trail in a little over an hour. We stayed at the peak for 5 minutes, so plan accordingly, depending on how long you want to stay at the top.
- The 6.4 mile drive on Gano Springs Road to the trailhead parking lot is a bit rocky. Most cars should be able to get through but it’s something to be aware of. I drove about 10mph the entire way in my Subaru Outback.
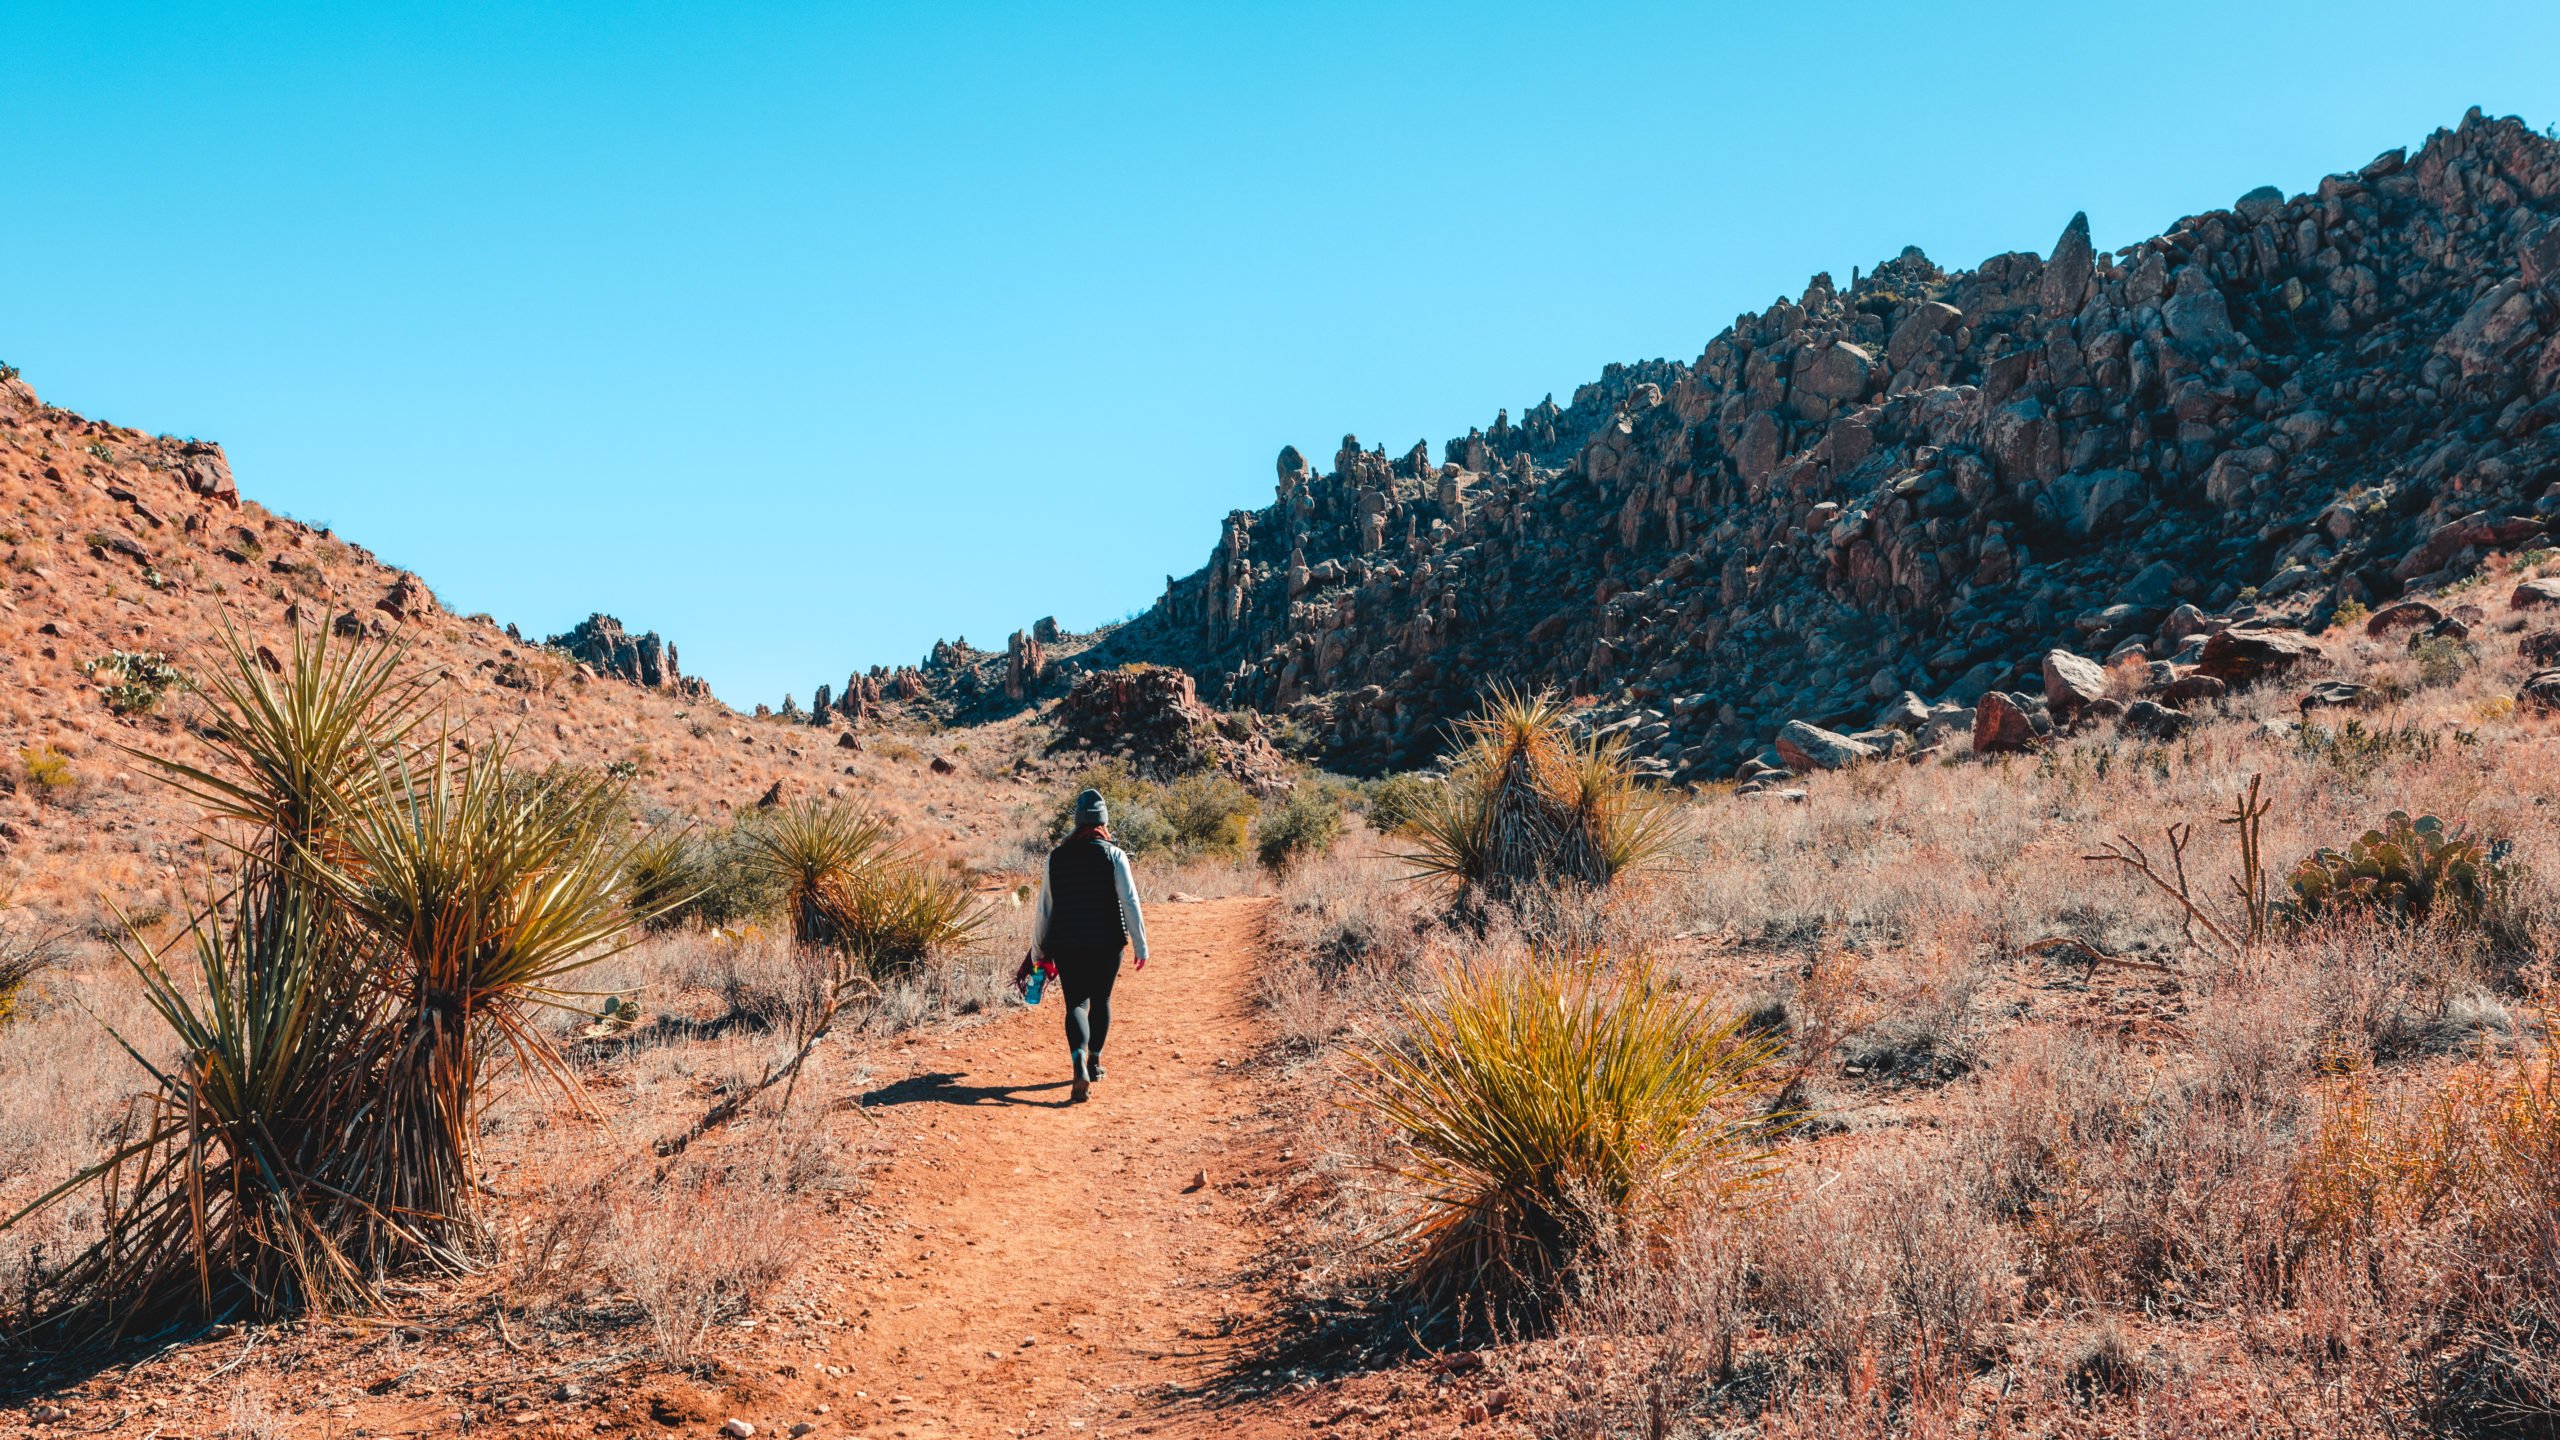
- The first 0.75 mile is pretty flat; the trail is very easy to follow. The last 0.25 is where you’ll ascend some rocks and stairs to reach the peak.
- Don’t forget your hat and sunscreen, especially if it is a warm day! There isn’t much shade on the trail.
- Like all hikes in Big Bend National Park, dogs aren’t allowed.
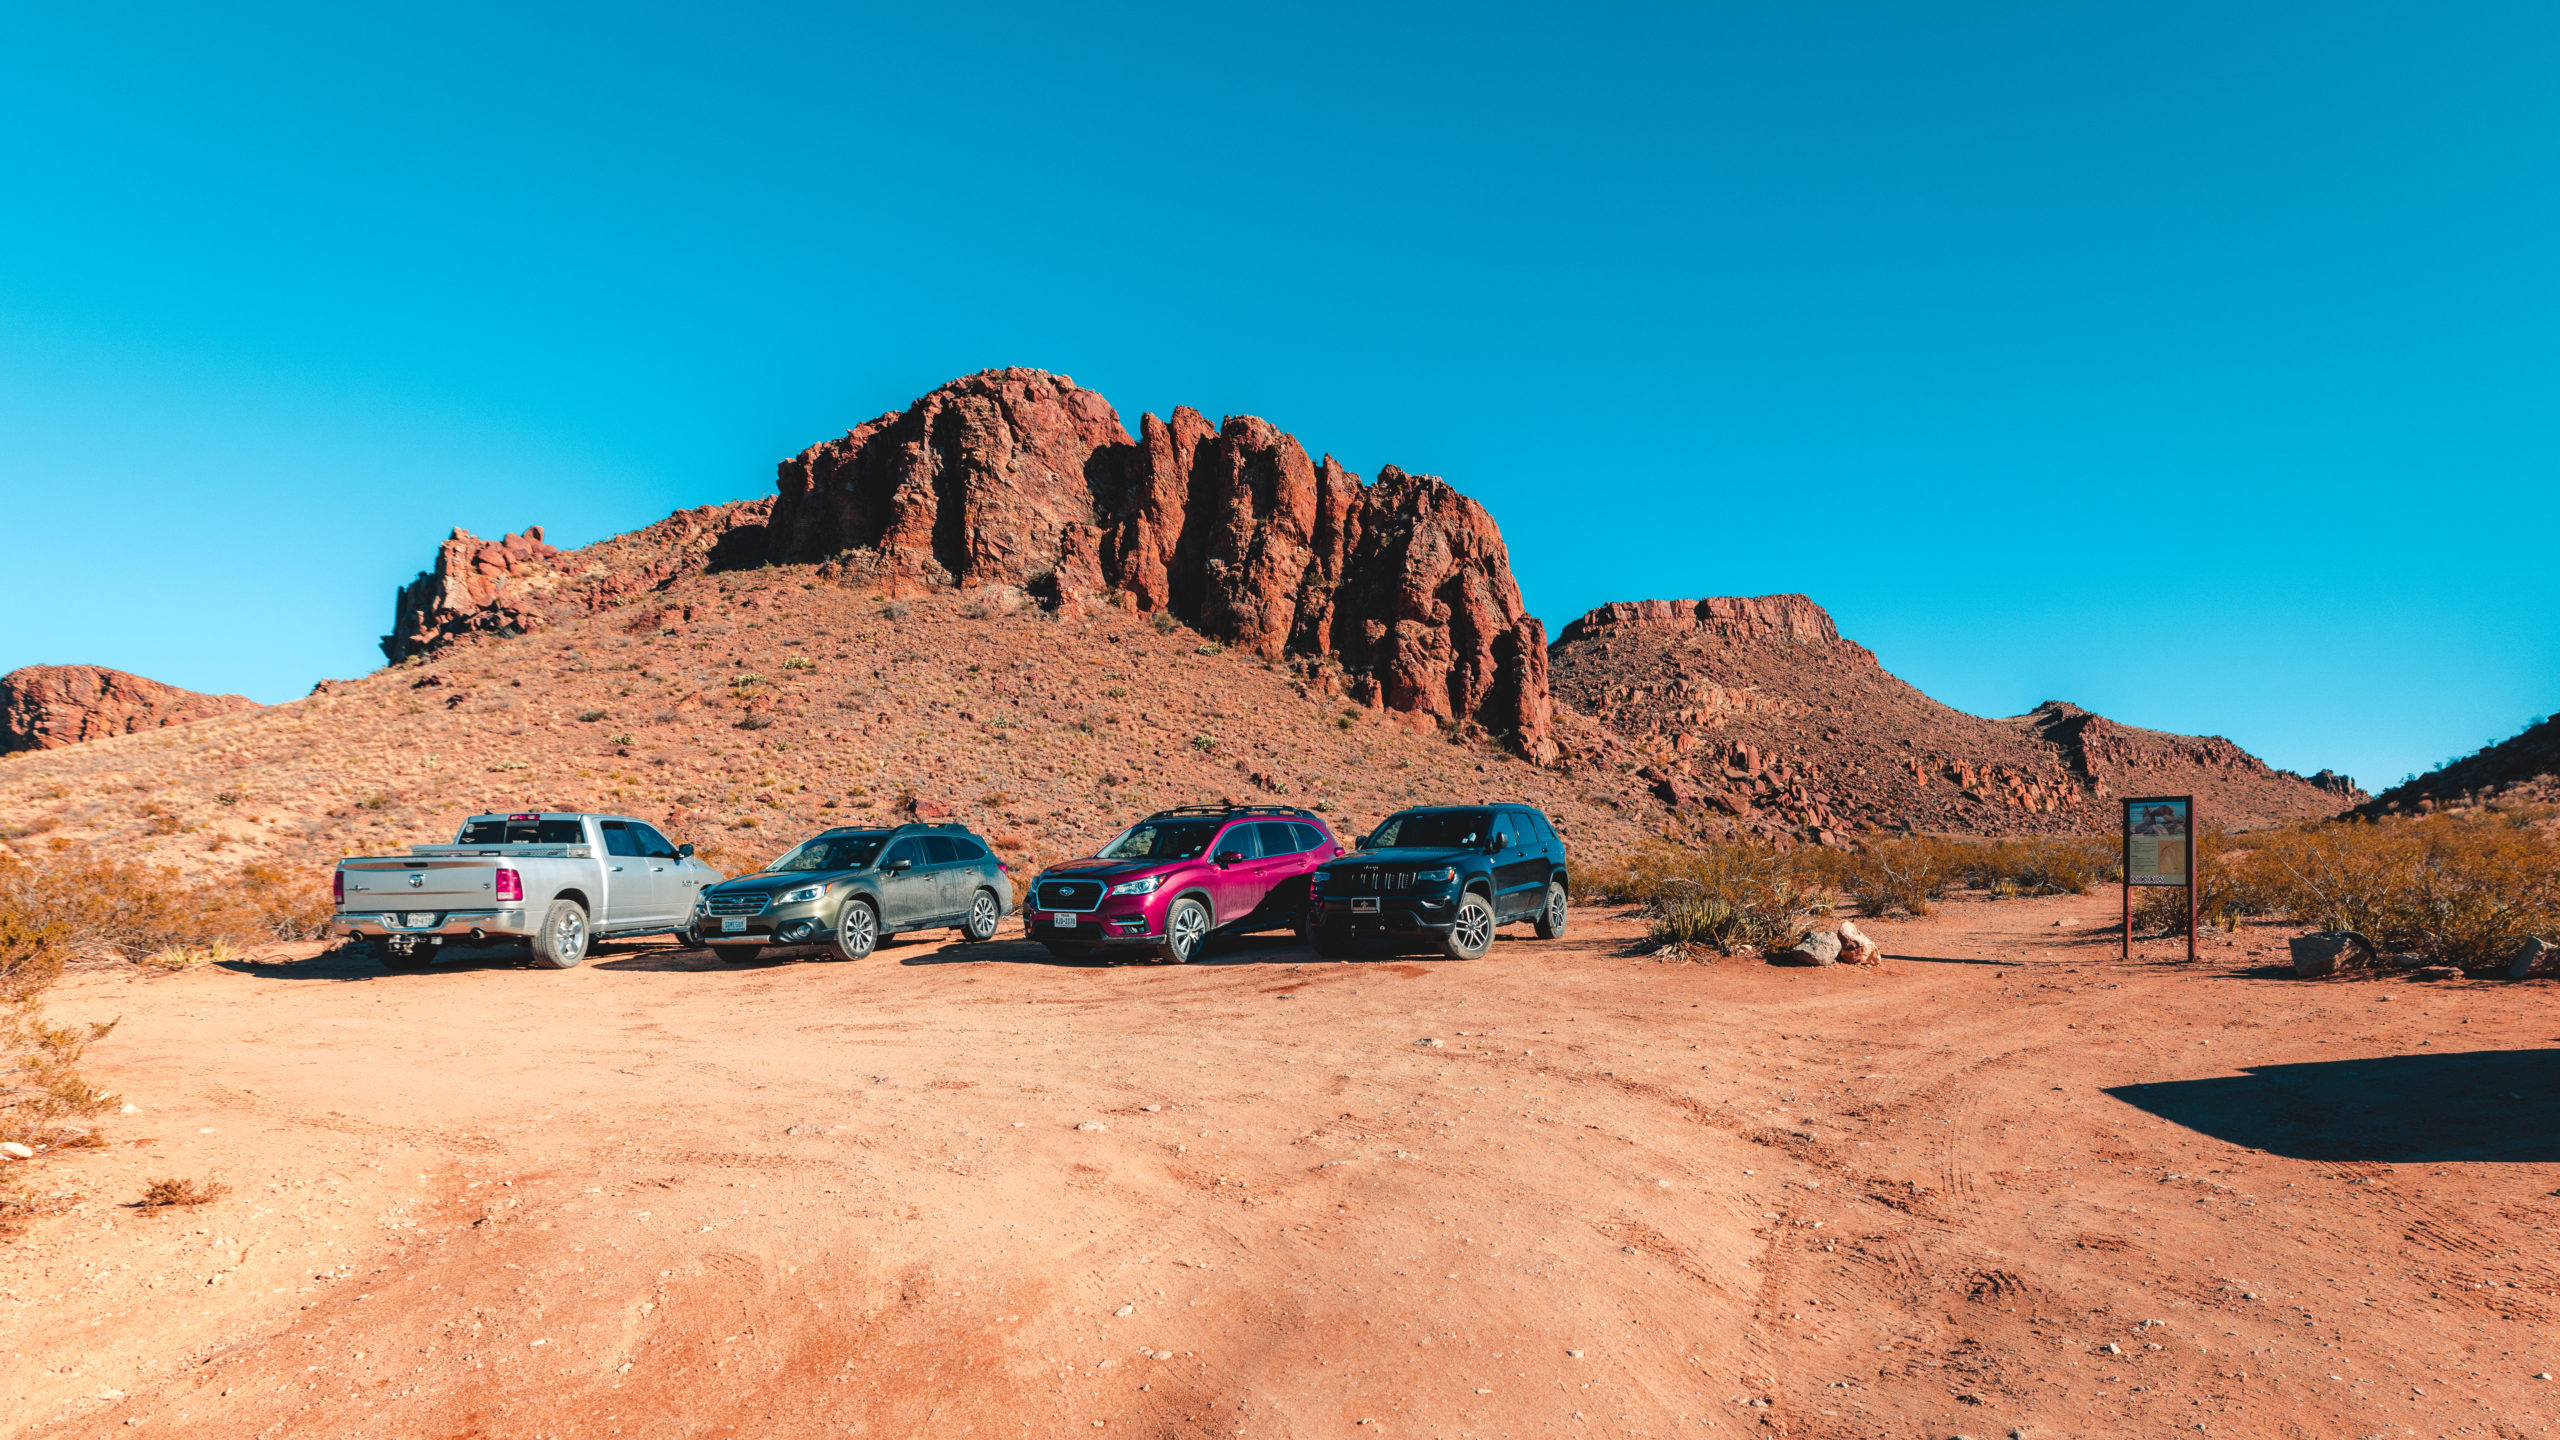
Like I mentioned, the road to the trailhead is fairly rocky and bumpy. Here is the road leading up to the parking lot, which is slightly more mild in terms of the terrain you’ll see on the drive in.

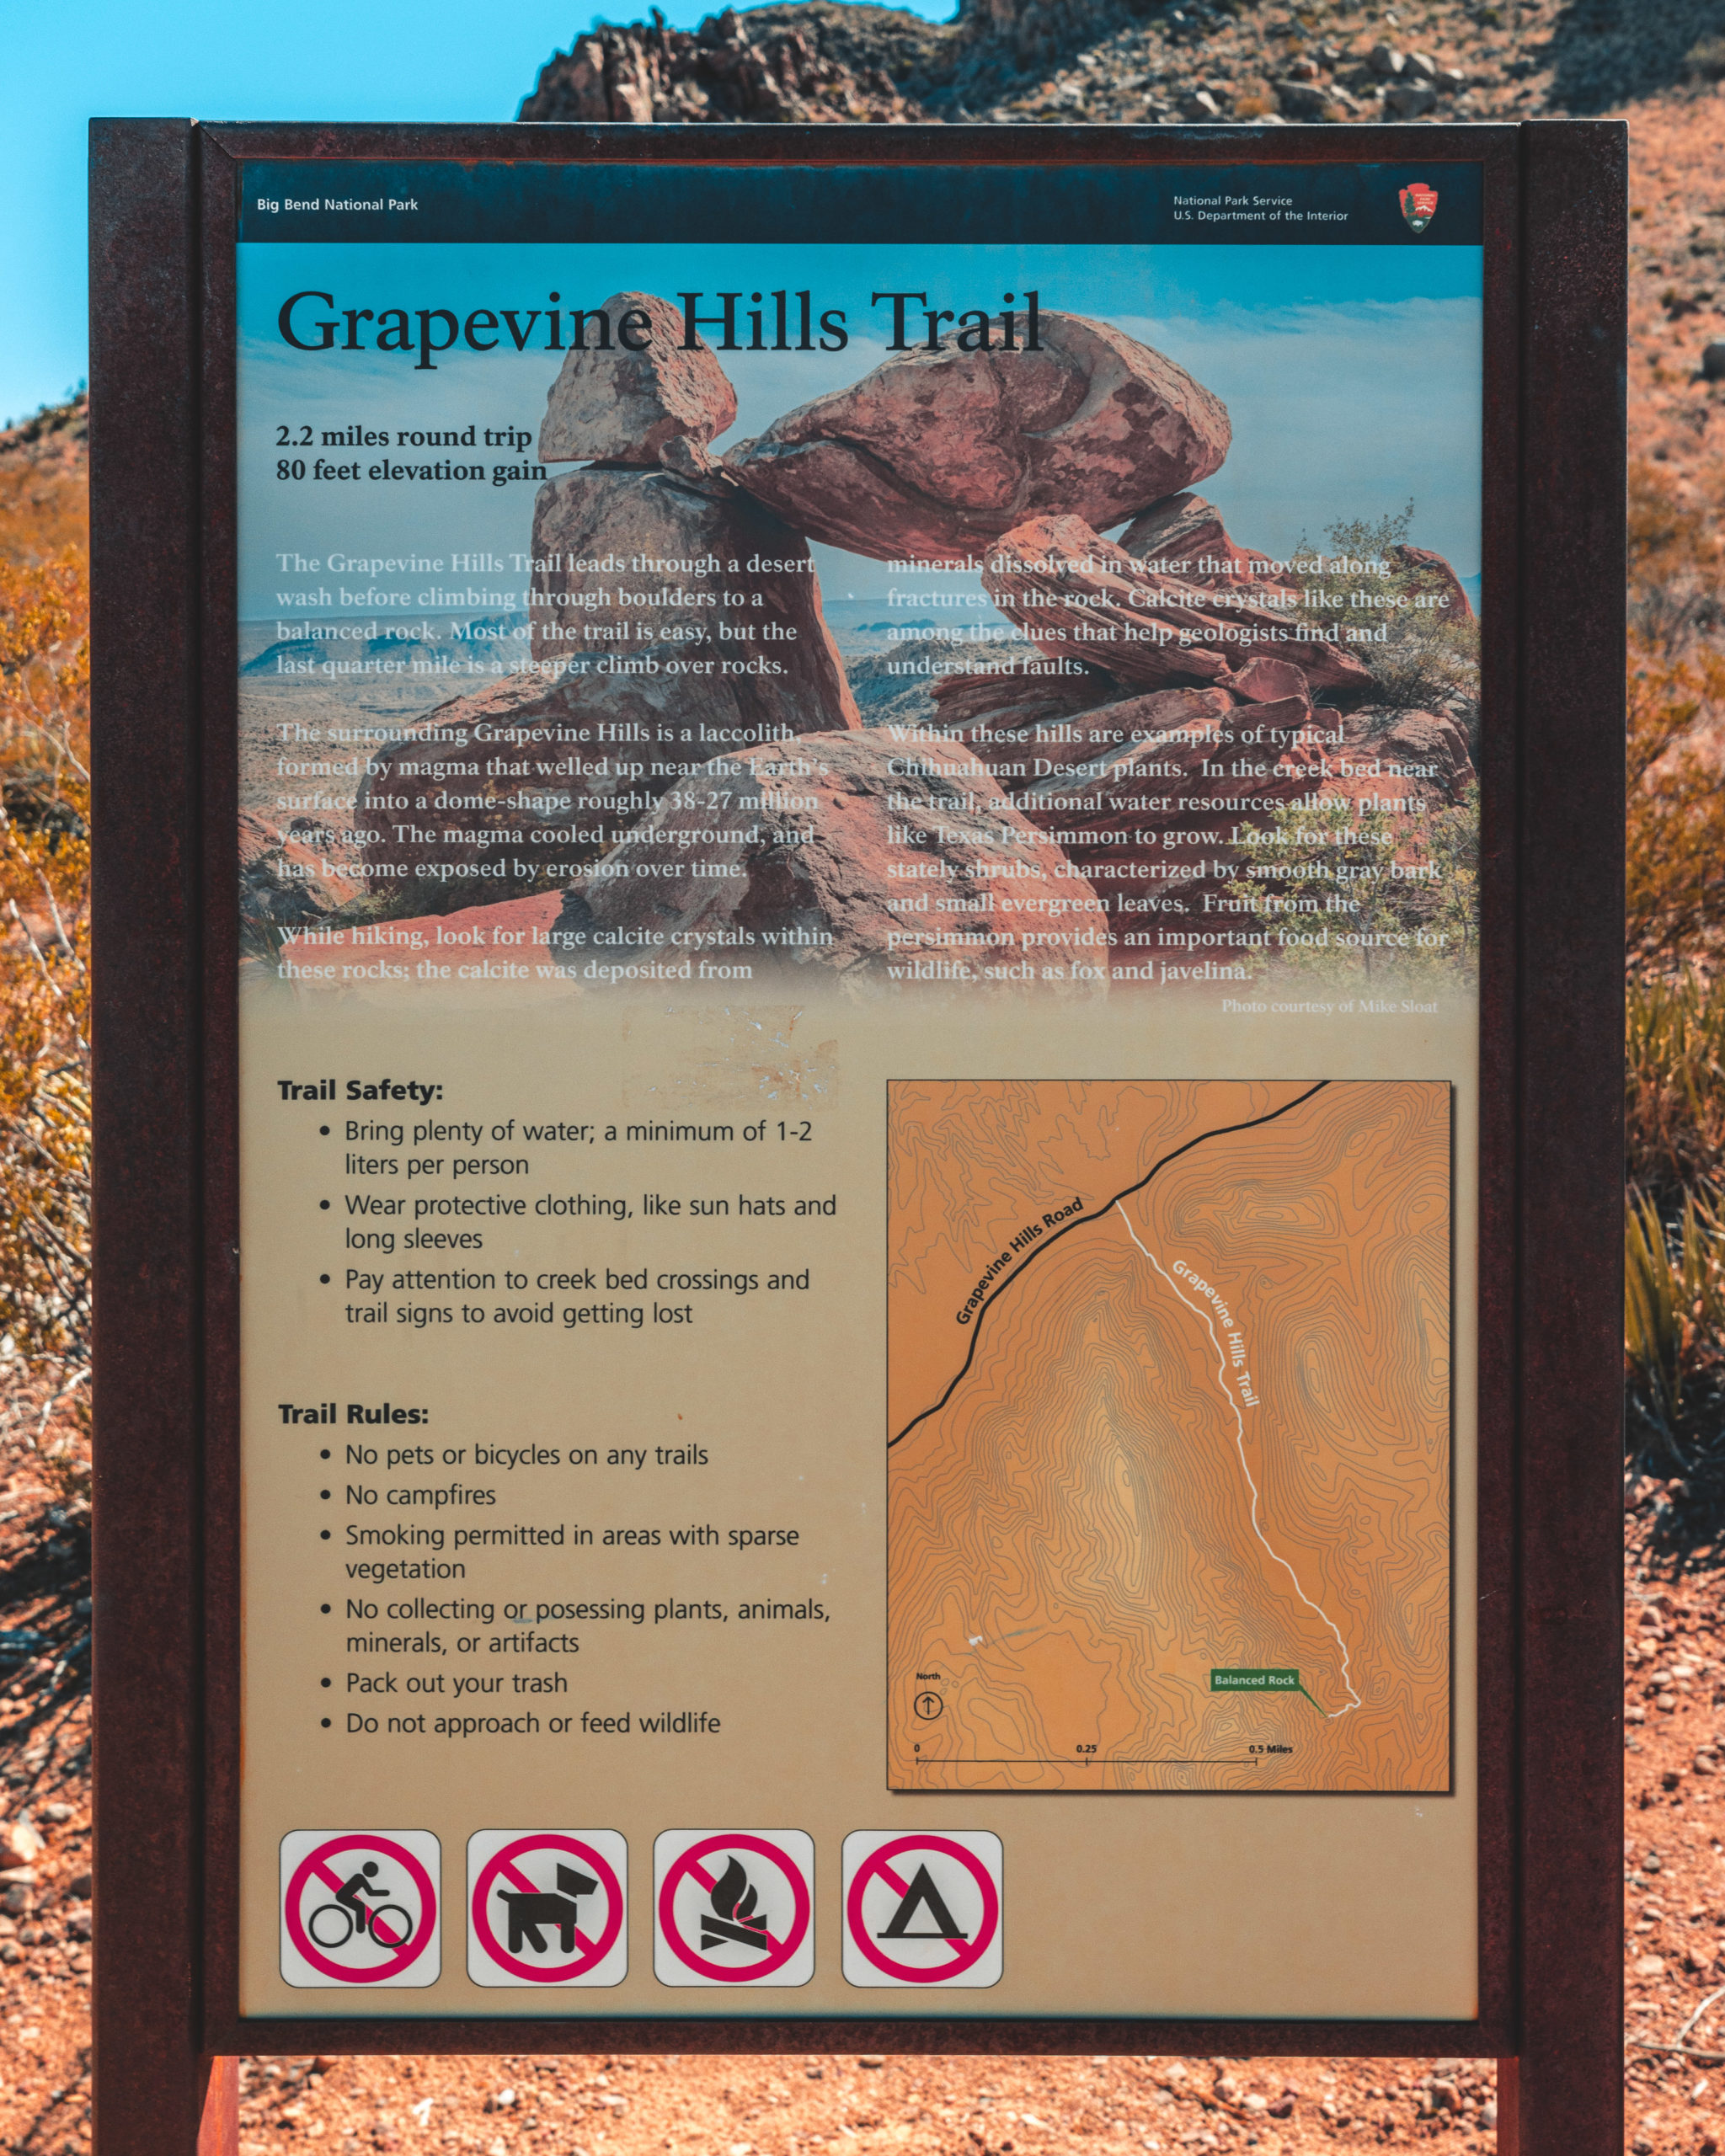
The Hike to Balanced Rock
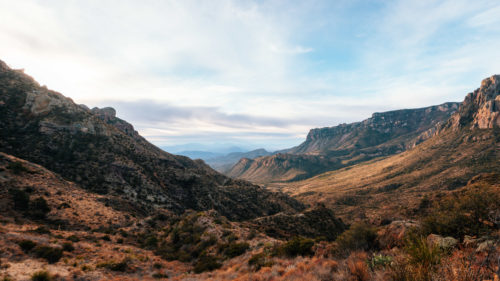
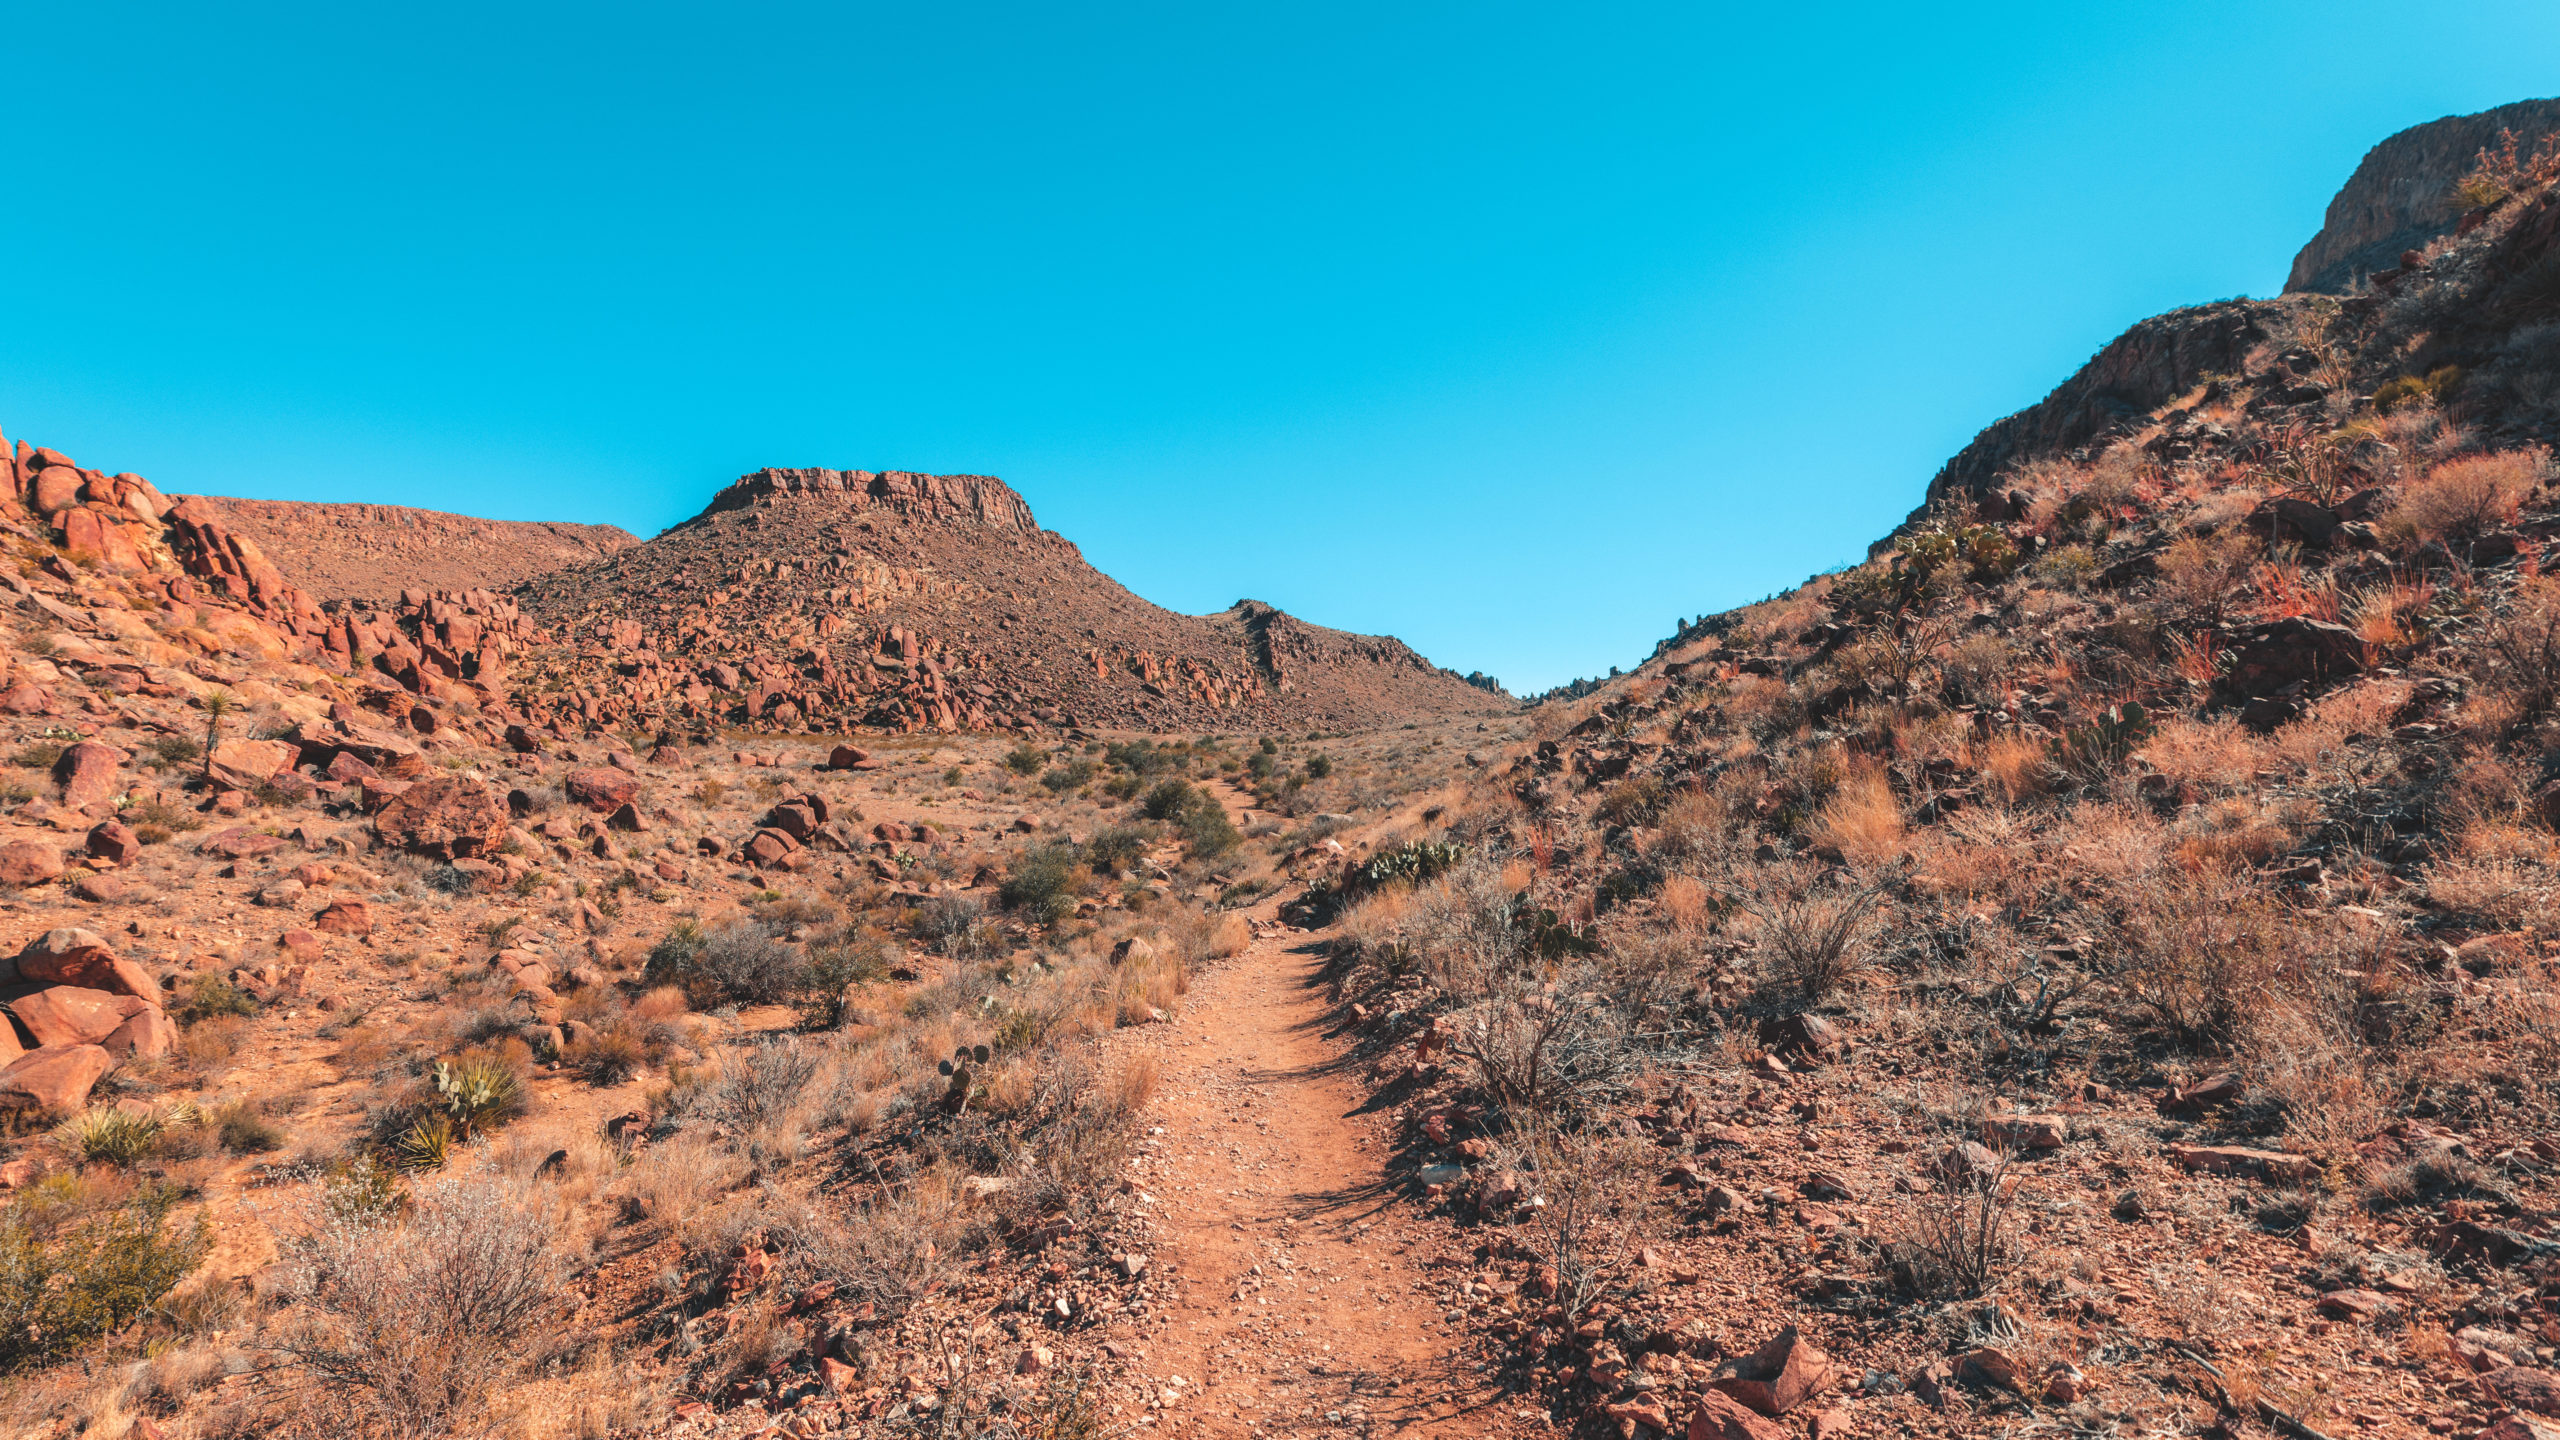
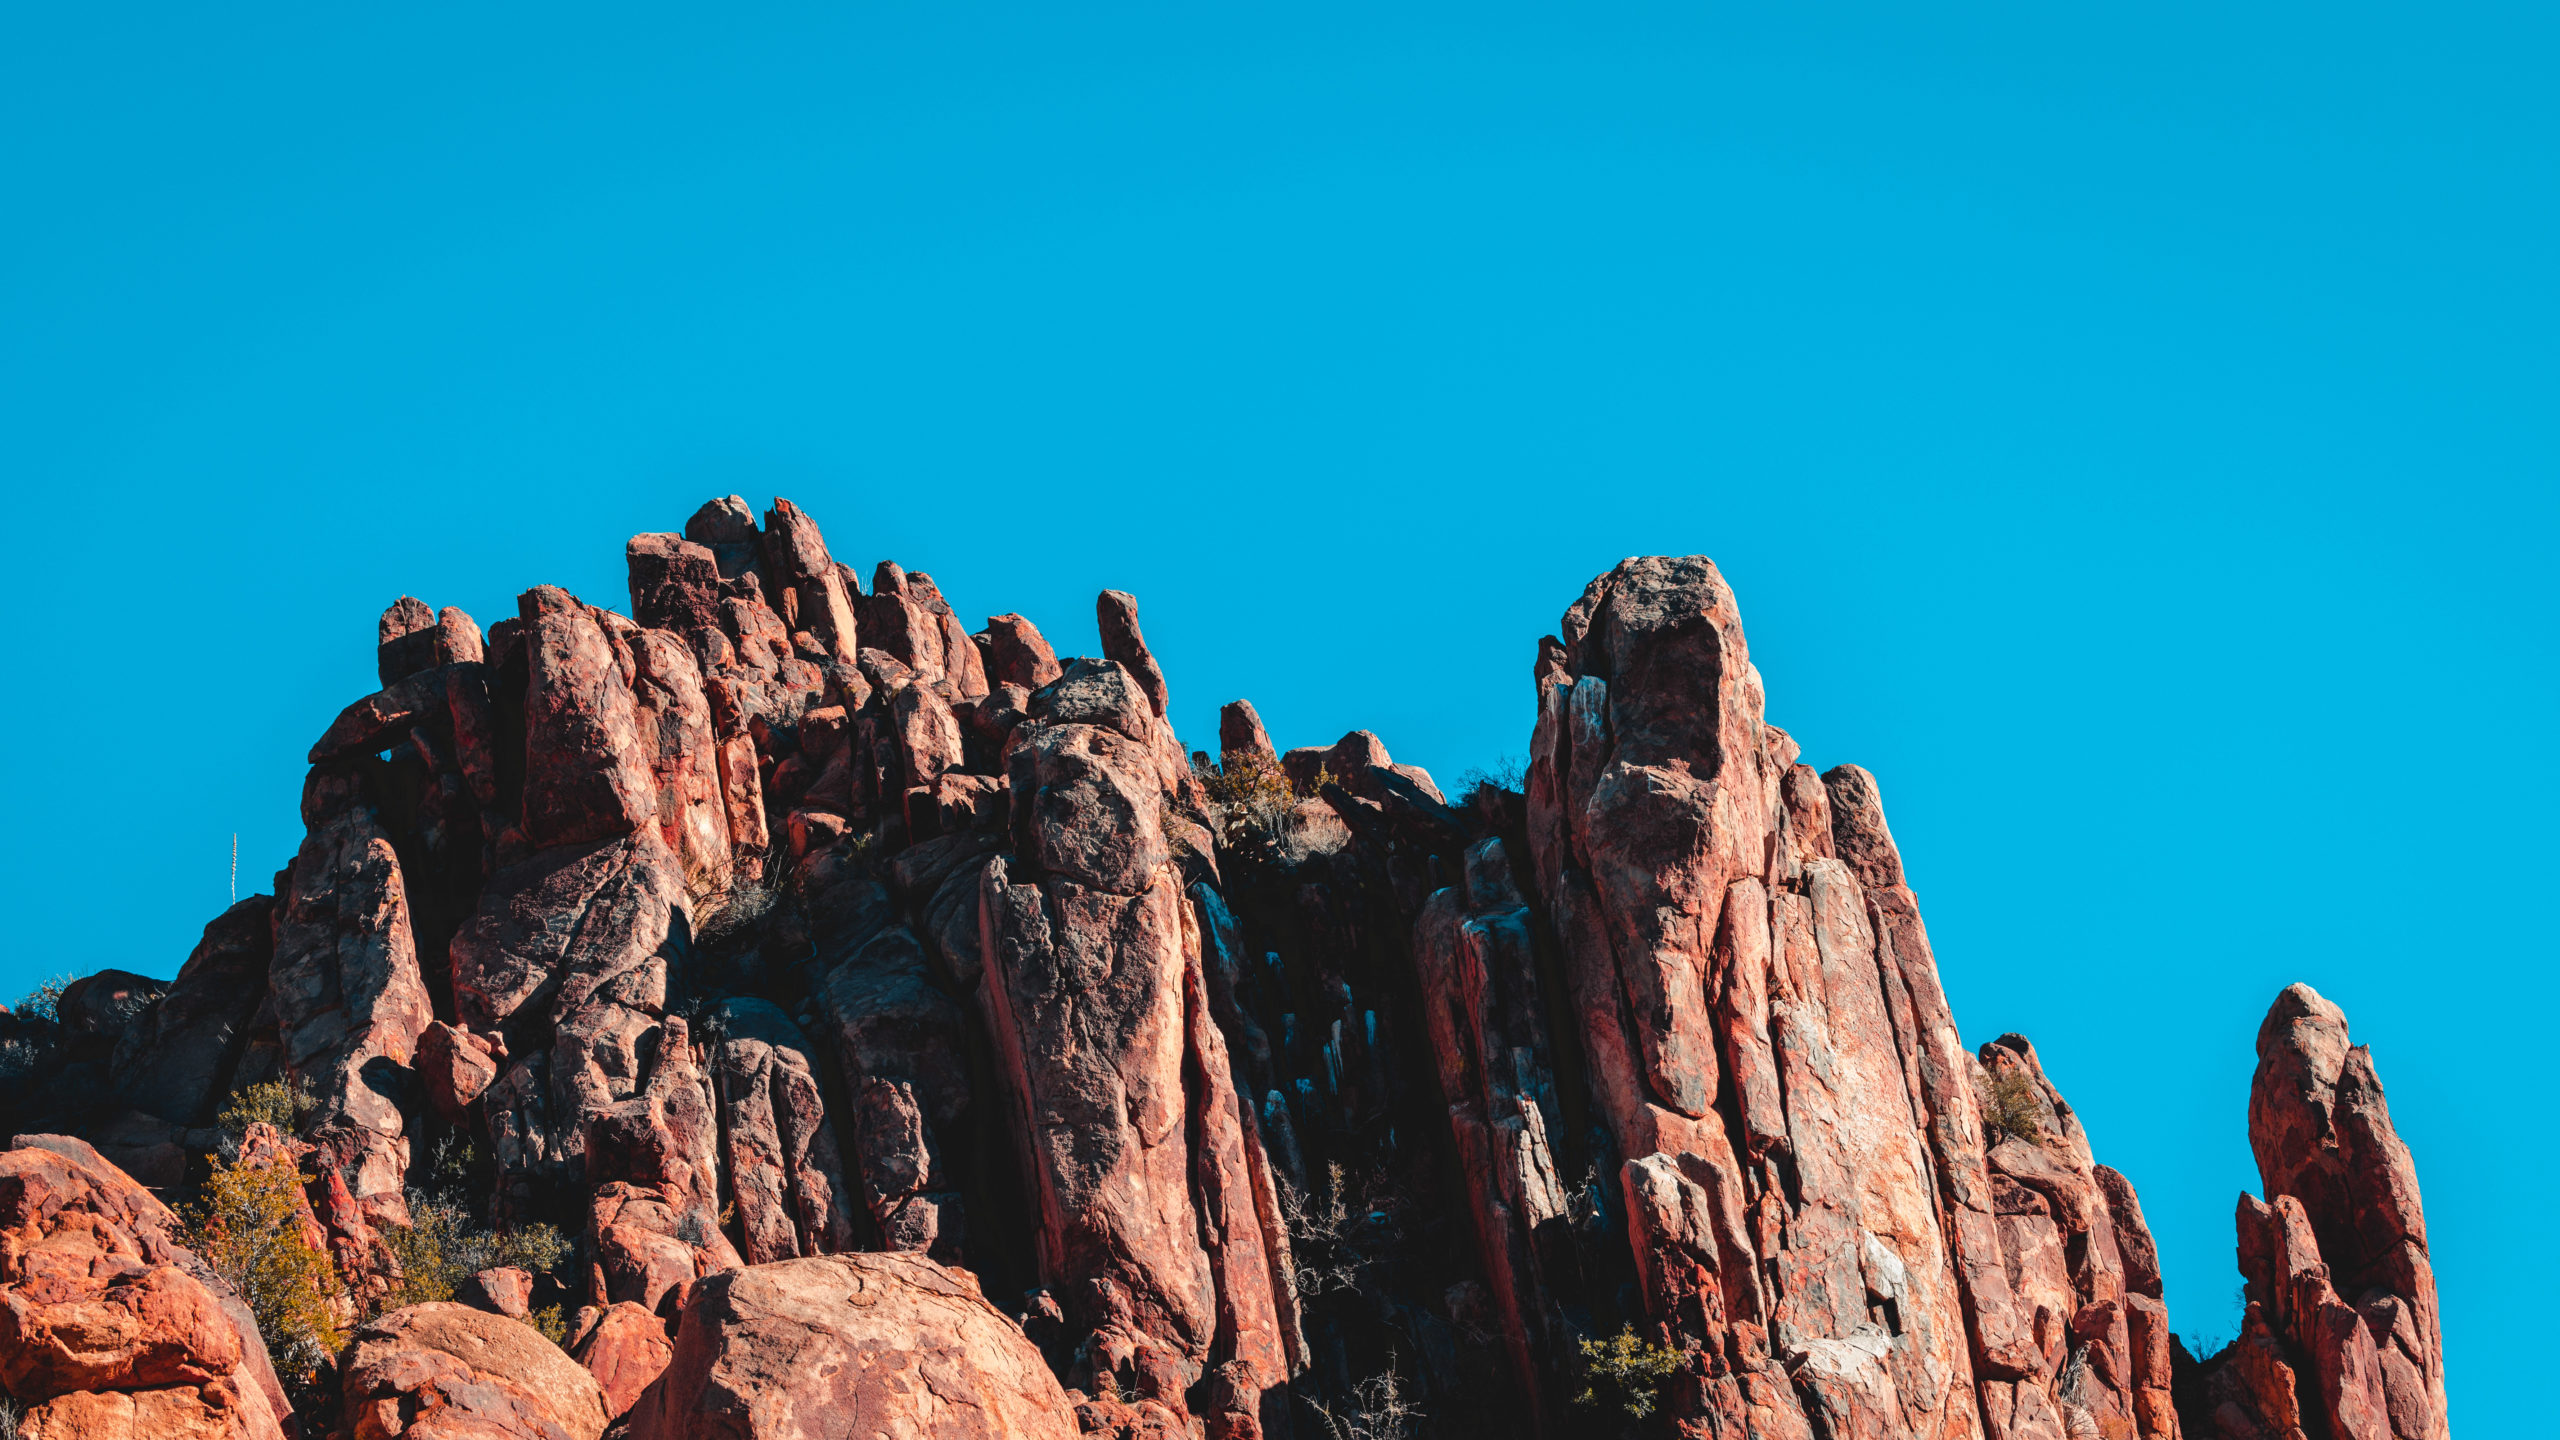
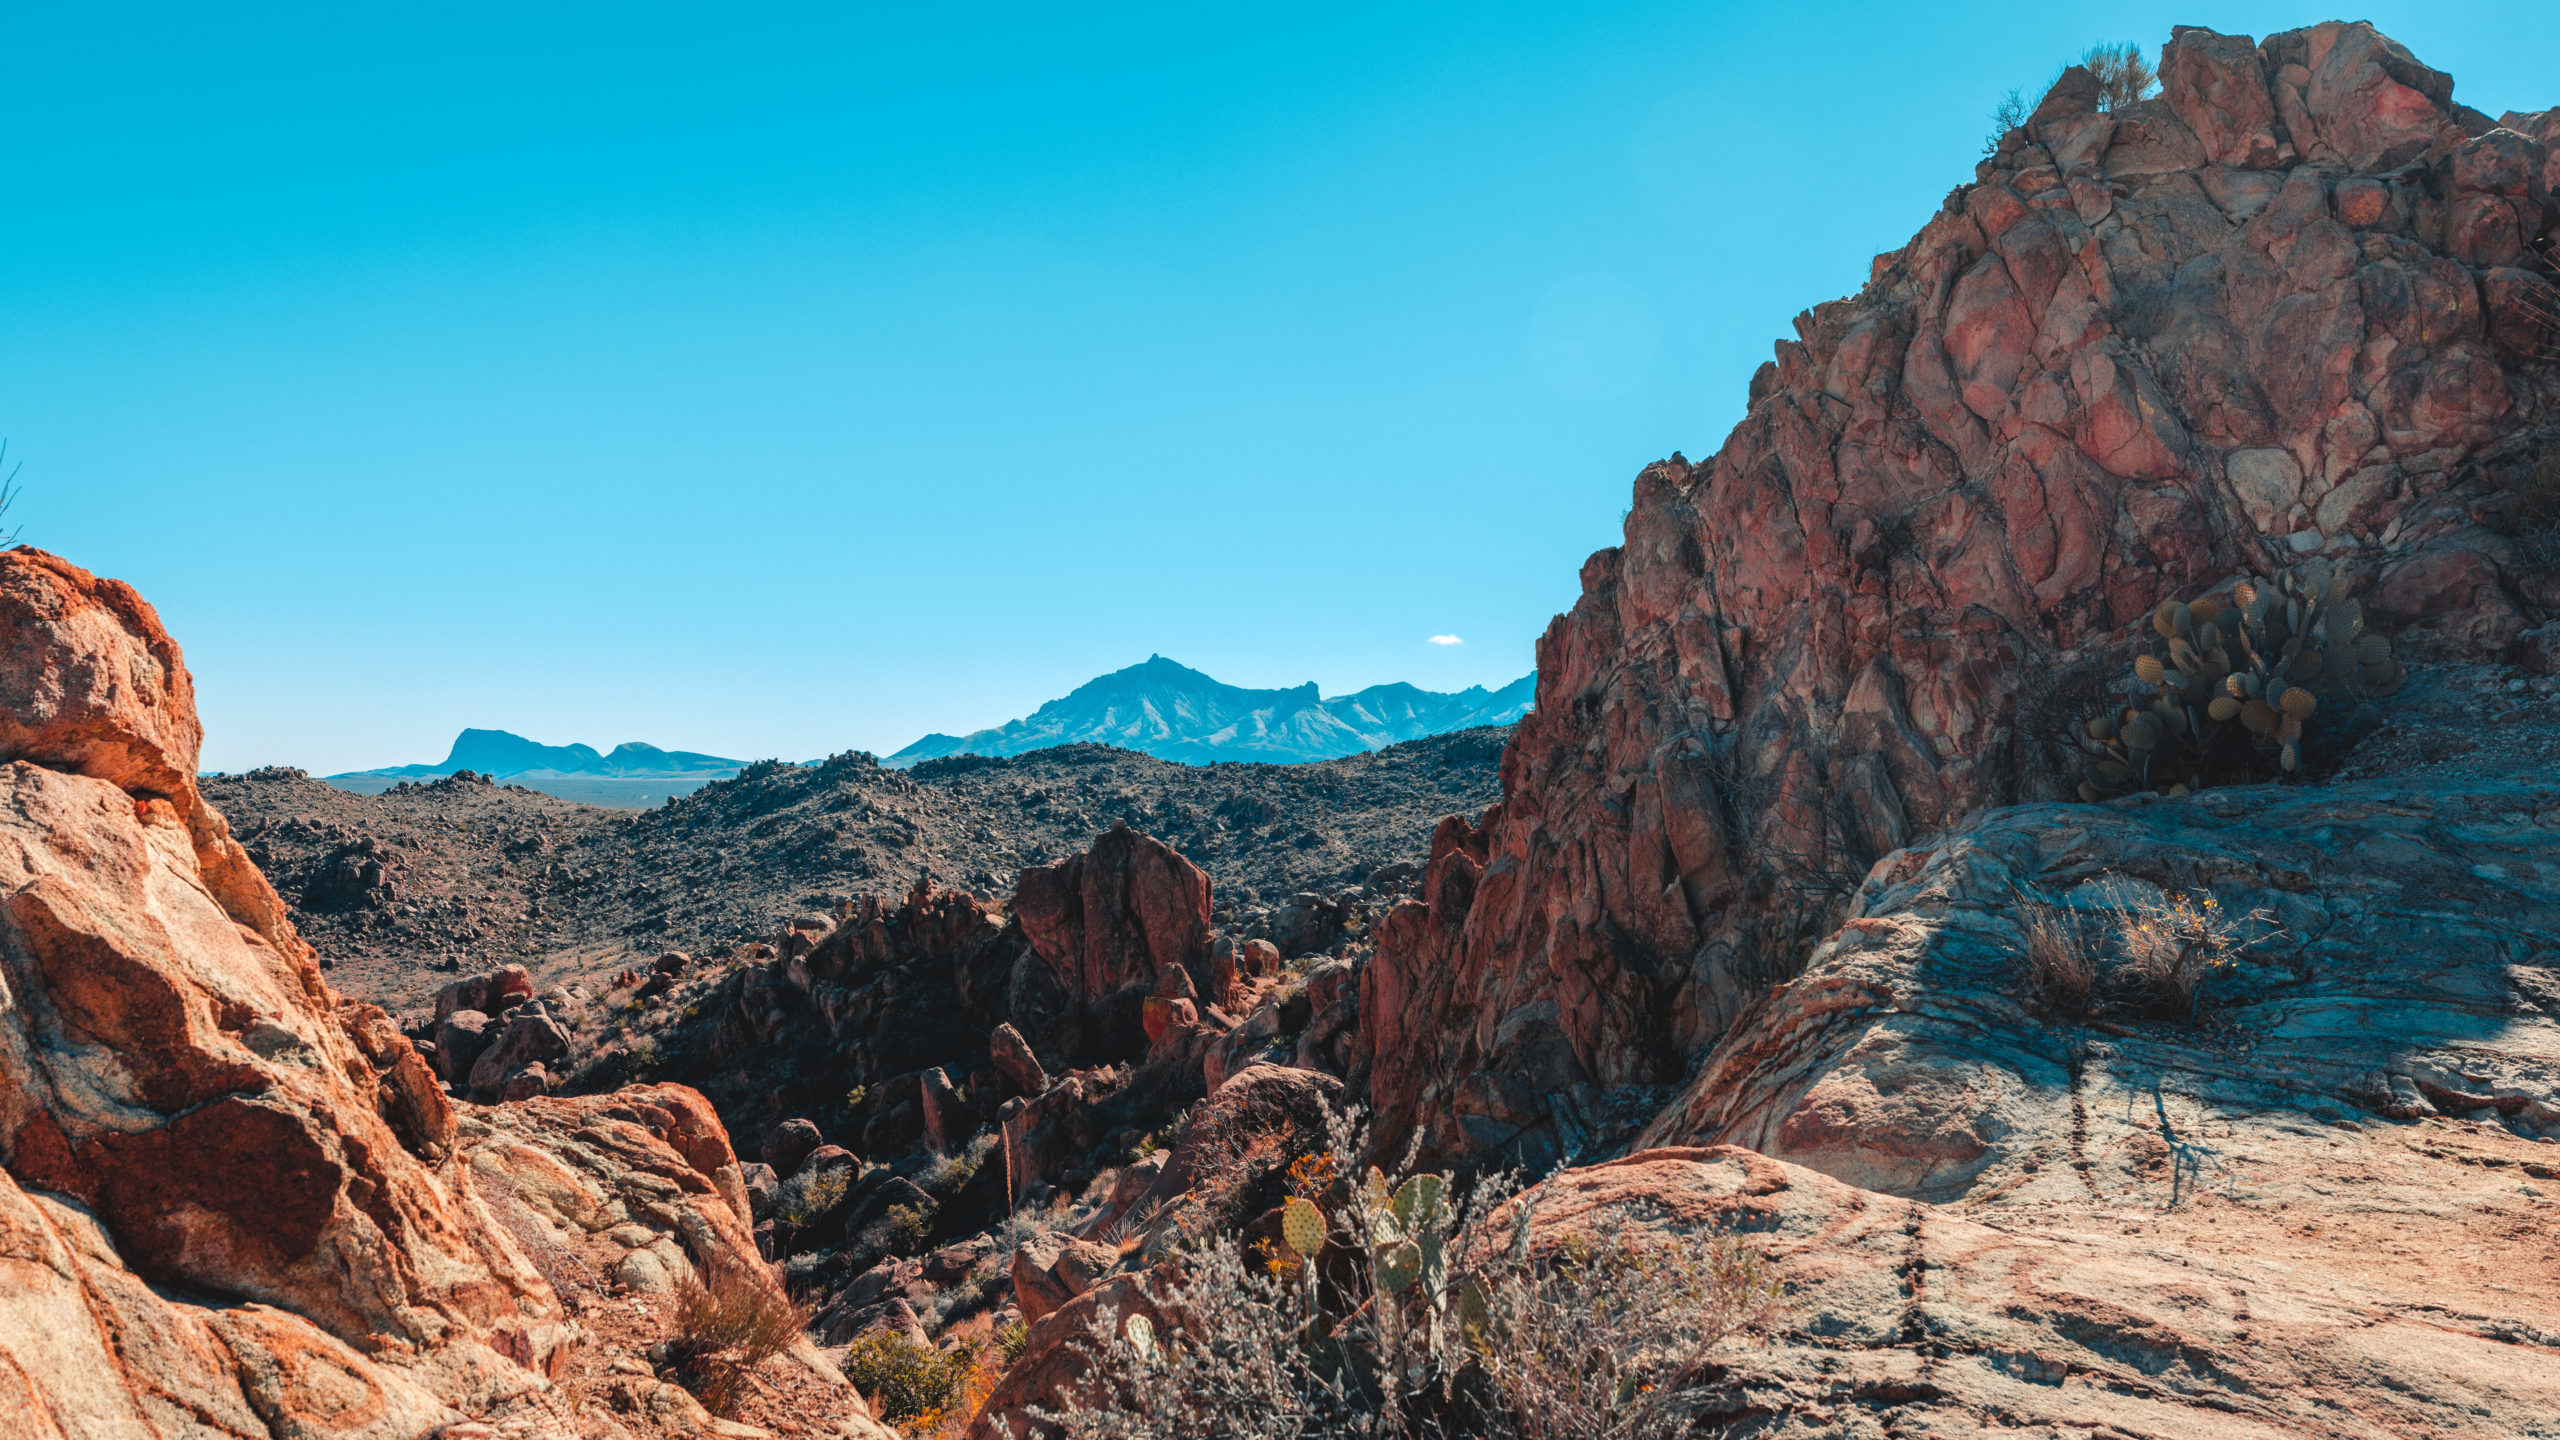
The trail to Balanced Rock is called Grapevine Hills Trail (view trail on AllTrails). From the first few steps from the trailhead you’ll be surrounded by the unique formations of the hills. This made the walk to Balanced Rock extremely enjoyable.
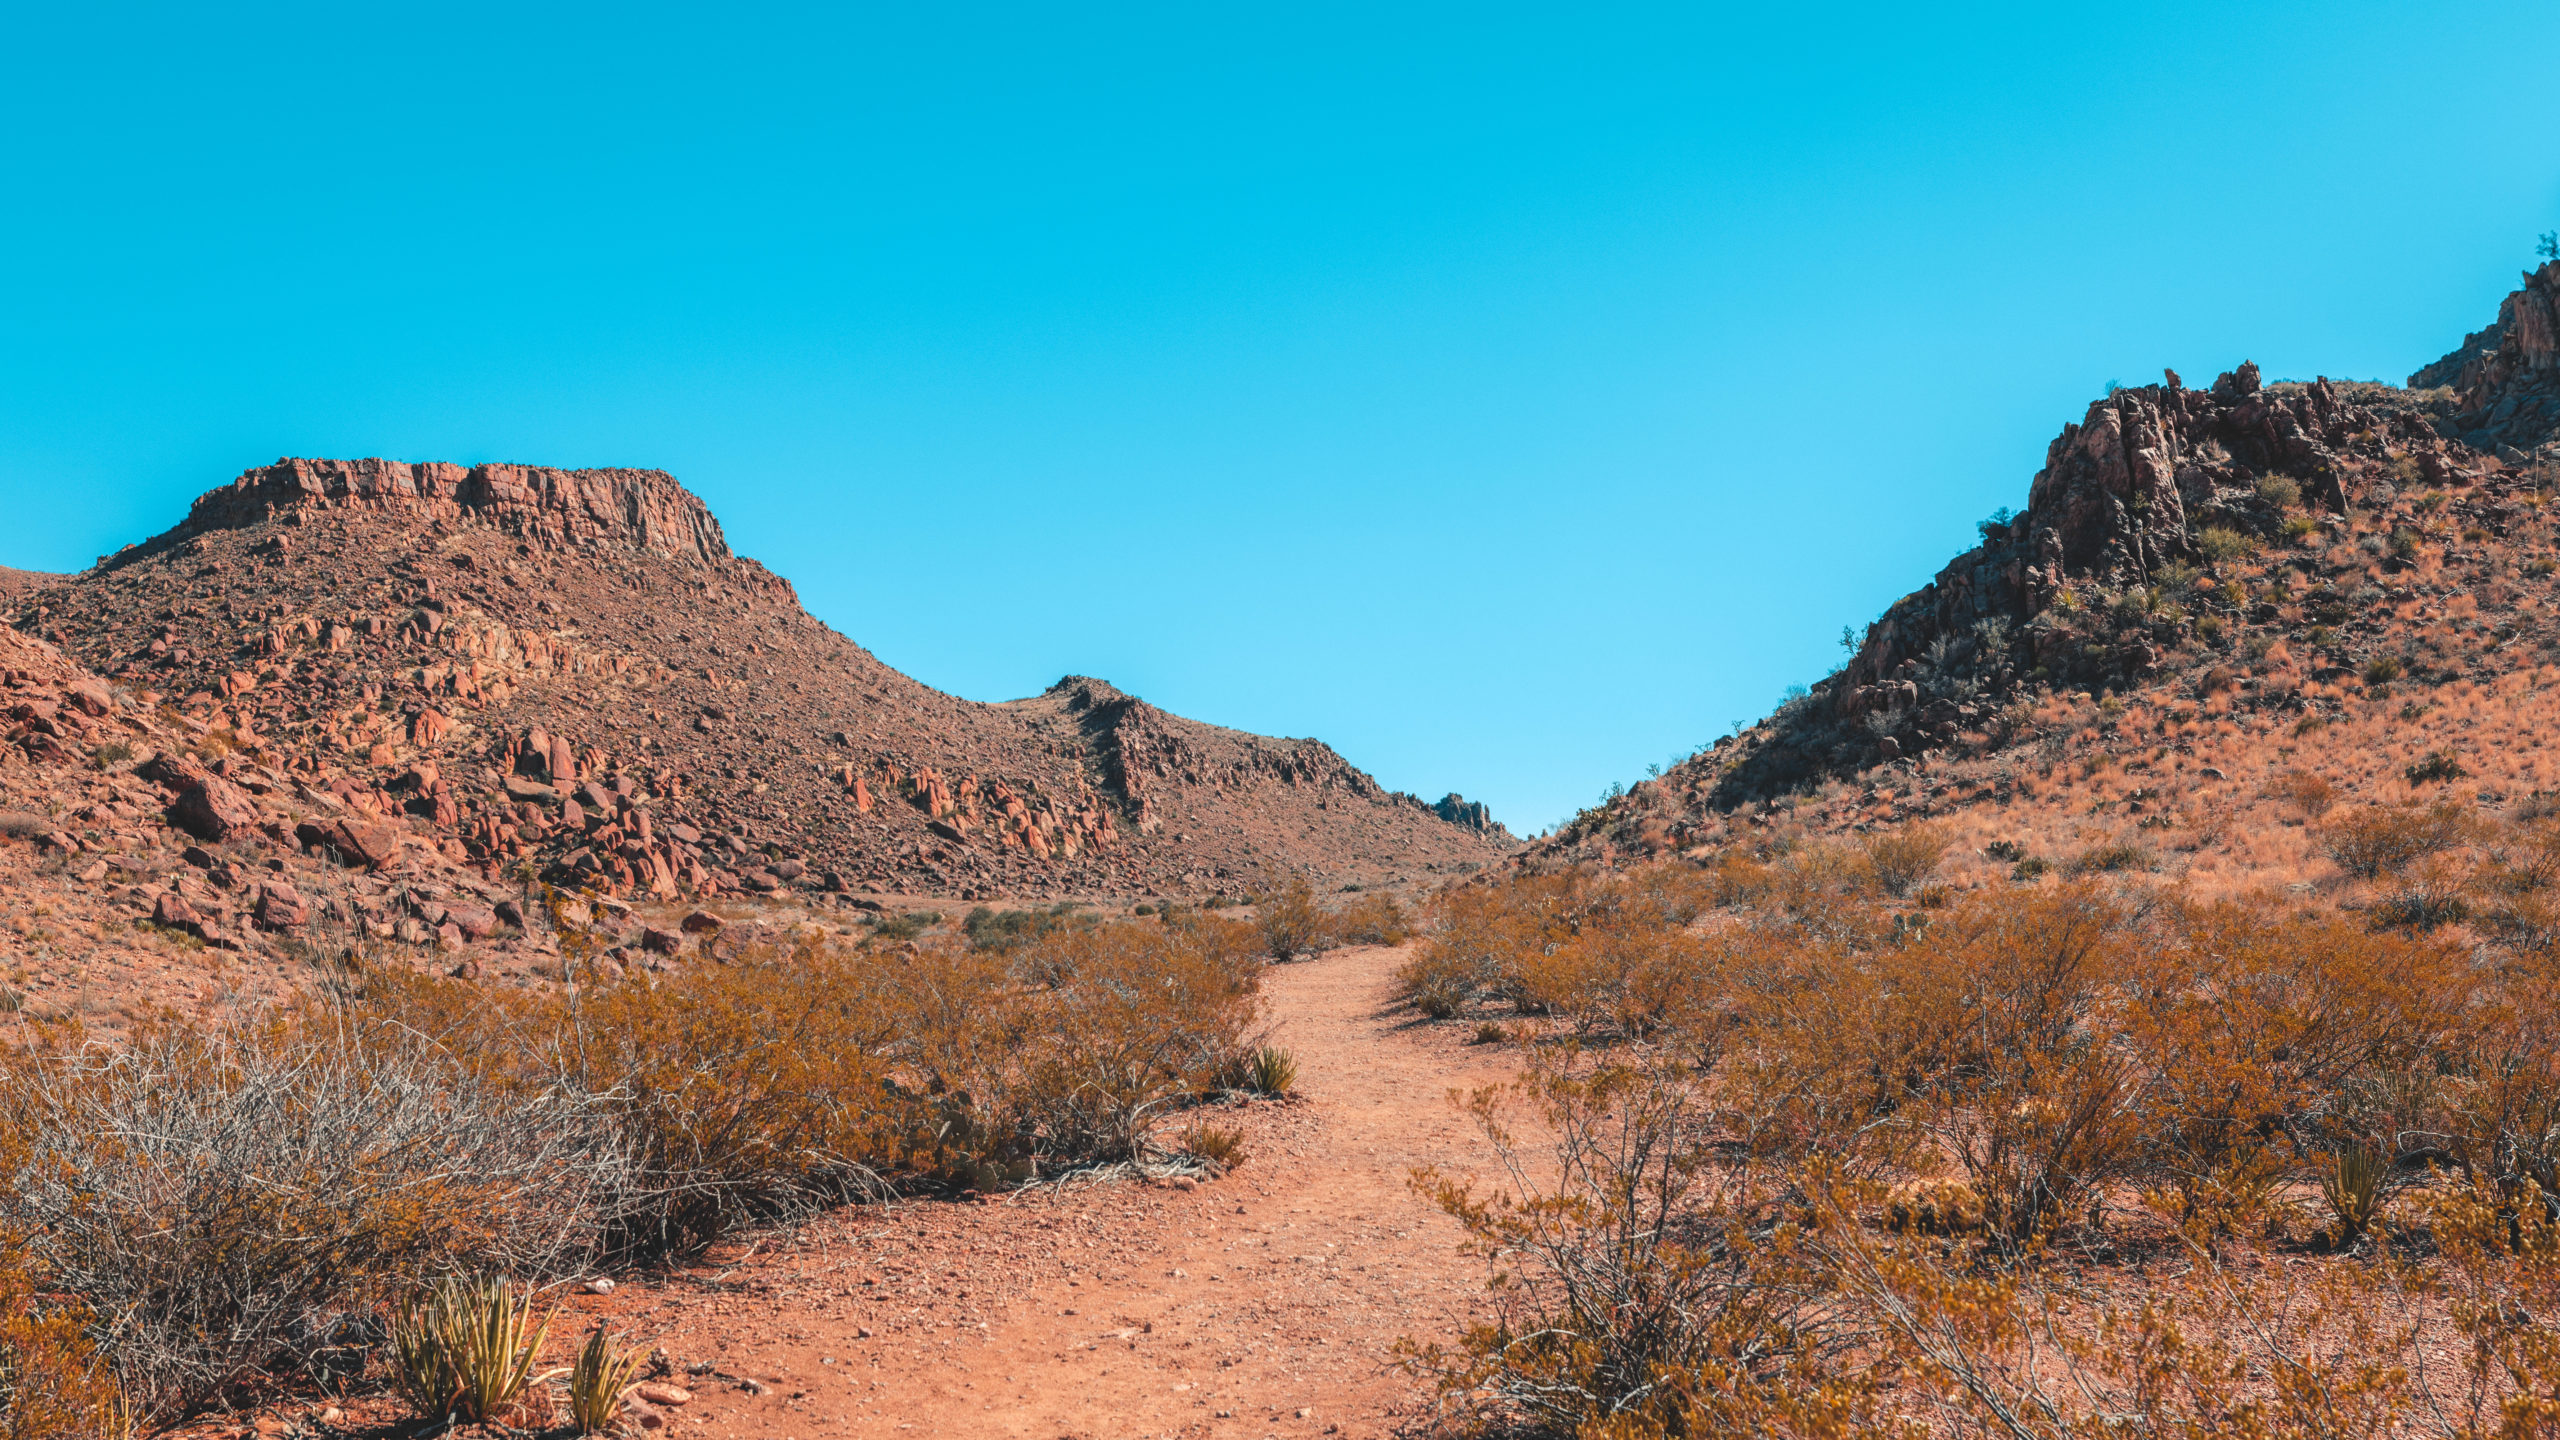
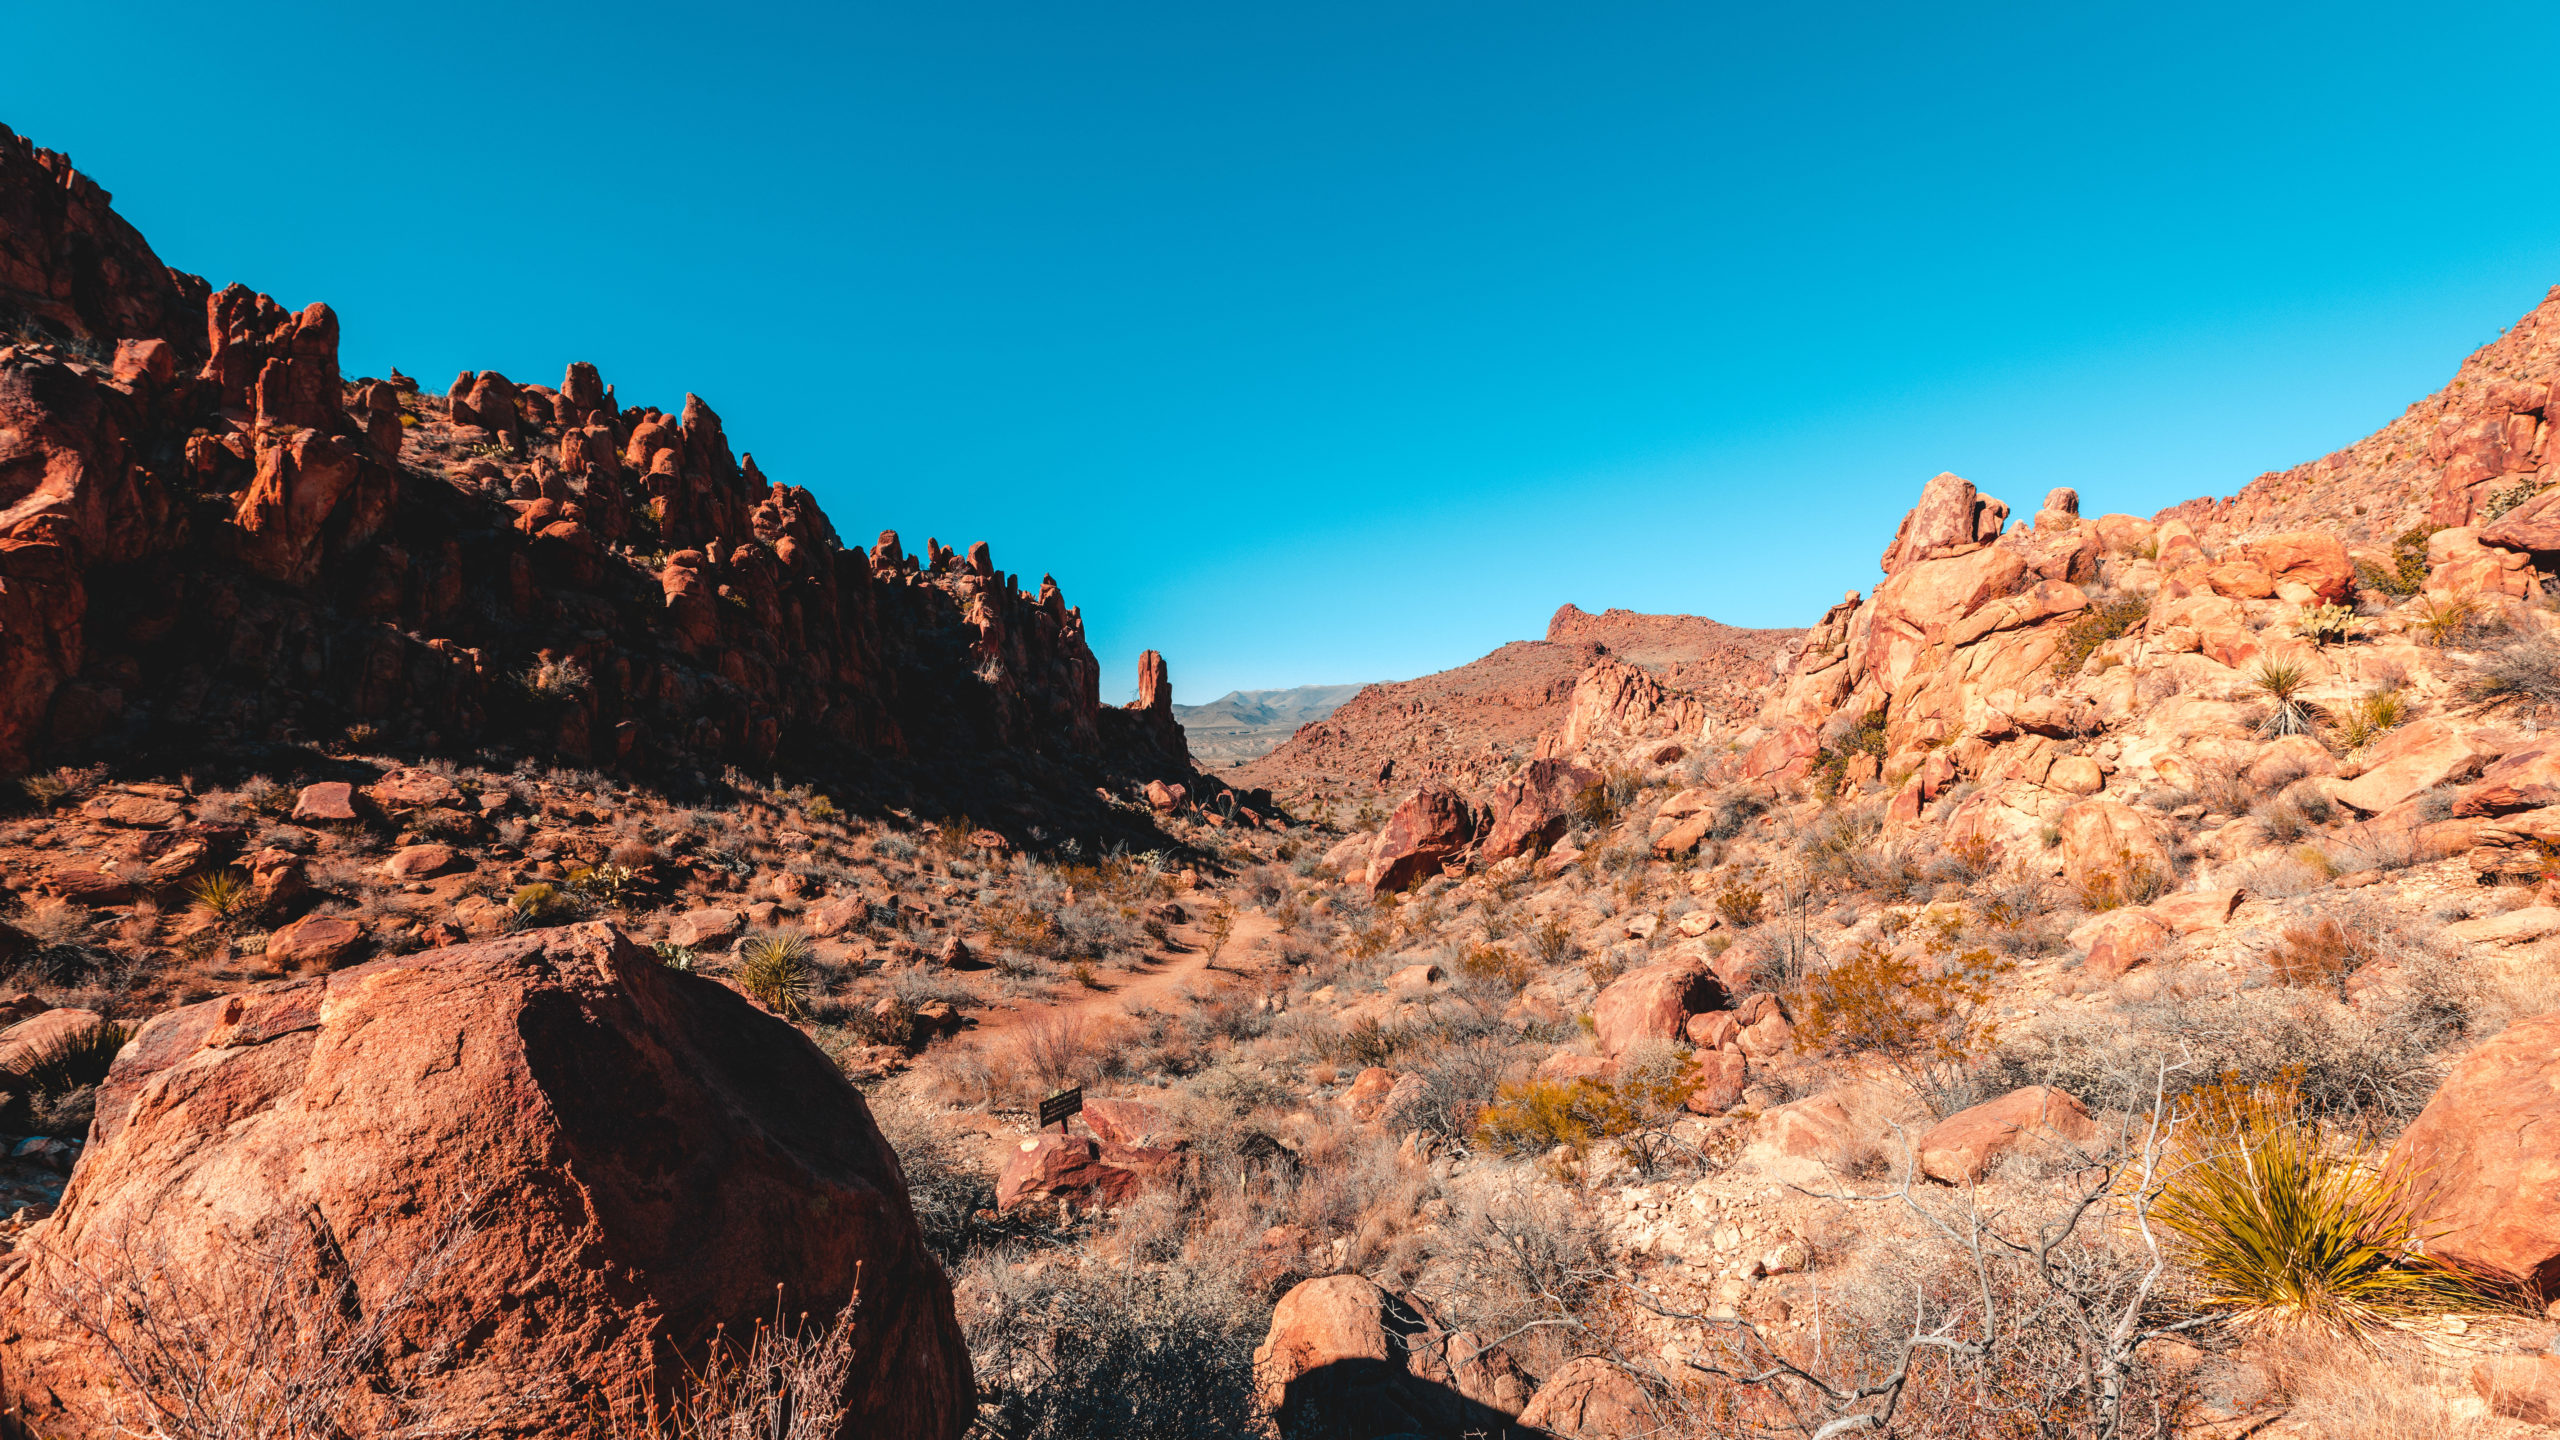
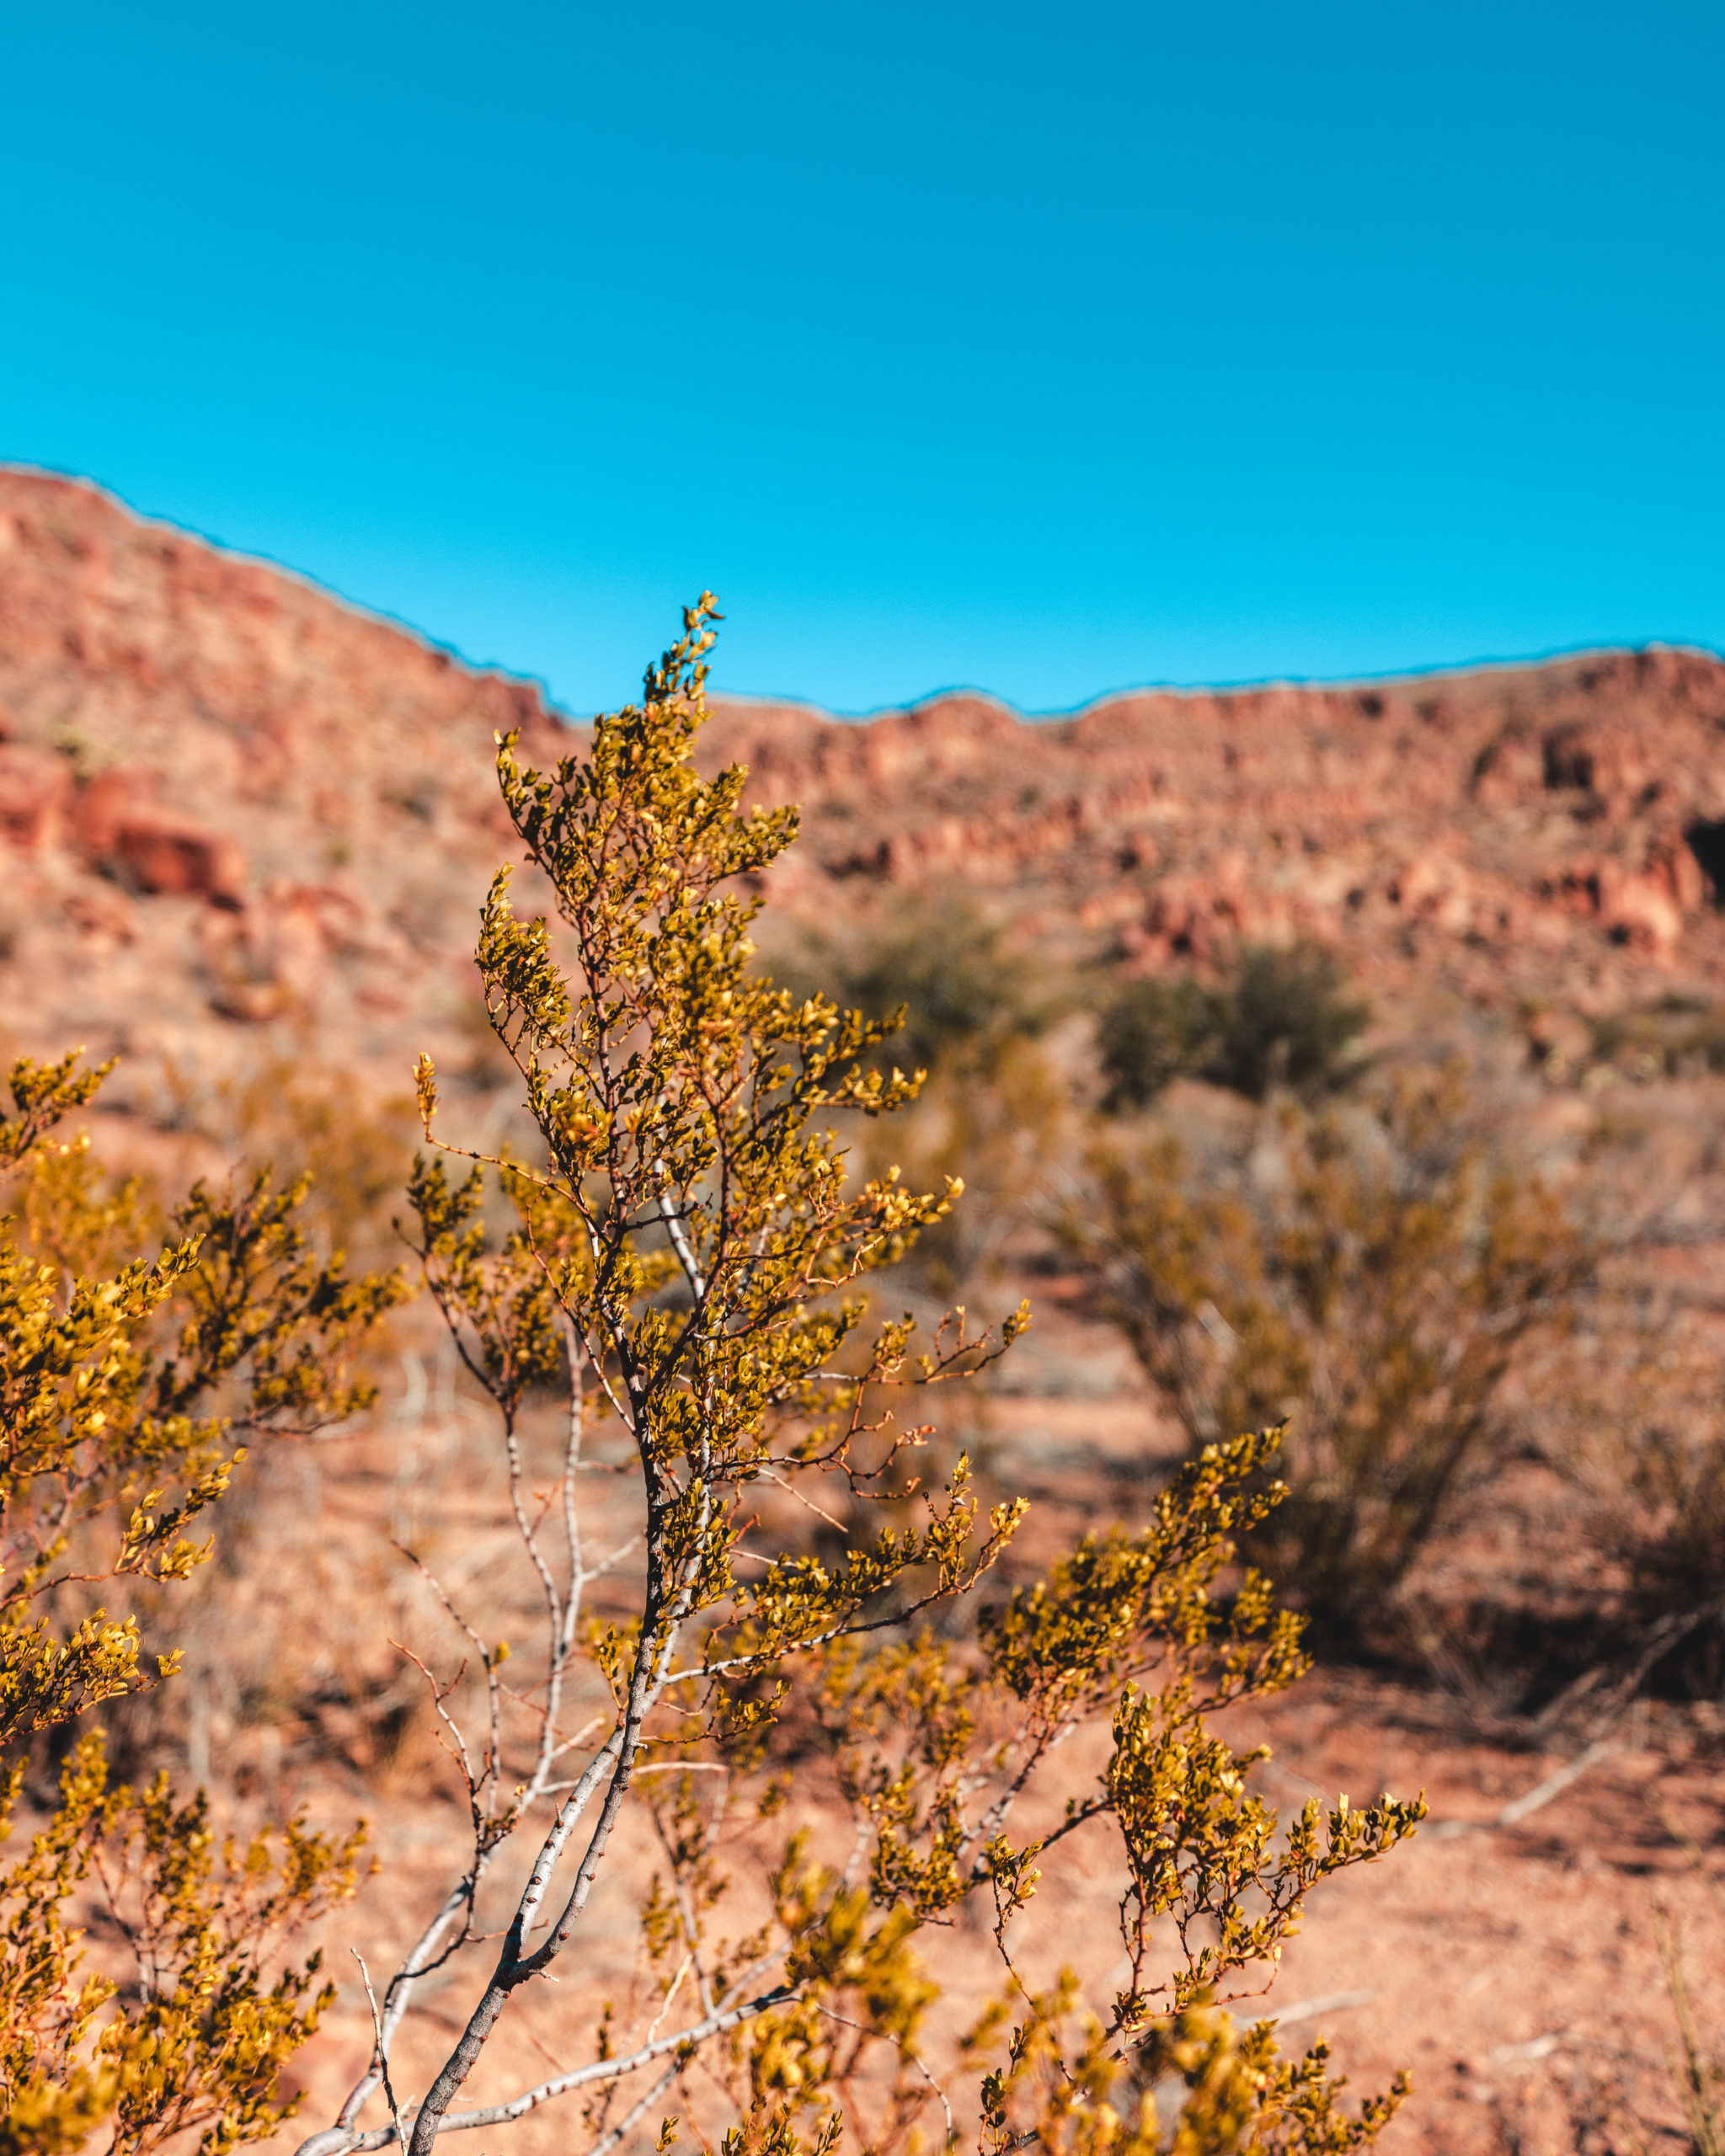
The trail takes you through plenty of pretty brush as you slowly gain altitude. It felt like a different planet at times with the extreme rocky terrain surrounding you.

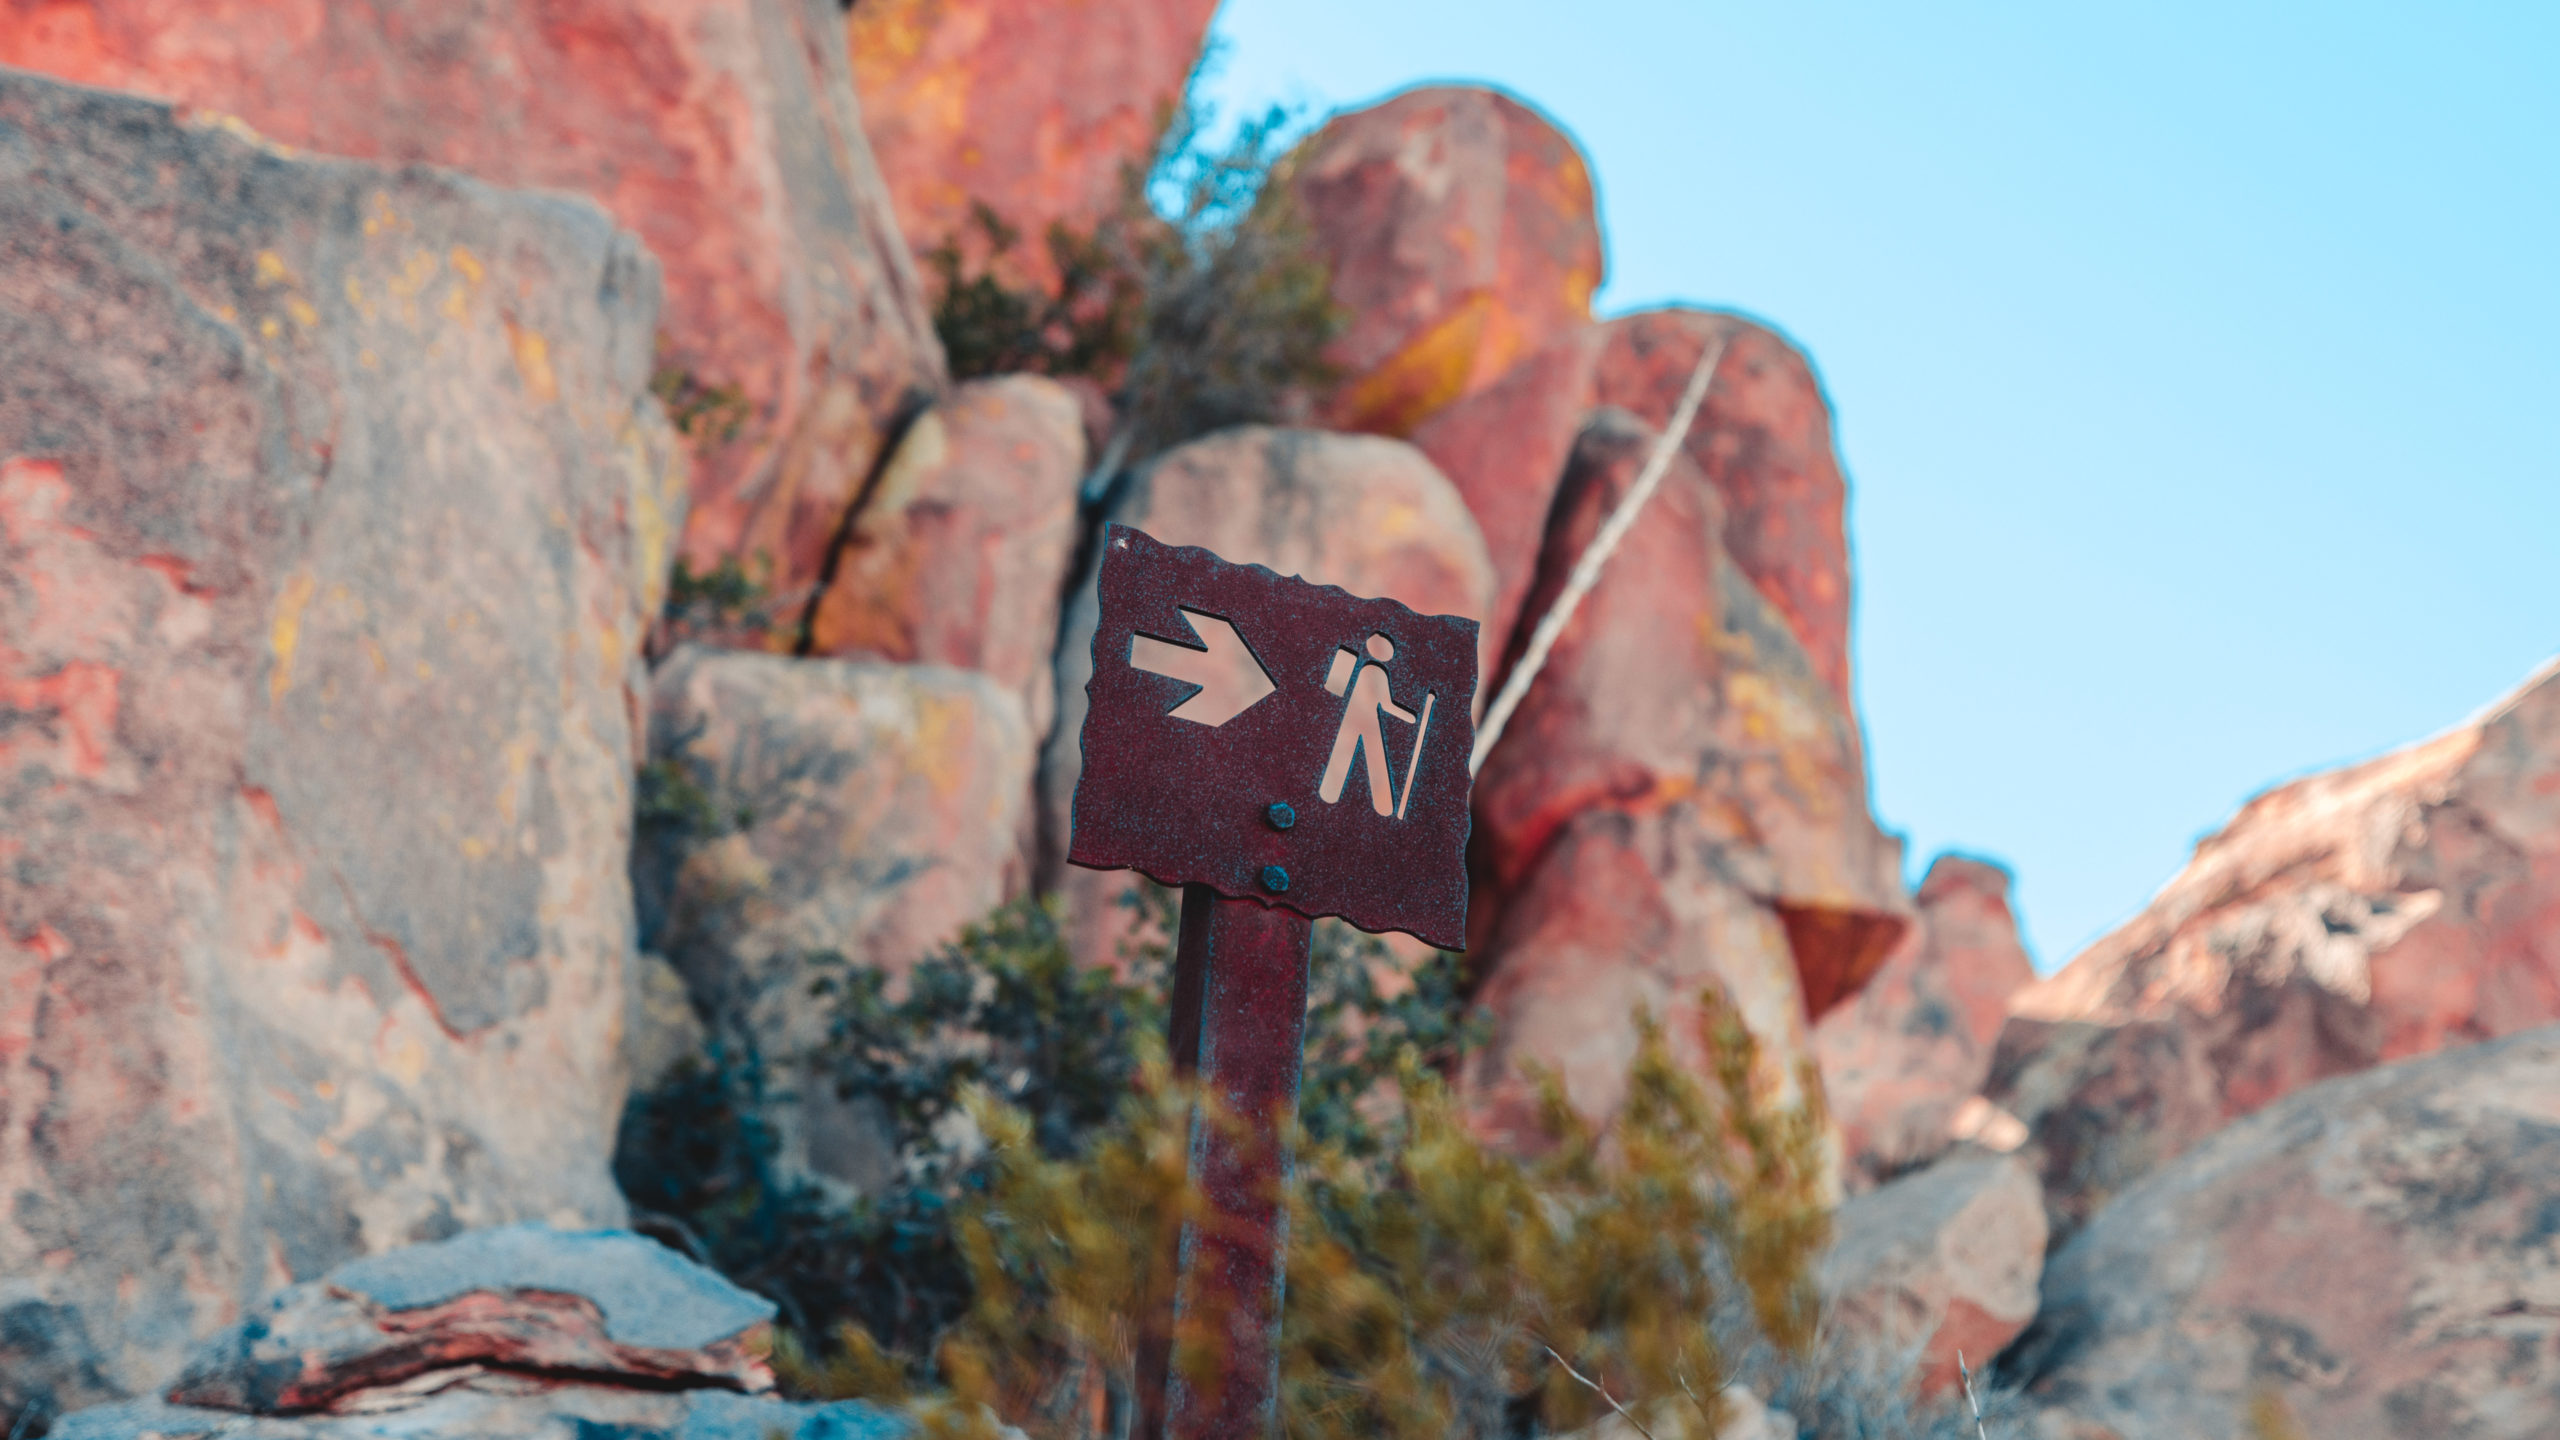
It’s a bit of a climb to get to the rock itself; you’ll have to navigate a few rock scrambles. The trail is well marked as you make your way up the rocks.
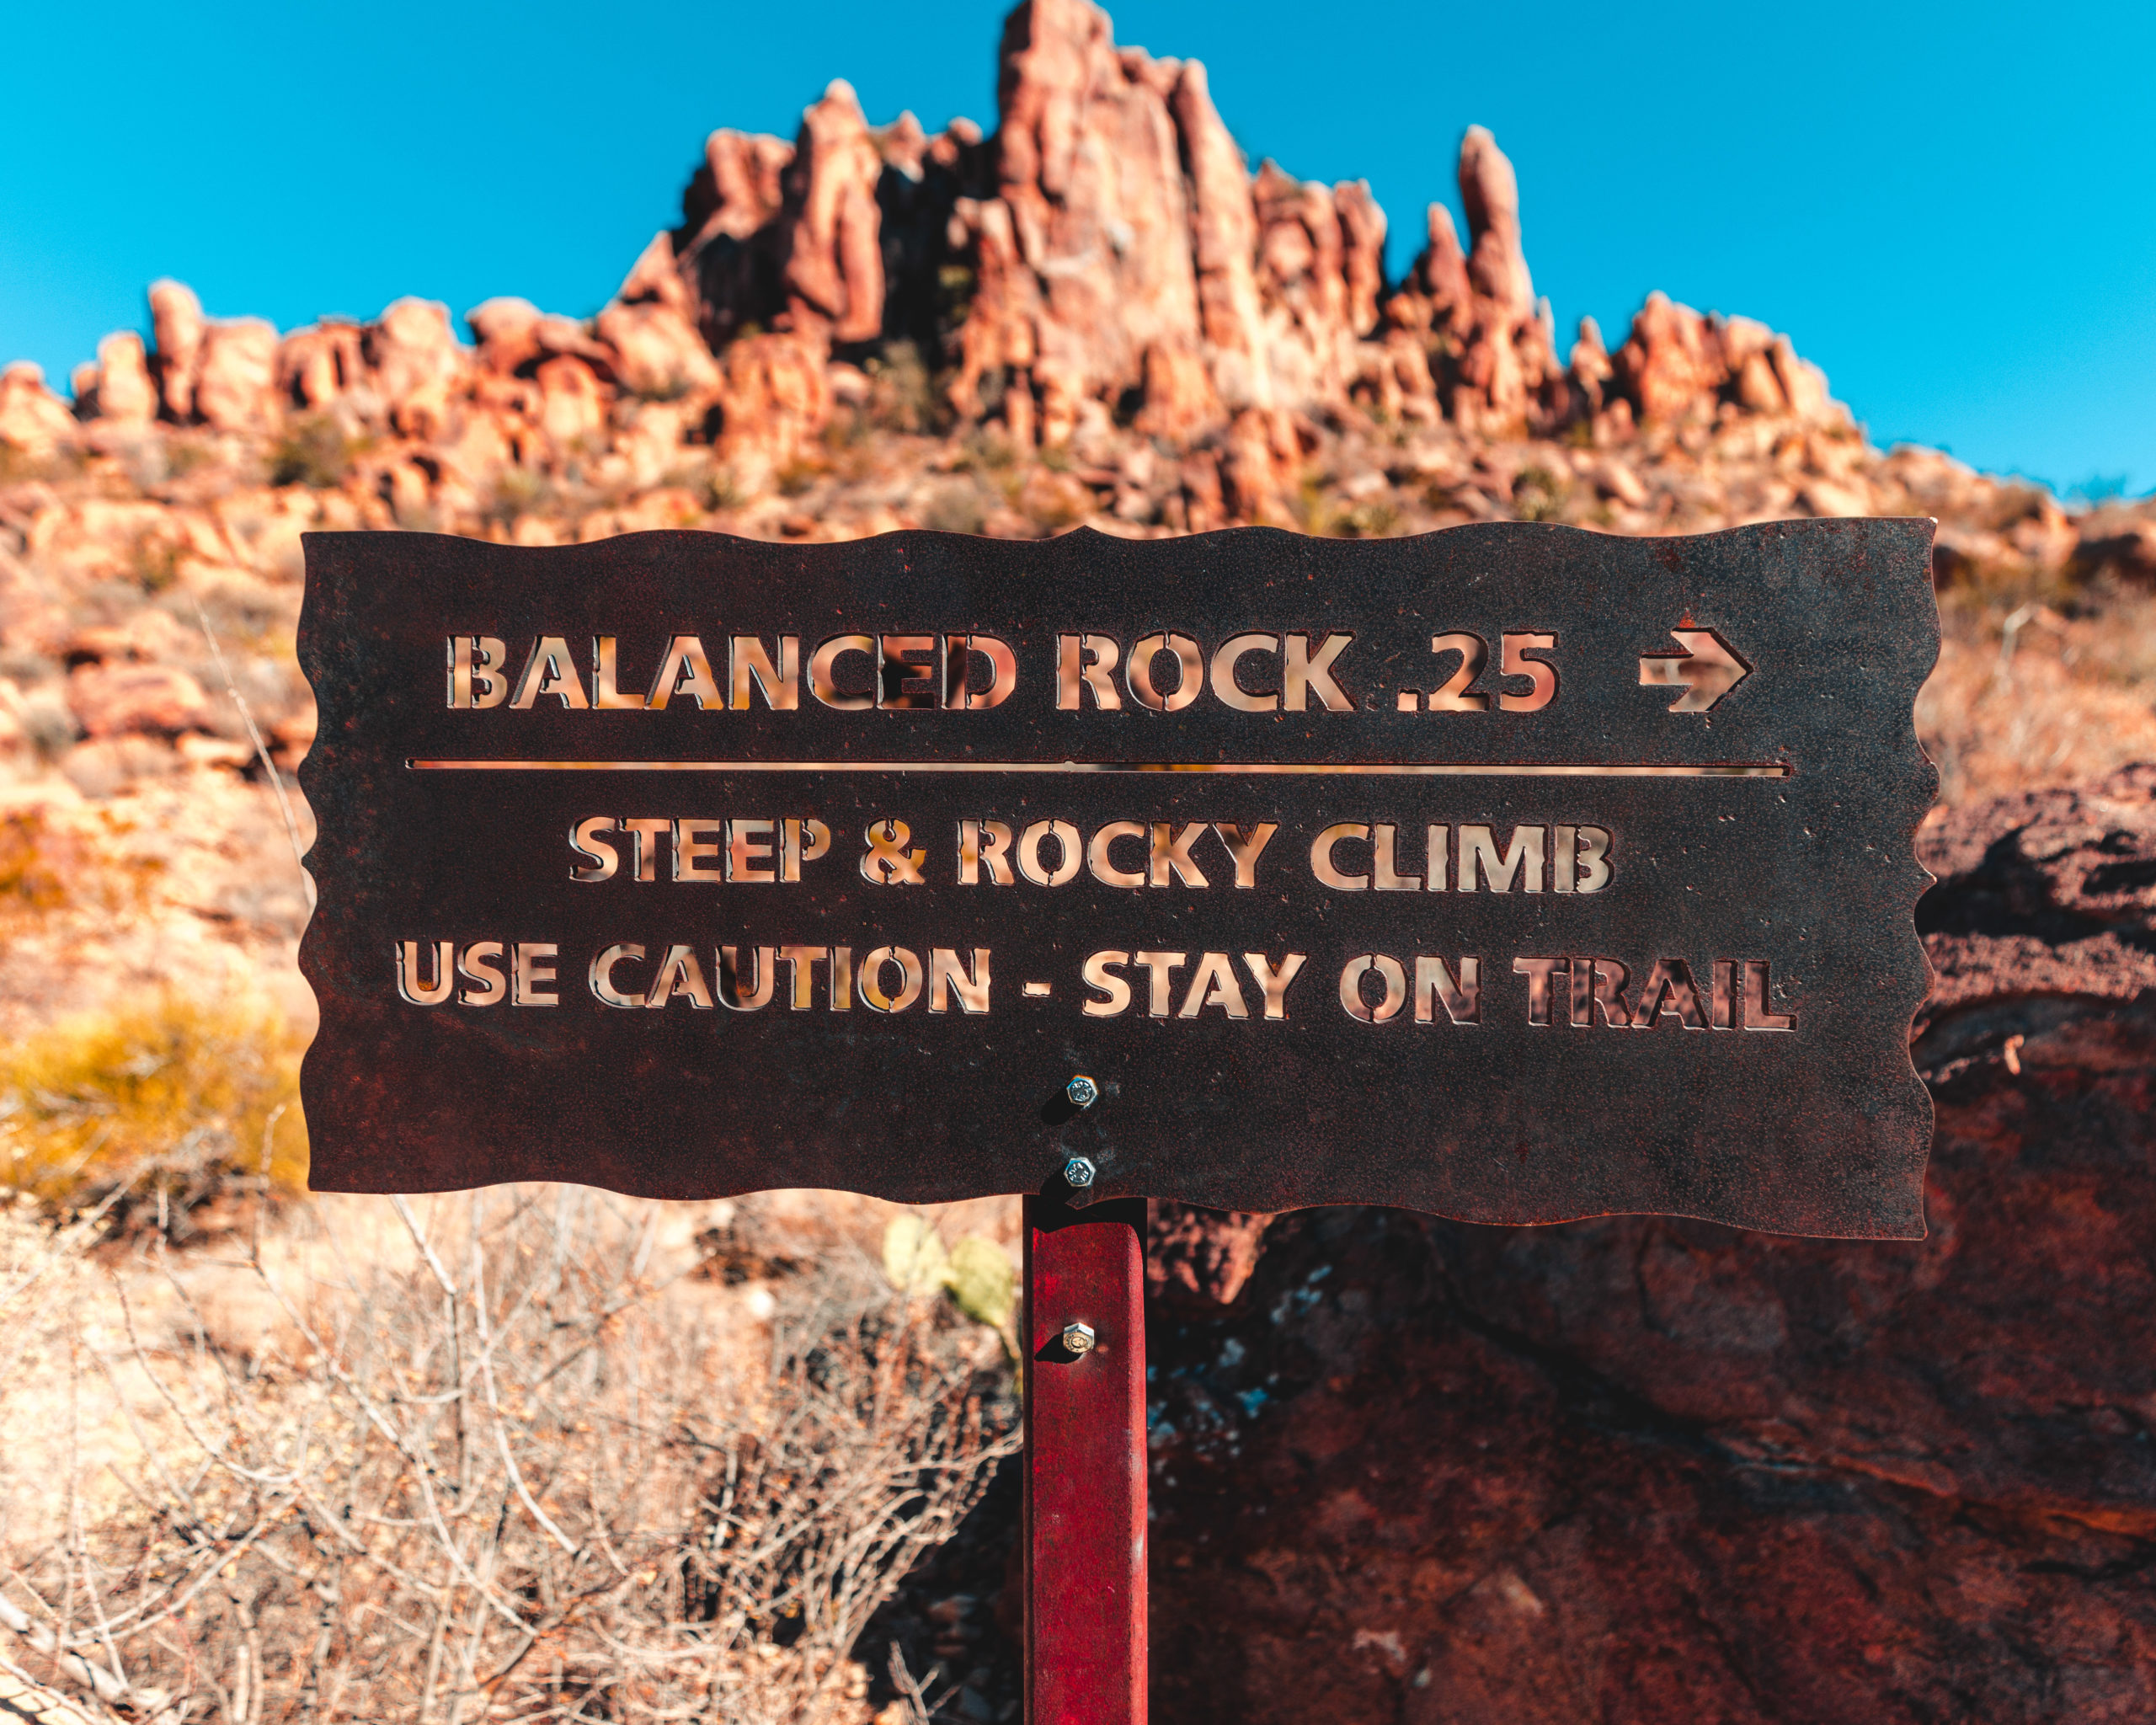
There are metal signs pointing you in the right direction as you continue to hike up the rocks.
After about 250 feet of elevation you’ll be at Balanced Rock!
Balanced Rock Hike Summit
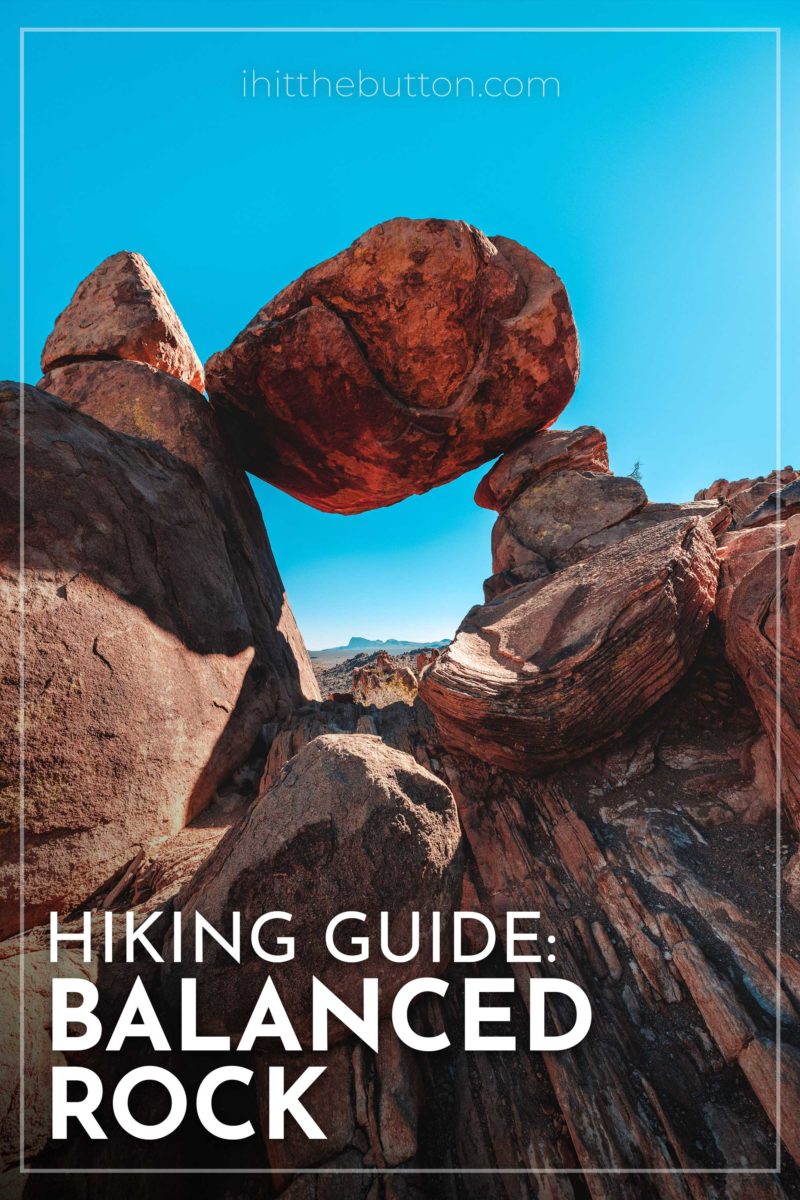
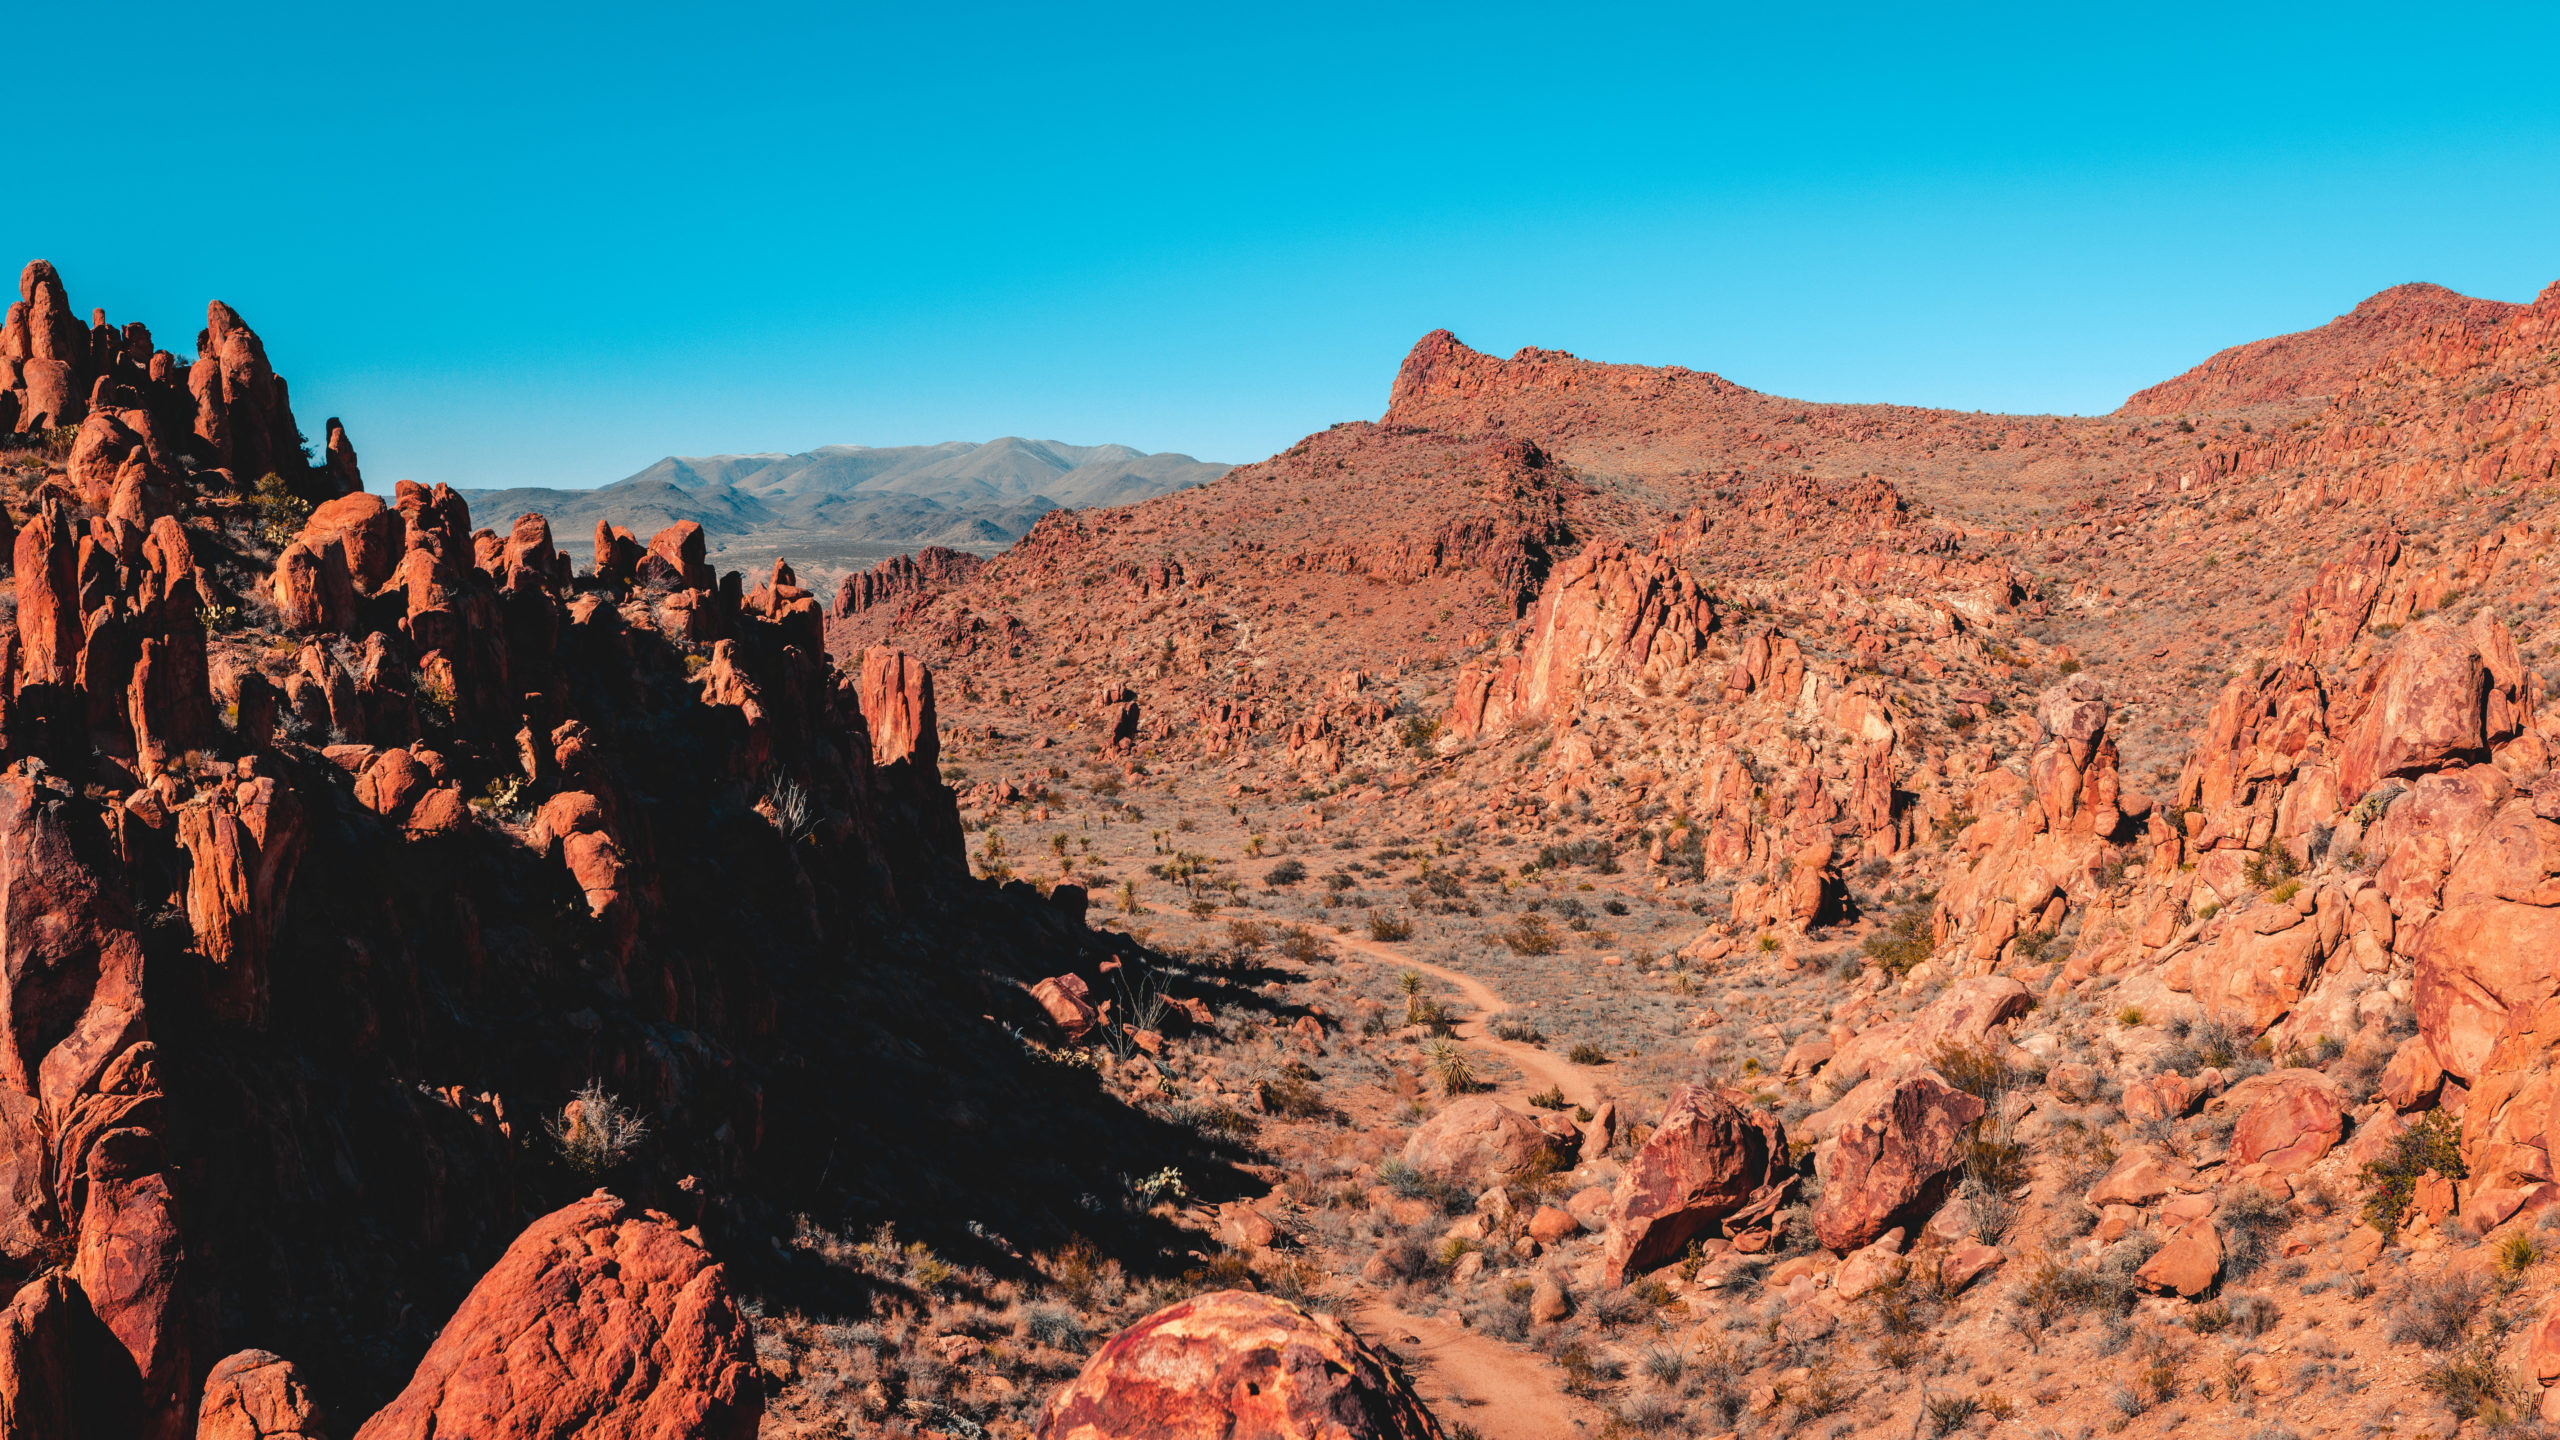
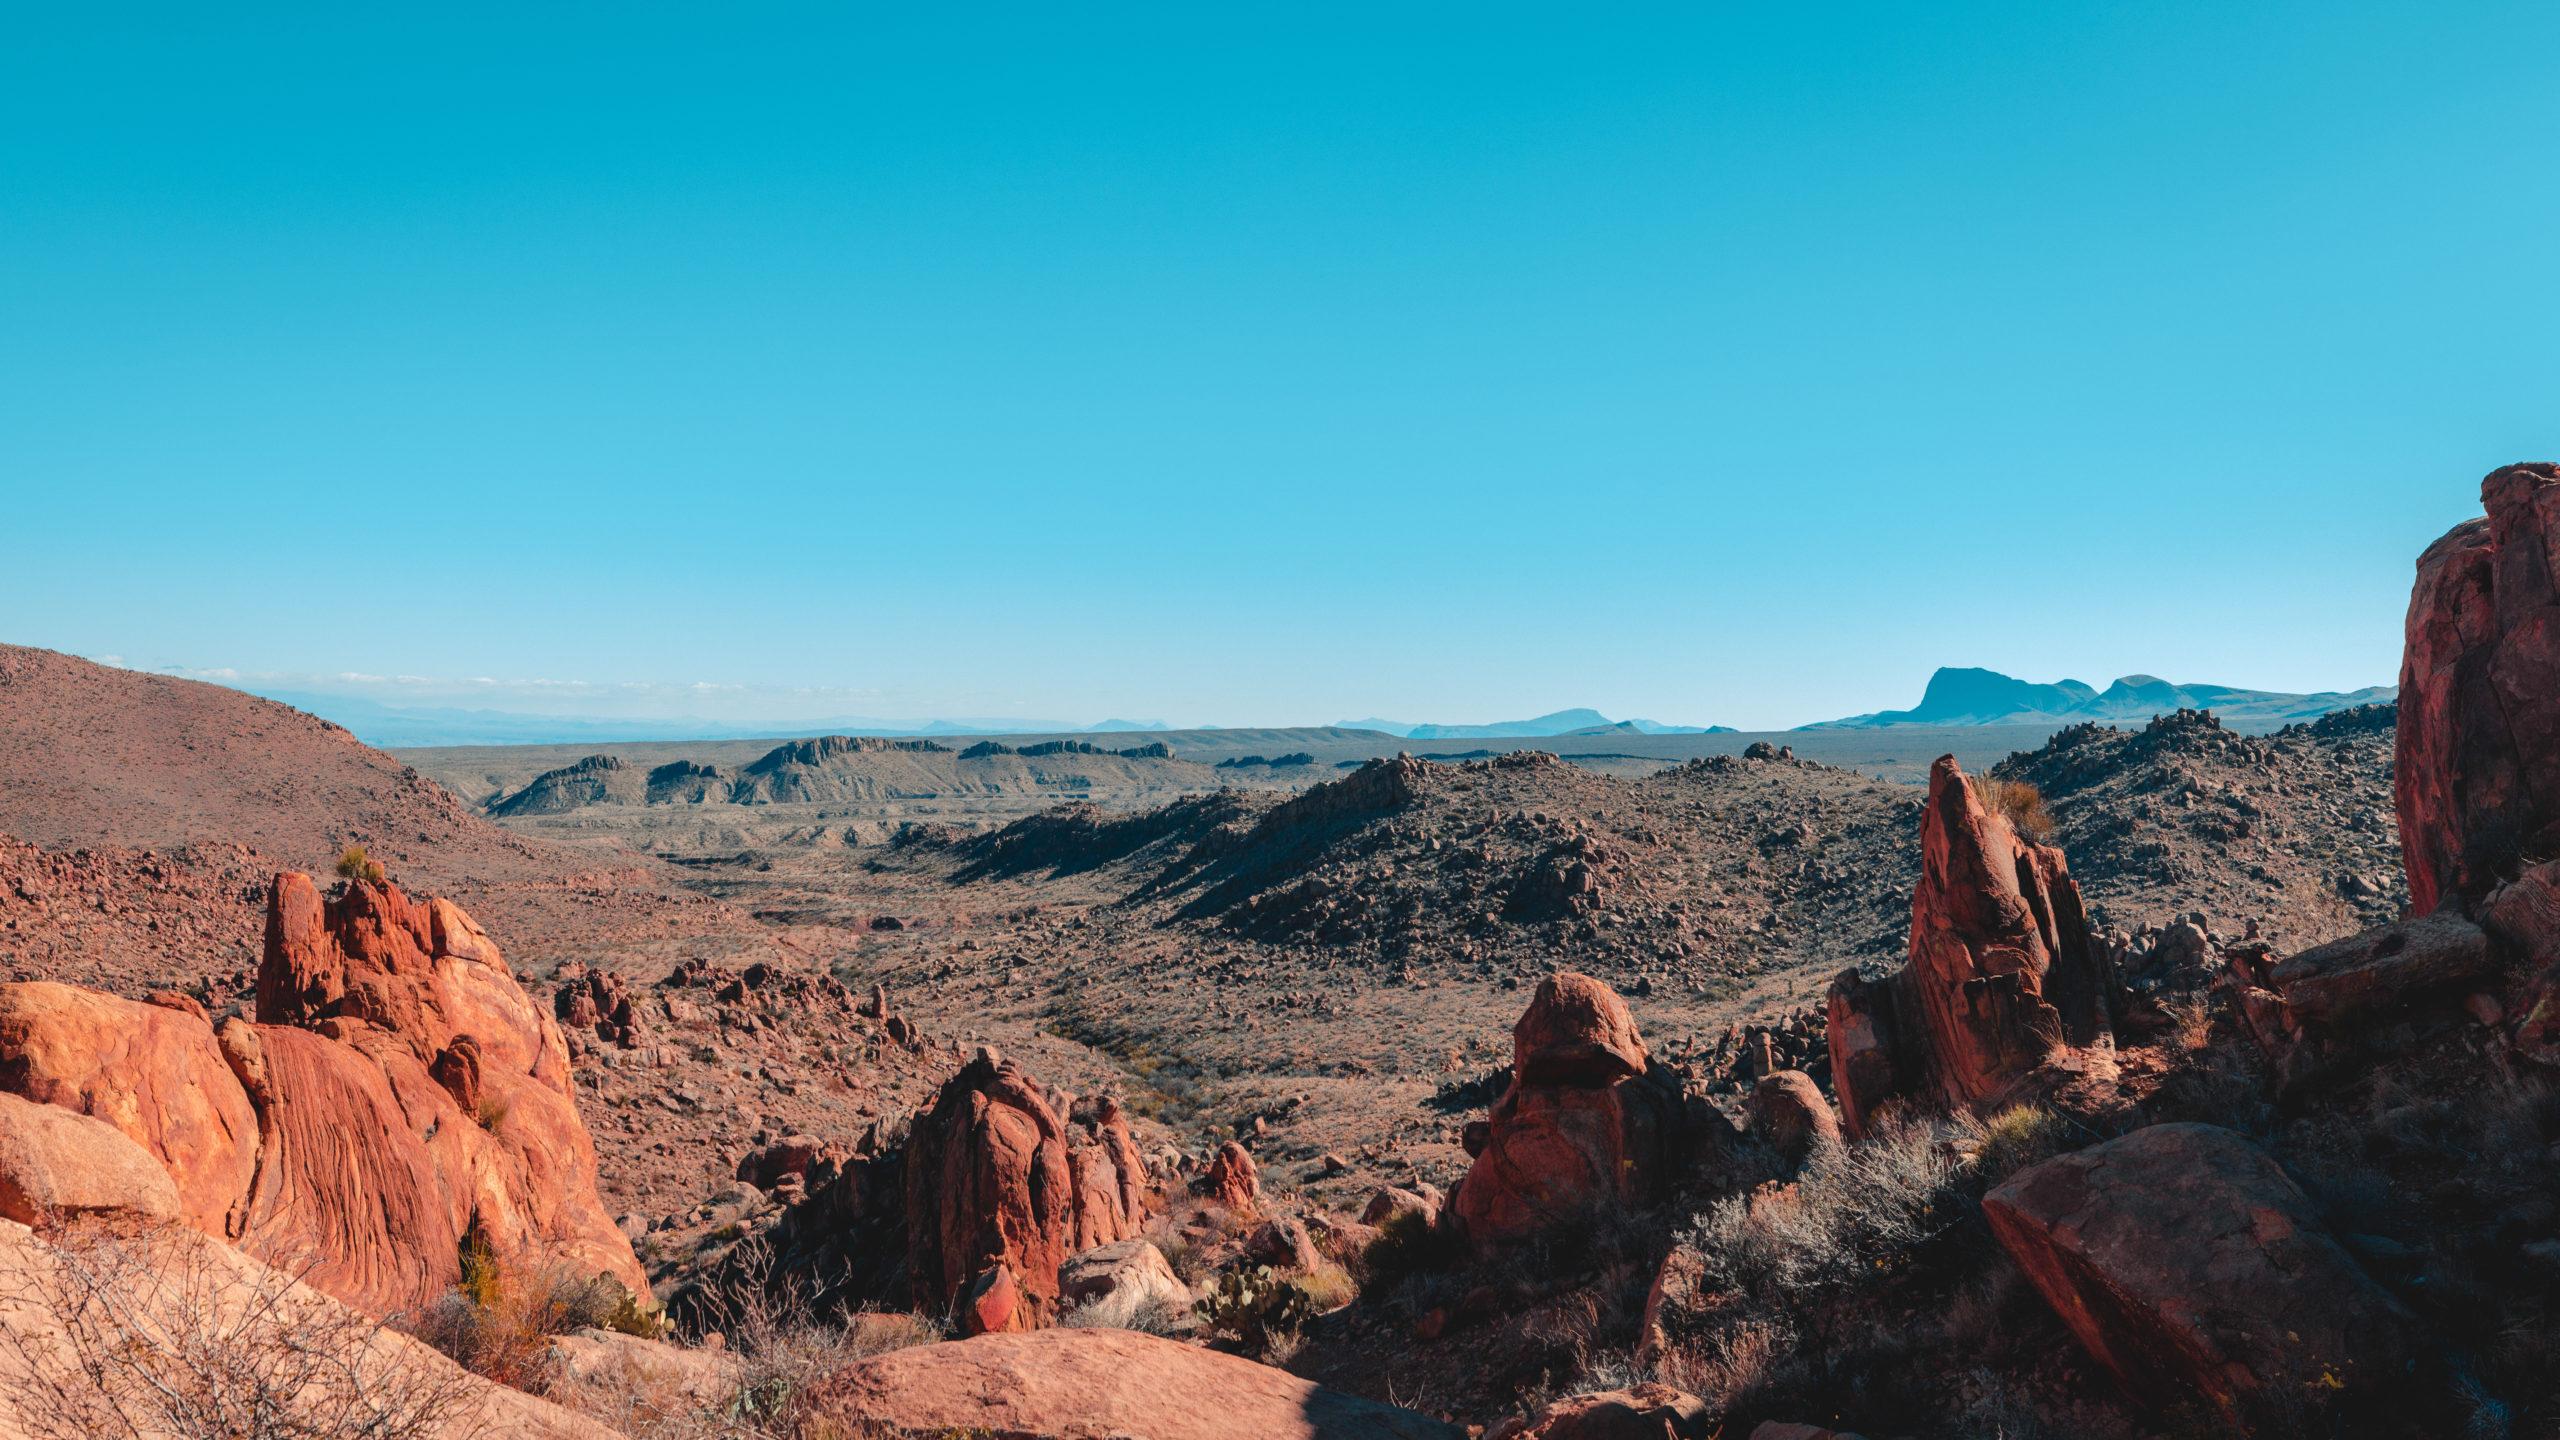
Once you’re at the Balanced Rock you’ll be able to see far into Big Bend and Grapevine Hills behind you. It’s a fun spot to take a quick photo before you have to head back down.

I especially loved the view of Grapevine Hills and the trail you just took to the top.
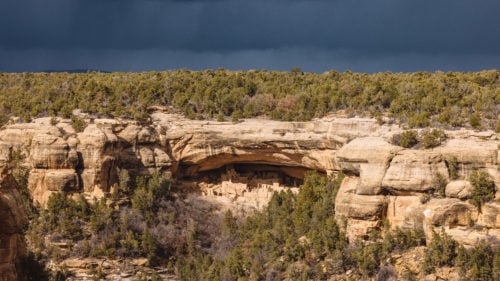
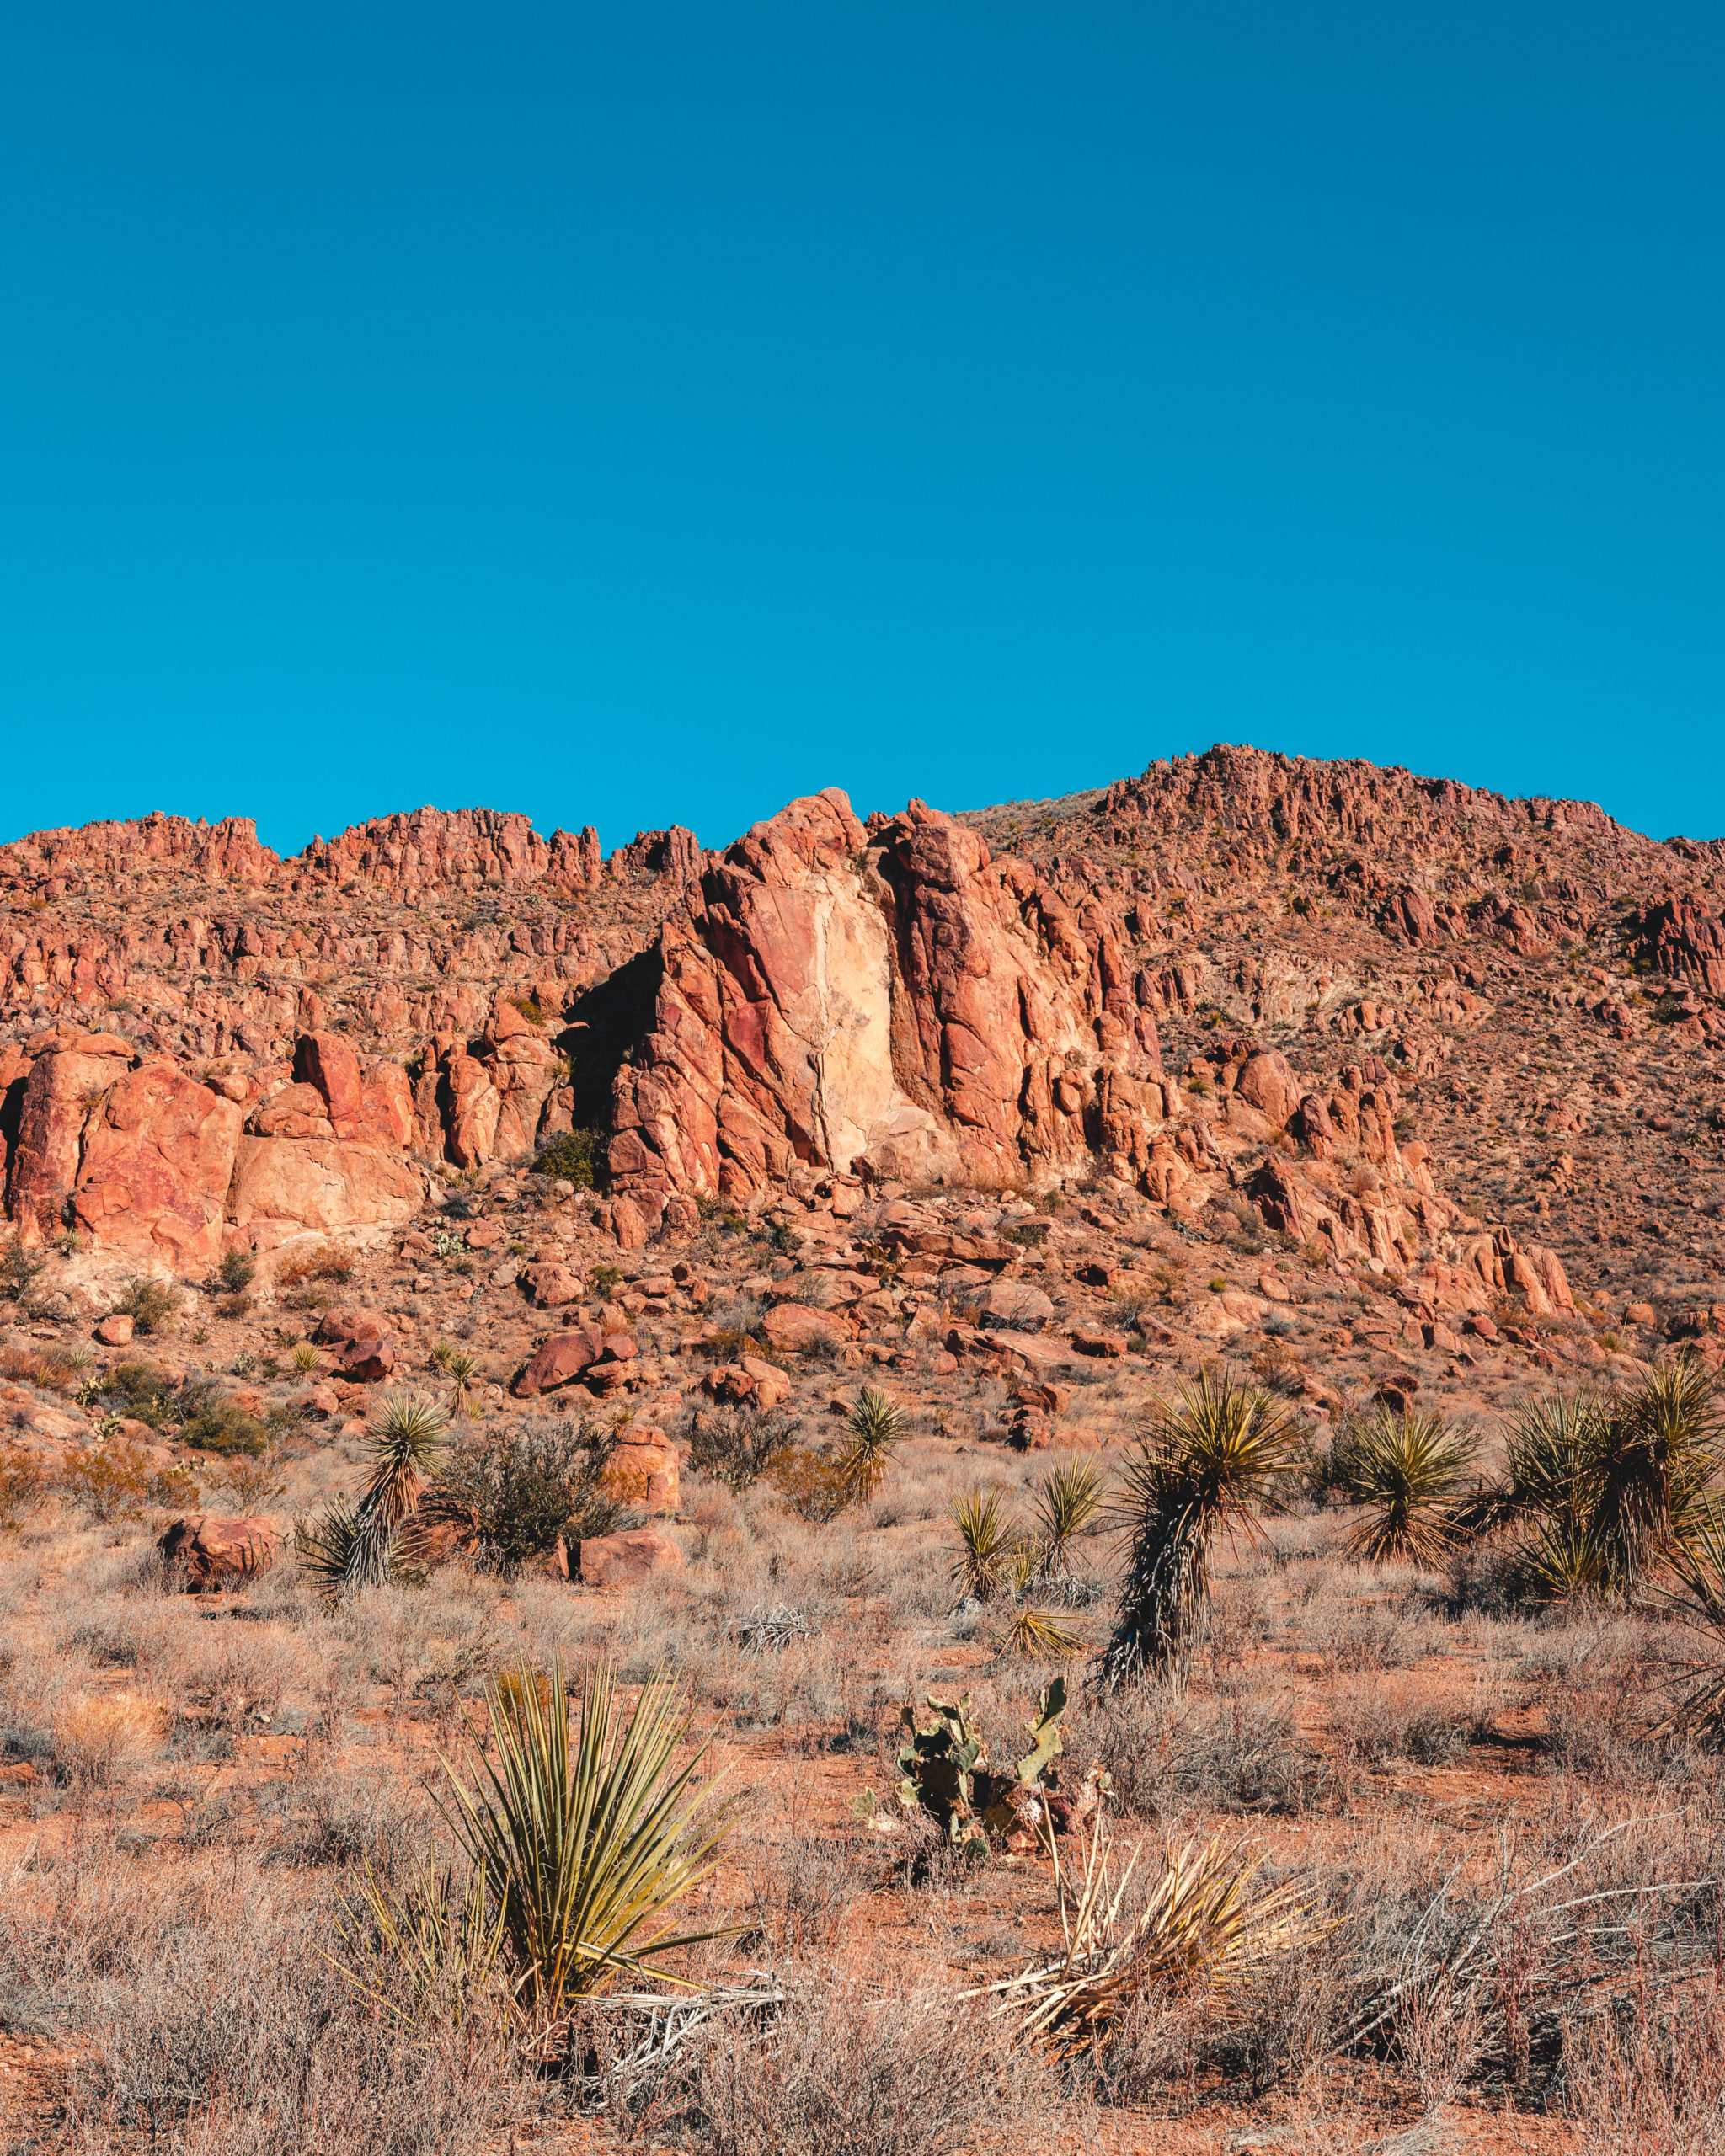
Balanced Rock in Big Bend Pictures
Here are more photos from the hike to Balanced Rock. I loved photographing the natural surroundings of this hike including the unique rock formations.


I hope you enjoyed my journey through the Grapevine Hills to Balanced Rock! It’s a fun hike and I recommend you do it as well.
If you’ve enjoyed this post please share a pin below on Pinterest.
See more from National Parks on my National Parks Pinterest Board