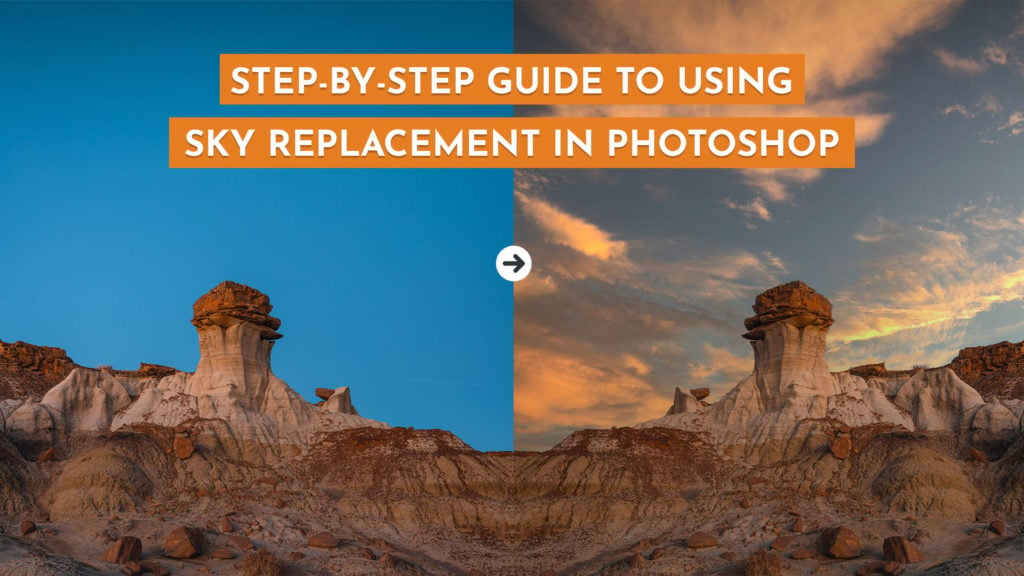
With the release of Photoshop version 22 Adobe has added an incredible feature to instantly replace the sky of any photo. The feature uses AI to detect your photo’s skyline and masks in any sky you’d like. Adobe has a few skies to choose from but you can also select your own photos to replace the sky.
While changing the sky in a photo can easily add drama by including a stunning orange sunset or storm clouds. Keep in mind it’s typically good to disclose that your image has been manipulated.
Now let’s not waste any time and hop right into replacing a sky in Photoshop.
Table of contents
Open Your Image in Photoshop
Now of course the first step of changing sky in Photoshop is to open our photo. This step is simple, just opening your image in Photoshop.
You can either open your RAW image or open the image in Photoshop from Lightroom. If you’re using Lightroom to edit your photos I recommend opening it through Lightroom. This will make it so it automatically imports back to Lightroom once you make your adjustments.

Of course you can also open any edited .jpg image and replace the sky as well.
Using Photoshop’s Sky Replacement Tool
Once you have your image in Photoshop you can open the sky replacement tool by going to Edit > Sky Replacement.
This is where the magic happens, you’ll be able to select dramatic skies Photoshop has to offer or add your own images. Plus there are plenty of other skies to choose from like sunset, gradients, simple clouds, and even a rainbow.

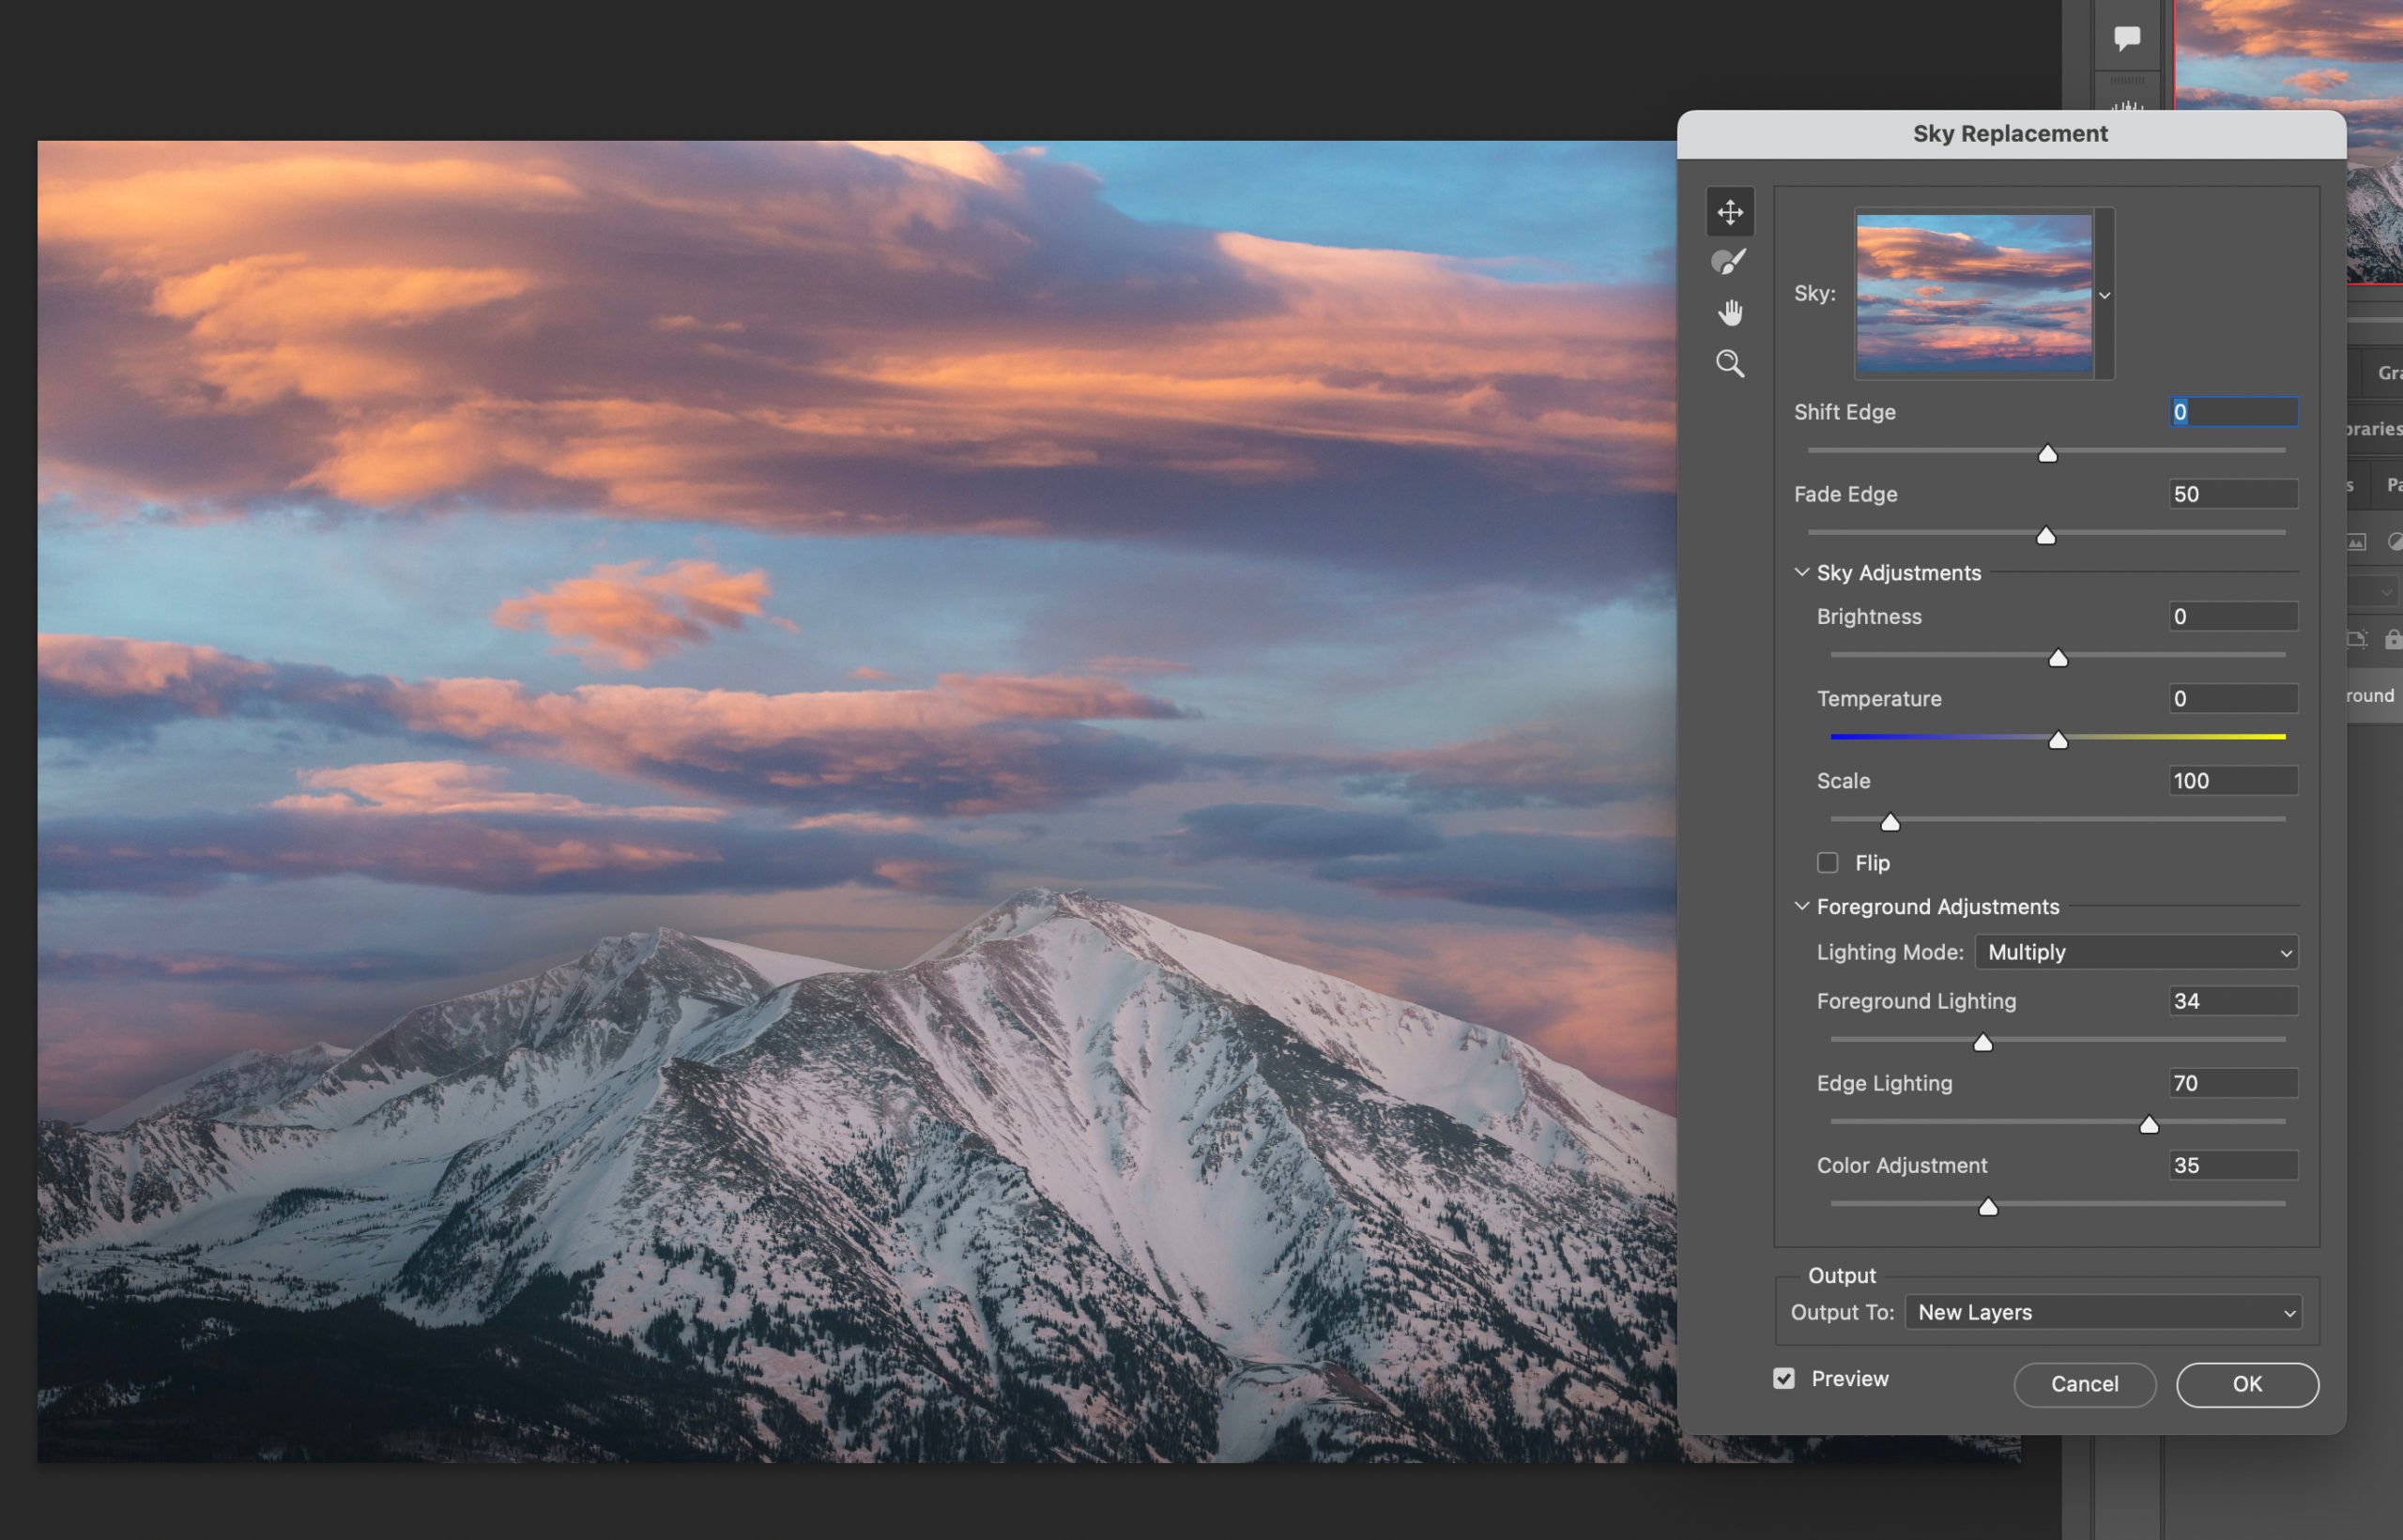
The panel that pops up has quite a few options to help match your image to the sky, including color adjustments and sky tweaks.
Here’s a bit about each sky replacement option and what it does:
- Shift Edge: Offsets where the edge of your skyline is replaced. This is useful to modify if you have a lot of complex objects on the skyline like trees.
- Fade Edge: Tweaks the amount of the feathered opacity at the edge of your skyline. Setting this to 0 will make the skyline seamless with the replacement while setting it to 100 will add a more gradual look that may appear more natural depending on the photo.
- Brightness: This affects the amount of brightness in your replaced sky. Useful for matching the brightness of your image’s foreground.
- Temperature: Tweak the sky image’s temperature.
- Scale: Zoom the sky image in/out. You can also change the image’s sky center point by hovering over the image with the panel over.
- Lighting Mode: Sets how the image’s foreground should apply lighting from the sky image.
- Foreground Lighting: Set how much you want the sky image to affect the foreground’s lighting.
- Edge Lighting: Amount the foreground affect’s the sky image with its lighting.
- Color Adjustment: Tweak the color of the foreground, also useful for matching the foreground more closely with the sky’s colors.
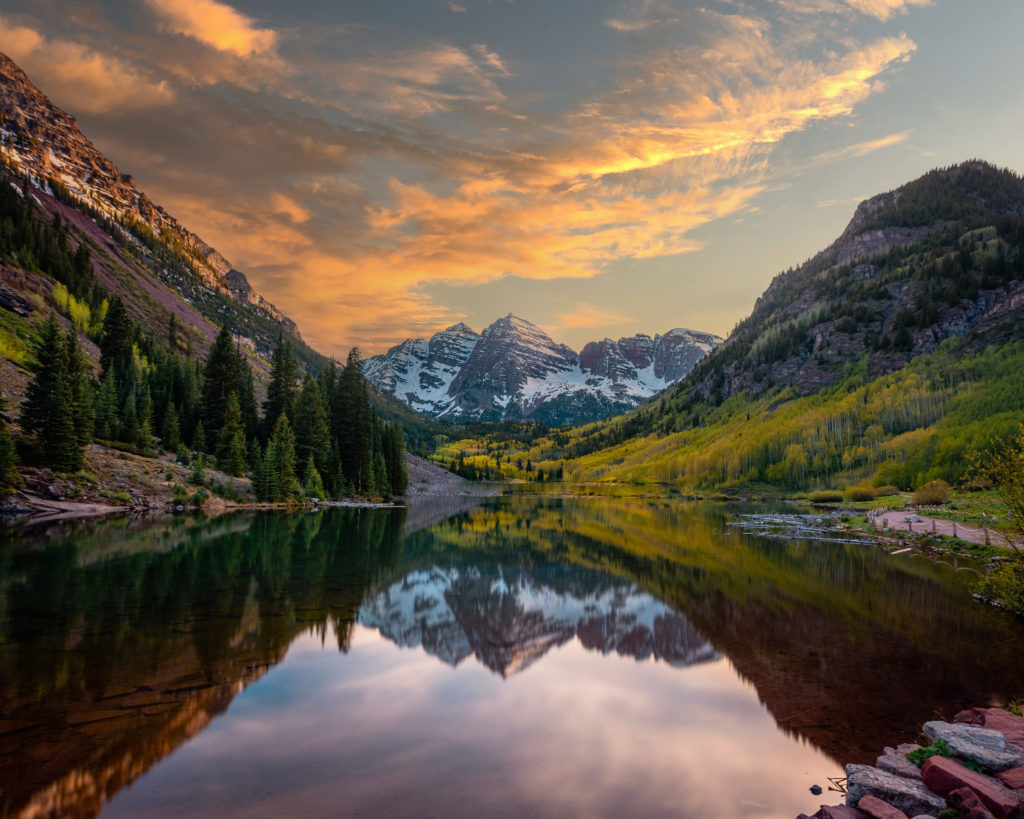
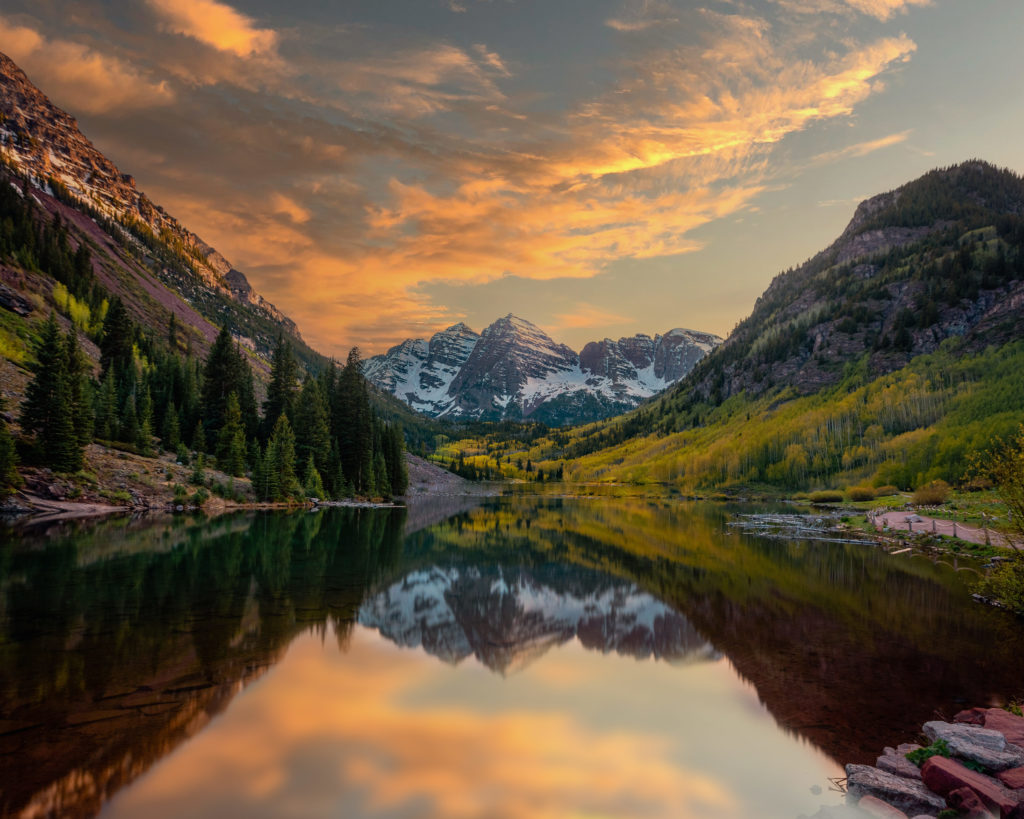
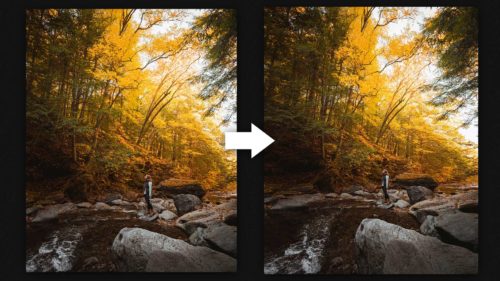
Below is an example using the sky replacement tool in Photoshop. You can see how Photoshop automatically applied the correct color tint to the foreground as well to better match the image.
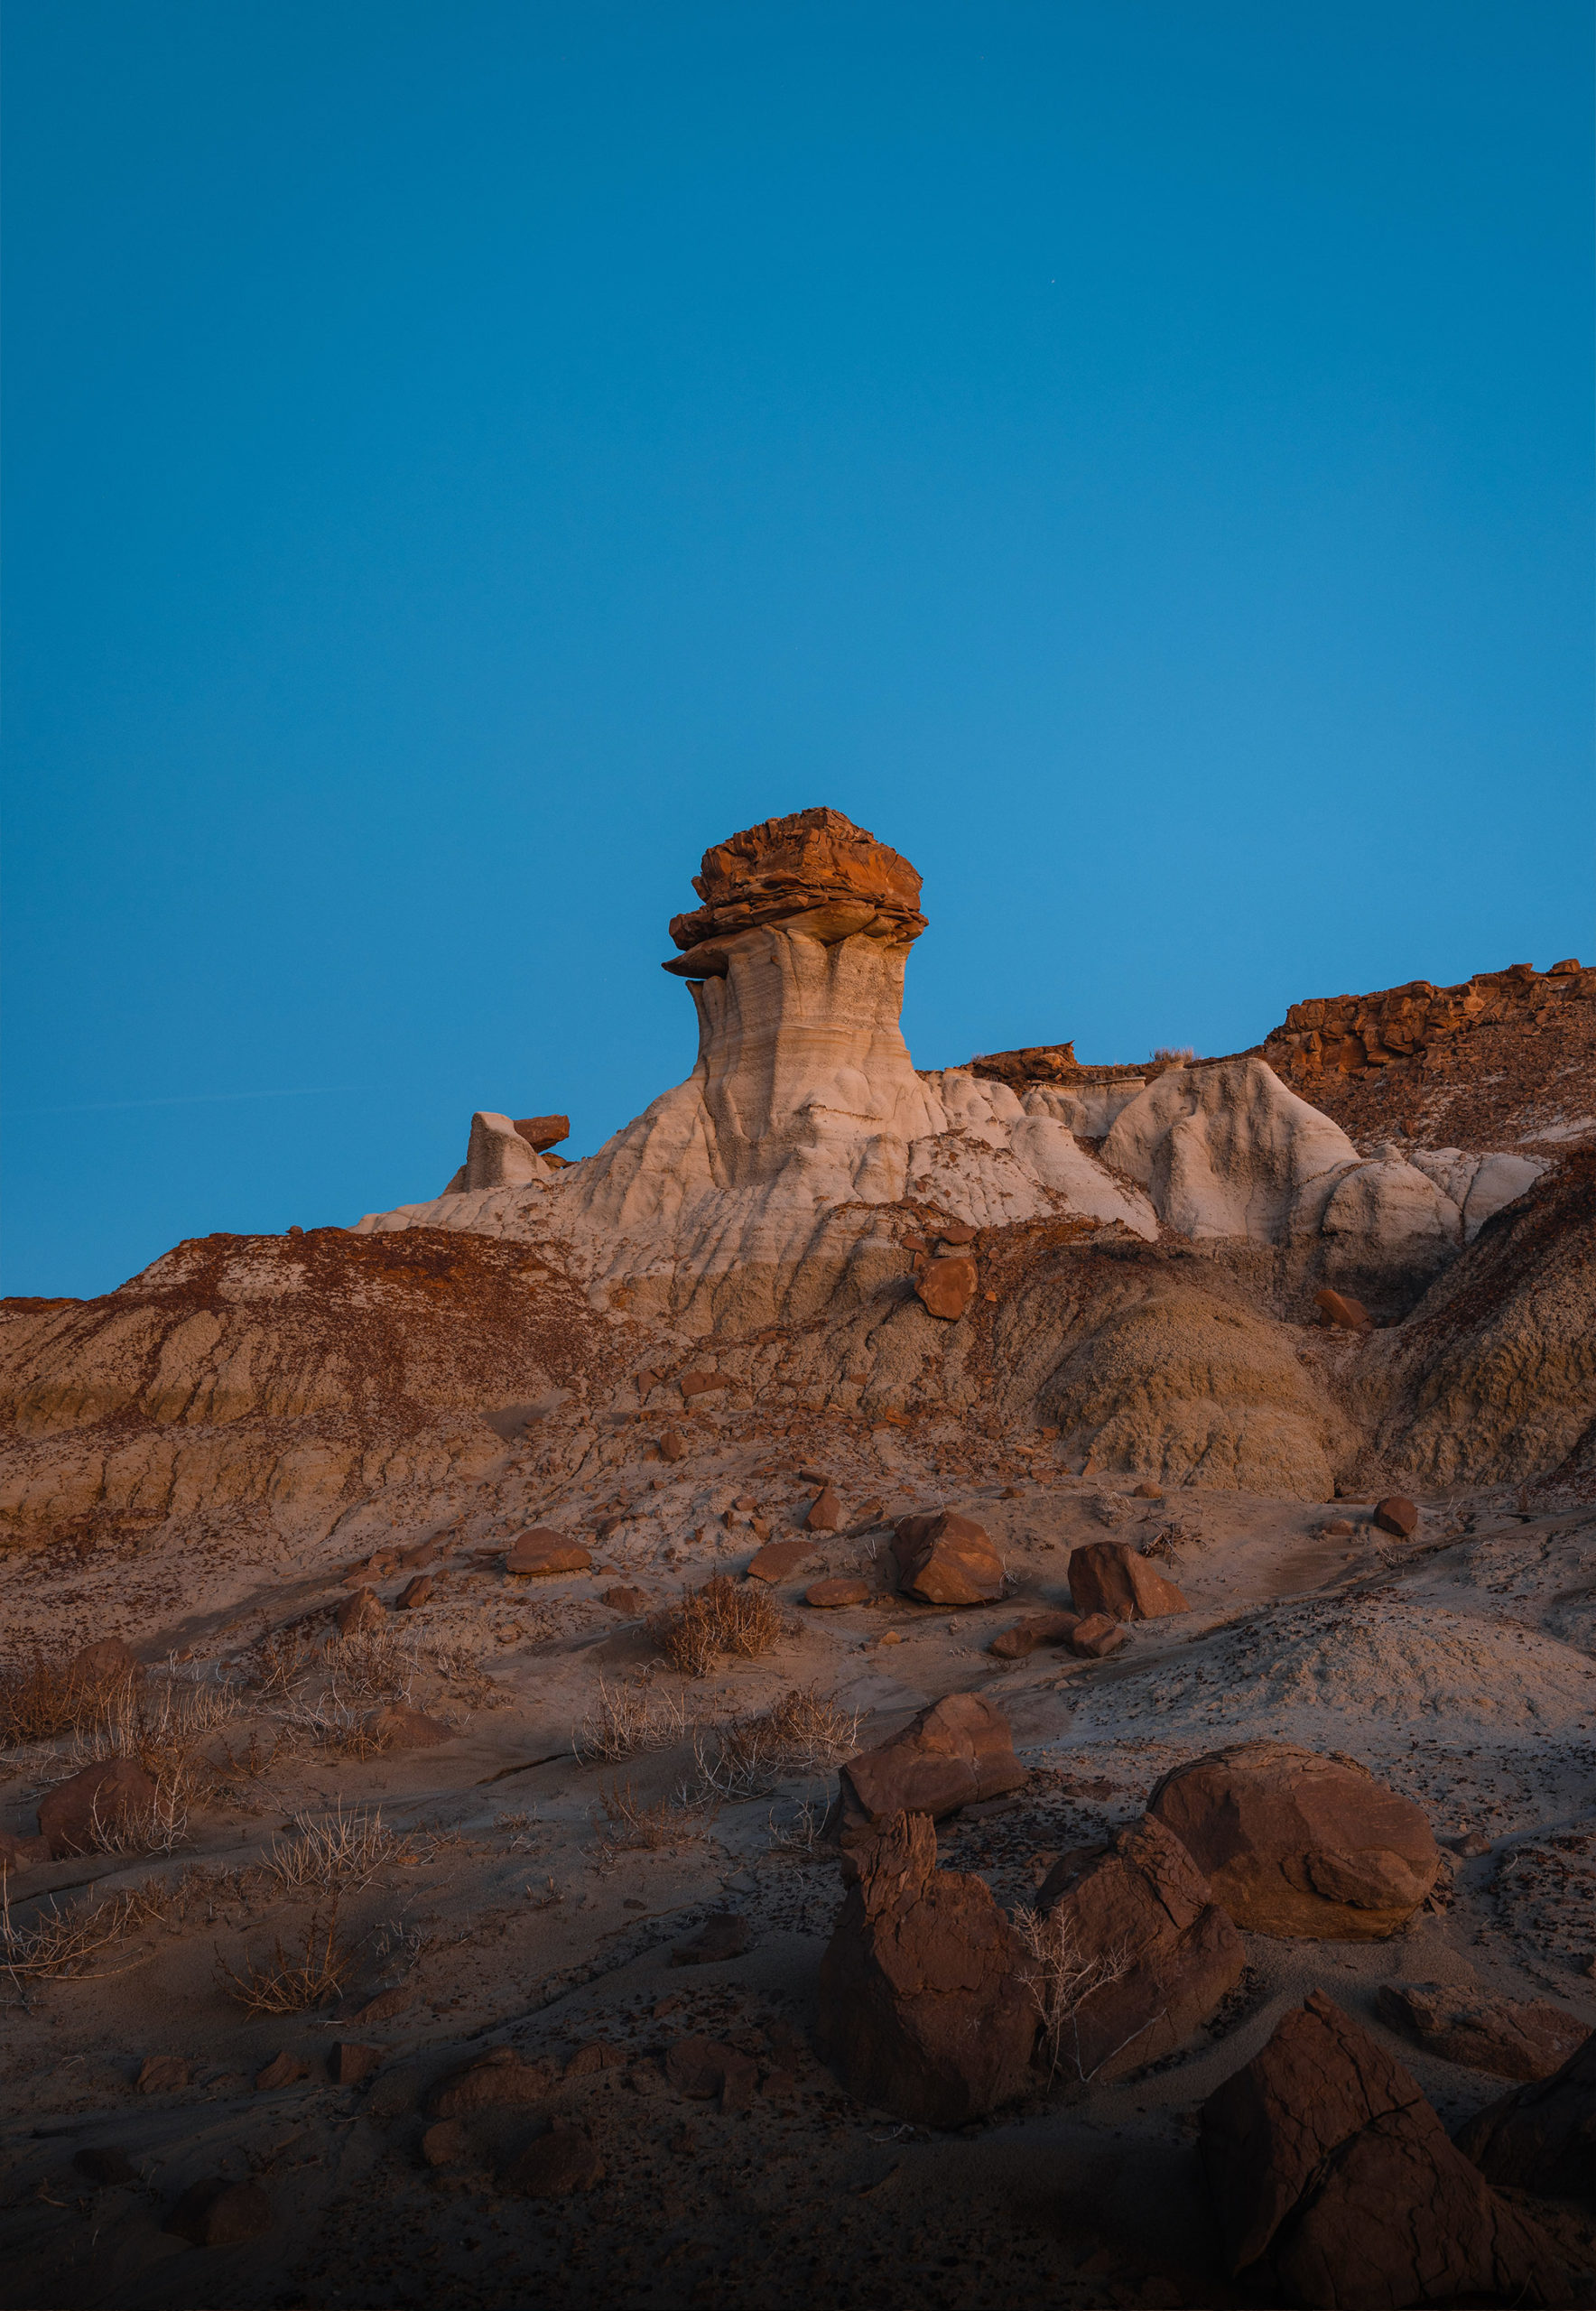
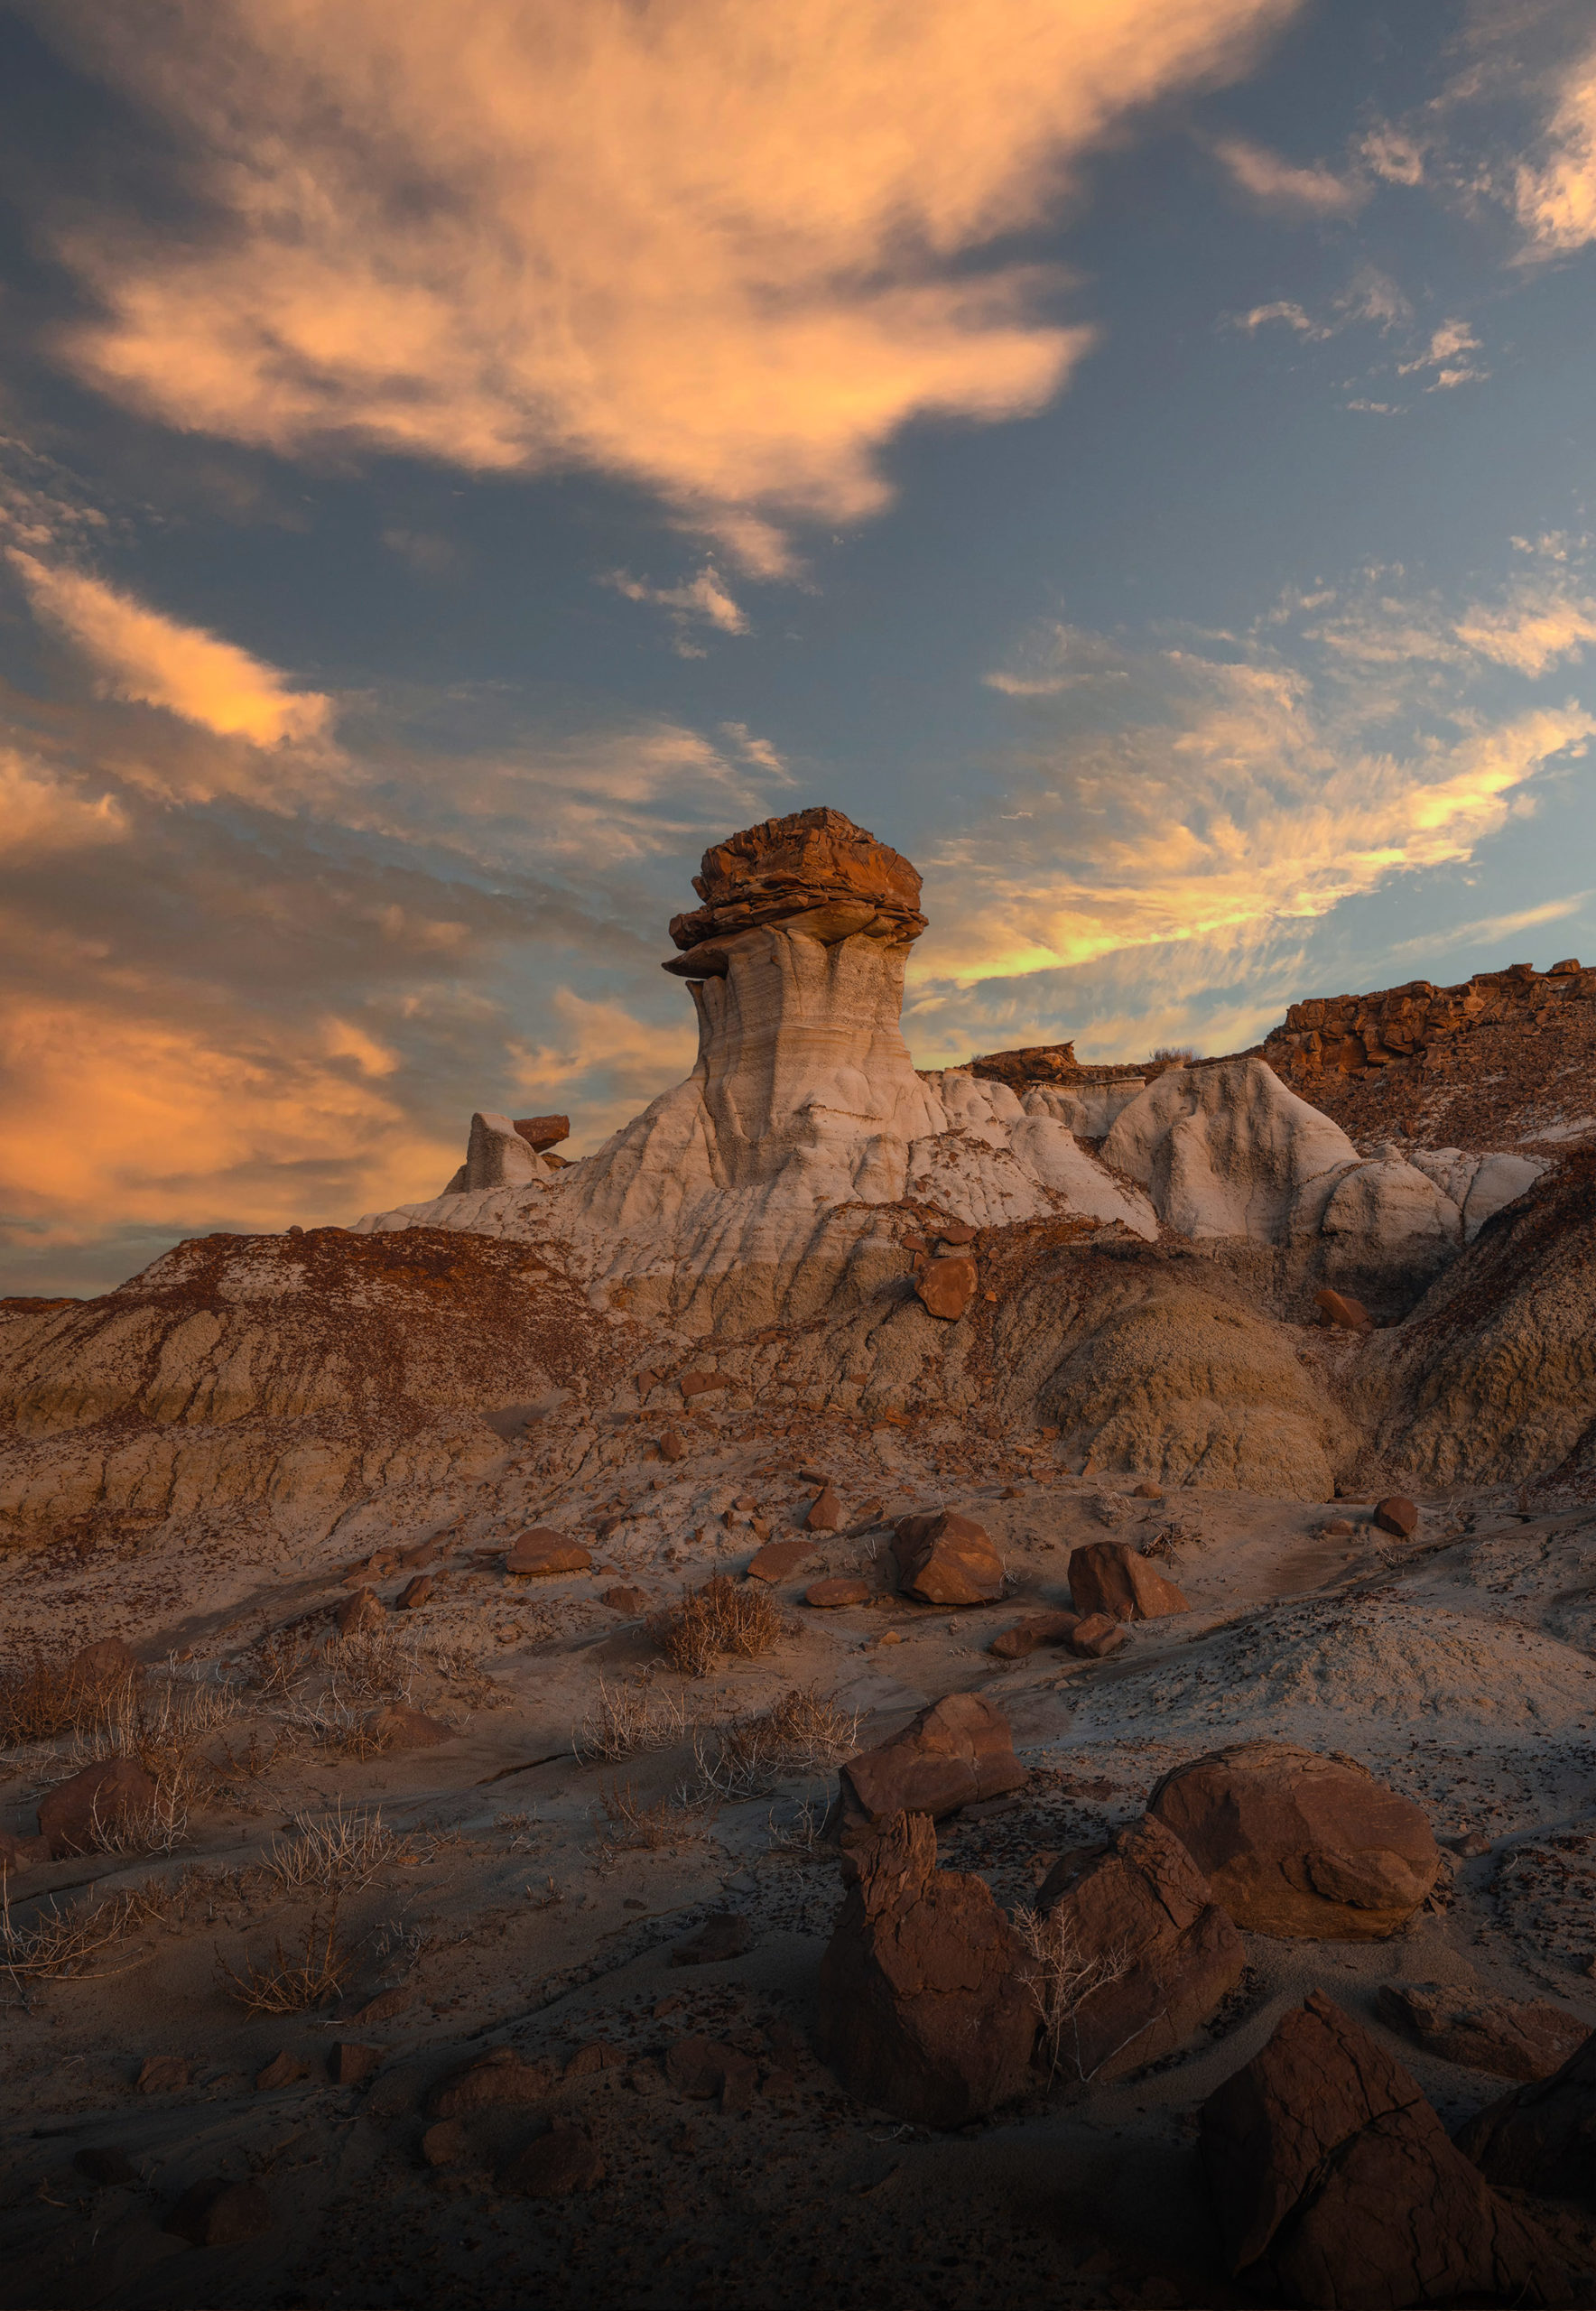
The way Photoshop handles sky replaces always surprises me with how good the results are. Just like everything else in Photoshop you can manually edit the layer afterward to achieve the exact look you’re going for.
Import Your Own Photos to Sky Replacement
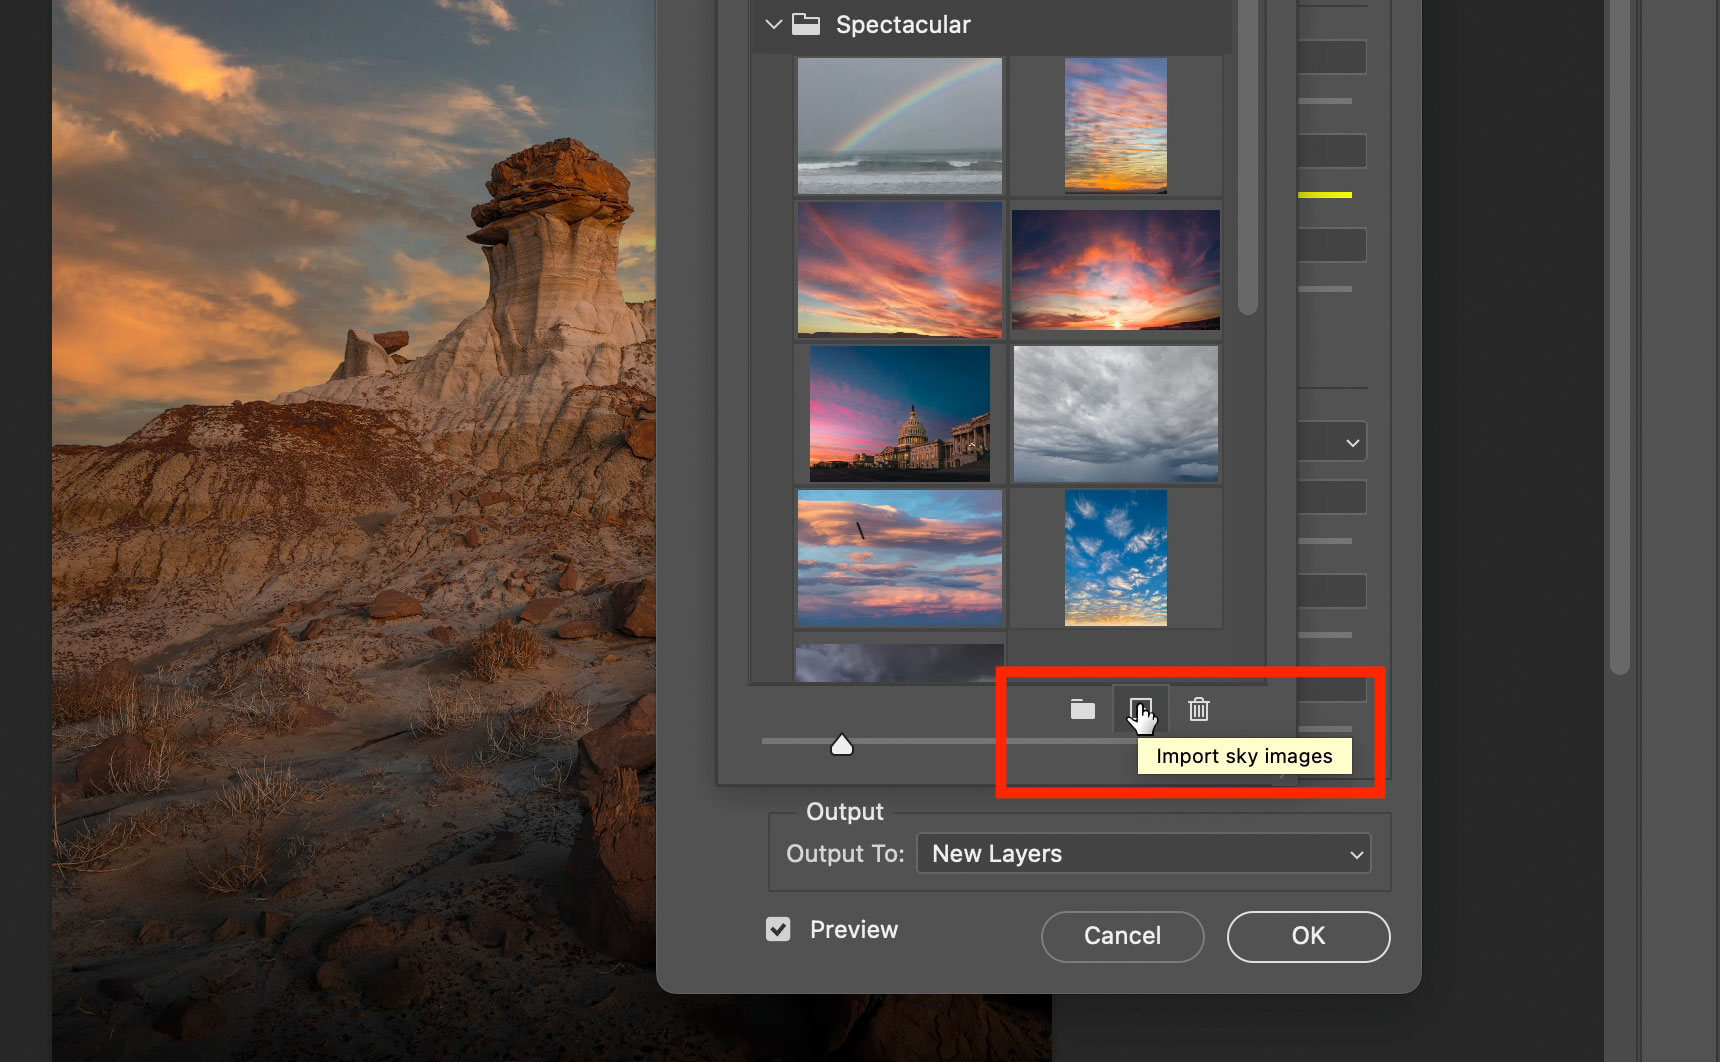
Ideally you’ll want to use one of your photos to replace the sky with. Luckily Photoshop makes it extremely easy to add any image you want as a sky. In the sky replacement panel simple click the little plus on the bottom right next to the trash can. This will allow you to select any image on your computer using the file browser.
Once imported you’ll likely want to change the center point of the image. This can be done by dragging your mouse over the image and dragging while you have the panel open.
Downloading New Skies for Photoshop
If you don’t have your own sky photos of course you can download more from the internet. Adobe has a selection of free skies you can download which can be accessed with the gear icon on the top right of the import sky panel.

You’ll find plenty of unique skies on Adobe’s site including night skies, sunsets, blue skies, and even storms.
Mirroring the New Sky in Reflections
If your photo has any water or reflections you’ll notice that the sky isn’t replaced in them. It’s easy enough to resolve this through a couple of short steps.
Steps to matching the reflection to your sky replacement:
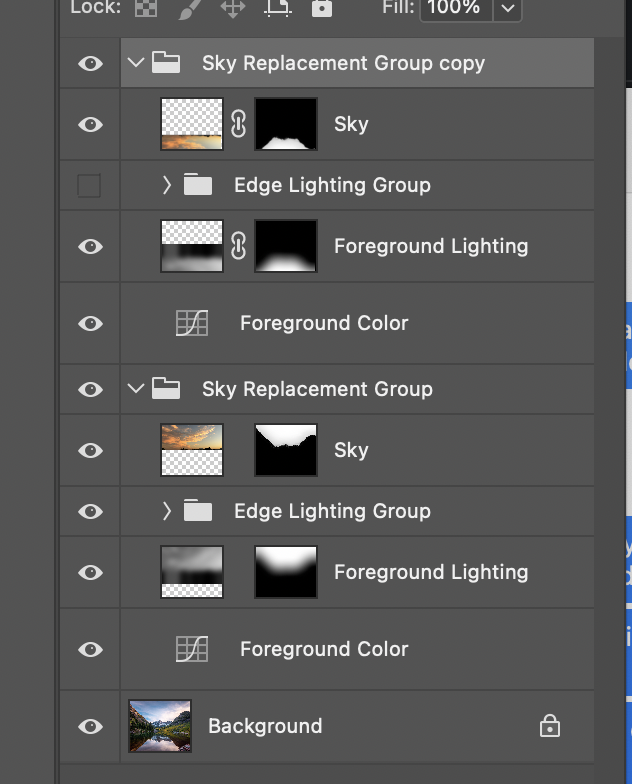
- Duplicate your sky layer folder.
- Ensure the layer mask for the sky layer and foreground layer is locked.
- Disable the edge lighting group.
- Free transform the new folder and flip it vertically.
- Position the flipped sky in the reflection.
- Apply a Gaussian blur to your sky layer so that it looks correct as a reflection.
Just in case you’re still curious how to get the affect here’s a screenshot of the layers for the above image.
Hopefully this helped your sky replacement look more natural in photos with reflections.
Conclusion
And just like that we’ve easily replaced our sky with a new one in Photoshop. Just remember this is a powerful tool that can easily add drama to any of your photos. Many photographers are conflicted about the ethics of replacing parts of an image like this. This is why I recommend always noting in your caption on social media that the image has been modified so people know the image is changed. If you wanted to go further you could even using the Photoshop AI features to create unique skies or add elements.
I would love to see this feature added to Lightroom so you wouldn’t need to open the image in Photoshop but it’s easy enough that it’s not too much hassle.
I hope this guide to sky replacement in Photoshop was helpful, if you have any questions let me know in the comments below.

How can I increase the size of the Sky Replacement window that shows the various skies one has to choose from?To see 3 or 4 columns of the images the thumbnails get very small.
Great question, in Photoshop 2025 I am seeing a little handle in the bottom right that let’s you resize that window.