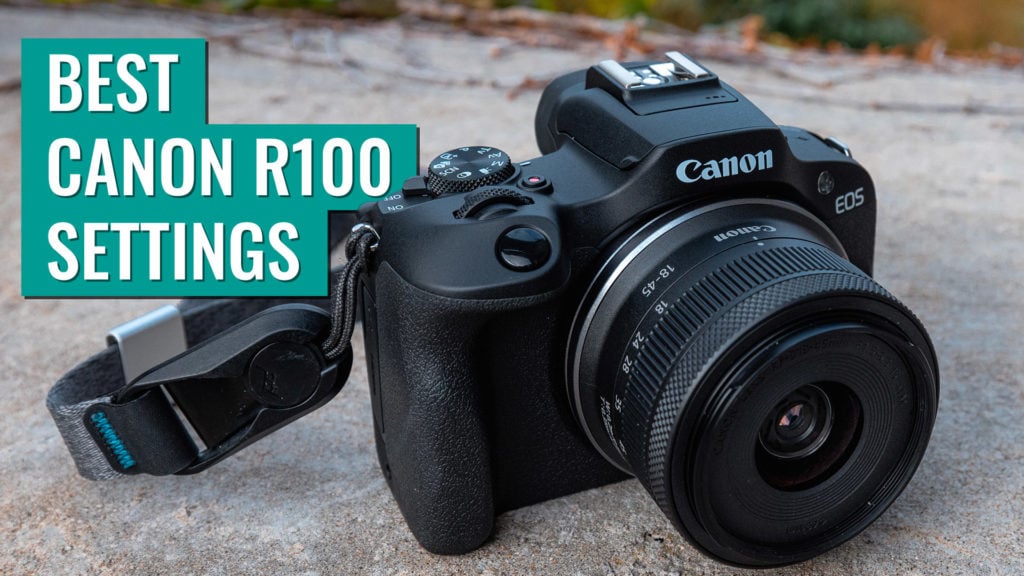
Just got your hands on a Canon EOS R100? You’ve come to the right spot. This post will cover the best settings for the Canon EOS R100. This small camera designed for beginners still offers plenty of features photographers will love.
Here are the first three things I recommend doing when you first get any camera:
Ensure you record the serial number: It is wise to make a note of your camera’s serial number as you never know when you might need it. Whether you save it in a notes app or register it on Canon’s website, be sure to write down the serial number.
Charge the R100 battery: Although it may be tempting to immediately start using your new camera, I recommend fully charging the battery to ensure a smooth beginning.
Update the firmware: It is important to keep the R100 camera up to date, and you can find the latest firmware on Canon’s website. Read more about updating the firmware on my full Canon firmware update guide.
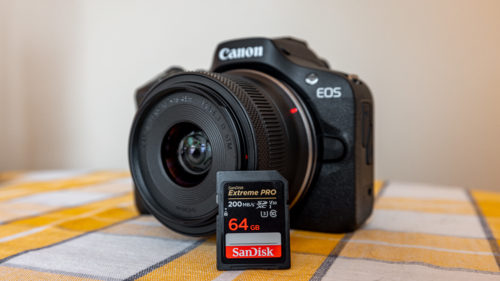
Of course you’ll also want to insert your SD card (Recommended Canon R100 SD Cards) and set the camera’s date and time after starting it for the first time.
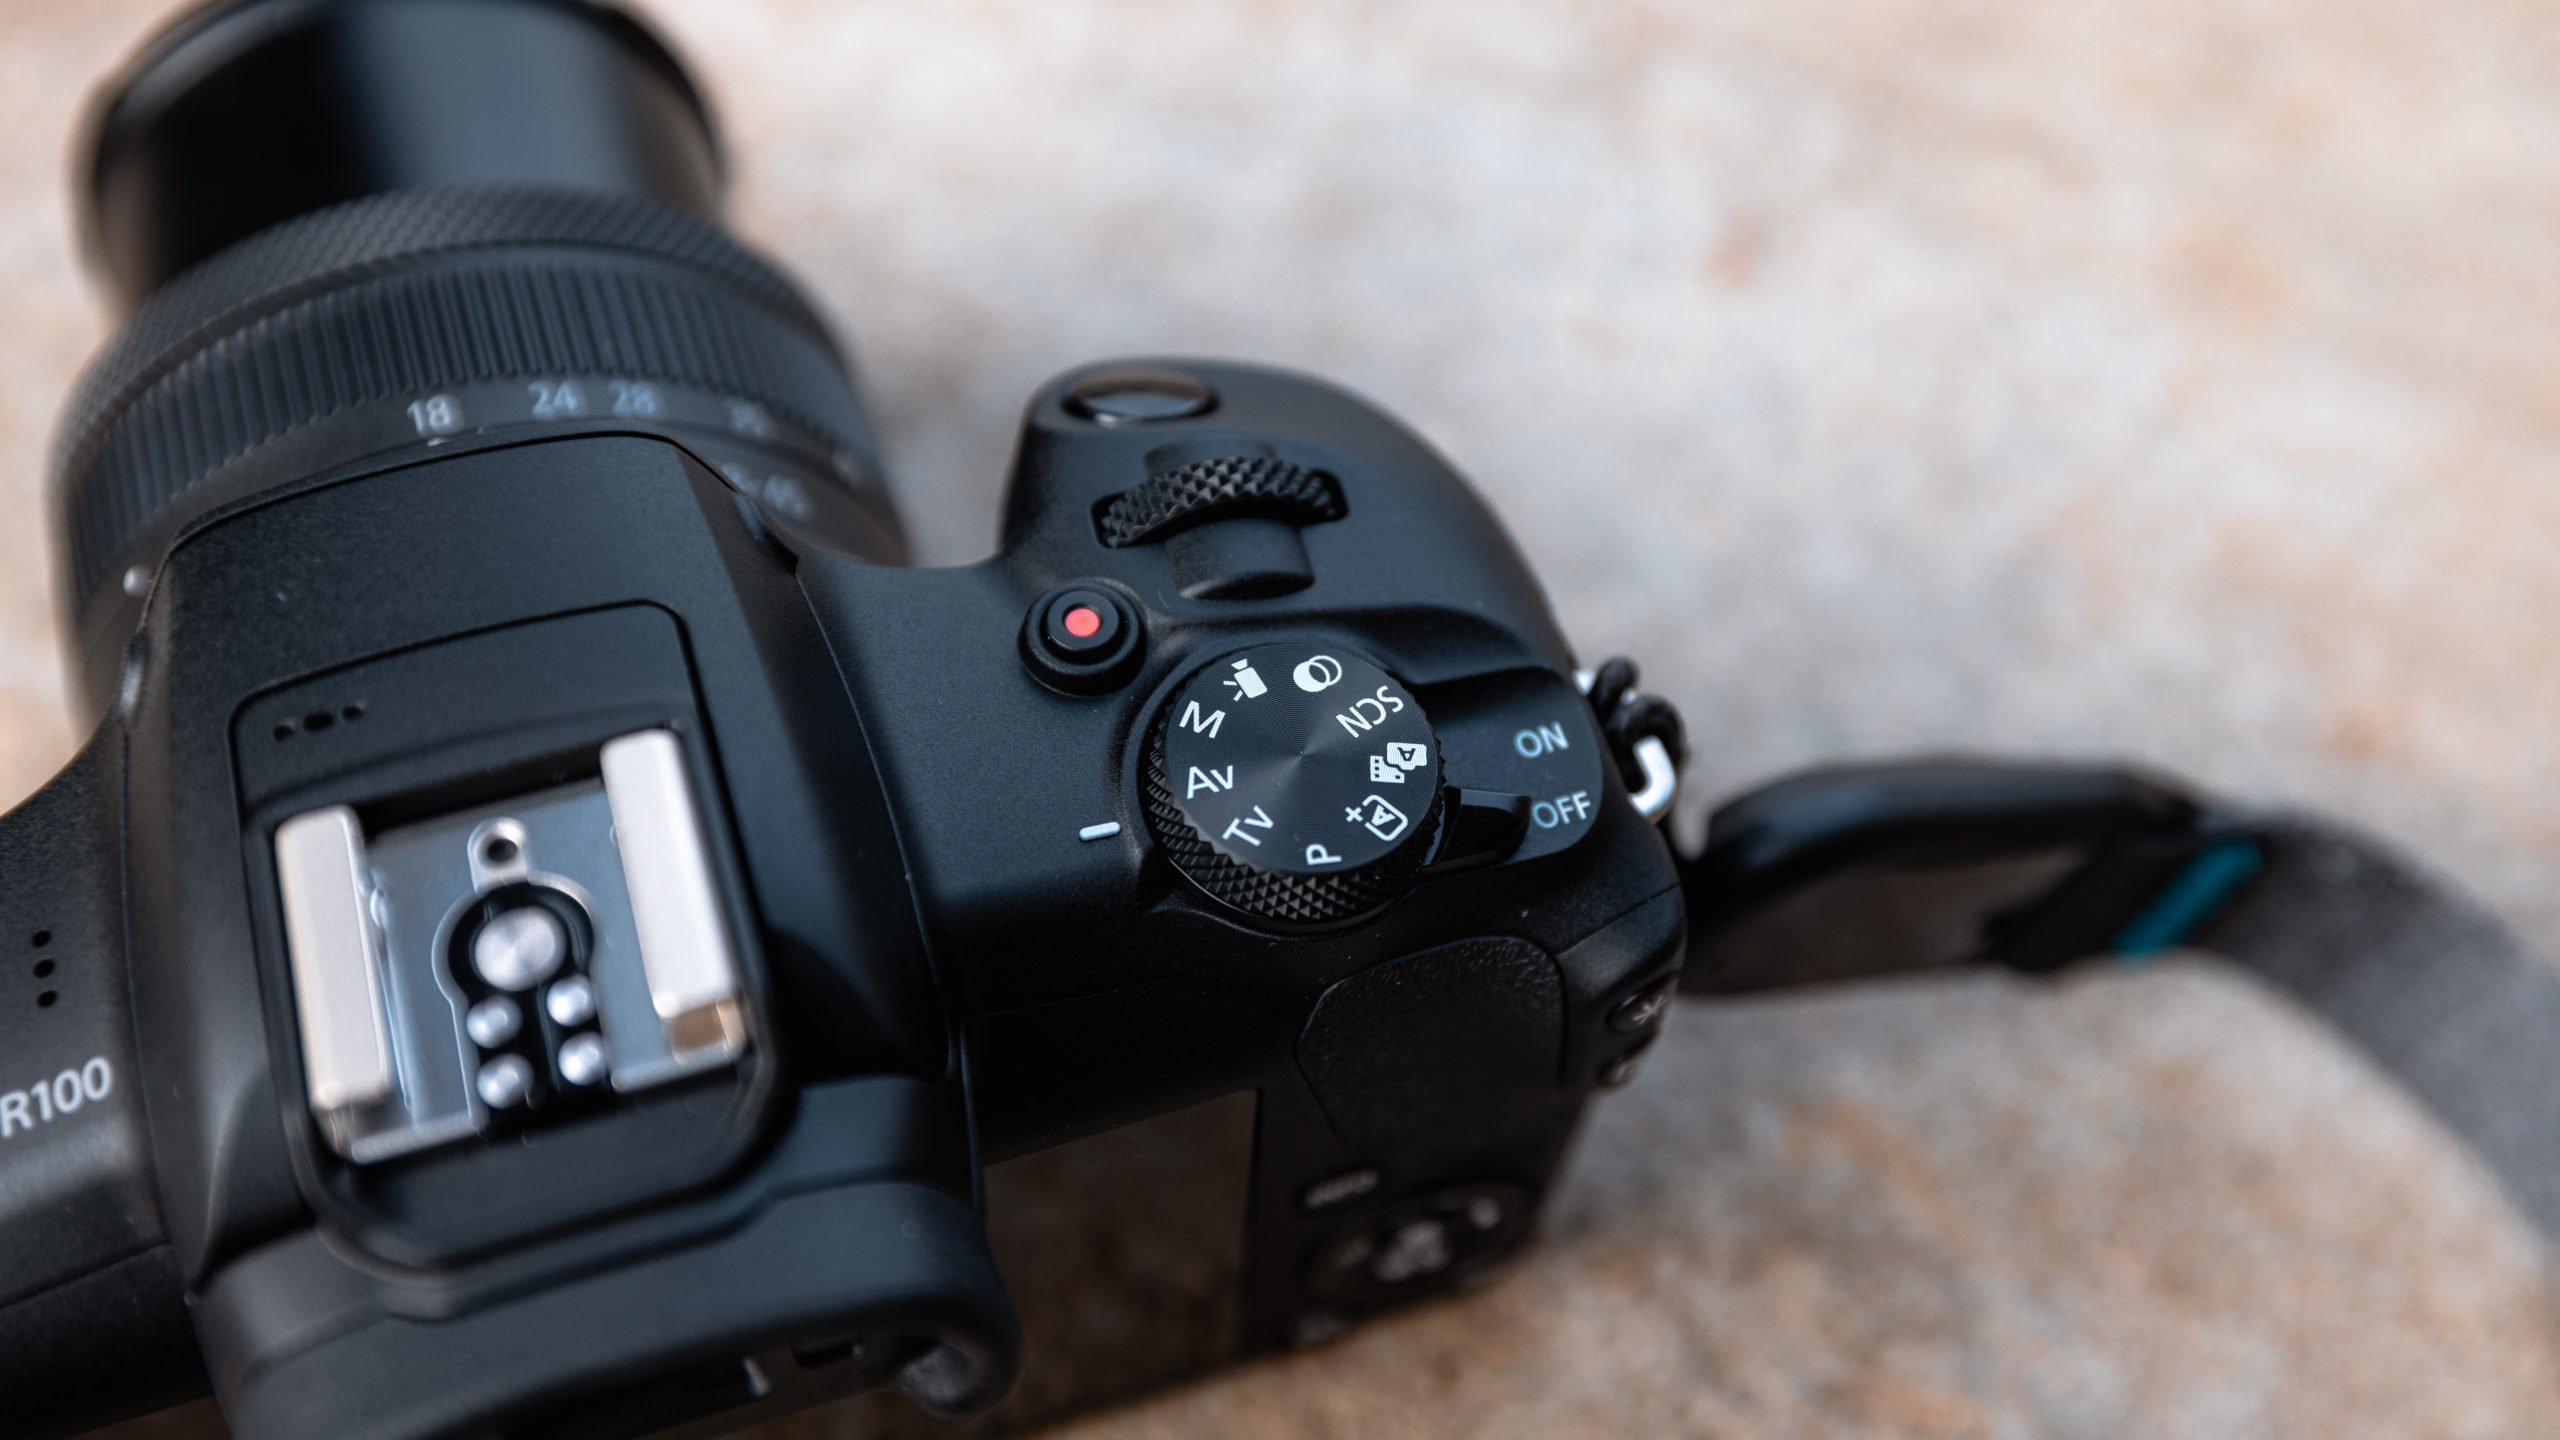
The Canon R100 is an excellent mirrorless camera for beginners. Here are the photography settings I suggest for the R100. Keep in mind you’ll need to turn the R100 off of auto to see the full menu system so you’ll likely want to put it on P for Program. You’ll also need to turn Display Level to standard for the full Canon menu.
Here are the best settings for the Canon EOS R100:
Shooting Menu 1: Image Quality: To get the best quality from the R100, it’s best to turn on RAW format and turn off JPEG. RAW lets your camera capture the highest quality and is made for editing. If you’re just taking casual pictures, you might like JPEG. But if you’re serious about photography, you’ll want to turn on RAW.
Shooting Menu 2: ISO speed settings: Max for Auto.
Shooting Menu 1: Auto Lighting Optimizer: The Auto Lighting Optimizer won’t change RAW photos, but it will change how RAW images look before you take the picture, which might affect how you shoot. If you’re using JPEG, keep this setting as it is.
Shooting Menu 3: High ISO speed NR: I set this to low because you can always add more noise reduction in Lightroom while editing your photos.
Shooting Menu 5: MF peaking settings: Peaking: You’ll benefit using focus peaking when you are using manual focus. When enabled, anything you are manually focusing on will display a red pixel.
Shooting Menu 5: AF-assist beam firing: The camera will shine an orange light to aid focusing in low-light situations. While this feature has its uses, I find that the camera’s autofocus in low light to be more than adequate, so I usually turn it off.
Shooting Menu 5: Focus/control ring: Great to know where this option, this allows you to set the control ring on lenses to focus or control. Many RF lenses have a dedicated focus ring but this setting is useful for the kit lens if you want the ring to do one specific action.
Shoot Menu 6: Drive mode: This will heavily depend on what you’re shooting but it’s good to know where this is located. Here you can set the camera to only take one photo or multiple when holding down the shutter button. You can also set self timers here.
Shooting Menu 6: Review duration: Here you can change the duration of the review image after taking a photo. This of course if your preference, I am okay with the default setting here.
Shooting Menu 7: Shooting info. disp.: Screen info. settings: I prefer to deactivate some of these to decrease the screens you need to scroll through when changing views. I prefer to use 2, 3, and 4, with 3 showing the level and histogram and 4 giving a clear view. However, this is completely your choice.
Shooting Menu 7: Shooting info. disp.: Grid display: Apply a grid overlay to your image here. The 3×3 grid helps you align shots according to the rule of thirds.
Shooting Menu 7: Shooting info. disp.: Histogram disp: Convert this to RGB and set the size to small. This will enable you to view the histogram of all color channels while shooting, while maintaining a much smaller display.
Shooting Menu 7: Disp. performance: The display performance is initially set to power-saving, which works well for most people. If you’ll be capturing lots of fast-moving subjects or action scenes, you’ll want to change it to smooth. This setting determines the screen’s refresh rate.
Playback Menu 5: Playback information display: I like to only use options 1 through 3 when looking at images because there are too many menus to go through otherwise. This will depend on what you like, of course.
Wireless Menu 1: Airplane mode: To save battery, activate airplane mode when the camera’s Wi-Fi is not in use. Deactivate airplane mode to transfer photos to your phone using Wi-Fi.
Setup Menu 1: Format card: It’s helpful to know where to find this option. When you format your SD card, you’ll delete all the content on it. This is handy when you’ve backed up all your photos and want to begin anew.
Setup Menu 1: Auto Rotate: Selecting “On computer” will prevent the image from rotating during review. The default setting may cause annoyance as the screen rotates with the camera during review. Using the “On computer” option will ensure that images are correctly oriented (landscape/portrait) when viewed off the camera.
Setup Menu 2: Beep: Each time the camera focuses, it emits a beep that may become bothersome over time. You can disable this feature here.
Setup Menu 4: Copyright information: You can enter your name and copyright details here to have them added to the metadata of all the images.
Setup Menu 4: Firmware: Just great to be aware this is where you update your firmware.
Display Level Settings Menu, Tab 1: Menu Display: Standard, while the guided option my be good for beginners anyone familiar with he menus will want this set to standard.
Display Level Settings Menu, Tab 1: Mode guide: Disable, every time you change modes by default the mode guide will pop up a large screen introducing the mode. While great for beginners experienced users will get frustrated by this.
Display Level Settings Menu, Tab 1: Feature guide: Disable, the feature guide offers a few info panels when moving through the camera’s shooting settings but experienced users will want to disable this.
My Menu: Add My Menu 1: Register your most used options, I like to put format card here.
And that’s it!
Those are my favorite settings to change on the Canon R100.
I hope that my guide to the top Canon R100 settings was useful for you. The Canon R100 has been a very enjoyable compact camera to use, and I appreciate B&H Photo for lending it to me. If you’re considering purchasing an R100, I suggest looking for one at B&H Photo.