Just got your hands on a Canon EOS R100? You’ve come to the right spot. This post covers the best settings for the Canon EOS R100 for both photo and video.
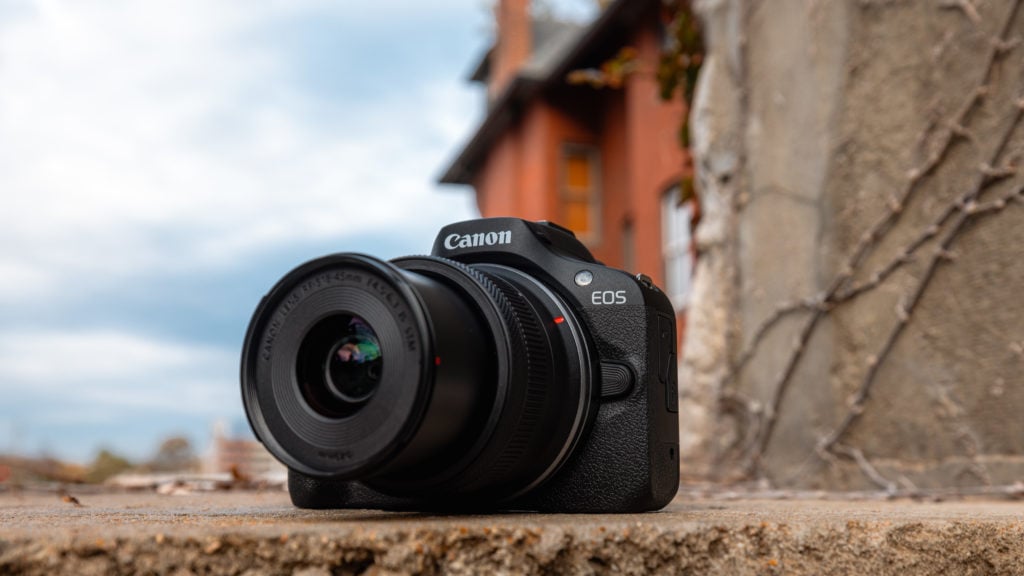
About the R100: The R100 is Canon’s most affordable RF-mount mirrorless camera. It pairs a 24.1MP APS-C sensor with the simplest body in the EOS R lineup. There is no in-body image stabilization, no rear joystick, and (unusually for a current Canon body) no touchscreen. The fixed LCD does not articulate, which is worth knowing if you plan to shoot vlogs. Treat it as a stills-first camera with usable 1080p video and limited 4K capabilities (more on that below).
Here are the first three things I recommend doing when you first get any camera:
Ensure you record the serial number: It is wise to make a note of your camera’s serial number as you never know when you might need it. Whether you save it in a notes app or register it on Canon’s website, be sure to write down the serial number.
Charge the R100 battery: Although it may be tempting to immediately start using your new camera, I recommend fully charging the battery to ensure a smooth beginning.
Update the firmware: It is important to keep the R100 camera up to date, and you can find the latest firmware on Canon’s website. Read more about updating the firmware on my full Canon firmware update guide.
Of course you’ll also want to insert your SD card (Recommended Canon R100 SD Cards) and set the camera’s date and time after starting it for the first time.
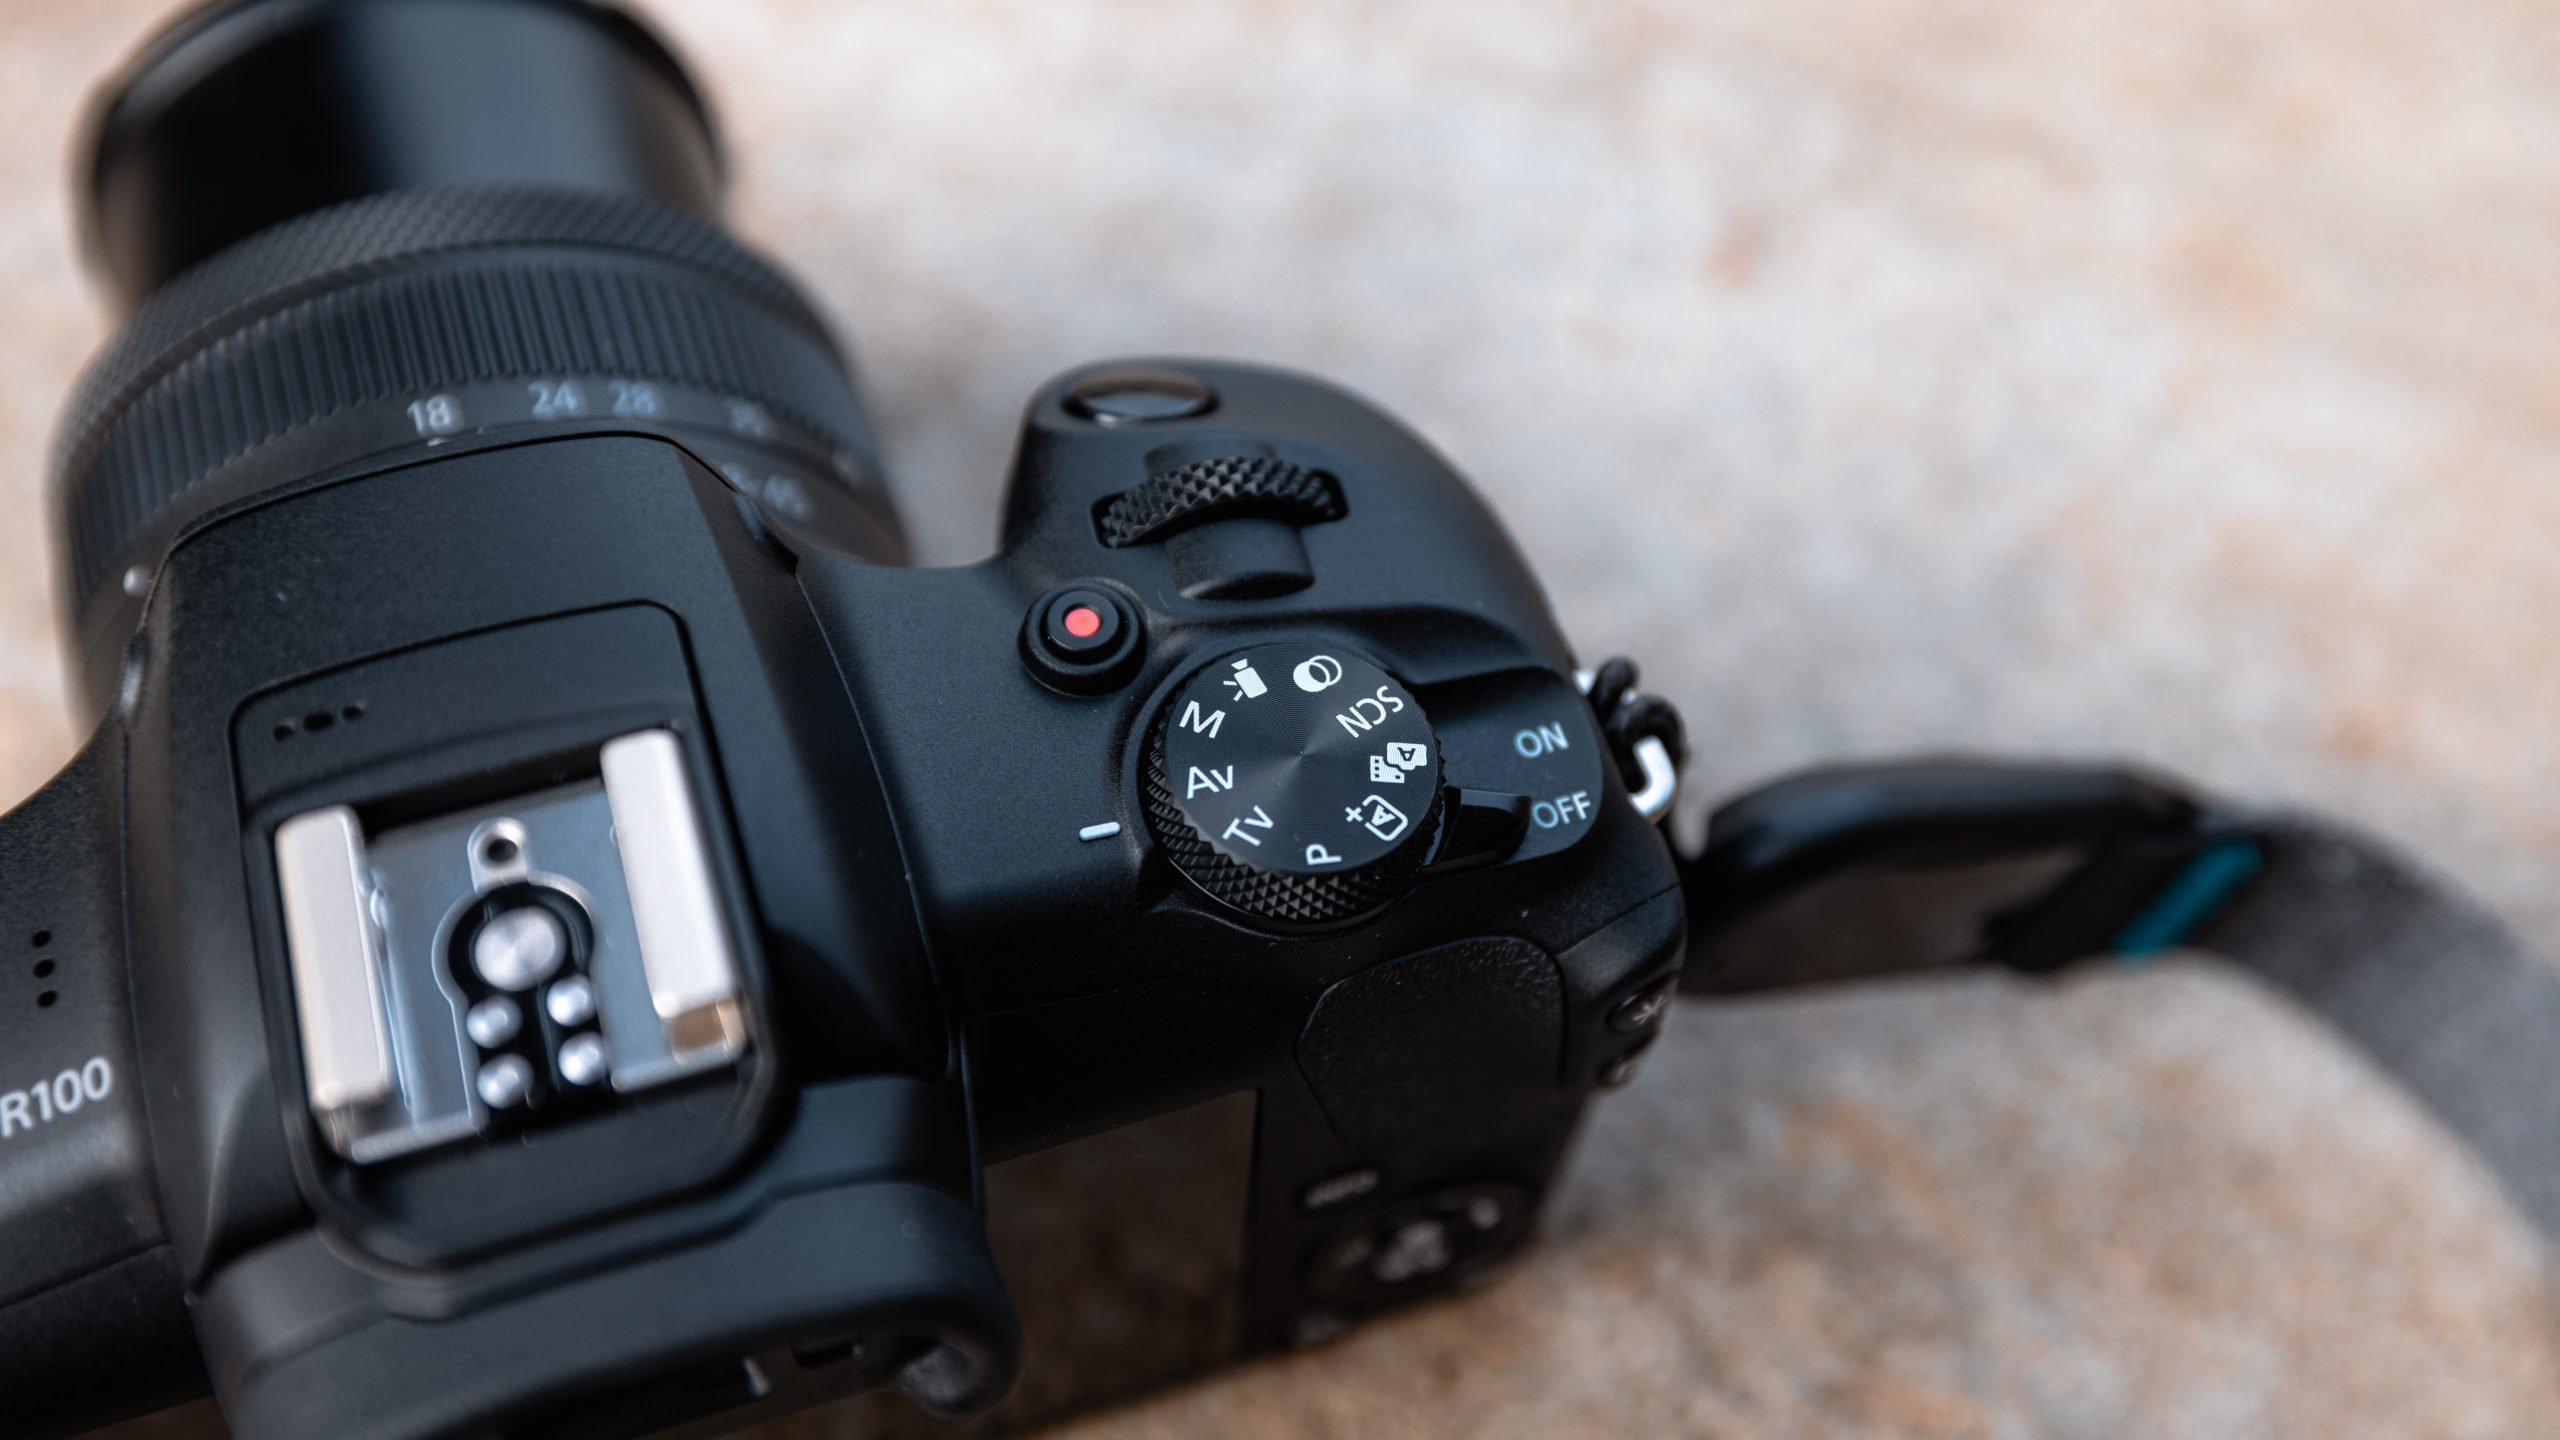
The Canon R100 is an excellent mirrorless camera for beginners. Here are the photography settings I suggest for the R100. Keep in mind you’ll need to turn the R100 off of auto to see the full menu system so you’ll likely want to put it on P for Program. You’ll also need to turn Display Level to standard for the full Canon menu.
Best Canon R100 Photo Settings
Shooting Menu 1: Image Quality: To get the best quality from the R100, it’s best to turn on RAW format and turn off JPEG. RAW lets your camera capture the highest quality and is made for editing. If you’re just taking casual pictures, you might like JPEG. But if you’re serious about photography, you’ll want to turn on RAW.
Shooting Menu 2: ISO speed settings: Max for Auto: The default cap on Auto ISO is 6400. I bump this to 12800 so the camera has more headroom in low light. It creates more noise at the upper end, but the alternative is motion blur from a slower shutter speed which is harder to fix in editing.
Shooting Menu 1: Auto Lighting Optimizer: The Auto Lighting Optimizer won’t change RAW photos, but it will change how RAW images look before you take the picture, which might affect how you shoot. If you’re using JPEG, keep this setting as it is.
Shooting Menu 3: High ISO speed NR: I set this to low because you can always add more noise reduction in Lightroom while editing your photos.
Shooting Menu 5: MF peaking settings: Peaking: You’ll benefit using focus peaking when you are using manual focus. When enabled, anything you are manually focusing on will display a red pixel.
Shooting Menu 5: AF-assist beam firing: The camera will shine an orange light to aid focusing in low-light situations. While this feature has its uses, I find that the camera’s autofocus in low light to be more than adequate, so I usually turn it off.
Shooting Menu 5: Focus/control ring: Great to know where this option is. It lets you set the control ring on lenses to focus or control. Many RF lenses have a dedicated focus ring, but this setting is useful for the kit lens if you want the ring to do one specific action.
Shooting Menu 6: Drive mode: This will heavily depend on what you’re shooting but it’s good to know where this is located. Here you can set the camera to only take one photo or multiple when holding down the shutter button. You can also set self timers here.
Shooting Menu 6: Review duration: Here you can change the duration of the review image after taking a photo. This of course if your preference, I am okay with the default setting here.
Shooting Menu 7: Shooting info. disp.: Screen info. settings: I prefer to deactivate some of these to decrease the screens you need to scroll through when changing views. I prefer to use 2, 3, and 4, with 3 showing the level and histogram and 4 giving a clear view. However, this is completely your choice.
Shooting Menu 7: Shooting info. disp.: Grid display: Apply a grid overlay to your image here. The 3×3 grid helps you align shots according to the rule of thirds.
Shooting Menu 7: Shooting info. disp.: Histogram disp: Convert this to RGB and set the size to small. This will enable you to view the histogram of all color channels while shooting, while maintaining a much smaller display.
Shooting Menu 7: Disp. performance: The display performance is initially set to power-saving, which works well for most people. If you’ll be capturing lots of fast-moving subjects or action scenes, you’ll want to change it to smooth. This setting determines the screen’s refresh rate.
Playback Menu 5: Playback information display: I like to only use options 1 through 3 when looking at images because there are too many menus to go through otherwise. This will depend on what you like, of course.
Wireless Menu 1: Airplane mode: To save battery, activate airplane mode when the camera’s Wi-Fi is not in use. Deactivate airplane mode to transfer photos to your phone using Wi-Fi.
Setup Menu 1: Format card: It’s helpful to know where to find this option. When you format your SD card, you’ll delete all the content on it. This is handy when you’ve backed up all your photos and want to begin anew.
Setup Menu 1: Auto Rotate: Selecting “On computer” will prevent the image from rotating during review. The default setting may cause annoyance as the screen rotates with the camera during review. Using the “On computer” option will ensure that images are correctly oriented (landscape/portrait) when viewed off the camera.
Setup Menu 2: Beep: Each time the camera focuses, it emits a beep that may become bothersome over time. You can disable this feature here.
Setup Menu 4: Copyright information: You can enter your name and copyright details here to have them added to the metadata of all the images.
Setup Menu 4: Firmware: Just great to be aware this is where you update your firmware.
Display Level Settings Menu, Tab 1: Menu Display: Standard. The guided option may be good for beginners, but anyone familiar with the Canon menus will want this set to standard to unlock the full menu.
Display Level Settings Menu, Tab 1: Mode guide: Disable, every time you change modes by default the mode guide will pop up a large screen introducing the mode. While great for beginners experienced users will get frustrated by this.
Display Level Settings Menu, Tab 1: Feature guide: Disable, the feature guide offers a few info panels when moving through the camera’s shooting settings but experienced users will want to disable this.
My Menu: Add My Menu 1: Register your most used options, I like to put format card here.
Best Canon R100 Video Settings
The R100 is a stills-first camera, but it can shoot reasonable video if you understand its quirks. Switch to movie mode using the mode dial on top and then dive into these menu options.
Shooting Menu 1: Movie rec. size: Set this to FHD 59.94p (1080p at 60p) for most use cases. The R100 does technically offer 4K, but it records 4K at 24p only and crops in by 1.5x from the center of the sensor on top of the existing APS-C crop. That makes wide-angle shots almost impossible at 4K (the 18mm end of the kit lens behaves like a 43mm equivalent). 4K on the R100 also drops Dual Pixel AF, so autofocus uses slower, less accurate contrast detection. For these reasons, 1080p 60p is the sweet spot. If you specifically want slow motion, the R100 can record 720p at 119.88p (manual focus only).
Shooting Menu 1: Sound recording: The R100 has a 3.5mm mic input on the side, so you can plug in an external microphone for noticeably better audio. If you do, set Sound recording to Manual and drop the level one notch above the minimum. The built-in pre-amp is noisy, so a strong signal from an external mic with the camera level kept low produces the cleanest result.
Shooting Menu 4: IS (Image Stabilizer) mode: Since the R100 lacks in-body image stabilization, knowing this option is here matters. The digital movie IS setting adds software stabilization to your footage at the cost of an additional crop. Combined with the existing 4K crop it’s almost unusable wide, but it works fine at 1080p for handheld walking-and-talking shots.
Shooting Menu 2: ISO speed settings: Timelapse max for Auto: The built-in time-lapse mode is one of the R100’s better video features. Since you’ll be on a tripod, drop the max ISO for time-lapse to 400 or 800 for cleaner files and the option to get light trails after dark.
Canon R100 Settings FAQ
Does the Canon EOS R100 have IBIS?
No. The Canon EOS R100 does not have in-body image stabilization. You can still get stabilization from RF or RF-S lenses with optical IS, and the digital movie IS setting in the menu adds software stabilization for video at the cost of an additional crop.
Does the Canon R100 have a touchscreen?
No. The R100 has a fixed (non-articulating) LCD with no touch input. This makes it different from almost every other current Canon mirrorless body, including the R50 which sits at a similar price point. You’ll navigate the menu using the buttons and the directional pad instead.
Can the Canon R100 shoot 4K video?
Yes, but with caveats. The R100 records 4K at 24p only, with a 1.5x crop from the center of the (already APS-C) sensor, and Dual Pixel autofocus does not work in 4K. The result is a heavily cropped image with slower contrast-detect AF that hunts more than the camera’s 1080p mode. For most users the 1080p 60p mode is the better choice.
What battery does the Canon R100 use?
The Canon R100 uses the LP-E17 battery, the same battery as the R50, R10, R8, RP, and several older Canon Rebel-series DSLRs. Canon rates it for about 370 shots per charge.
Canon R100 vs R50: what’s the difference?
The R100 and R50 share the same 24.1MP APS-C sensor, but the R50 adds a fully articulating touchscreen, a deeper feature set (including 4K at up to 30p without an extra crop, subject detect AF for vehicles, and Dual Pixel AF in 4K), and faster burst shooting. The R100 is meaningfully cheaper. If budget is the top priority and you primarily shoot photos, the R100 is fine. If you also shoot video or want touch control, the R50 is the better buy.
That’s my list of the best Canon R100 settings. Thanks to B&H Photo for lending me the body. If you’re considering buying an R100, you can find it at B&H Photo.