In this night photography guide we’ll go over the best night photography settings to elevate your photography.
Over the years of I have learned to love night photography. If you’re new to photography night photography can be difficult to learn.
Since there is less light for the camera to capture you’ll be tested to know your camera and settings. I have put together a list of night photography tips that will help improve your photography.
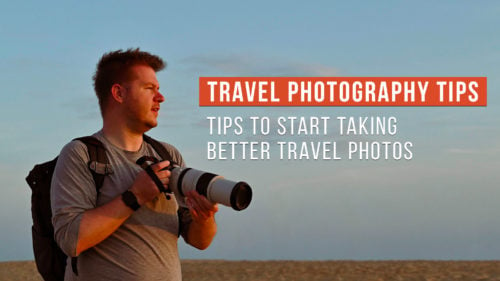
If you’re a visual learner you’ll see a video of my low-light photography tips below. I show you how to take pictures at night handheld or using a tripod.
Of course we’re going to go over step-by-step settings for night photography in this article so let’s hop into my best night photography tips:
Night Photography Camera Settings
Here’s the step-by-step settings for night photography. Including using a tripod, camera settings, and tips while shooting.
1. Set Your Camera to Shoot RAW
First you’ll want to set your camera to shoot RAW instead of JPG. This is important since it gives you more editing flexibility and allows you to change your white balance in post-production.
2. Use a Tripod or Support Your Camera on the Ground
Using a tripod or finding somewhere to sit the camera securely is essential to crisp pictures at night. Your camera will be capturing an image for multiple seconds so you will need to keep the camera steady so holding the camera isn’t an option.
Luckily there are plenty of affordable tripod options that range in size and quality.
If you’re looking for a bigger tripod you can pick up a decent one on Amazon for around $50.
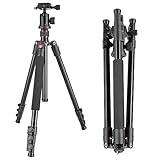
- Quick shoe leg locking, giving a more convenient leg handling
But if you don’t want to carry a large tripod I highly recommend the Manfrotto Pixi Evo 2. I usually have this on the side of my backpack and it barely takes up any room.

- VERSATILE: You can use it with your devices up to 2.5Kg
Once you have mastered using a tripod you can look into more lightweight solutions like the MeFoto Globetrotter Carbon Fiber. Higher quality tripods typically are lighter and support larger cameras/lenses. If you are shooting with a large telephoto lens you should look into the maximum load weight of the tripod you’re thinking of purchasing.
If you don’t have a tripod you can always find a ledge to sit your camera on. I often just sit my wallet underneath my lens and sit the camera on the ground.
Additionally if you’re a Peak Design fan like me you can also check out the Peak Design Travel Tripod. It’s one of the smallest tripods you can get which makes it easy to put in a bag.
Now let’s get into what camera settings you need for night photography.
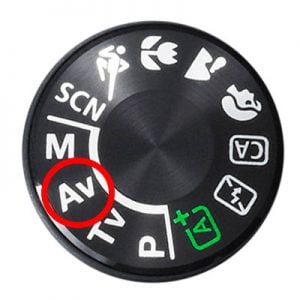
3. Set Your Camera to Aperture Priority Mode
My favorite mode for night photography is Aperture Priority. Many people will prefer manual mode but I think beginners will prefer starting with Aperture Priority. Aperture Priority mode will lock your lens aperture to a specific f-stop. The label for Aperture Priority mode is different on brands but it’s usually (AV) on Canon or (A) on Sony and Nikon.
After learning how to use Aperture Priority you should switch to using full manual but I think this is a great way to learn the camera’s settings initially. This basically will lock your aperture to a specific f-stop and the camera will automatically figure out the rest of the settings.
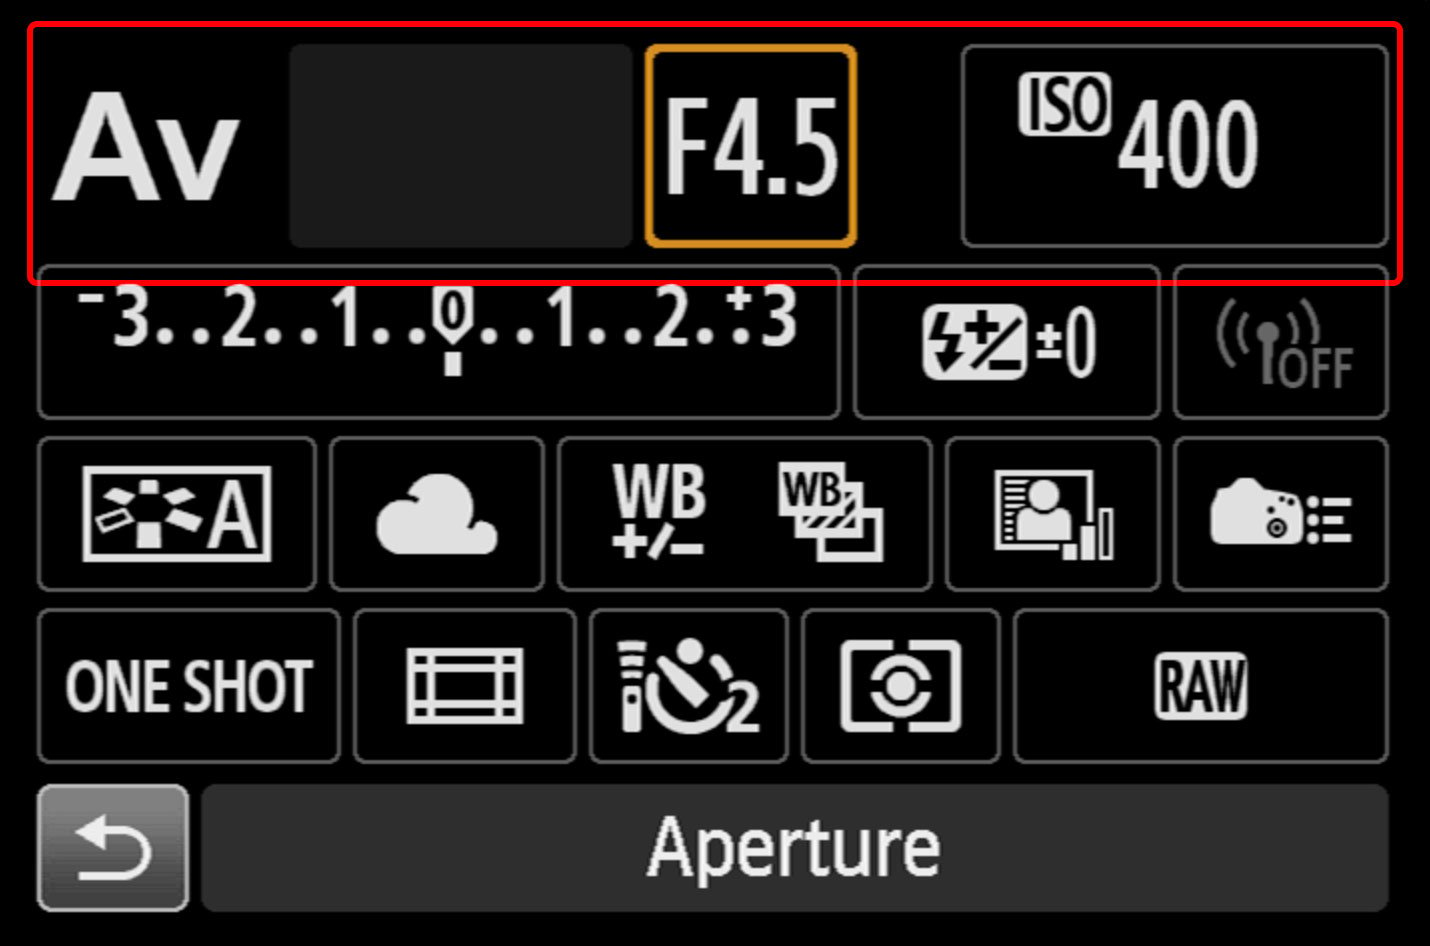
Next we’ll need to set our ISO manually in Aperture Priority to reduce noise.
4. Manually Set your ISO between 100 and 1600
Since you’re going to be using Aperture Priority mode your camera will automatically set the shutter speed and ISO. This won’t work for night photography since you want to get a clean noise-free image. To achieve this you’ll have to set your ISO manually. This is one of the most important camera settings for night photography since this will enable you to take sharp images at night.
You’ll want to set your ISO on the lower end to reduce grain. Anything between ISO 100-1600 will give you a crisp image while taking photos at night. All camera’s noise levels differ so if your photo is grainy you should lower the ISO. A high ISO like ISO 6400 will create more grain in your photos so a lower ISO is preferred.
Next we’ll need to set our camera’s aperture.
5. Set Your Aperture Low (f/2.8-f/5.6)
Aperture Priority mode lets you set your aperture to a specific f-stop. Going as low as your lens can go is a good idea, so if you have the kit lens it’ll be around f/3.5 but anything below f/5.6 will do fine.
The lower you put the f-stop the more light you will let in which is essential for night photography. Also note that the lower your f-stop is the shallower your depth of field will be. So if your photo comes out blurry make sure it’s correctly focused.
You can also play around with increasing your f-stop to f/8 to achieve sharper photos with a larger focal plane as well.
Your camera will automatically set the shutter speed once you have set your f-stop and ISO. If you slightly press down your shutter button your camera should show you the shutter speed it’ll use for the photo. This is how long the camera will open the shutter for.
Now we’ll want to reduce shake by adding a shutter delay before taking our photo.
6. Set Your Shutter Delay to 2 Seconds
You could buy a remote control to trigger your camera to reduce shake but I recommend just setting a 2 second timer. This adds a 2 second delay so your camera doesn’t shakes from when you hit the shutter release.
Additionally if your camera or lens has stabilization, it’s recommended to disable that as well. If you’re using a tripod with stabilization on your camera/lens it will add a slight movement.
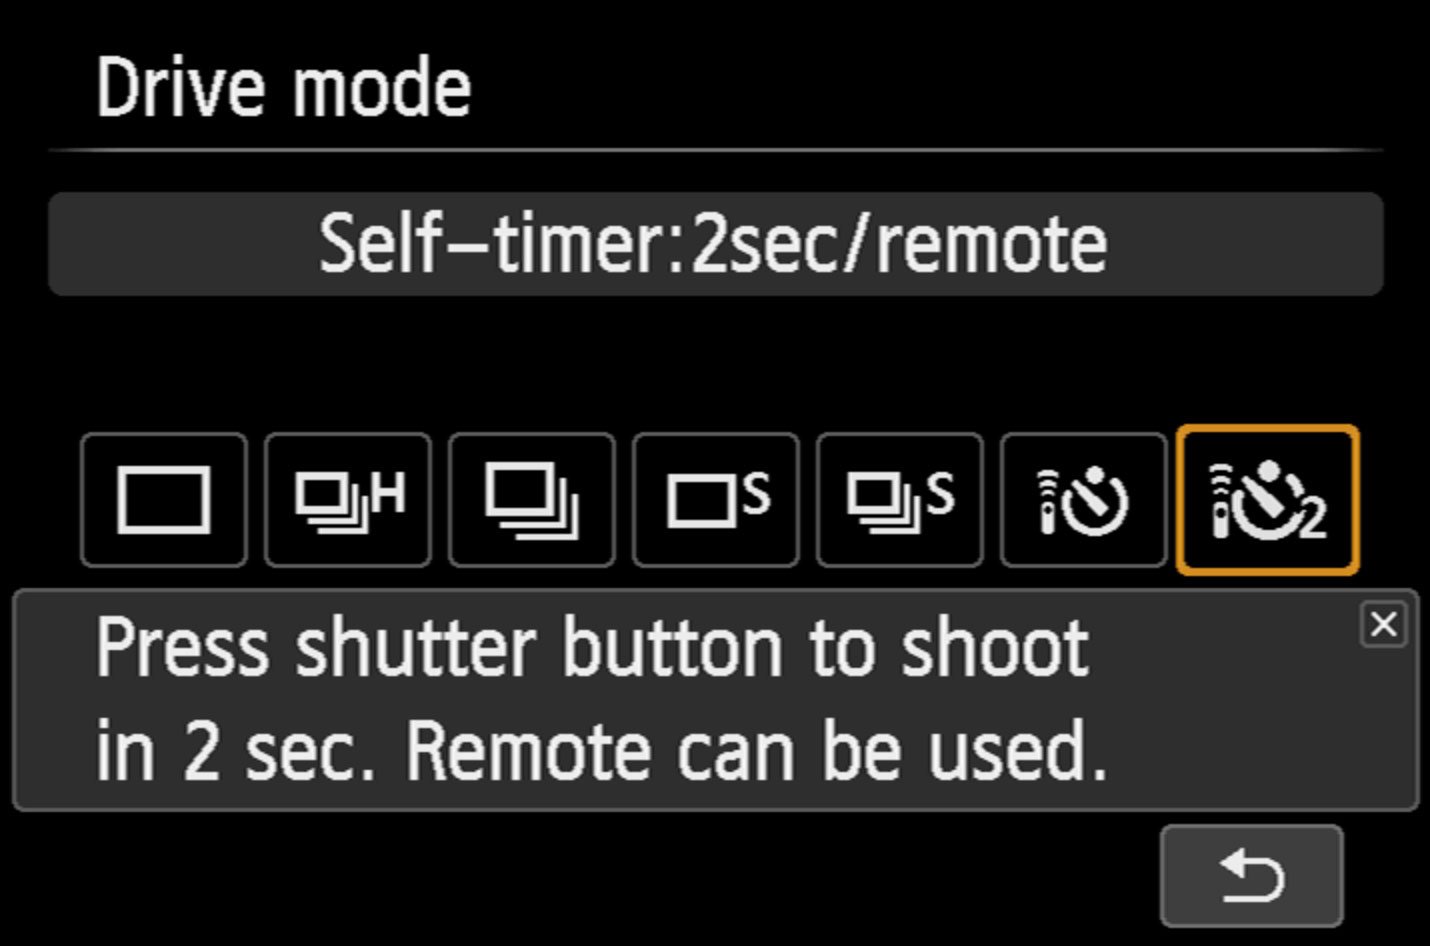
Using the 2 second delay is a convenient way to make sure your camera shake doesn’t affect your photo without needing extra equipment like a remote.
Now you’re ready to take your photo!
Now that you know these night photography settings you should be able to get incredible photos at night! If you are curious about night photography settings or gear keep scrolling.
Night Photography Gear
Here’s a summary of the gear needed while taking photos at night.
- Camera: A camera that allows you to manually set camera settings. A full-frame camera is recommended for the best quality since they are better in low-light versus crop sensor cameras. (If you’re in the market the Canon R50 is a great mirrorless camera for beginners.)
- Tripod: A sturdy tripod or somewhere to sit the camera. (Neewer tripod for example.)
- Remote Trigger: To reduce shake while taking a picture you can get a remote shutter release to take photos with your camera. Personally I do not use one since most cameras let you do a 2 second delay which will reduce any shake.
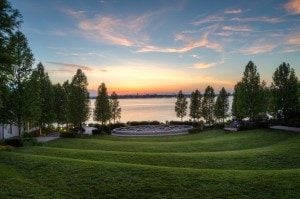
Example of Night Photography with Settings
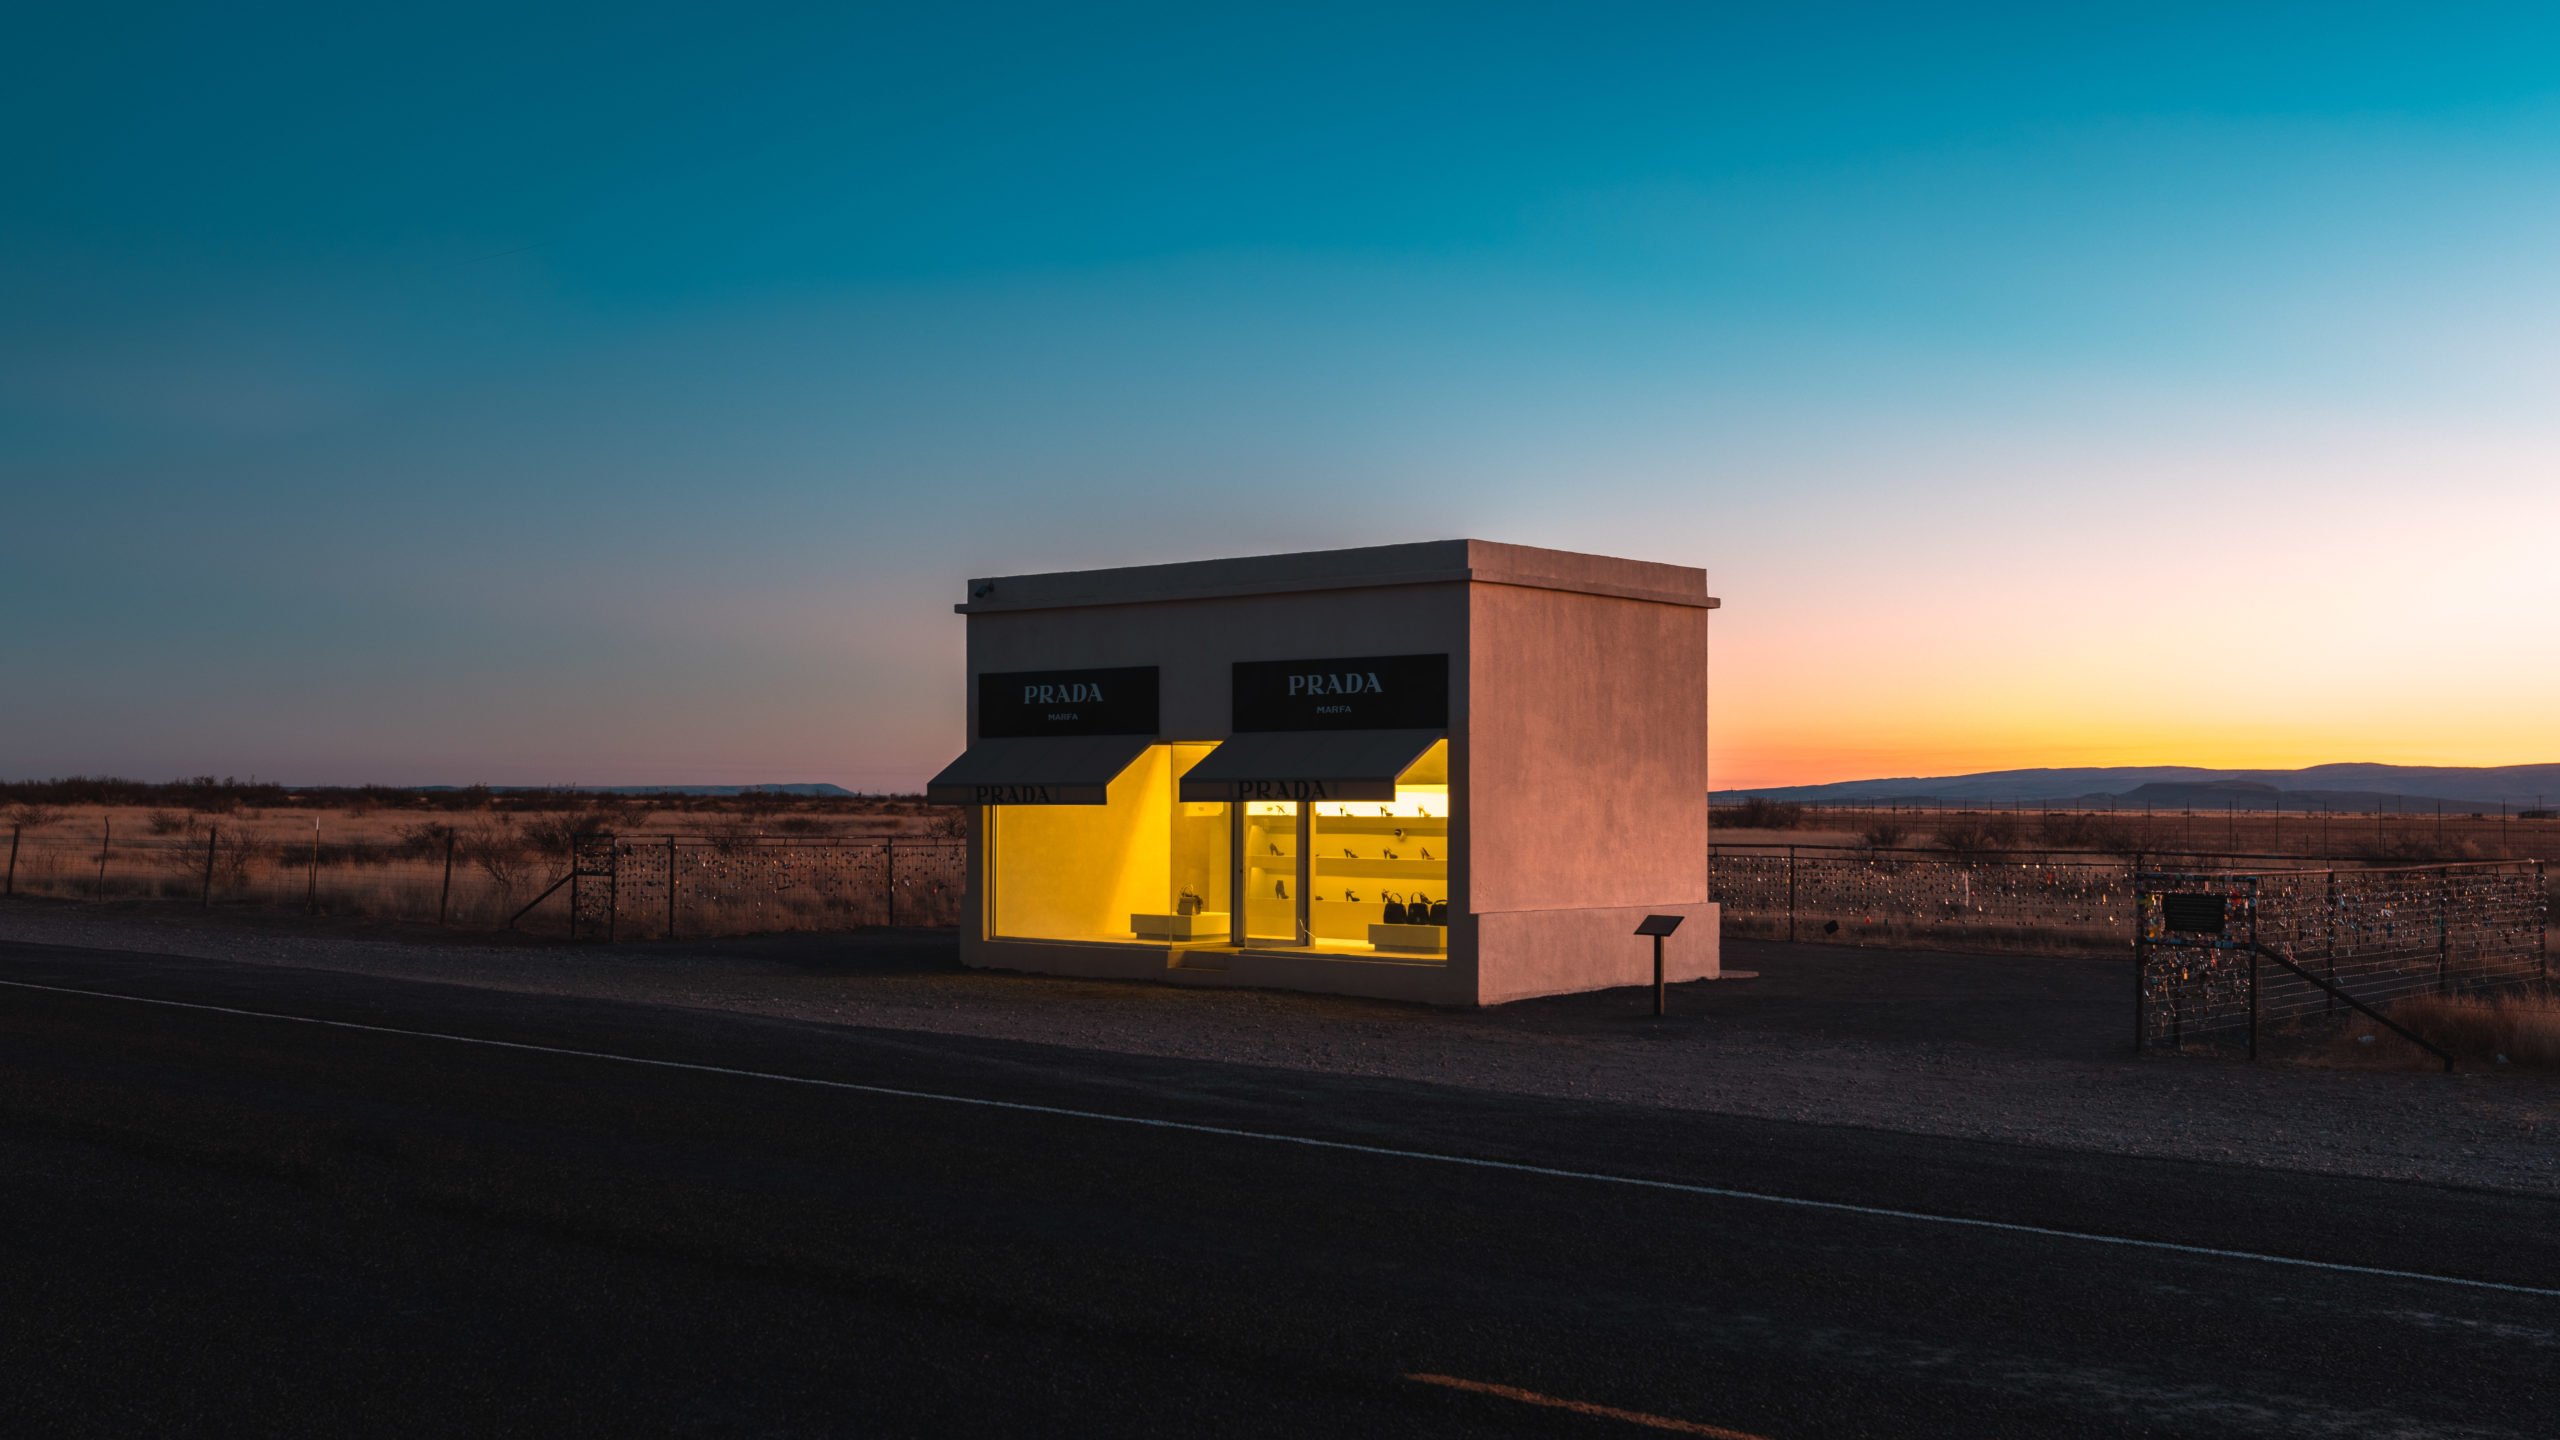
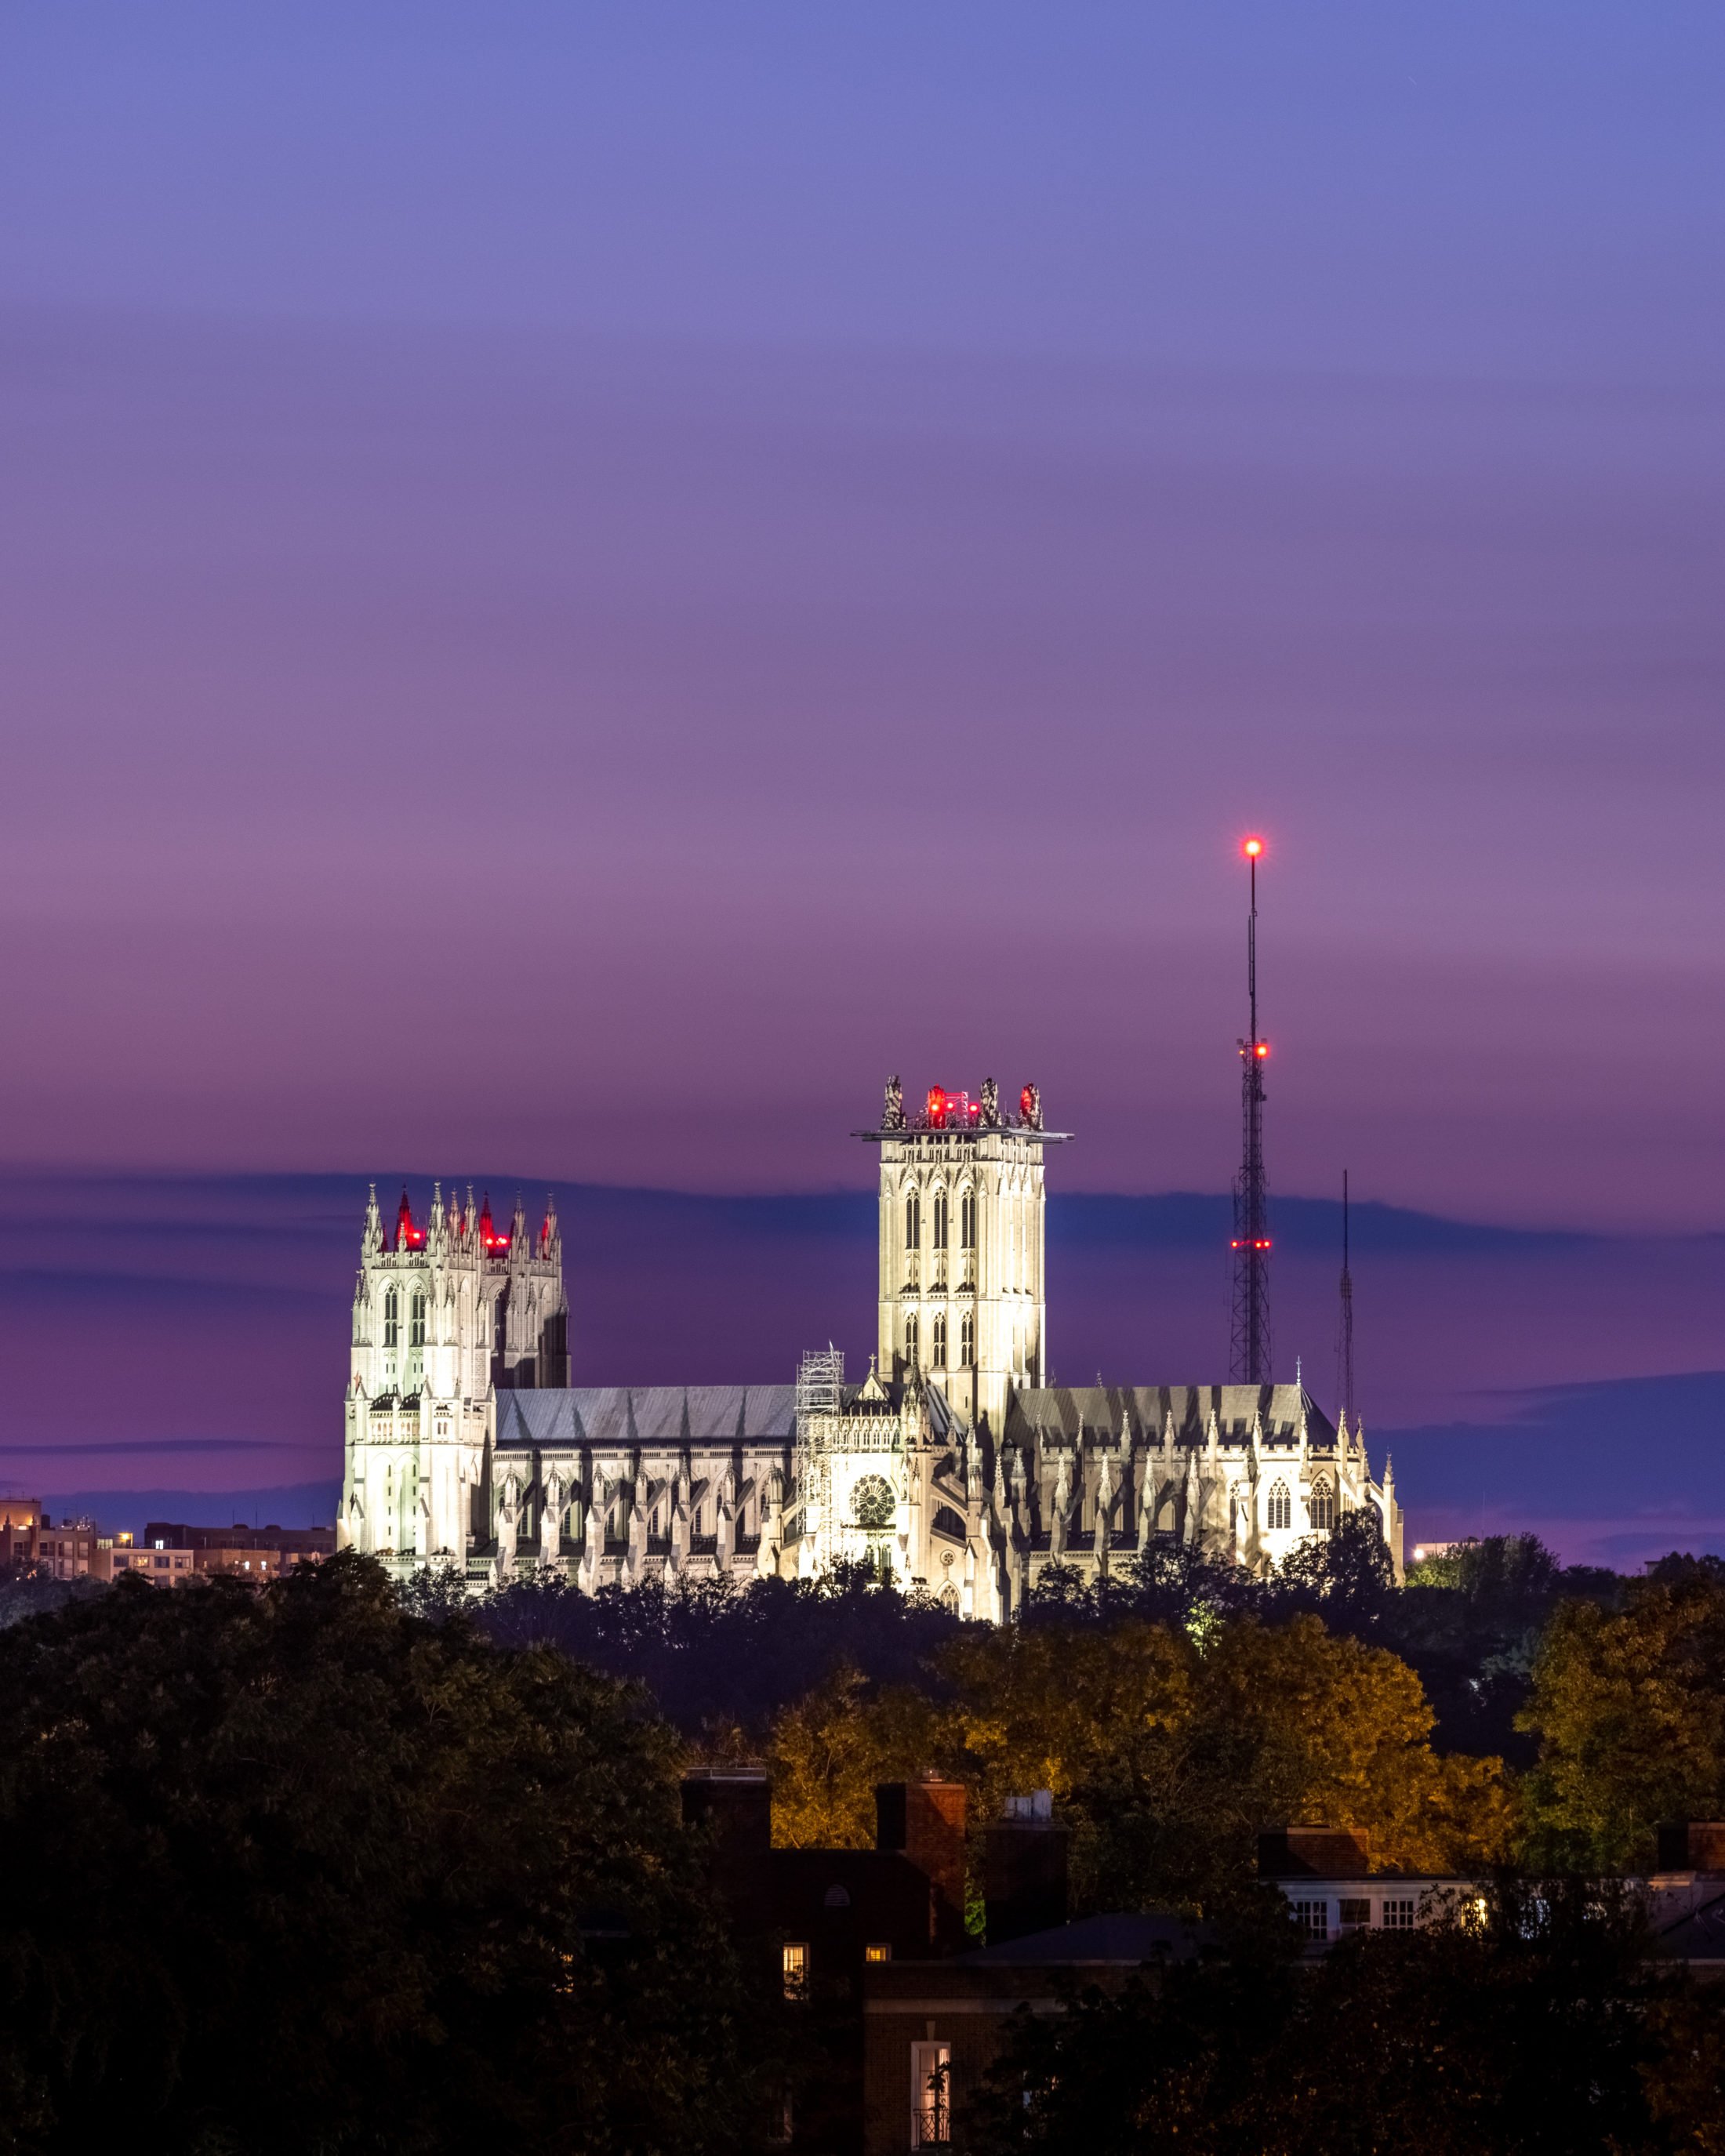
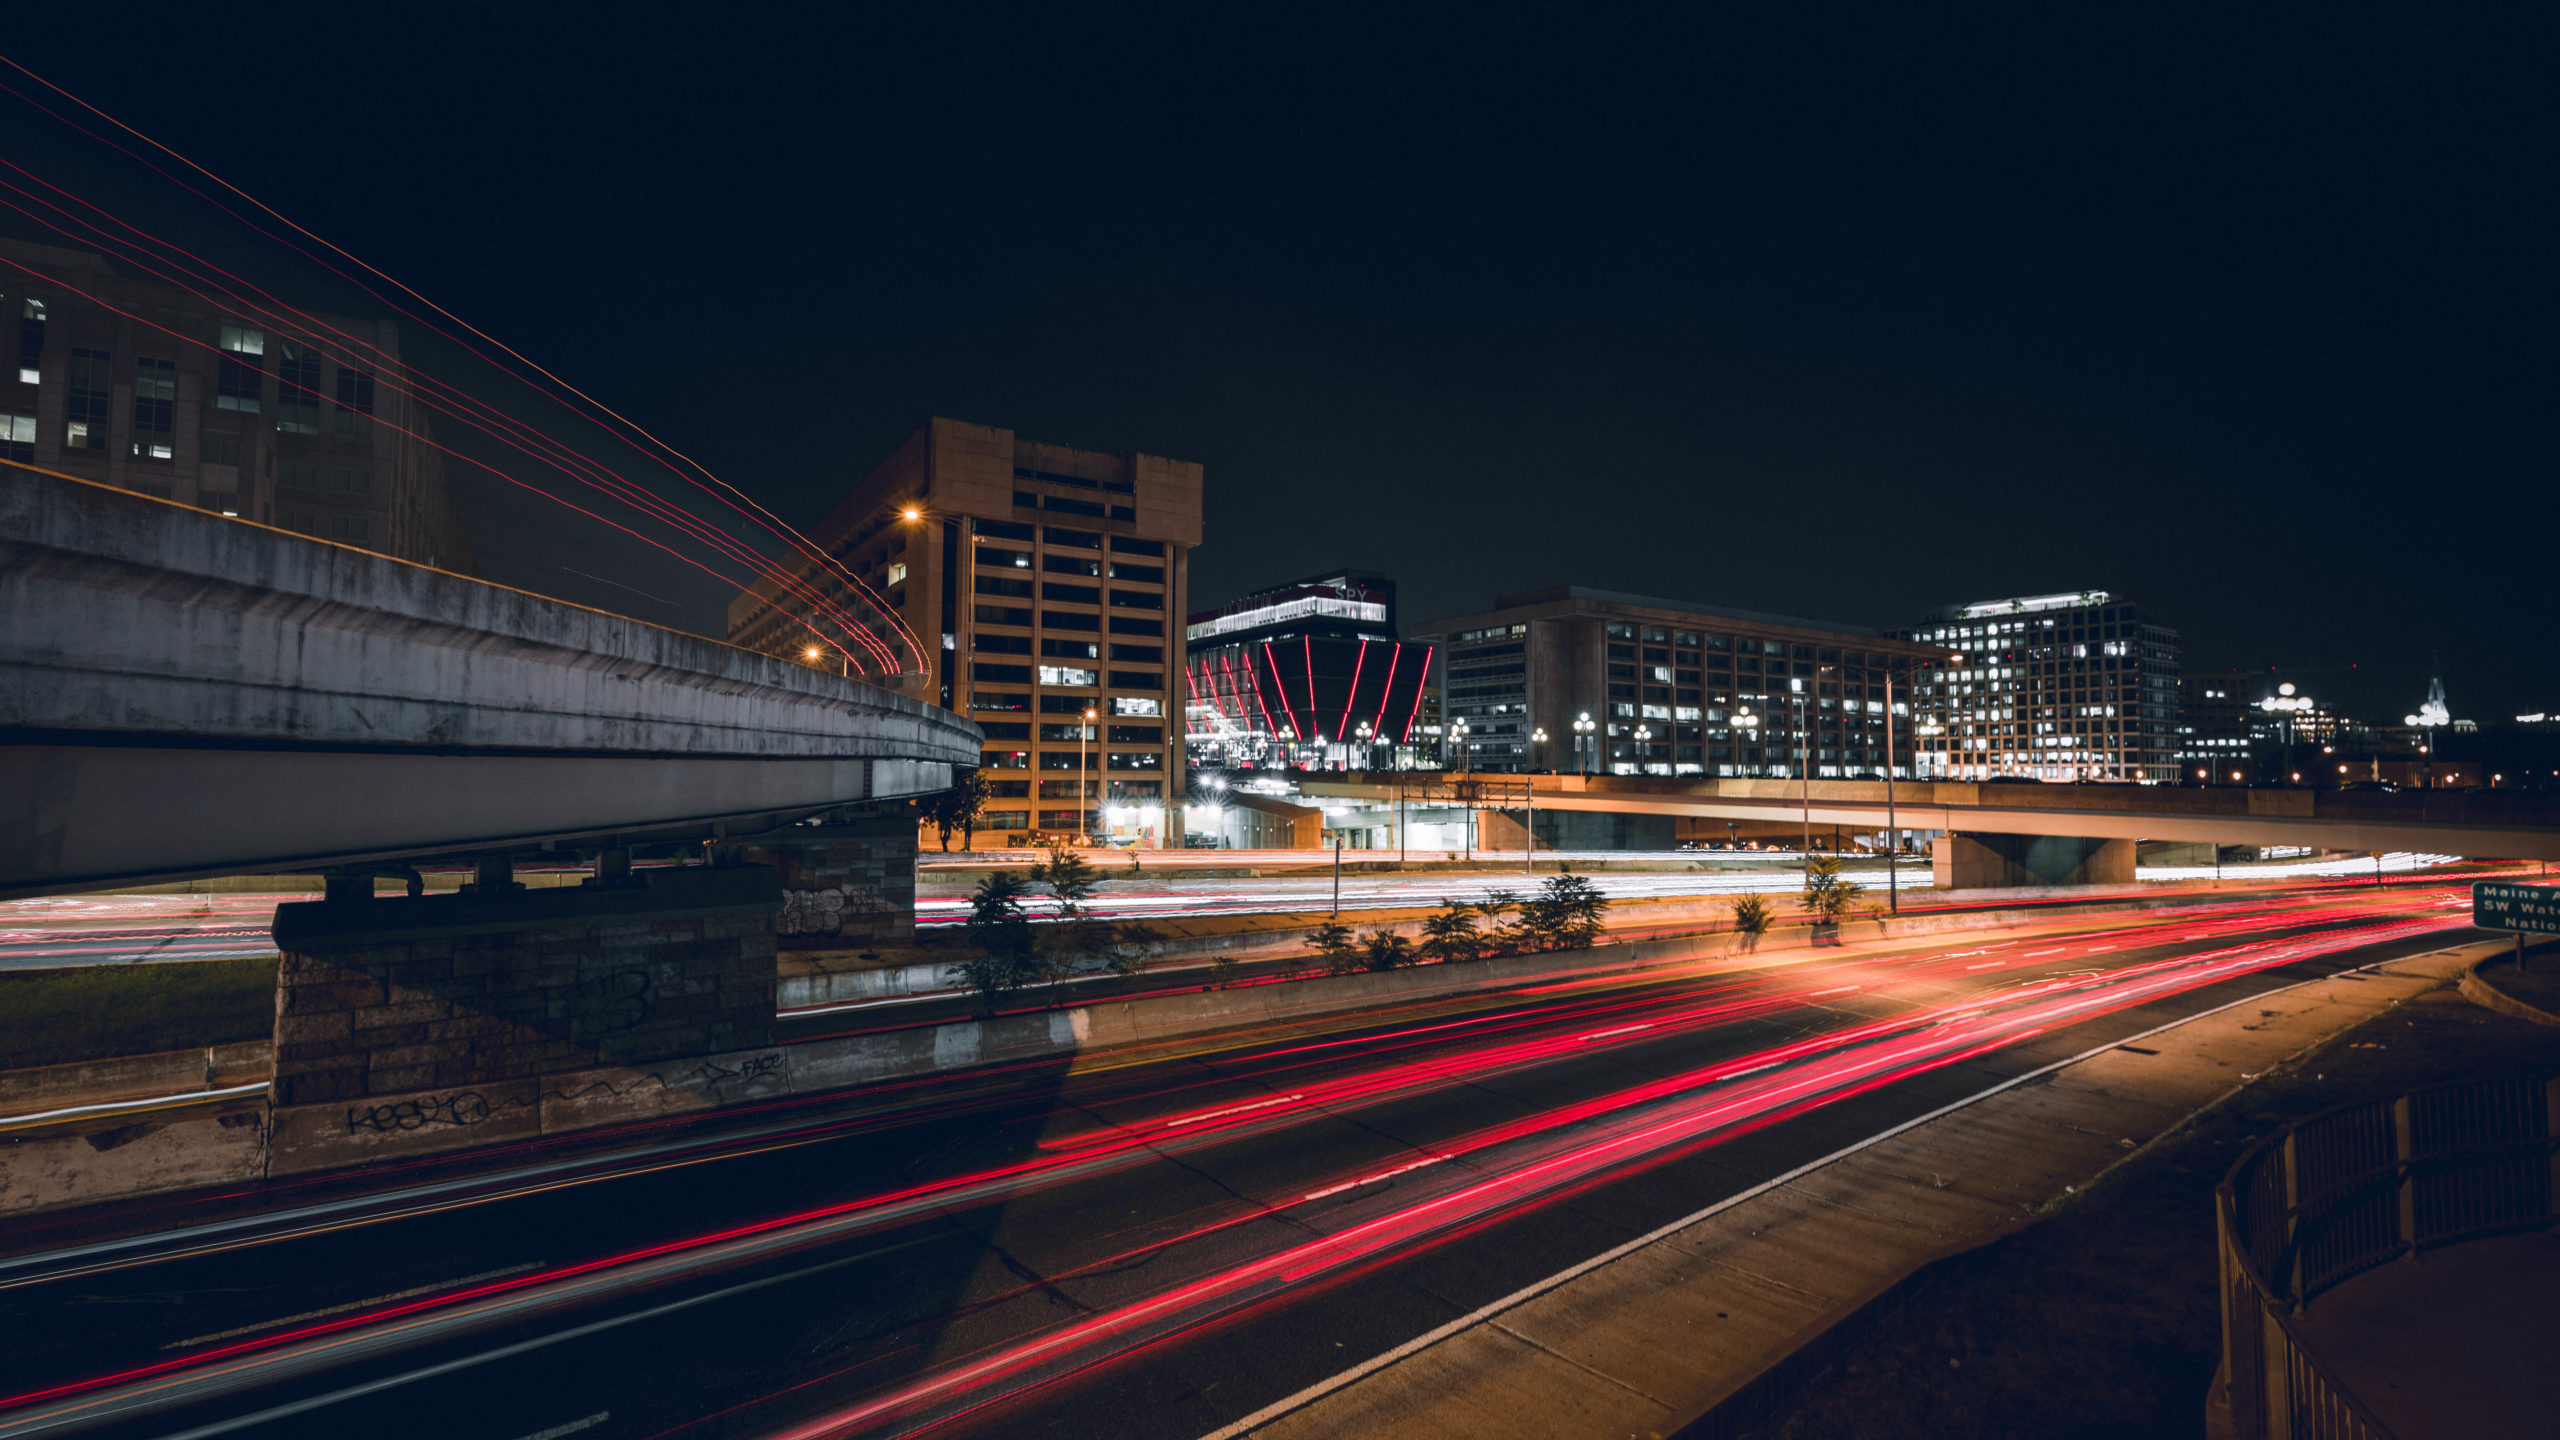
Here are some of my favorite photos I have taken at night along with their settings. If you live in a major city cars passing by can be fun to photograph on overpasses and bridges. If you live in a rural area astrophotography is well worth the trip out of a light polluted area to capture the star trails in the night sky. These photos have also been edited using Adobe Lightroom Classic.

- Camera: Canon 6D (DSLR)
- Mode: Aperture Priority
- Aperture: f/8
- Shutter Speed: 15 Seconds
- ISO: 100

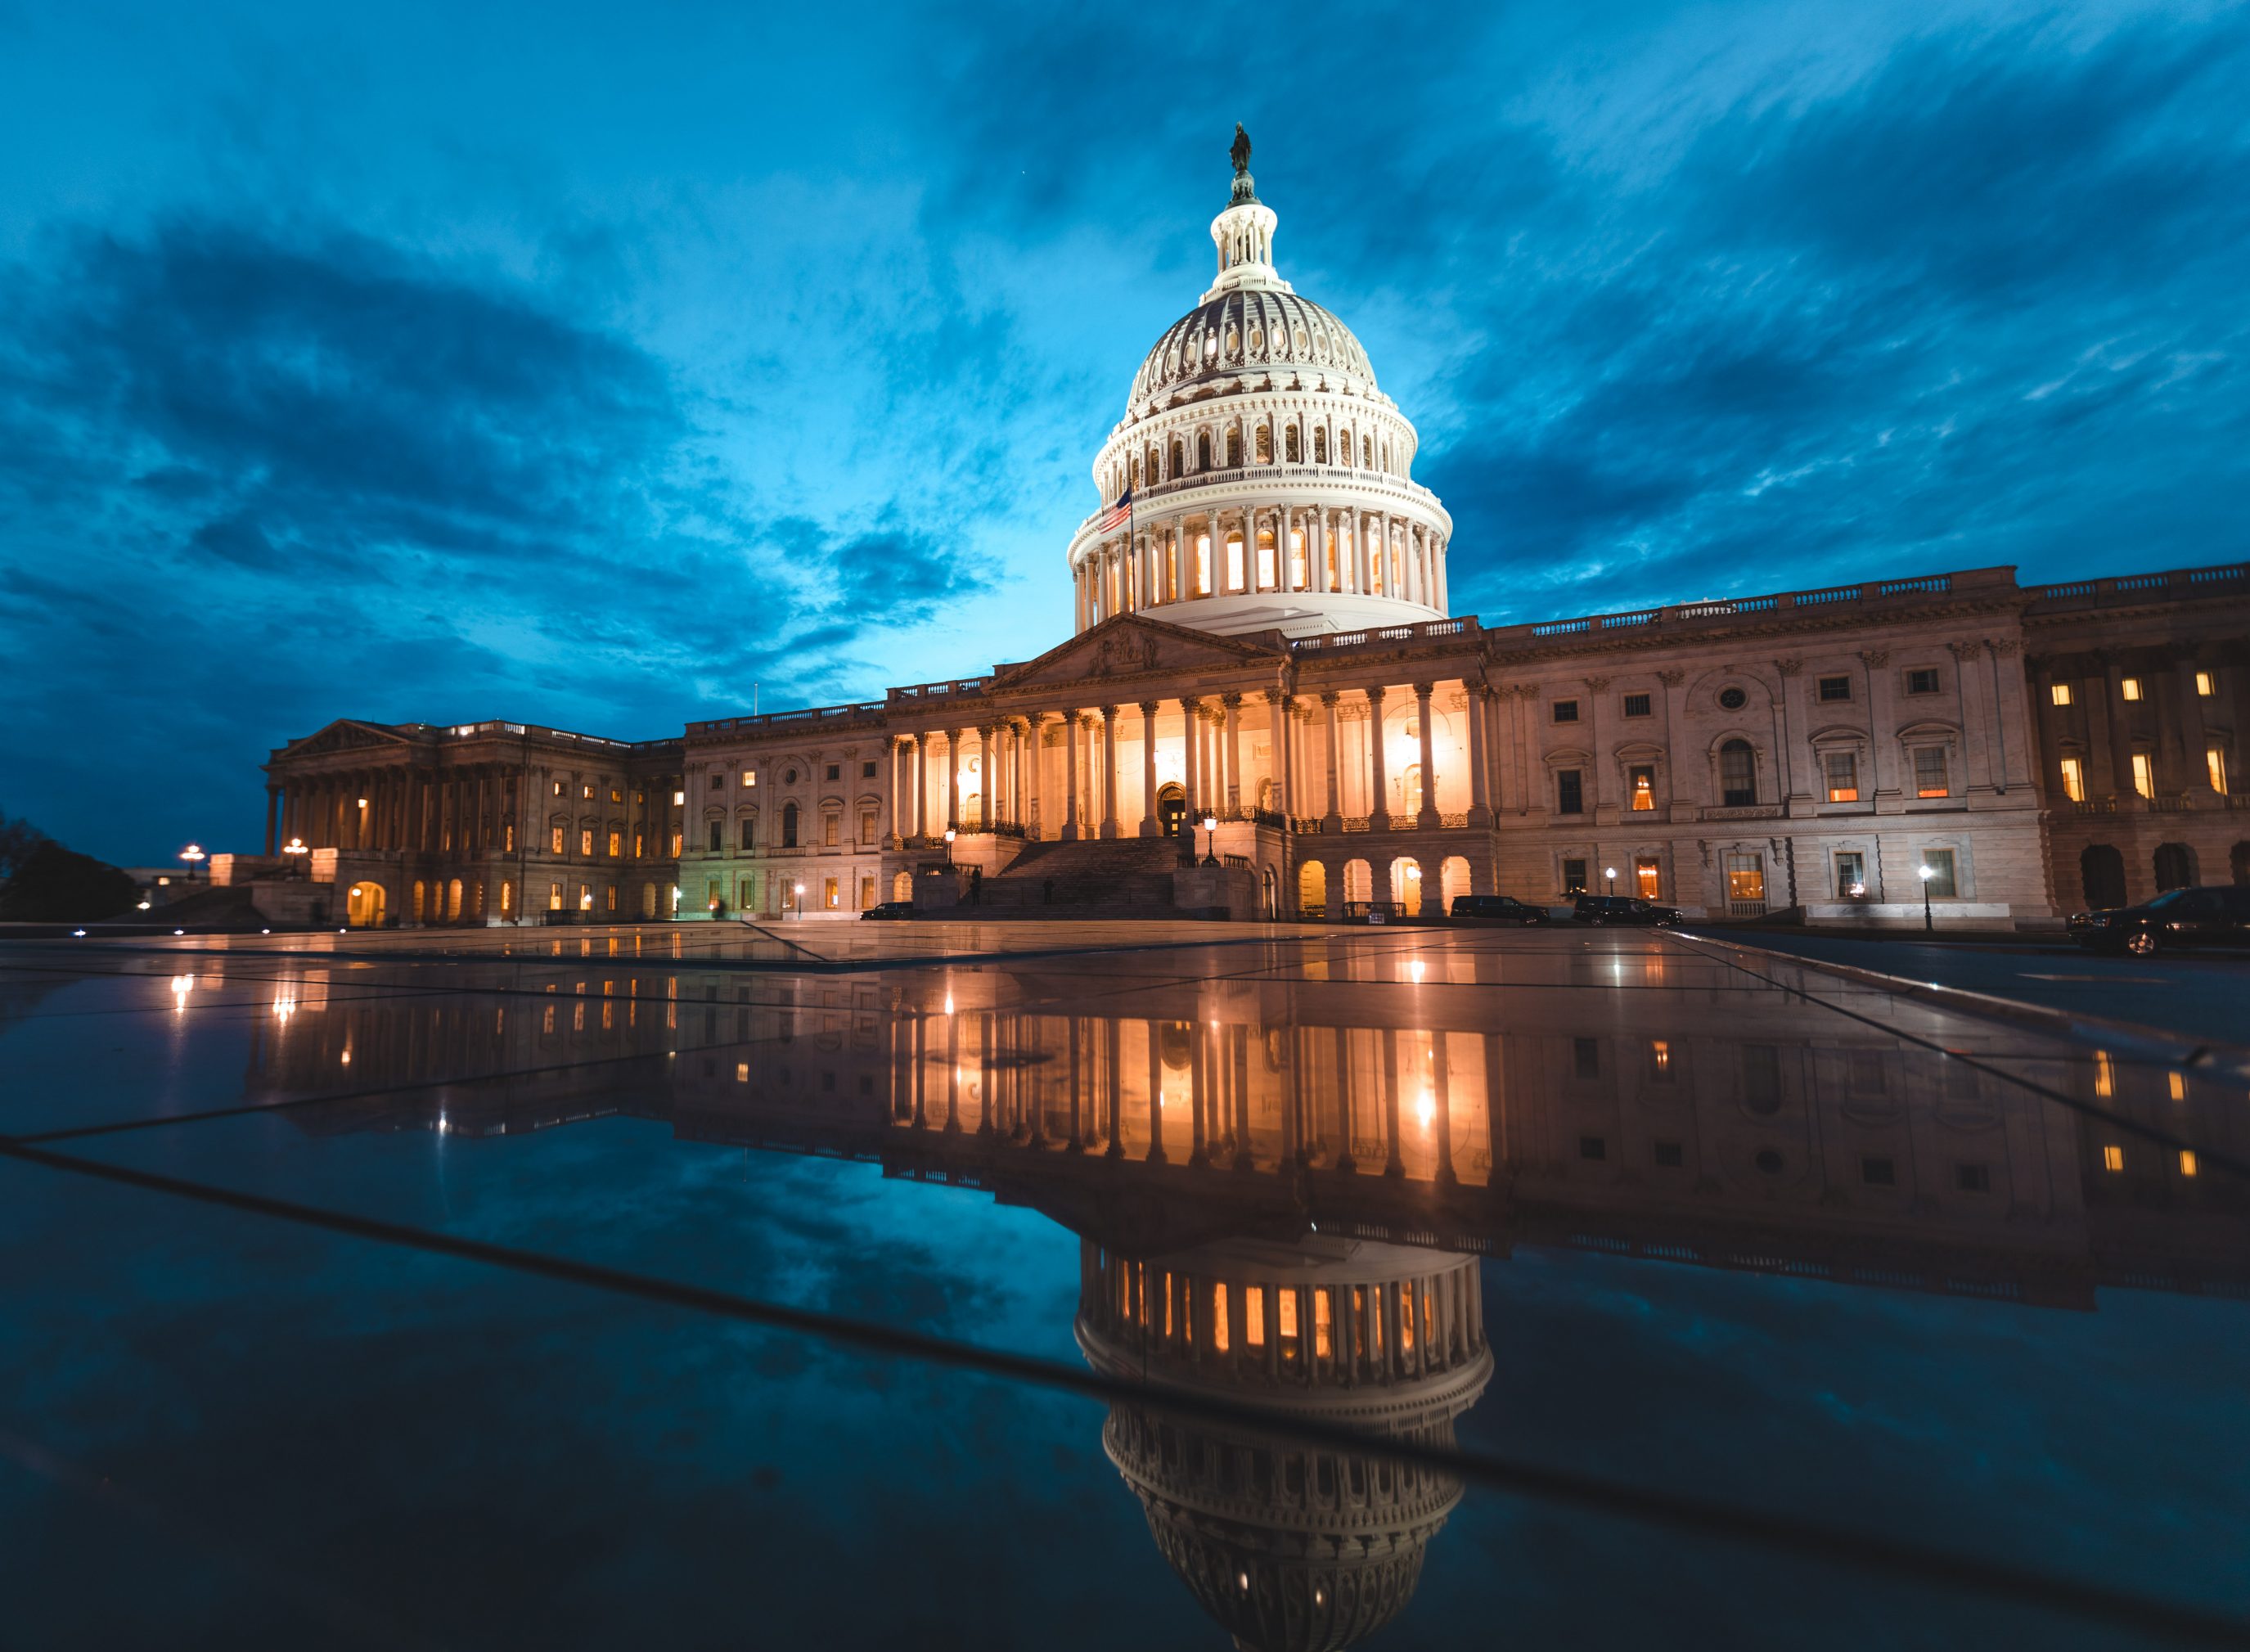
- Camera: Canon 5D Mark IV (DSLR)
- Mode: Aperture Priority
- Aperture: f/2.8
- Shutter Speed: 0.6 Seconds
- ISO: 400
- View Full EXIF Data
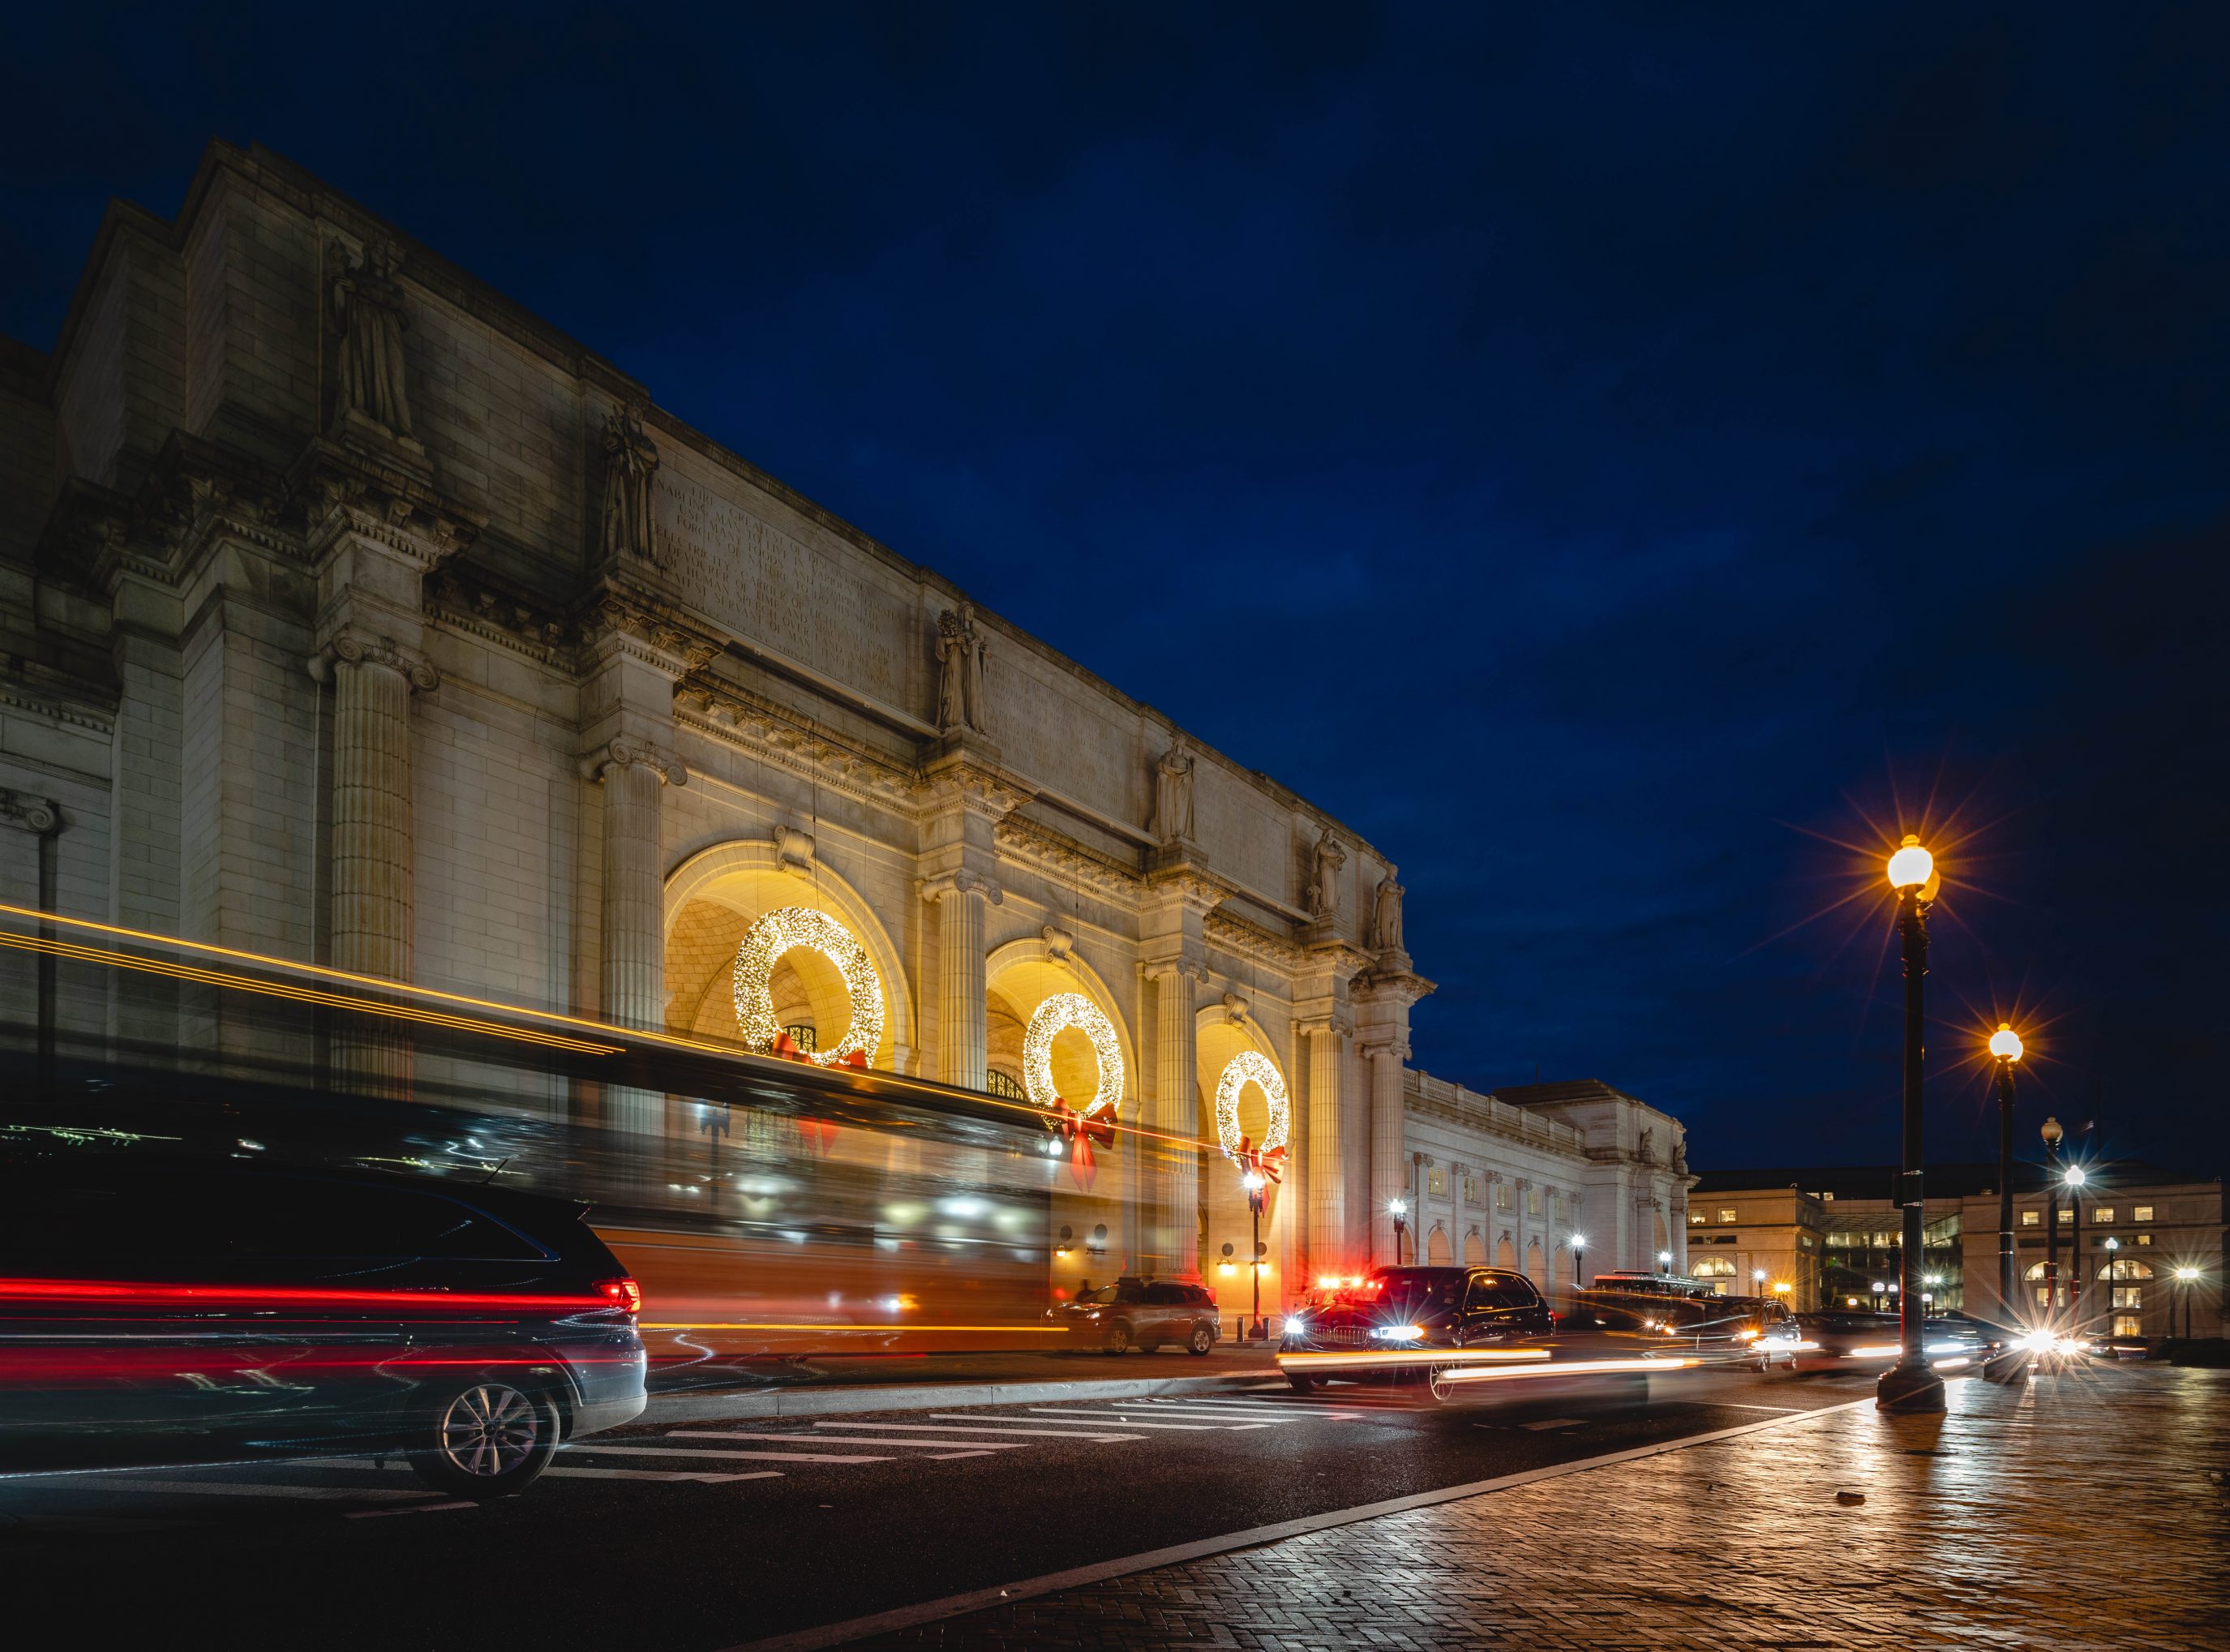
- Camera: Canon 5D Mark IV (DSLR)
- Mode: Aperture Priority
- Aperture: f/2.8
- Shutter Speed: 0.5 Seconds
- ISO: 100
- View Full EXIF Data
- Camera: Canon EOS R (Mirrorless)
- Mode: Aperture Priority
- Aperture: f/8
- Shutter Speed: 2 Seconds
- ISO: 100
- View Full EXIF Data
- Camera: Canon EOS R5 (Mirrorless)
- Mode: Aperture Priority
- Aperture: f/8
- Shutter Speed: 1.6 Seconds
- ISO: 250
- View Full EXIF Data
- Camera: Canon EOS R5 (Mirrorless)
- Mode: Aperture Priority
- Aperture: f/8
- Shutter Speed: 13 Seconds
- ISO: 100
- View Full EXIF Data
Night Photography Frequently Asked Questions
Here are some common questions that I see photographers ask about night photography.
What is night photography?
Night photography is a type of photography that involves capturing images after sunset or before sunrise, using low light conditions to create unique and stunning photos. This usually involves using a tripod and a longer exposure time to use a low ISO for better results.
What equipment do I need for night photography?
To take great night photos, you’ll need a camera that can shoot in manual mode, a sturdy tripod to keep your camera steady, and (optional) a fast lens with a low aperture (f/2.8 or lower) to let in as much light as possible. Any focal length will work for night photography but I prefer wide angle lenses. You may also want to invest in a remote shutter release, a flashlight or headlamp, and extra batteries.
How do I focus at night?
Focusing at night can be tricky, especially if you are using a lens with a wide aperture. One way to focus is to use manual focus and zoom in on a bright light or object in the distance. Alternatively, you can use autofocus if your camera has low light autofocus capabilities.
How can I avoid noise in my night photos?
Noise can be a problem in low light photography, especially when using a high ISO setting. For example any ISO about ISO 3200 likely will reduce a noisy image depending on your camera. To reduce noise, use the lowest ISO possible and avoid underexposing your photos. You can also shoot in RAW format and use noise reduction software in post-processing but it’s best to get your results in-camera. As described in this post this is mainly done by using a tripod, low ISO, and a long exposure/bulb mode.
Can I take night photos with my smartphone?
Yes, modern smartphones can take great night photos, thanks to advances in camera technology like Apple’s Night Mode. To improve your results, use a tripod or stable surface to keep your phone steady, and experiment with apps that allow manual controls or long exposure settings.
Are there any safety precautions I should take when doing night photography?
Yes, it’s important to prioritize your safety when doing night photography. Always be aware of your surroundings and avoid potentially dangerous areas, especially when shooting alone. Carry a flashlight, let someone know where you’ll be, and consider having a phone or emergency contact handy. Additionally, dress appropriately for the weather conditions and be cautious of any tripping hazards in low-light environments. If you are in remote areas I also recommend a battery and downloading maps offline.
Should I shoot in RAW or JPEG for night photography?
Shooting in RAW format is generally recommended for night photography as it provides more flexibility during post-processing. RAW files capture more data and allow you to adjust exposure, white balance, and other settings with greater control. However, keep in mind that RAW files take up more storage space and require additional processing compared to JPEG files.
How can I create light trails in my night photos?
To create light trails, find a location with moving traffic or other light sources. As you’ve read in this post; set your camera to a slow shutter speed (10-30 seconds) and a smaller aperture (around f/8-f/16). Position yourself so that the lights of passing cars or moving subjects move through the frame during the exposure, creating the desired light trails. The exposure time will be affected by how fast the light source is moving.
Night Photography Inspiration
Need a little inspiration? Here’s a video of me shooting photos at night with my friend in DC. We explore the US Capitol at sunset and take night photos in Washington DC.
Now that you know how to take pictures at night it’s time to go shoot. By taking more photos you’ll quickly learn your camera and settings for night photography. Just don’t get discouraged if your photos look bad at first, practice is the most important way to improve your pictures.
If you have any questions feel free to let me know in the comments.
Good luck with your night photography!
Enjoyed this article?
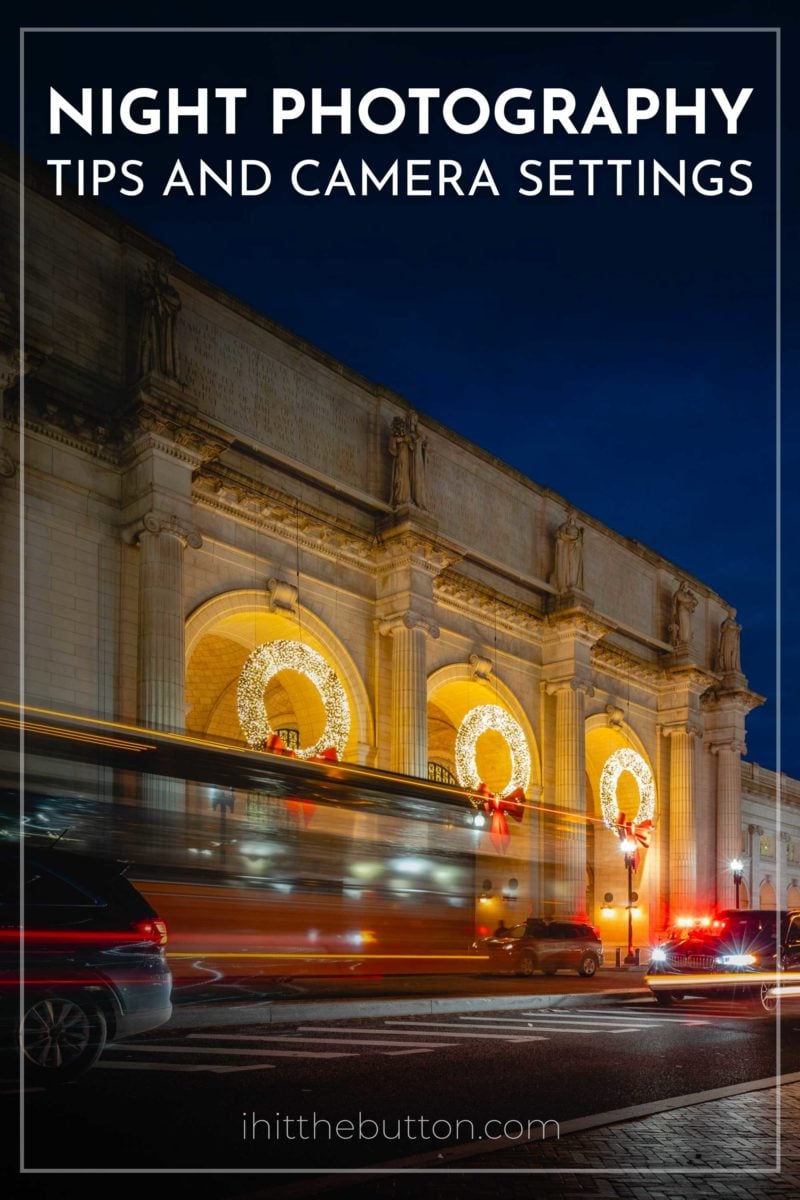
Save a pin below to Pinterest

Great Night Photo Guide! (Quick EXIF Viewer Tip?)
Andy, this is an awesome guide for beginners tackling night photography! The step-by-step settings breakdown using Aperture Priority is super practical, and the gear recommendations are spot-on. Loved the real-world photo examples with the EXIF data included – that’s incredibly helpful for understanding how those settings translate into results.
Thanks again for the fantastic, actionable advice!
Thank you so much for giving advice, helpful
Happy to help!
Going to try this out, thank!
Very useful tips on Night photography. I will set them myself and see how it goes. I have taken some good pictures of night, but it came good by luck, didnt set the exact settings. This time hopefully i will do the settings and hope i get some good snaps.
I wish you luck! Practice makes perfect.
Thank you for this information. I love night time photography. Especially cityscapes. I look forward to trying some of your techniques with my canon t7.
Happy to hear that it was helpful! I am sure your photos will come out great!
saya sangat menyukai hobby photography
meskipun kamera saya hanya canon 4000D, saya berharap bisa mendapatkan kualitas gambar yang tidak kalah dengan kamera mahal
Thank you for your information about night photography , I am new in photography and will try to be good in , of course I am 72 years old and …………..
Photography is for all ages! that is awesome, I hope you get some great photos 💪 You got this!
Thanks for the information about night photography, I will use the information and see what happens .
You’re welcome! let me know if you have any questions.
Wow, pretty cool tips. I really appreciate your post. I definitely visit this blog again
Very informative post. Thank you so much.
As a new comer night Photography tips was mandatory to me . Liked and appreciated your wonderful written . Thank you.
Hello
I was contemplating whether there is an equation I could use for High ISO Testing.
For instance, say I stepped through an exam at 6400 ISO as you did in the article for a picture I needed to shoot at ISO 100 and the ideal shade speed ended up being 5″. The ideal histogram ends up being a 4 second introduction at ISO 6400. What might the right shade speed be for ISO 100?